Sweet Crochet Cat Pair Amigurumi Pattern
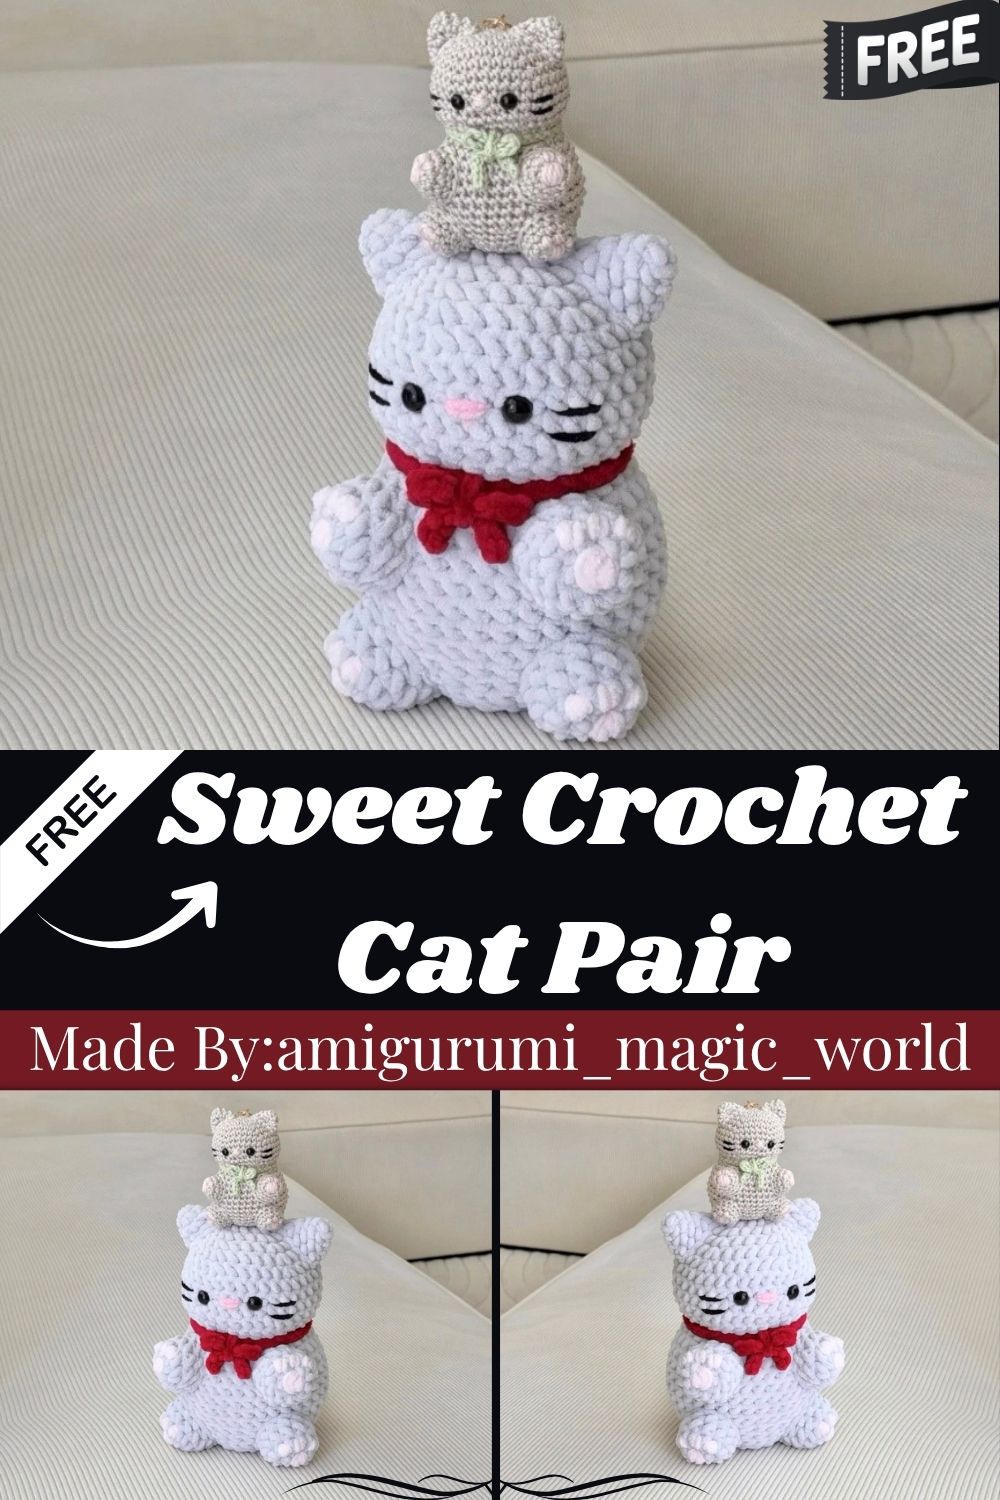
Fluffy ears, a curled tail, and a tiny bow collar make this kitten pattern impossible to resist. Honestly, it works for both a full-size cuddly cat and a mini keychain version, giving you two adorable projects from one simple pattern.
Crochet cats never really go out of style, and this pair proves exactly why. Trust me, the shaping on the head and body creates that classic round kitten look everyone loves. Safety eyes, a soft tail, and four tiny paws bring real personality to the finished piece. Whether you pick a 5mm hook for a cuddly companion or a 2.5mm hook for a keychain buddy, the stitches stay beginner-friendly. Pattern repeats keep the increases and decreases easy to follow, so shaping never feels confusing. Grab your yarn, thread a needle, and start stitching this sweet little cat today.
Pattern Overview
- A single amigurumi pattern that makes two sizes: a large cuddly cat and a small keychain version
- Head and body worked as one continuous piece using increase and decrease rounds
- Four matching paws worked separately and attached after stuffing
- Two shaped ears worked flat with a simple increase pattern
- A curled tail made from straight single crochet rounds without stuffing
- A chain-based collar finished with a tied bow at the front
- Safety eyes placed between rounds 8 and 9 for a balanced, forward-facing expression
- Adjustable hook sizes let crafters switch between a display piece and a portable keychain
Special Techniques
- Magic Ring (MR) starts the paws, ears, and tail for a tight, hole-free center
- Front Loop Only (FLO) stitching in round 14 creates a subtle ridge that separates the head from the body
- Slip stitches worked into the back bumps of a chain give the collar a neat, corded texture
- Stuffing happens in stages, once before the neck shaping and again before closing the base, for even firmness throughout
Skill Level
This pattern suits confident beginners who already know single crochet, increases, and decreases. No joke, the repeats make counting simple, and the shaping follows a predictable rhythm from start to finish.
Common Mistakes
- Skipping the eye placement guide, which throws off the kitten’s facial symmetry
- Stuffing too early, before the neck decreases are worked, causing lumpy shaping
- Miscounting stitches during the FLO round, which shifts the ridge line off-center
- Leaving yarn tails too short, making paws, ears, and the tail hard to sew on securely
- Pulling the collar chain too tight, which puckers the neckline instead of sitting flat
Uses & Benefits
Real talk, this pattern does double duty as both a shelf-worthy plush and a functional accessory. The large version works beautifully as a nursery decoration, a thoughtful handmade gift, or a comfort toy for kids. The mini keychain variation turns the same stitches into a bag charm, a zipper pull, or a small token for a crochet swap. Because both sizes share one pattern, crafters get to practice the same shaping twice, reinforcing technique while producing two entirely different finished products for gifting or personal use.
Helpful Beginner Tips
- Count stitches after every increase or decrease round before moving forward
- Use a stitch marker to track the start of each round on the head and body
- Stuff firmly but avoid overstuffing, especially near the neck shaping rows
- Sew ears slightly forward and angled for a more alert, lifelike expression
- Practice the magic ring separately first if it still feels unfamiliar
Assembly
- Sew the four paws evenly along the base of the body before adding the tail
- Attach the tail at the lower back, angling it slightly upward for a playful curve
- Position the ears at the top of the head, spaced evenly apart
- Insert safety eyes between rounds 8 and 9, four stitches apart, before closing the head
- Tie the finished collar chain around the neck, securing it with a small front bow
Where Can You Use This Case?
- A handmade centerpiece for a cat lover’s shelf or desk display
- A soft, huggable toy sized right for toddlers and young children
- A charming keychain attached to a backpack, purse, or diaper bag
- A themed baby shower or birthday gift paired with a small note card
- A craft fair or online shop item, since both sizes appeal to different buyers
Why Beginners Will Enjoy This Pattern
Low-key, this project feels manageable because every section builds on skills already practiced in the last. Repeats stay consistent, so counting never turns into guesswork. Ngl, finishing both the large and mini versions in one sitting feels genuinely satisfying, especially for anyone still building confidence with amigurumi shaping and finishing techniques.
Tips and Tricks for Success
- Switch hook sizes carefully between the large and keychain versions to match gauge
- Keep tension consistent across rounds to avoid visible gaps in the stitching
- Test eye placement with pins before securing safety eyes permanently
- Weave in ends tightly so paws and ears stay firmly attached over time
- Photograph each stage for reference if planning to make multiple kittens later
Why This Crochet Pattern Is Trending?
Amigurumi cats keep climbing search trends because they combine simplicity with genuine charm, and this two-size approach adds extra appeal for gift-focused makers. Crafters searching for quick, giftable projects gravitate toward patterns offering more than one outcome from a single set of instructions.
- Two finished products from one pattern appeal to efficiency-minded crafters
- Cat-themed amigurumi consistently ranks among top searched crochet categories
- Keychain-sized versions fit current demand for small, portable handmade accessories
Materials
- Yarn (any colour of your choice)
- Hooks: 5mm for the large kitty, 2.5mm for the keychain version
- Needle
- Stuffing
- Scissors
- Safety eyes
Abbreviations
- MR – Magic Ring
- SC – Single Crochet
- INC – Increase
- CH – Chain
- DEC – Decrease
- SL ST – Slip Stitch
- FLO – Front Loop Only
Head + Body
CH 5 to begin. Starting in the second chain from the hook: 3 SC, 3 SC in one, 2 SC, INC.
- R1. (10)
- R2. (SC, INC) x 5 (15)
- R3. (2SC, INC) x 5 (20)
- R4. (3SC, INC) x 5 (25)
- R5. (4SC, INC) x 5 (30)
- R6. (5SC, INC) x 5 (35)
- R7–10. 35 SC (4 rounds) (35)
- R11. (5SC, DEC) x 5 (30)
- R12. (4SC, DEC) x 5 (25)
- R13. (3SC, DEC) x 5 (20)
Insert the eyes between R8–9, 4 stitches apart. Begin to stuff.
- R14. FLO (SC, INC) x 10
- R15. (5SC, INC) x 5 (35) (30)
- R16–20. 35 SC (5 rounds) (35)
- R21. (5SC, DEC) x 5 (30)
- R22–23. 30 SC (2 rounds) (30)
- R24. (4SC, DEC) x 5 (25)
- R25. (3SC, DEC) x 5 (20)
Stuff again.
- R26. (2SC, DEC) x 5 (15)
- R27. (SC, DEC) x 5 (10)
Cut the yarn and sew the hole closed. This will be the finished body of your kitten.
Paws (4)
- R1. 8 SC in MR (8)
- R2. (SC, INC) x 4 (12)
- R3–4. 12 SC (2 rounds) (12)
Make 4 in total. Cut the yarn leaving a long tail. Stuff lightly.
Ears (2)
- R1. 3 SC in MR (3)
- R2. 3 INC (6)
- R3. (SC, INC) x 3 (9)
- R4. (2SC, INC) x 3 (12)
Make 2. Leave a long yarn tail for sewing. No need to stuff.
Tail
- R1. 4 SC in MR (4)
- R2–8. 4 SC (7 rounds) (4)
This is the finished tail. Fasten off, leaving a long tail for attaching. Do not stuff.
Collar
CH 61. Starting from the second chain from the hook, work 60 SL ST back into the back bumps of the chain. At the end, leave a long tail of yarn to secure the collar in place and tie a bow at the front. You can also use the yarn tail from the beginning of the chain to help tie it.
Conclusion
This sweet cat pair pattern rewards patience with two genuinely charming results. Shaping stays approachable, techniques build steadily, and the finished kittens make wonderful gifts or keepsakes. For real, once the first paw or ear comes together, the rest of the pattern flows naturally toward a finished, huggable design.