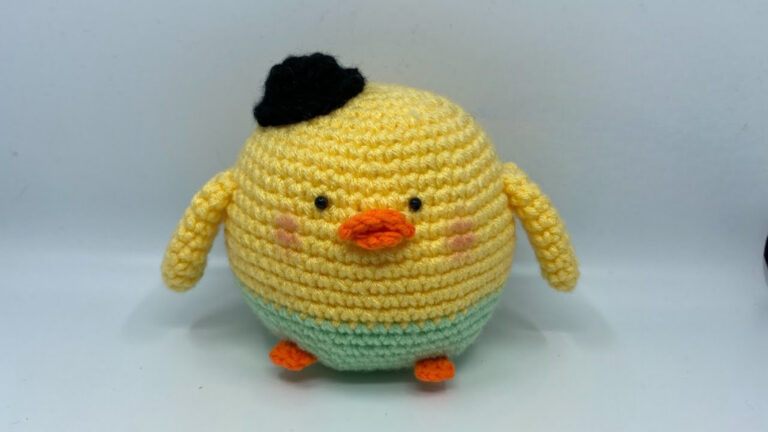
Crochet Candy Pattern With Frilly Wrapper Ends
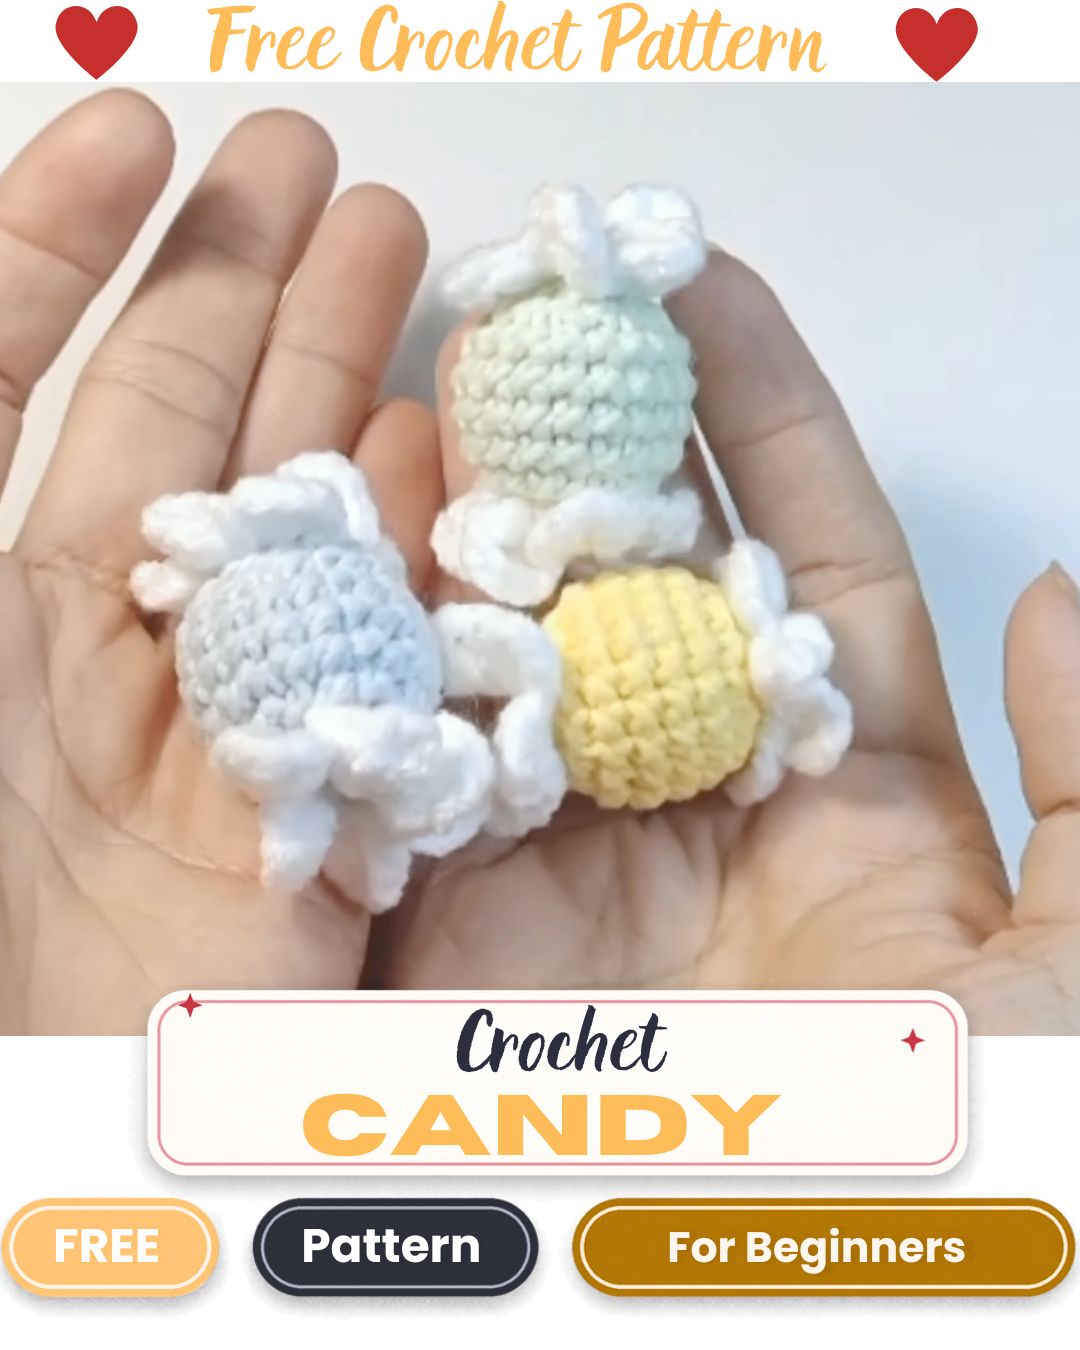
A wrapped candy is one of the easiest shapes to crochet. You work a small yellow ball, stuff it, and then add soft white frills at both ends so it looks like a twisted wrapper. This crochet candy pattern uses only basic stitches and a little yarn, so it makes a good quick project.
It also works well in many colours. Pastel candies look sweet hanging together, while bolder shades turn into fun little toys or décor pieces. If you enjoy tiny food projects like this one, you may also like these mini crochet food items.
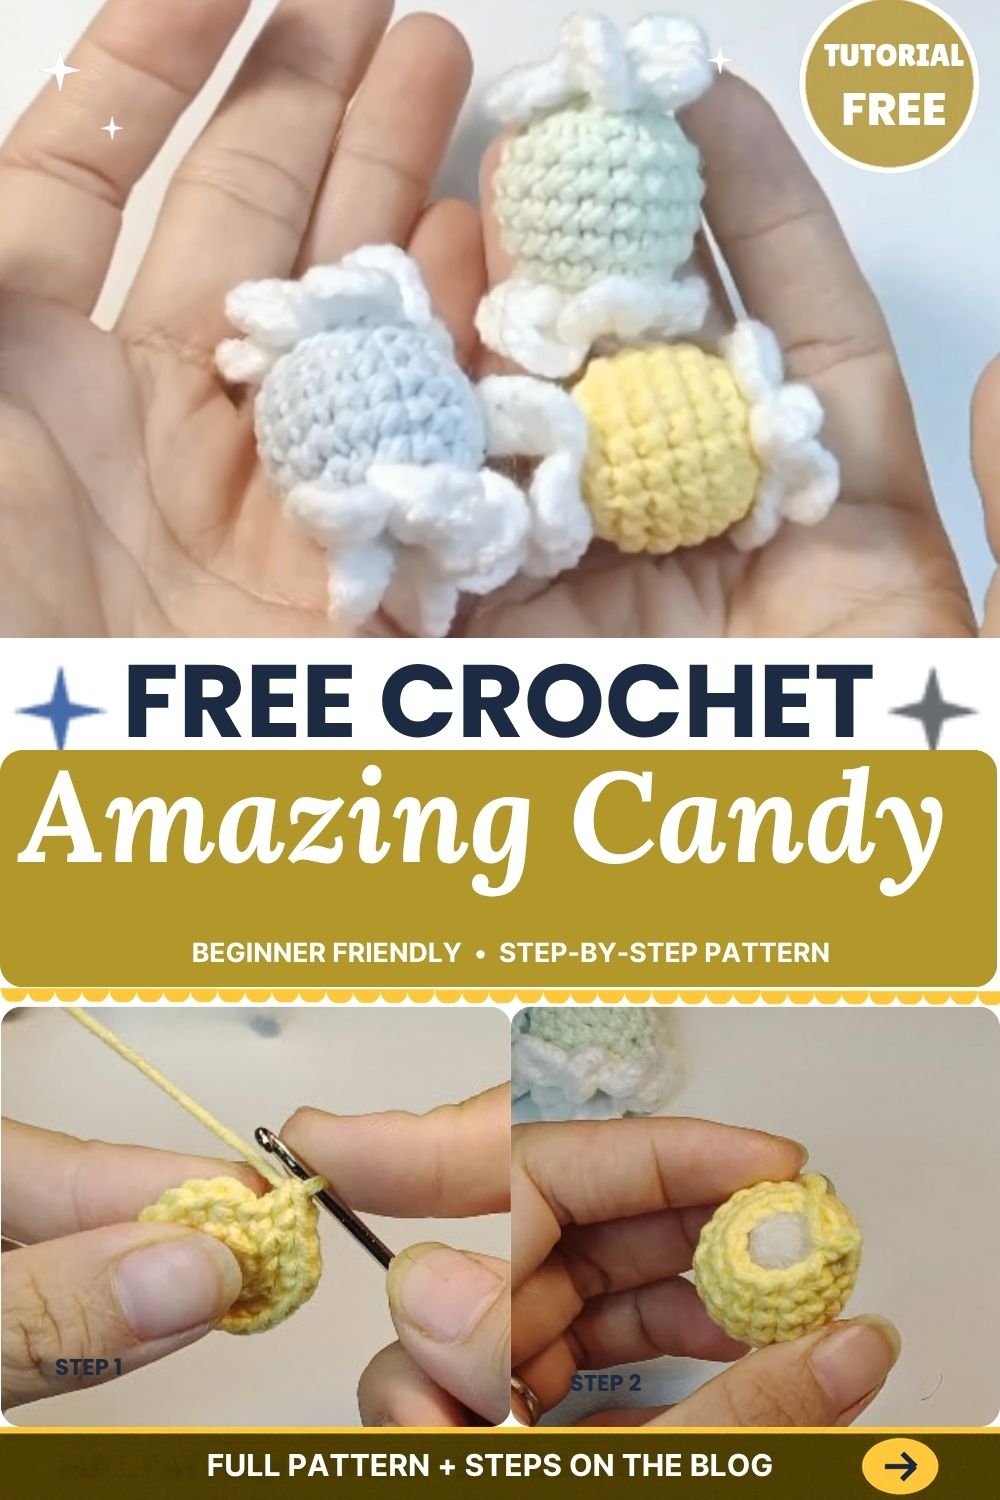
What You Will Make With This Crochet Candy Pattern
The finished candy is a small, firm, rounded body worked in continuous rounds, with a ruffled white edge at each end. The body is stitched in tight single crochet, which gives it a dense, smooth texture. After stuffing, the frills are worked separately onto each end.
Materials for the Crochet Candy
- Yarn in your main candy color (yellow shown here)
- White yarn for the wrapper ends
- A crochet hook that suits your yarn (see the tip below)
- Polyester fiberfill
- Yarn needle
- Scissors
- Stitch marker
Hook tip: Choose a hook one or two sizes smaller than the yarn label suggests. A tighter fabric keeps the stuffing from showing through the stitches.
Abbreviations (US Terms)
- MR: magic ring
- sc: single crochet
- inc: increase (two sc in the same stitch)
- dec: decrease (sc two stitches together)
- sl st: slip stitch
- st(s): stitch(es)
Helpful Notes Before You Start
- The body is worked in a spiral, so do not join the rounds. Instead, mark the first stitch of each round with a stitch marker.
- Keep your tension even and snug, because loose stitches will leave gaps once the candy is stuffed.
- Stuff firmly, but stop before the stitches stretch open.
- The exact stitch count depends on your yarn and hook. For that reason, this crochet candy pattern explains how the candy grows and shrinks, so you can adjust the size to suit your materials.
How to Crochet the Candy Body
Step 1: Start with a Magic Ring
First, make a magic ring with your main color and work your first round of single crochet stitches into it. Then pull the tail to close the ring tightly, so there is no hole in the center.

Step 2: Increase to Shape the Ball
Next, work the following rounds with evenly spaced increases so the circle widens into a flat disc. Spread the increases out in each round. This helps the shape stay round instead of turning into a polygon.
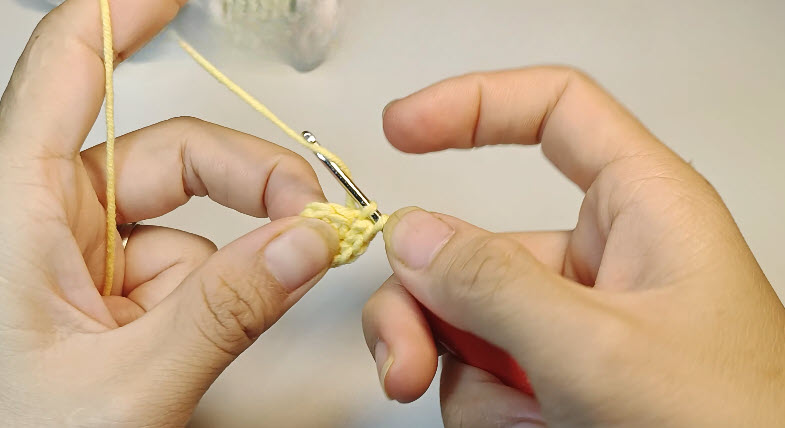
Step 3: Work Even Rounds
Once the piece is wide enough, stop increasing and work plain single crochet rounds. These rounds build the sides of the candy. Aim for a body that is slightly longer than it is wide, since the stuffing will plump it out and the frills will take up some of the length.
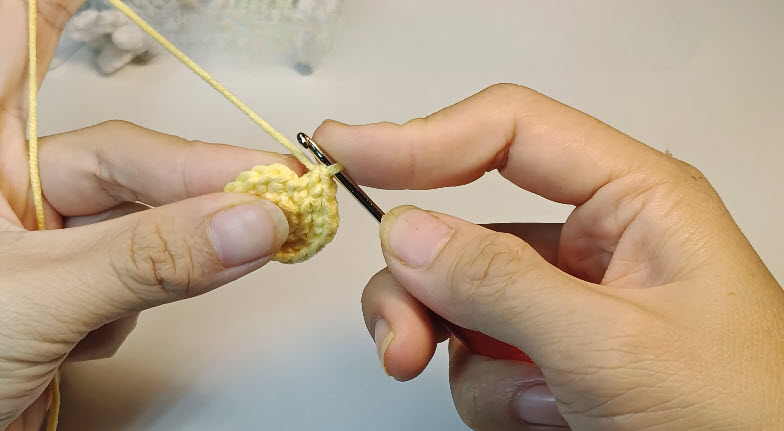
Step 4: Decrease and Stuff
Now begin decreasing evenly around the piece so it curves inward at the other end. Stop before the opening gets too small and add fiberfill. Push the stuffing into the ends first, then fill the middle so the candy holds a smooth, even shape.
After that, keep decreasing until the opening is small. Add a little more fiberfill if needed, then finish the last decreases.
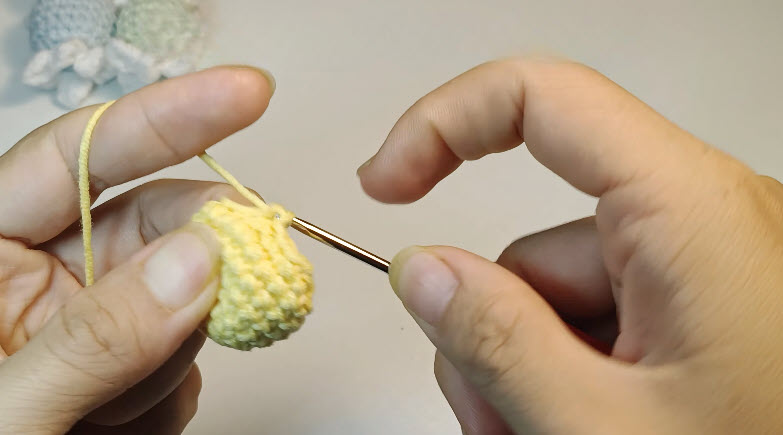
Step 5: Close and Fasten Off
Cut the yarn, leaving a short tail. Thread it onto your yarn needle and weave it through the front loops of the remaining stitches. Finally, pull the opening closed, tuck the end inside the body, and trim.
Adding the Frilly Wrapper Ends
The ruffled ends are what make this crochet candy look like a wrapped sweet, so take your time with them. The video below shows the stitches being worked, so it helps to watch it alongside the written steps.

Step 6: Attach the White Yarn
Join the white yarn at one end of the candy, around the small gathered point where the body closes. Hold the work so that end faces you.

Step 7: Work the Base Round
Crochet a round of stitches around the end to create a base for the frill. Keep these stitches snug, because they anchor the ruffle to the body.

Step 8: Build the Ruffle
Work several stitches into each base stitch, so the extra fabric has nowhere to go but outward. This is what creates the frilly, fluted look. Use the same number of stitches in every base stitch to keep the ruffle even. If it starts to curl too tightly, work slightly fewer stitches per base stitch. If it stays flat, add a few more.
Fasten off and weave in the tail.
Step 9: Repeat on the Other End
Turn the candy around and work the second frill the same way. Try to match the number of stitches on both ends so the wrapper looks balanced.
Finishing Your Crochet Candy
- Weave in all remaining tails on the inside of the body or the back of the frills.
- Gently fluff each ruffle with your fingers so the folds stand out.
- Check for visible stuffing and, if needed, push it back inside with a blunt tool.
Troubleshooting Common Problems
The body looks lumpy. Spread the increases evenly in the early rounds, and stuff in small pieces instead of one large wad.
Stuffing shows through the stitches. Use a smaller hook or stitch more tightly. In addition, insert your hook under both loops each time.
One frill looks bigger than the other. Count the stitches on each end and match them. Uneven tension is the usual cause.
The frills curl too much or lie too flat. Adjust the number of stitches you work into each base stitch, as described in Step 8.
Bonus: Turn It Into a Hanging Charm
The candy is small enough to become a keychain, bag charm, or garland piece. Before fastening off the last frill, pull a loop of yarn or a short chain through one end and tie it off securely. Then make several candies in different colours and string them together for a sweet garland or party decoration. For more small make-and-hang ideas, try this crochet jam jar and toast keychain.
Color and Yarn Ideas for Your Crochet Candy
- Use cotton yarn for a firm, crisp texture that holds its shape.
- Try soft pastel shades for a baby shower or nursery look.
- Choose bright colors for a playful, classic candy feel.
- Swap the white frills for a contrasting color if you want a different wrapper.
Frequently Asked Questions
Is this crochet candy pattern suitable for beginners?
Yes. It uses single crochet, increases, decreases, and a magic ring. The frill is the only part that needs some care.
Do I need to use a magic ring?
The magic ring gives the cleanest, tightest center. If you prefer, you can start with a chain and slip stitch to form a ring, but the center may be slightly looser.
Can I make the candy bigger?
Yes. Use thicker yarn and a larger hook, or add a few extra even rounds before decreasing.
Is it safe for children?
Yes, as long as it is stitched tightly and finished securely. For very young children, however, skip any hanging loops and keep all ends tucked in.
A Sweet Finish
Once you have worked this crochet candy pattern a single time, the next candy goes much faster. The shaping stays the same each time, so you can focus on getting the ruffles even. Make a few in different colors and you have a small, cheerful set in an afternoon. If you like sweet, bakery-style treats, these crochet baguette patterns make a good next project.