Crochet Card Holder Keychain Pattern That Looks Amazing
Cream-white loops stack into round ears and a soft belly under lamplight, and the Crochet Card Holder Keychain Pattern That Looks Amazing turns a handful of worsted-weight yarn into a bunny that tucks a card safely between two paws. A tiny keychain ring finishes the tummy pocket.
Most bunny keychains hang empty off a bag zipper, but the pocket sewn flat against the belly holds an actual gift card or transit pass flush against the body, not loose inside a stuffed chest cavity. Stitches stay dense enough to hide fiberfill, ears fold soft rather than curling stiff, and the closed slot keeps a card from sliding free mid-commute. Built for daily carry, not shelf display, the amigurumi bunny earns its keyring.
Pattern Overview
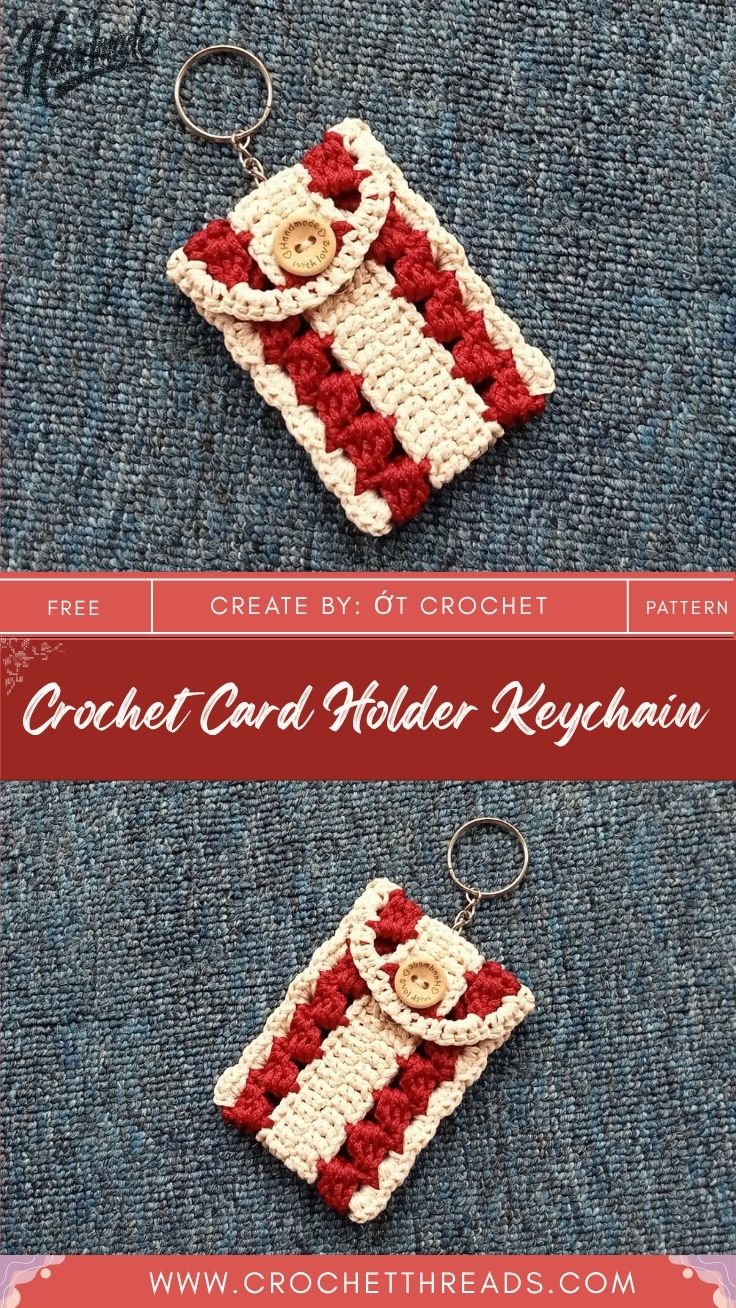
- Finished size: approximately 4.5 in (11 cm) tall; pocket fits a standard 3.375 x 2.125 in card
- Worked in continuous rounds, amigurumi style, no joining unless noted
- Pieces: head, body, 2 arms, 2 legs, 2 ears, tail, flat card pocket
- Comfortable for confident beginners who already know the magic ring and invisible decrease
- Finishes with a keyring and jump ring at the neck seam
Materials
- Yarn: worsted weight (#4) acrylic or cotton-acrylic blend, ~35–40g main color, small amounts of blush for cheeks and pocket lining
- Hook: 3.5mm (US E/4) a size down from the yarn label keeps amigurumi fabric tight
- Stuffing: polyester fiberfill, roughly a golf-ball-sized handful
- Safety eyes: 6mm with locking washers, or black embroidery floss for anything reaching a child under three
- Extras: stitch marker, yarn needle, small keyring, jump ring or lobster clasp, sewing pins, chalk pastel or blush (optional)
Abbreviations
ch – chain · sc – single crochet · inc – increase (2 sc in one stitch) · dec – invisible decrease (through front loops of next two stitches) · sl st – slip stitch · st(s) – stitch(es) · rnd – round · MR – magic ring · FO – fasten off
Important Stitches
- Magic Ring – adjustable starting loop, closes with no center gap
- Invisible Decrease – worked through front loops only, leaves no visible ridge
- Standing Single Crochet – skips a slip-stitch join, useful for starting flat ears cleanly
Before You Start
- Test the actual card against a folded scrap before crocheting the pocket a hotel key card and a library card are not the same width
- Work a 10-stitch swatch first; if stuffing shows through the fabric, size down the hook
- Wind yarn into a center-pull ball so it feeds without twisting mid-round
Time Box
Prep 10 minutes (swatch, sorting colors) + Stitching 2.5–3 hours (head, body, four limbs, ears, tail, pocket) + Finishing 30–40 minutes (stuffing, assembly, eyes, keyring) = about 3.5 hours from empty hook to finished bunny.
Bunny Construction
Head
- Foundation Round – Magic ring, 6 sc into ring (6)
- Round 2 – inc in every st (12)
- Round 3 – sc 1, inc around (18)
- Round 4 – sc 2, inc around (24)
- Round 5 – sc 3, inc around (30)
- Rounds 6–9 – sc even, no shaping (30) – four rounds
- Round 10 – insert safety eyes 5 sts apart between rounds 9 and 10, then sc 3, dec around (24)
- Round 11 – sc 2, dec around (18)
- Round 12 – sc 1, dec around (12)
- Round 13 – dec around (6)
- Stuff firmly, fasten off through remaining 6 sts, cinch closed
Pro-Tip: Before locking the washers, push both eye posts through from outside and hold the head at arm’s length under a lamp. Crooked eyes show up instantly at that distance, and fixing them now costs nothing; fixing them after the washer snaps means unpicking stitches.
Body
- Foundation Round – Magic ring, 6 sc (6)
- Round 2 – inc every st (12)
- Round 3 – sc 1, inc (18)
- Round 4 – sc 2, inc (24)
- Rounds 5–9 – sc even (24) – five rounds
- Round 10 – sc 2, dec (18)
- Round 11 – sc 1, dec (12)
- Stuff to firm, fasten off, cinch closed
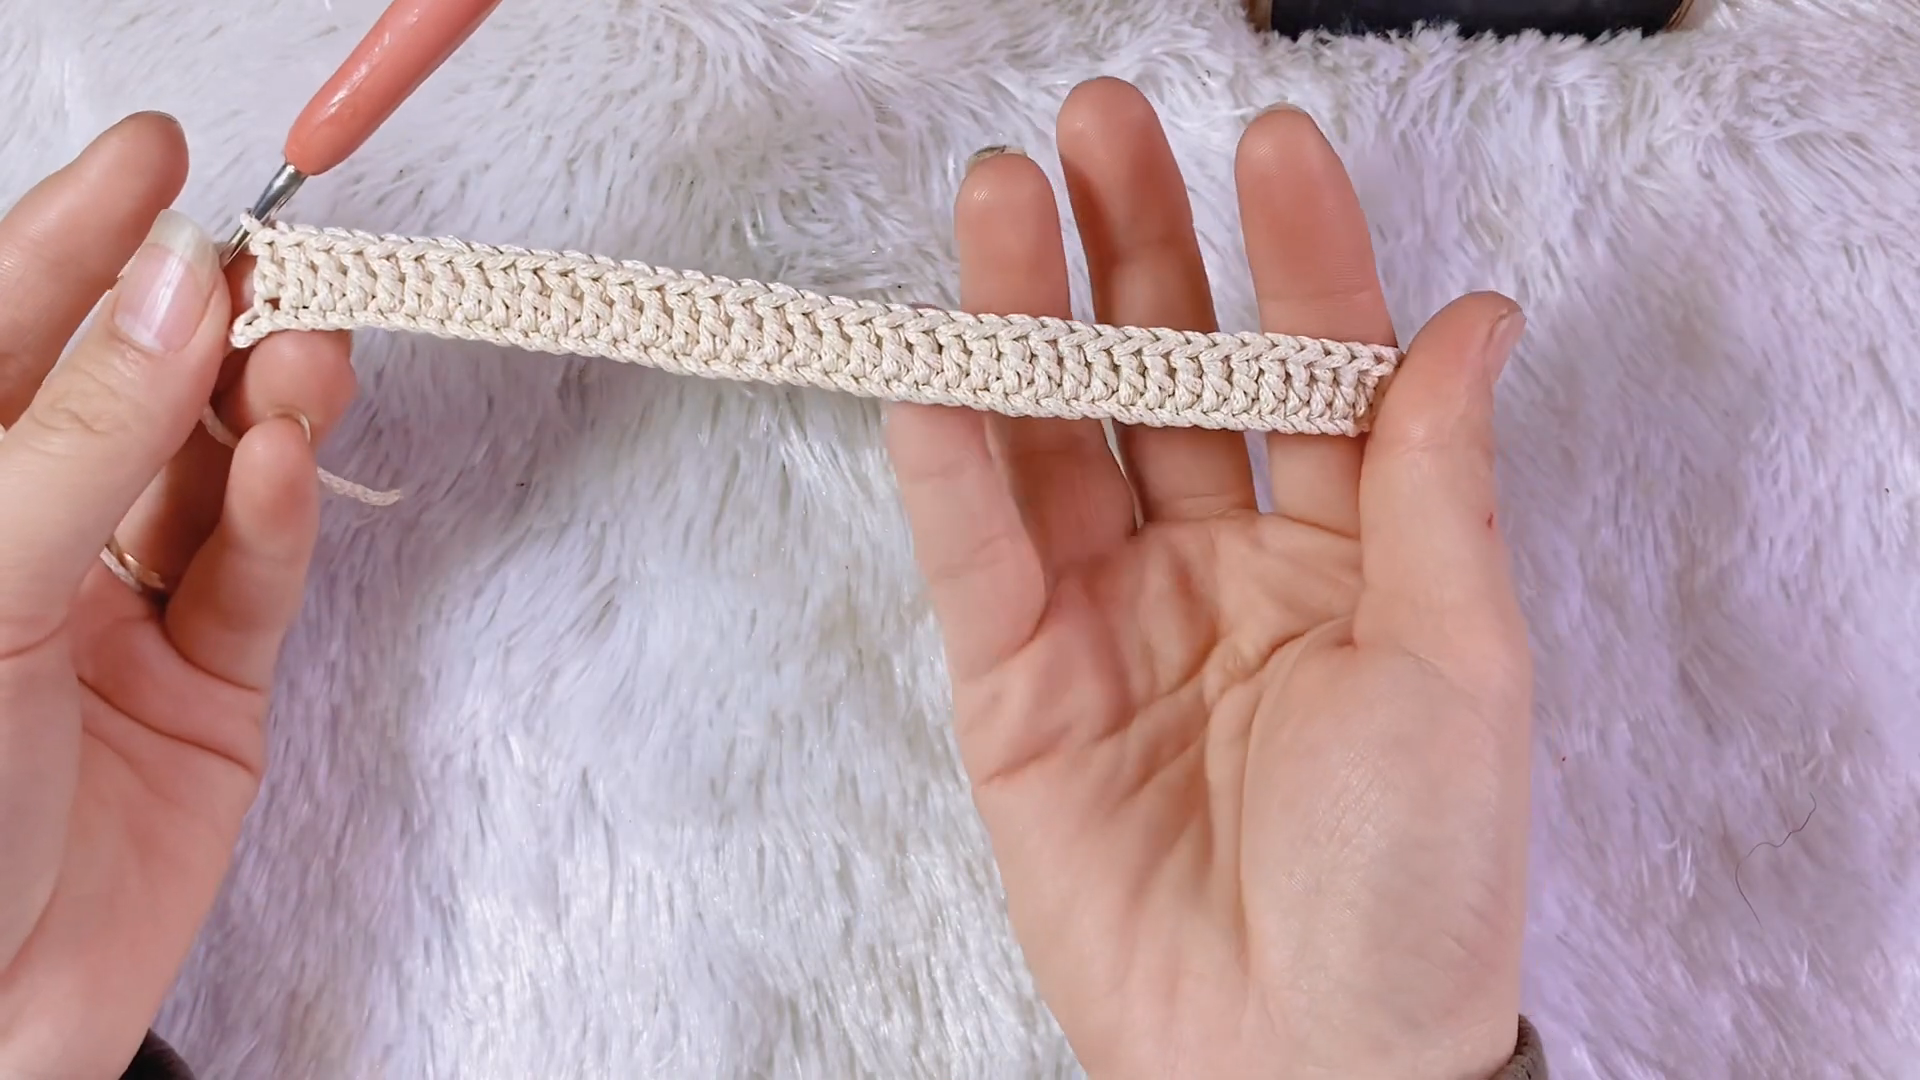
Ears (make 2)
- Foundation Round – Magic ring, 6 sc (6)
- Round 2 – inc every st (12)
- Rounds 3–9 – sc even (12) – seven rounds, forming a long tube
- Fold flat and sc across the final round through both layers to seal the tip
- Fasten off, leave a 6 in tail for sewing; leave unstuffed for a floppy fold
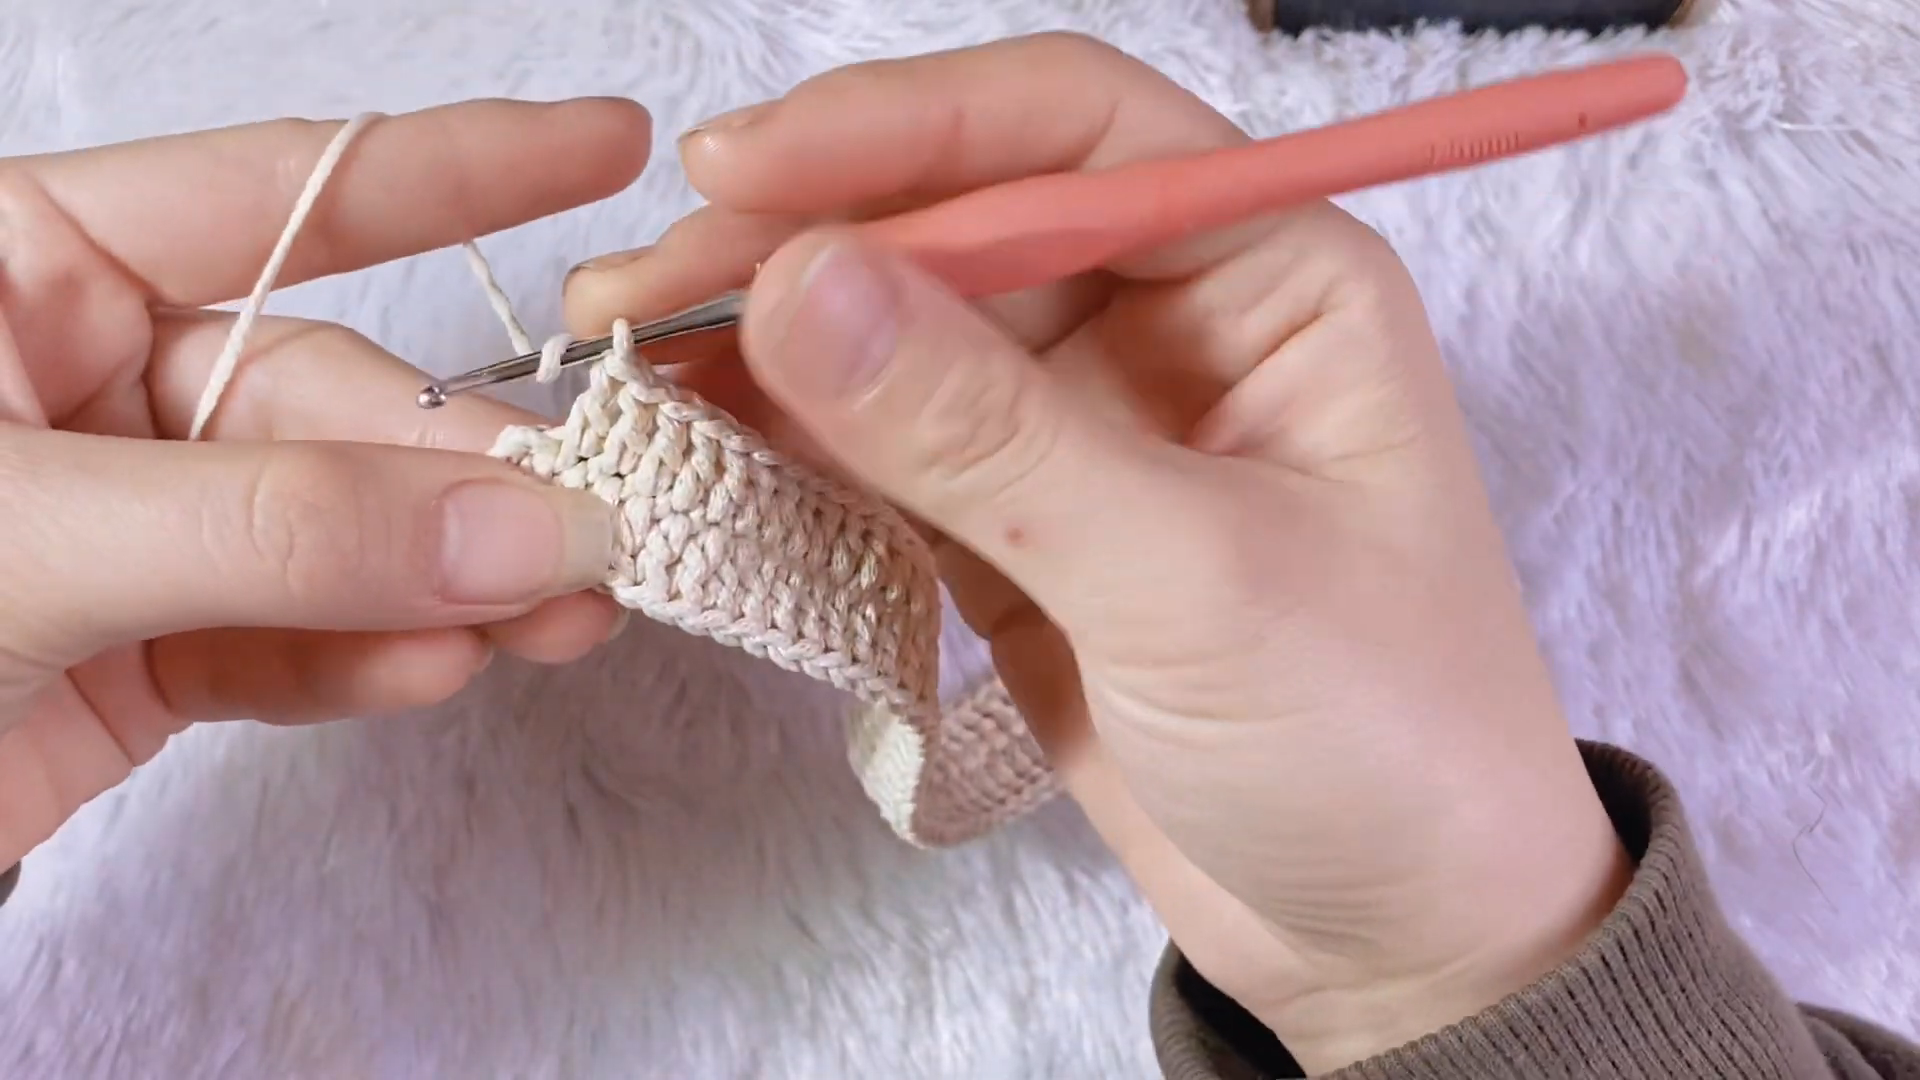
Arms (make 2)
- Foundation Round – Magic ring, 6 sc (6)
- Rounds 2–6 – sc even (6) – five rounds
- Fasten off, leave a long tail; add only a pinch of stuffing at the rounded tip
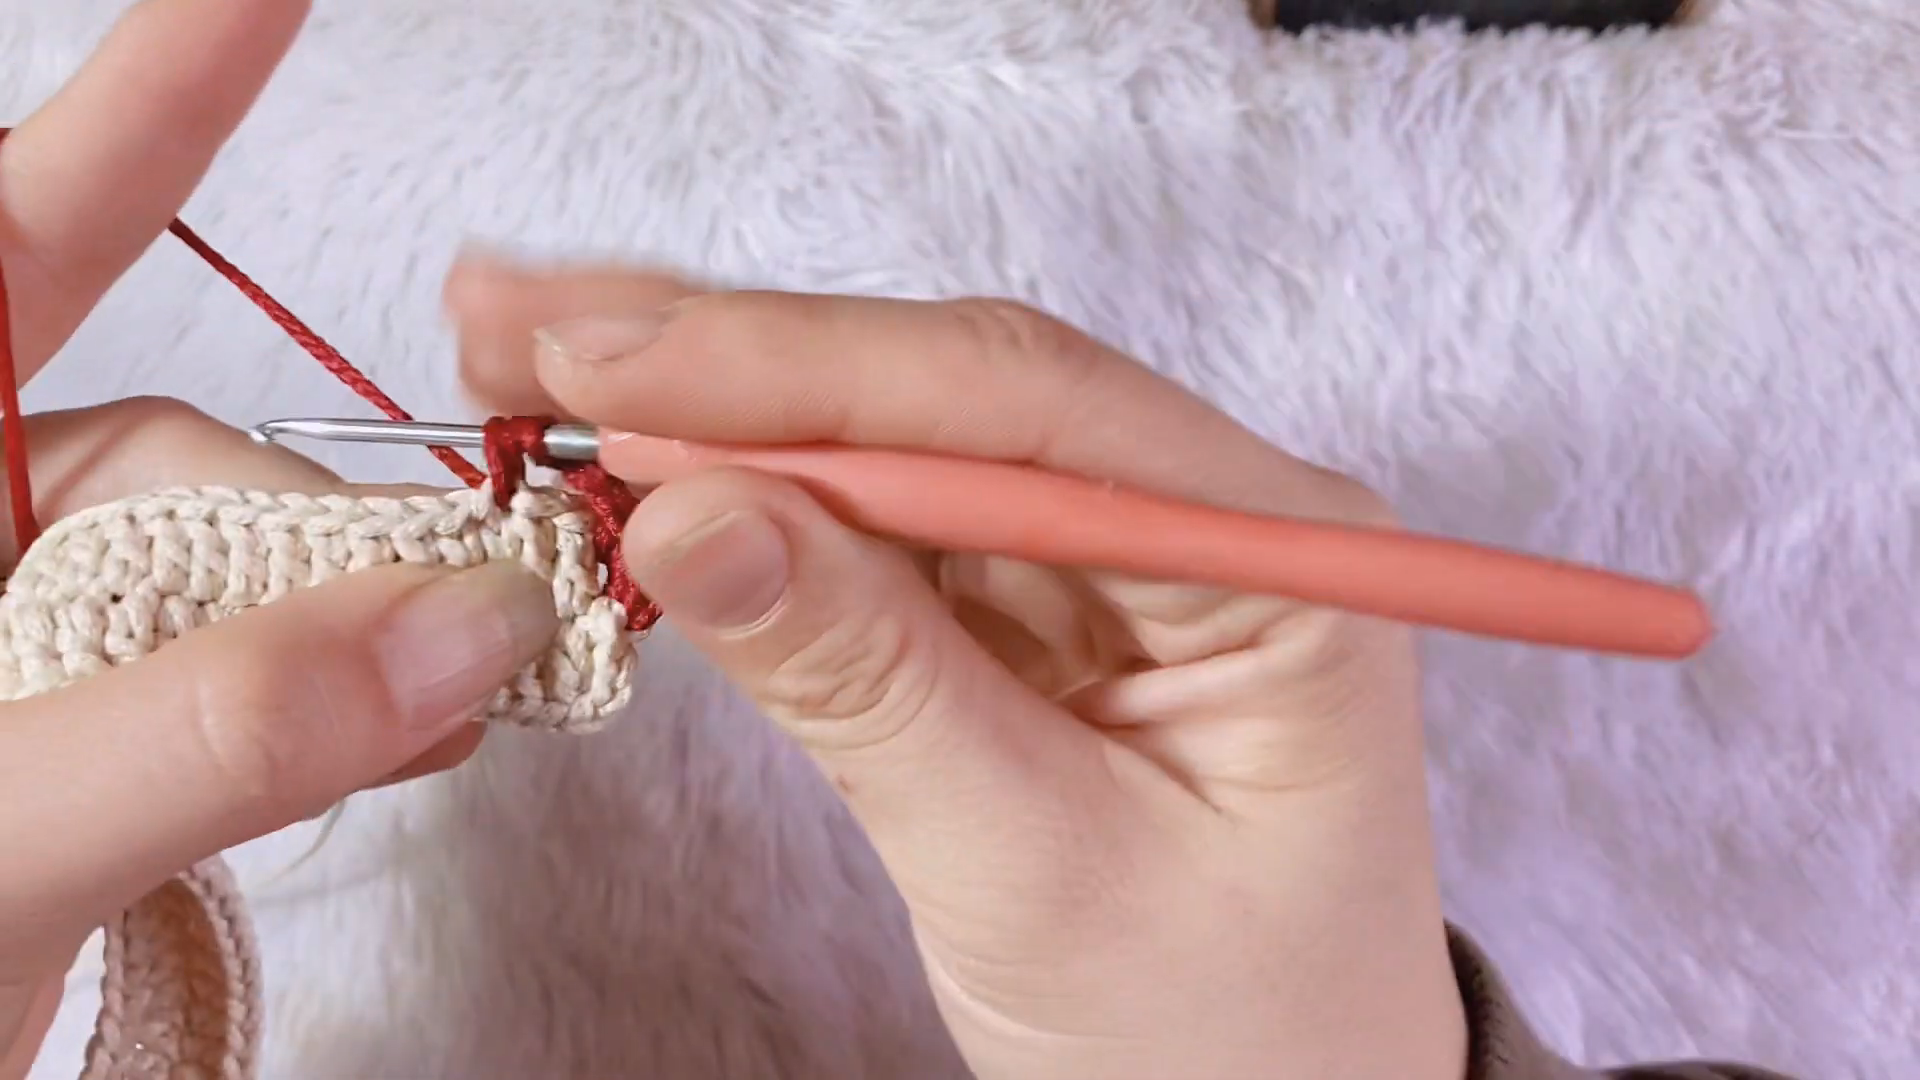
Legs (make 2)
- Foundation Round – Magic ring, 6 sc (6)
- Round 2 – inc every st (12)
- Rounds 3–5 – sc even (12) – three rounds
- Fasten off, leave a long tail, stuff lightly
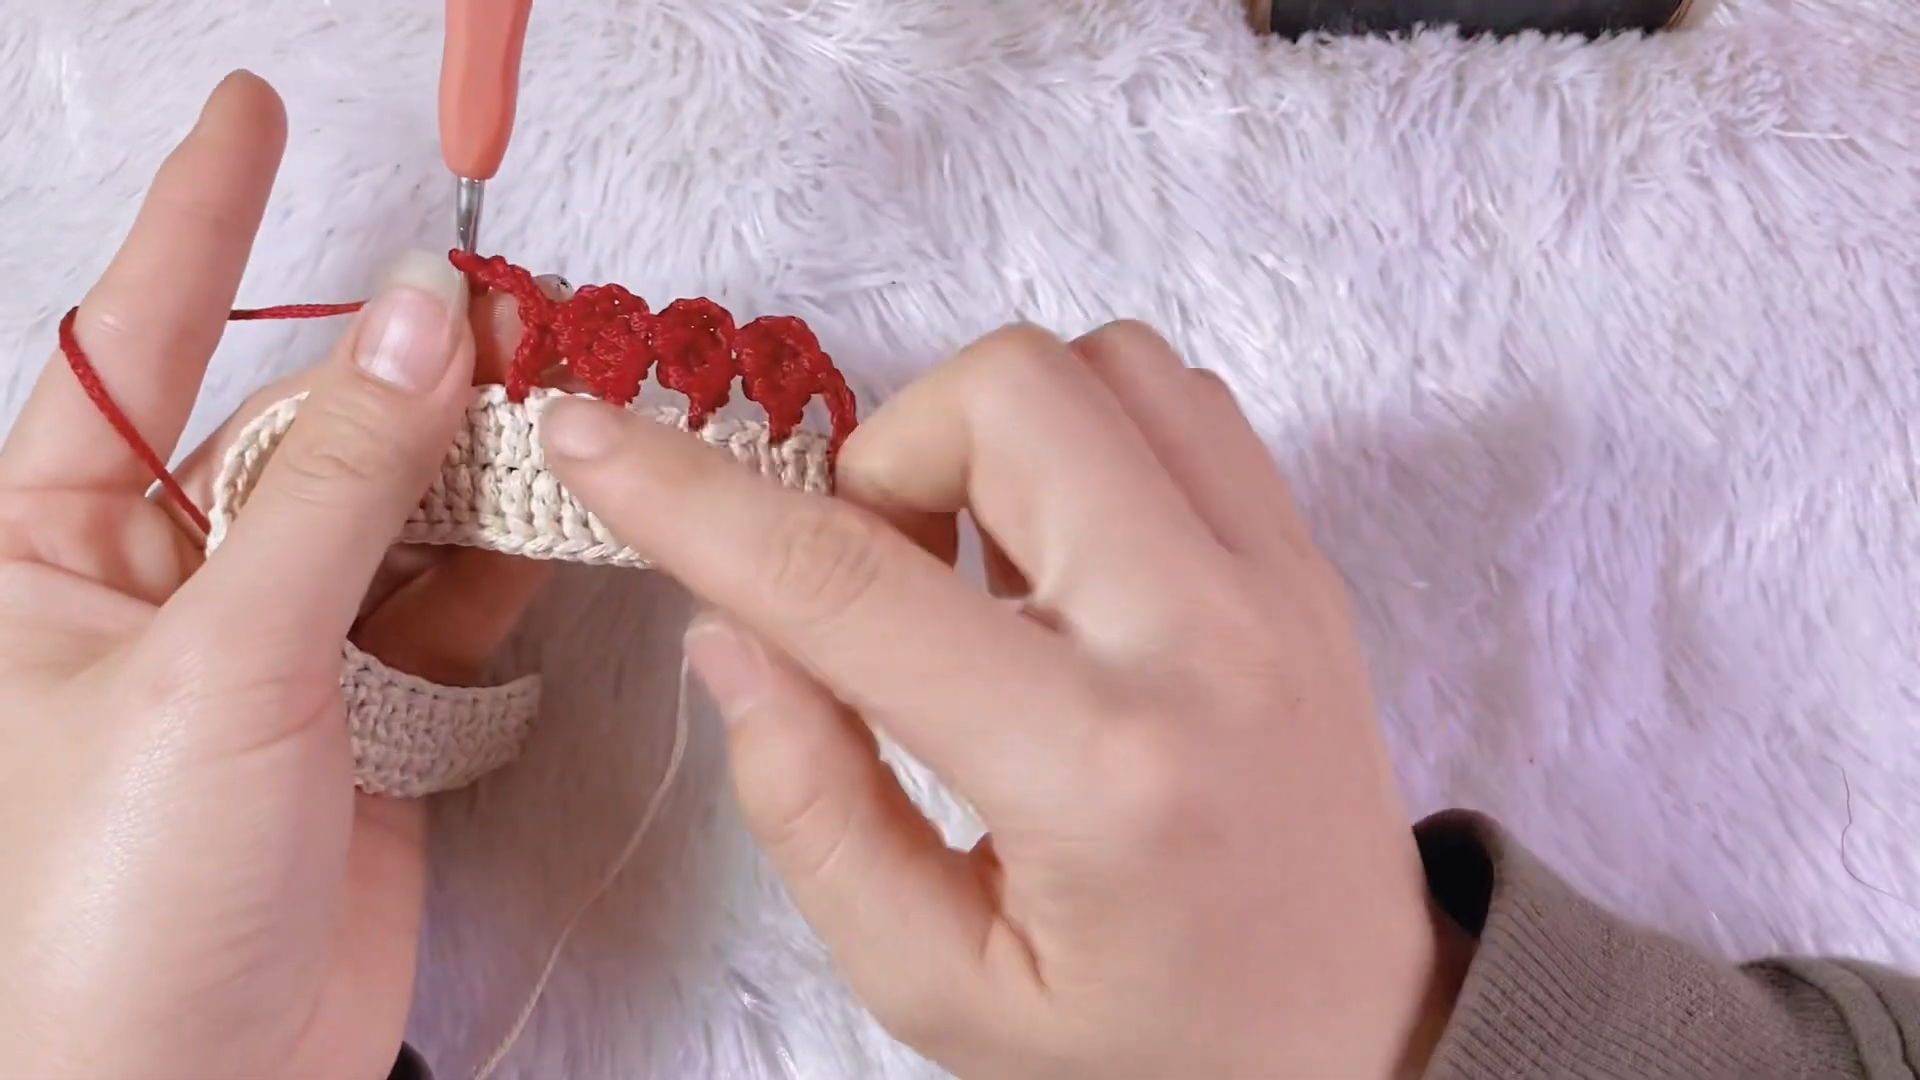
Tail
- Foundation Round – Magic ring, 6 sc (6)
- Round 2 – inc every st (12)
- Round 3 – sc even (12)
- Fasten off, leaving a long tail; flatten into a small puff; do not overstuff
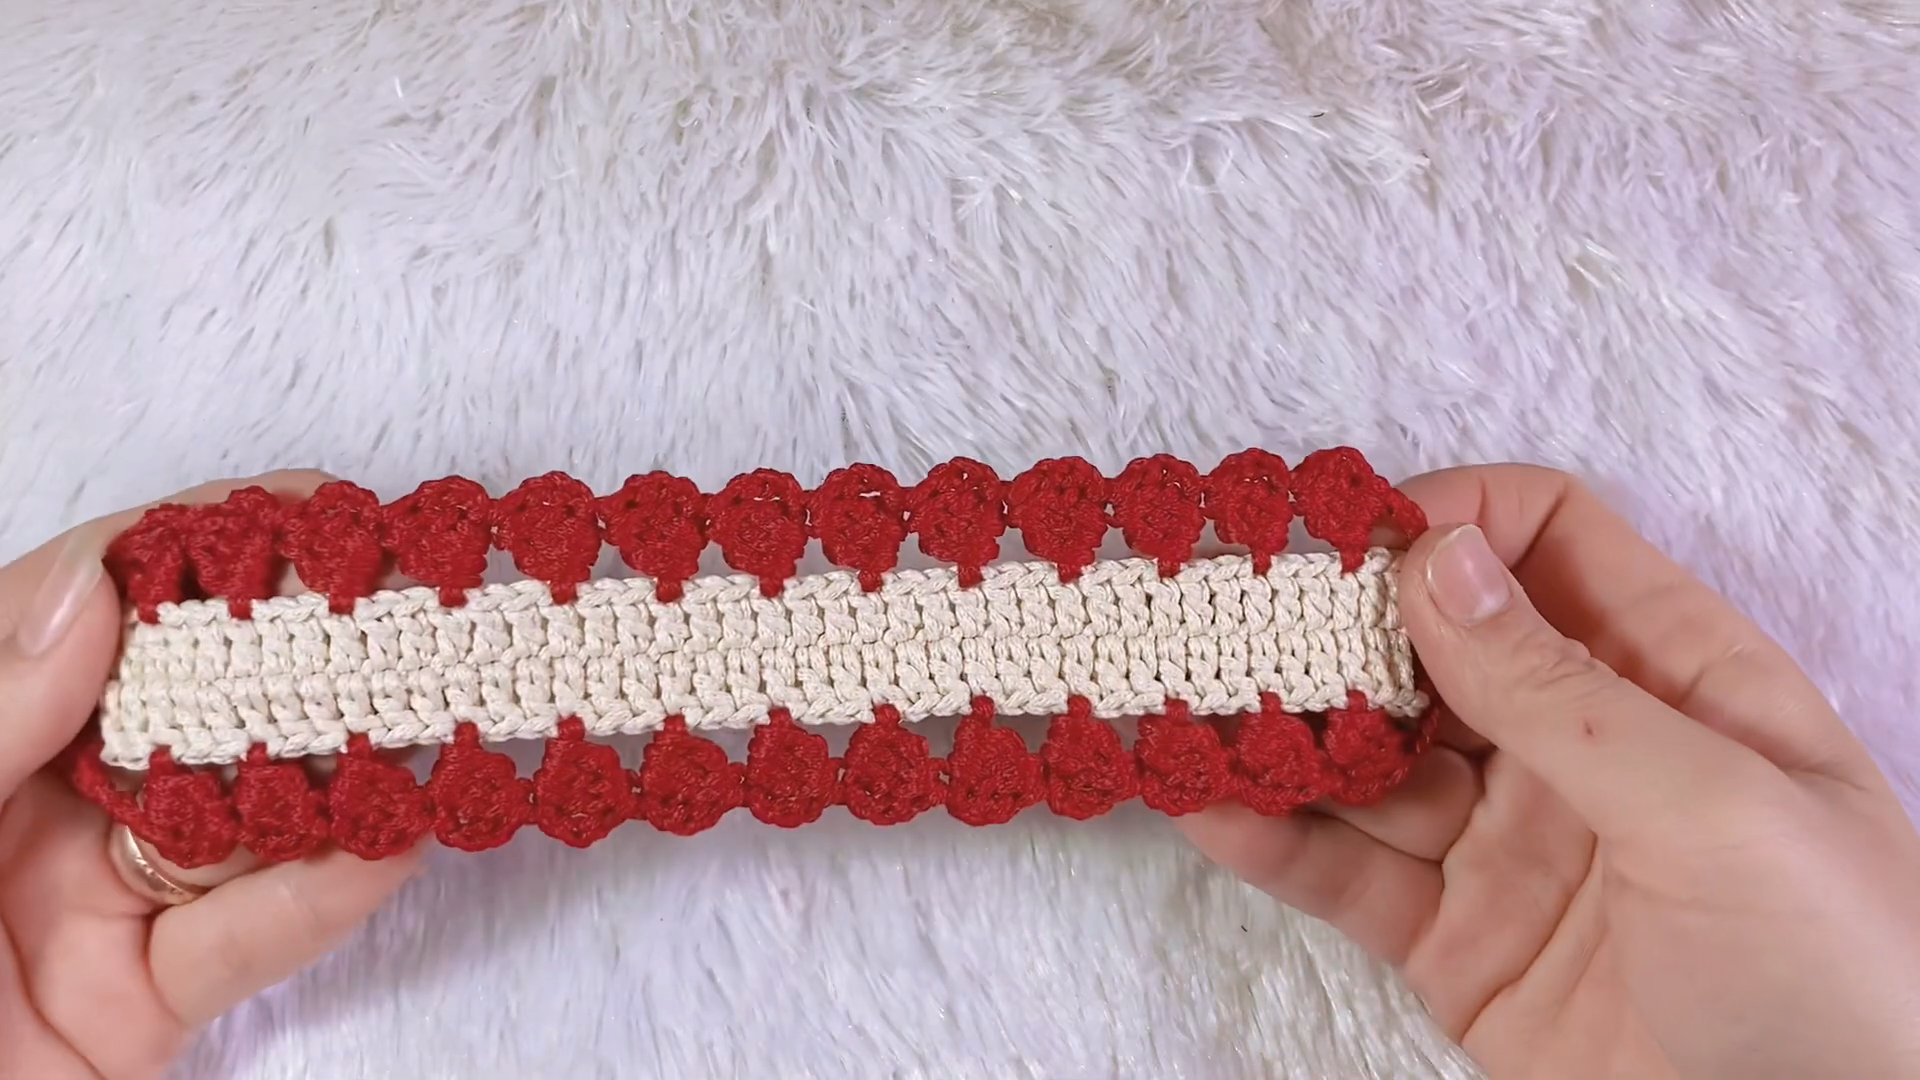
Card Pocket
- Foundation Row – ch 13, sc in 2nd ch from hook and across (12 sc)
- Rows 2–18 – ch 1, turn, sc across (12), seventeen rows total
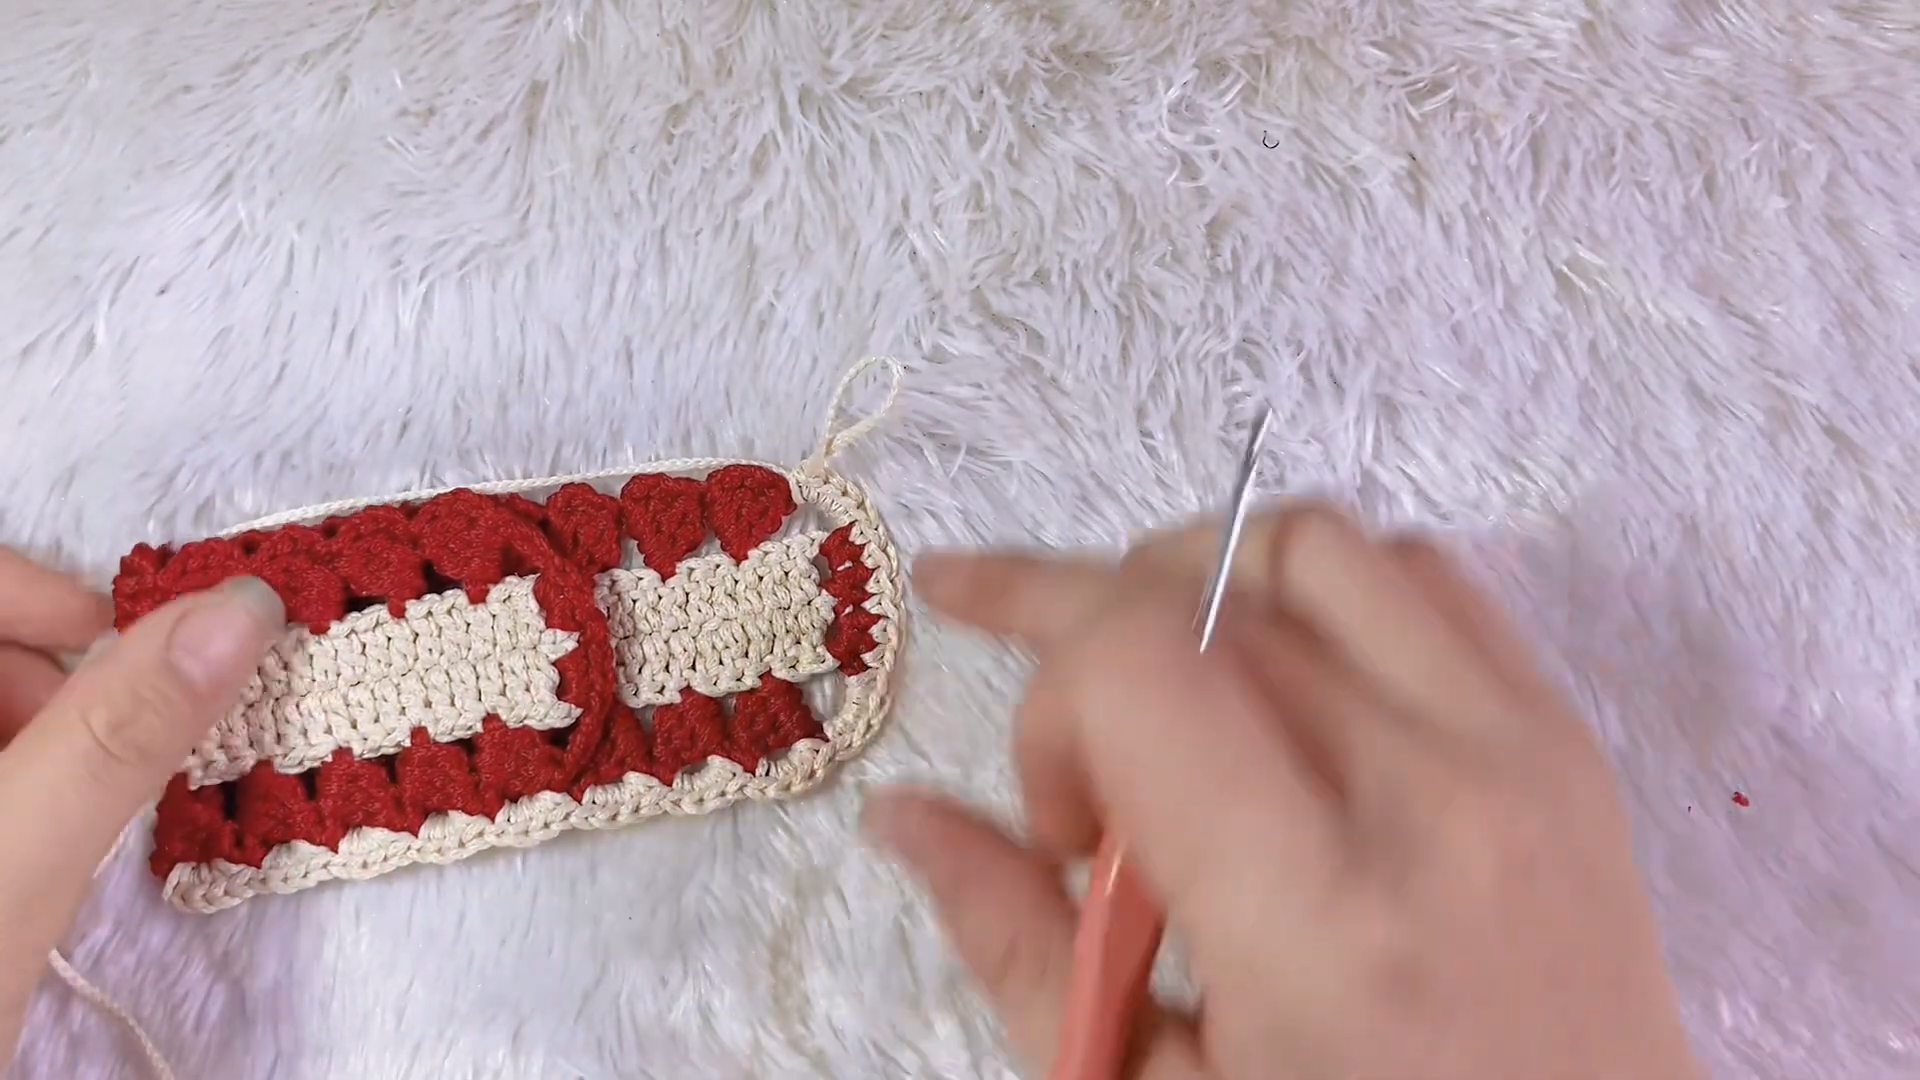
- Fold the strip so the bottom two-thirds meets to form a pocket, leaving the top third open as the card slot
- Whip stitch both side seams closed through both layers; leave the top edge open
Assembly
- Sew the pocket to the body’s front panel before the body gets its final stuffing; stitching through an already-firm body pulls the pocket tight and shallow
- Position the head so its closing seam faces the back of the body, then sew around the full neck circle using the head’s fastened-off tail
- Pin both arms at the same round on either side of the body before sewing either one down
- Pin both legs at the front-bottom, mirrored from a center point, before committing thread
- Sew ears about two rounds back from the eyes, tips angled slightly outward rather than straight up
- Sew the tail flat to the center back, just below the neck seam
- Thread a jump ring through a reinforced stitch at the neck seam, then clip on the keyring
Facial Features
- Mark the exact center-front stitch of the head at round 1 with a locking stitch marker; every eye and nose measurement counts outward from that single point
- Count the same number of stitches left and right of the marker for eye placement (5 sts apart suits a 30-st head); mismatched counts show the moment both eyes hit daylight
- Cut a small paper spacer the width wanted between the eyes and hold it against the head before pushing either post through, adjusting until it looks right on the actual piece
- Embroider the nose directly below the midpoint between the eyes, using the same center marker as the vertical guide
Stuffing Tips
- Stuff in small pinches, not fistfuls; a fistful creates lumps a bunny’s smooth curves cannot hide
- Push filling into the chin and back-of-head curves first with the blunt end of a crochet hook, or the middle overstuffs while the edges stay hollow
- Add stuffing as the head’s decrease rounds close in, not all at once at the end — a fully closed head resists new filling and the seam strains
- Squeeze the finished piece gently between two fingers: it should spring back within a second, not stay dented and not feel rock hard
- Stop adding filling one full round before final closure so the last stitches can cinch without fighting stuffing already jammed against the opening
Stitch Count Checkpoints
- Head after round 5: 30 sts
- Head before eye placement: 30 sts, unchanged since round 5
- Body after round 4: 24 sts
- Ear after round 2: 12 sts, holds through round 9
- Pocket panel: 12 sc across every row, seventeen rows before folding
Common Mistakes
- Losing a stitch mid-increase round: a marker every sixth stitch catches a dropped increase before the next round compounds it
- Twisting the first round around the magic ring: check the loop lies flat before working round two
- Sewing ears at two different heights: pin both attachment points and compare before threading a needle
- Closing the head fully before adding enough stuffing, then trying to force filling through a pinhole opening
- Sewing the pocket after the body is already firm, which shallows the slot and traps the needle in dense fiberfill
Troubleshooting
- Visible gaps between stitches: drop to a smaller hook, or pull the working loop slightly tighter on the stitch right after an increase, where fabric naturally loosens
- Head sits tilted on the neck: unpick a few neck-seam stitches, re-pin with eyes facing forward, then resew rather than twisting the whole head into place
- Card won’t slide into the finished pocket: the seam allowance likely ate too much width rip back one side seam and resew half a stitch closer to the edge
- Eyes look crossed once washers are locked: removal isn’t possible after locking, so unpick a small section of the head and rework the eye rounds
Size Modification
- Larger bunny: switch to bulky (#5) yarn with a 5mm hook, keeping every stitch count identical; the piece grows roughly 40 percent taller with no recalculating
- Smaller charm: switch to fingering weight with a 2.5mm hook and drop the final increase round on the head and body only, taking both down to 24 sts at their widest
Color Variations
- Grey or brown main color for a woodland look, pastel pocket lining for contrast
- Contrast-color ears with a thin embroidered stripe near the fold
- Marled or speckled yarn on the body only, keeping head and limbs solid so the pattern doesn’t fight the shaping
Finishing
- Weave every tail through four or five stitches in different directions before trimming, so ends lock rather than slip loose
- Steam the ears lightly from a few inches away to relax curl from being rolled in a bag; never press an iron directly against the yarn
- Brush the surface gently with a fine-bristle pet slicker brush on fuzzy yarn blends for a softer finish
Care Instructions
- Hand wash in cool water with a small amount of mild soap, squeezing rather than wringing to protect the stuffed shape
- Reshape the head and ears by hand immediately after washing, then lay flat away from direct sun or a heater vent
- Spot clean the pocket opening with a damp cloth between washes, since the card slot picks up hand oils faster than the rest of the body
Personalization Ideas
Initial Charm
Stitch or glue a tiny felt letter above the pocket opening for a monogrammed gift-tag effect.
Seasonal Palette
Rotate the main color between pastel spring shades and deeper autumn tones to match a gifting season.
Scented Sachet
Tuck a small lavender sachet into the body cavity before final stuffing, kept separate from the card pocket itself.
Matching Bag Charm
Crochet a second, smaller bunny without the pocket to clip alongside as a coordinating zipper charm.
FAQs
What size card fits in the Crochet Card Holder Keychain?
A standard credit, gift, or transit card measuring 3.375 by 2.125 inches slides in with room to spare; thicker hotel key cards fit more snugly.
Is the Crochet Card Holder Keychain beginner-friendly?
Confident beginners who already know magic ring, single crochet, and basic increases and decreases can finish the bunny without prior amigurumi experience.
Are safety eyes necessary?
Safety eyes with locking washers suit pieces going to teens and adults; embroidered eyes are the safer swap for anything reaching a child under three, since a loosened plastic eye is a choking hazard.
How securely does the keyring attach?
A metal jump ring threaded through a reinforced stitch at the neck seam, rather than through loose yarn alone, keeps the ring from tearing free under everyday bag weight.
Can the pocket hold more than one card?
Two thin cards fit without straining the seam; a third pries the opening wider and stresses the side seams over time.
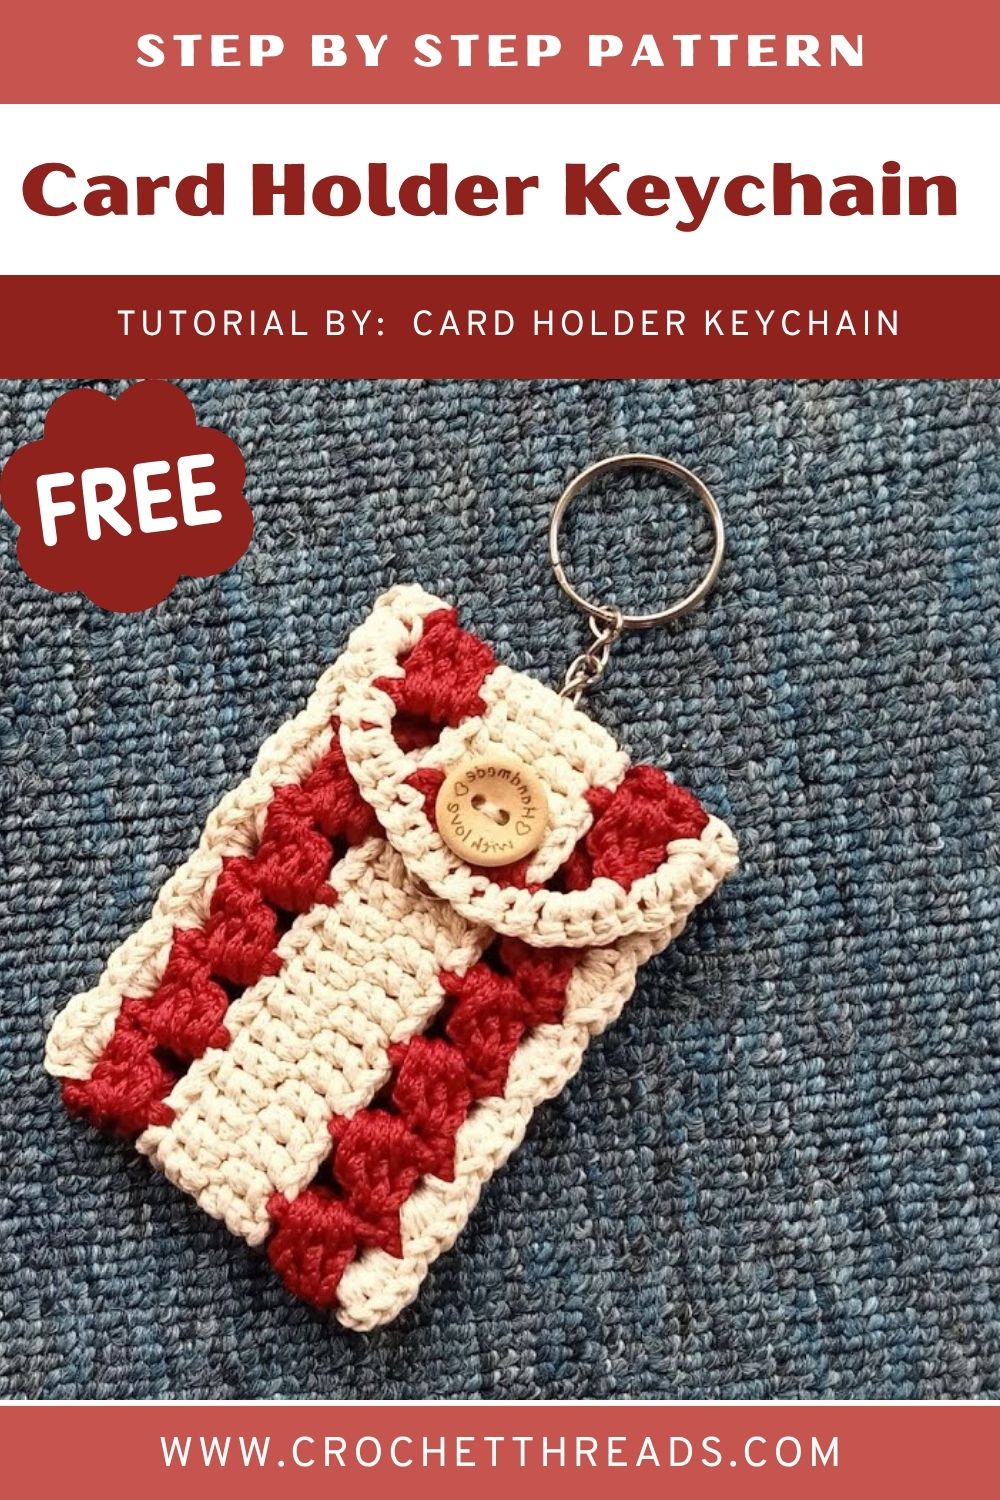
Which Cards Actually Fit
Standard credit, debit, and most gift cards share the same 3.375 by 2.125 inch footprint and slide in easily. Transit cards and library cards usually match that size, so pairing thin cards of the same type works well. Hotel key cards run slightly thicker and sit best alone. Metal or novelty gift cards add real weight to a small bunny and can drag the pocket seam over weeks, so a paper gift-card sleeve holds up better as a long-term fit than a bare metal card.