Crochet Flip Capybara Octopus Amigurumi Pattern Toy
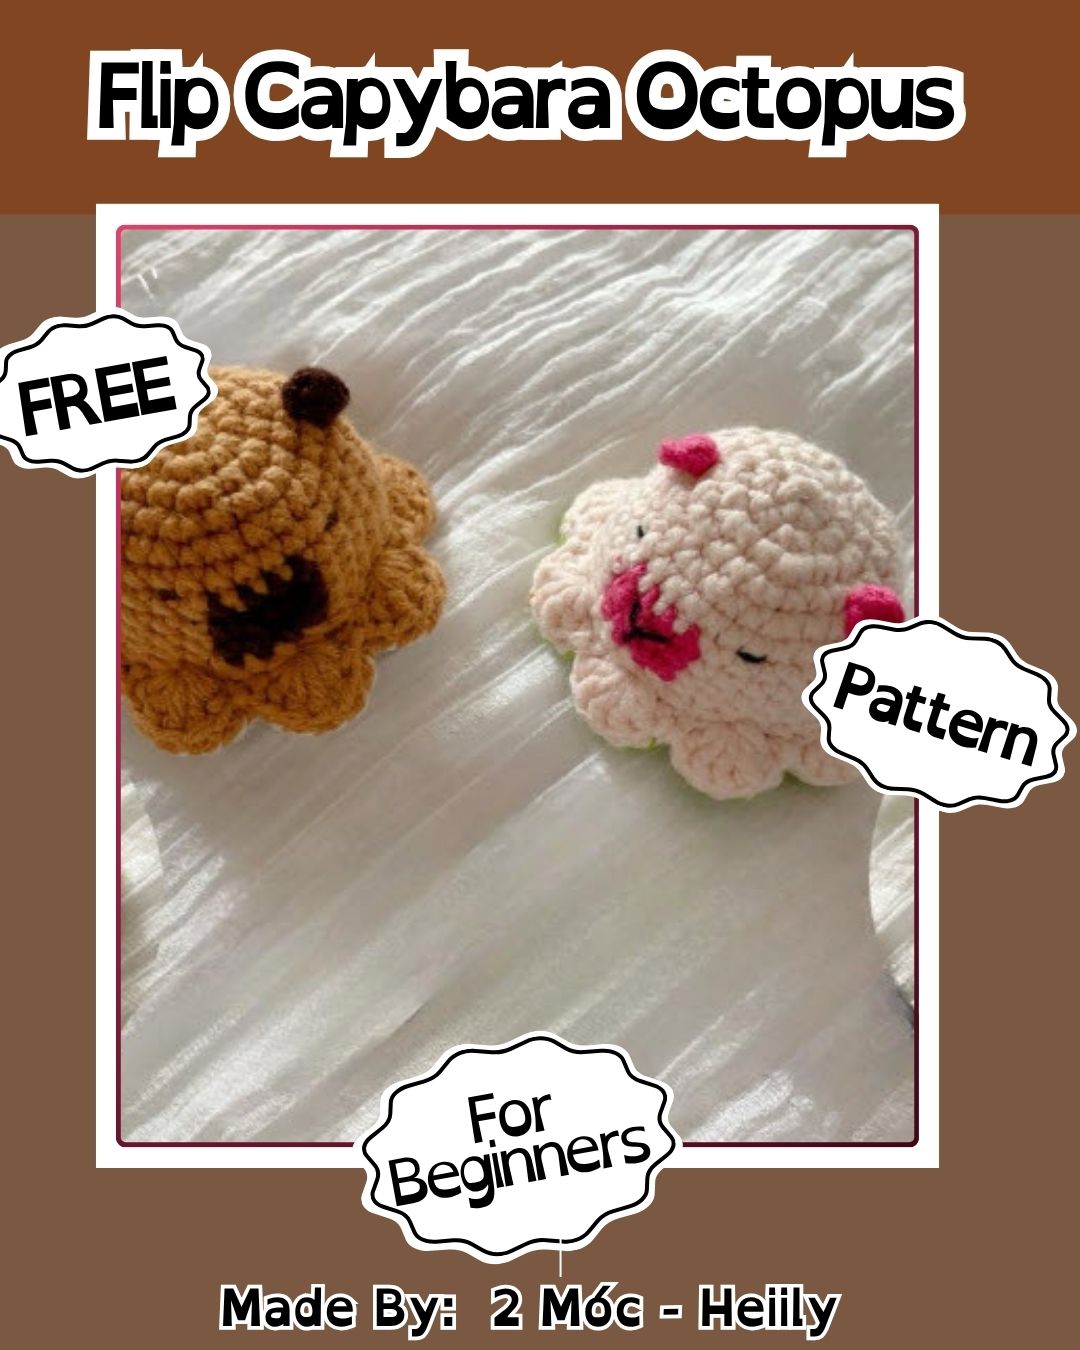
Amigurumi lovers are always searching for something a little more playful, and this Crochet Flip Capybara Octopus Amigurumi Pattern Toy delivers exactly that with its clever two-in-one design. Flip the toy inside out, and you get a whole new amigurumi character hiding underneath, turning one small project into two adorable finished pieces. It has quickly become a favourite pick for anyone who enjoys crochet toys with a fun surprise built in.
This Crochet Flip Amigurumi Pattern makes an exciting pick, especially for gifting, kids’ play, and collecting, thanks to its clever reversible design that lets one soft toy switch easily between two different characters. With simple round shaping and lovely facial details, this Amigurumi Pattern Toy fits beautifully into any crochet toy collection, while its easy construction makes it a fun, satisfying project for makers of varying skill levels.
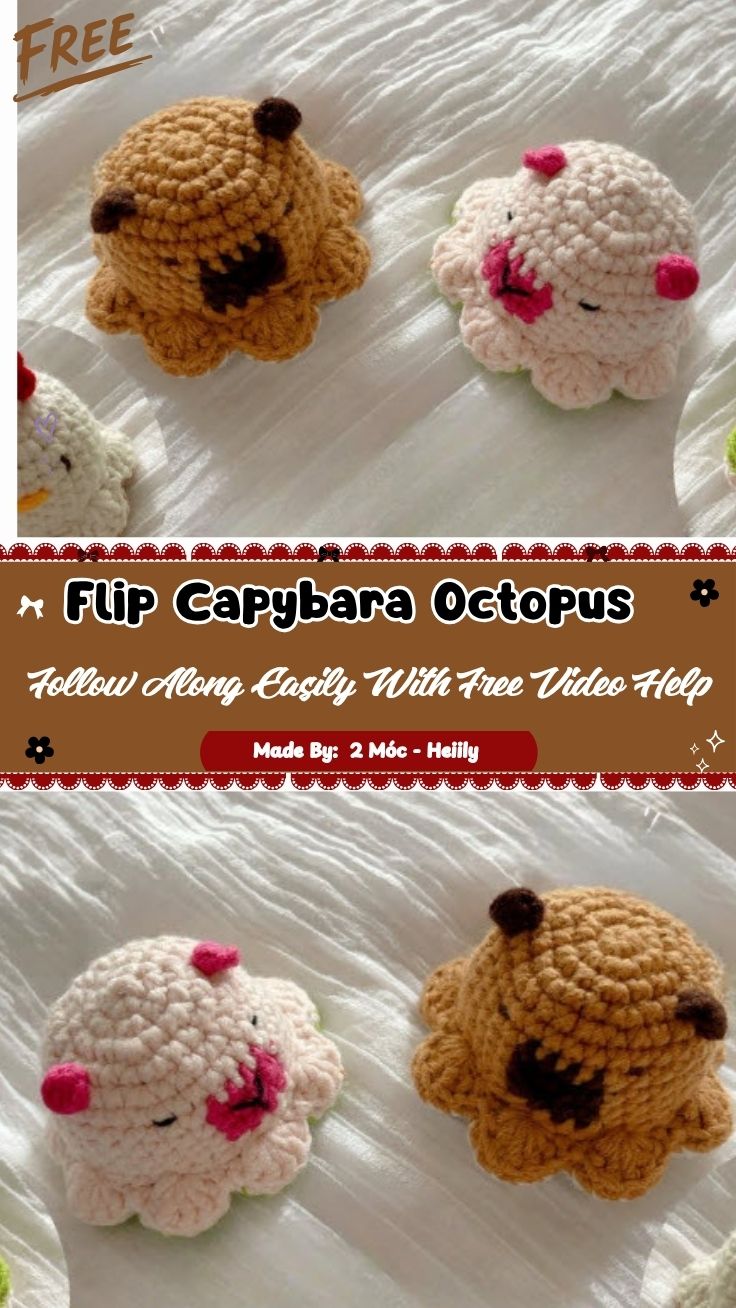
What Is a Crochet Flip Amigurumi Toy?
A crochet flip amigurumi toy is a soft toy built with two connected halves, each crocheted and stuffed separately, then joined so the toy can be turned inside out to reveal a second character. One side might feature a rounded, big-eyed animal face, while flipping the toy shows an entirely different creature underneath.
The two halves share a similar base shape but use different colours, ears, and face embroidery, giving each character its own distinct look and personality.
Skill Level: Intermediate
This pattern is best suited for intermediate crocheters. The basic amigurumi shaping is approachable, but joining two separate halves into one working flip toy, along with adding face embroidery on both sides, takes a bit more patience than a standard single-sided amigurumi.
Materials and Tools Needed
Before starting, gather the following supplies:
- Worsted weight yarn in cream or white (for the base of one character)
- Worsted weight yarn in green (for the second character)
- Small amounts of pink and black yarn or embroidery floss for details
- A crochet hook sized to match your yarn weight (commonly 2.5mm–3.5mm)
- Polyester fiberfill stuffing
- Yarn needle for weaving in ends and embroidery
- Stitch markers
- Fabric scissors
- Optional: safety eyes, if you prefer them over embroidered eyes
Worsted weight yarn is the easiest choice for amigurumi since it holds its shape well and gives clean, tight stitches once stuffed.
Key Features and Techniques of This Pattern
A few core techniques make this flip toy pattern work:
- Magic ring starts – each character head begins from a tight magic ring for a seamless center.
- Amigurumi single crochet in continuous rounds – tight, consistent stitches that hold stuffing without gaps.
- Invisible decreases – used to shape the rounded head form smoothly as each side nears completion.
- Two-piece flip construction – both character halves are joined at the base so the toy can be turned inside out.
- Embroidered face details – simple stitched eyes, mouth, and nose details give each character its own expression.
Understanding these five techniques before starting makes the rest of the project much smoother.
Step-by-Step Guide to Crocheting the Flip Amigurumi Toy
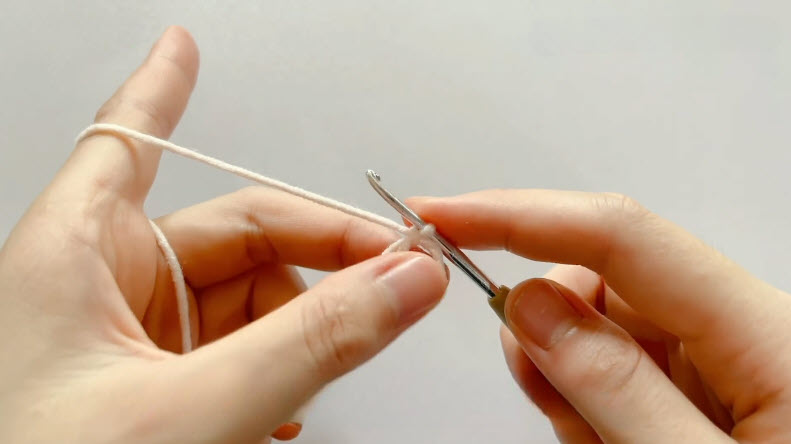
Step 1: Start With a Slip Knot and First Stitch
Begin by making a slip knot and placing it onto your hook, then work your first stitch to anchor your starting loop. Keep your tension relaxed but even here, since this first loop sets the foundation for your magic ring in the next step.
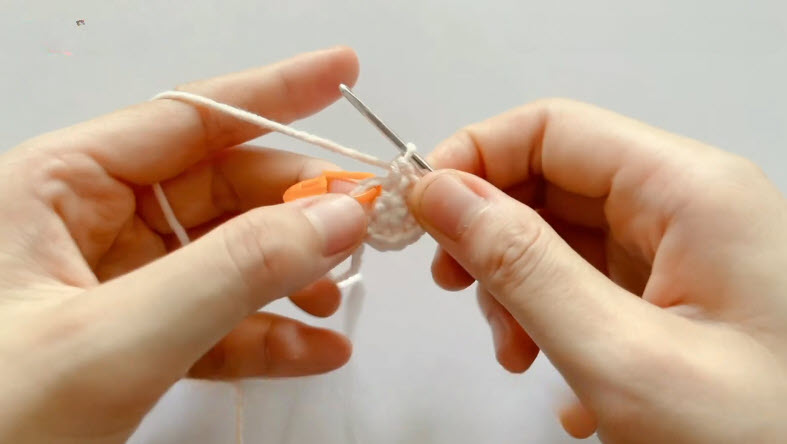
Step 2: Work Your Magic Ring and First Round
Form a magic ring and work your first round of single crochet stitches into it, pulling the center closed once your stitch count is complete. Use a stitch marker to keep track of where each new round begins, since amigurumi is worked in a continuous spiral rather than joined rounds.
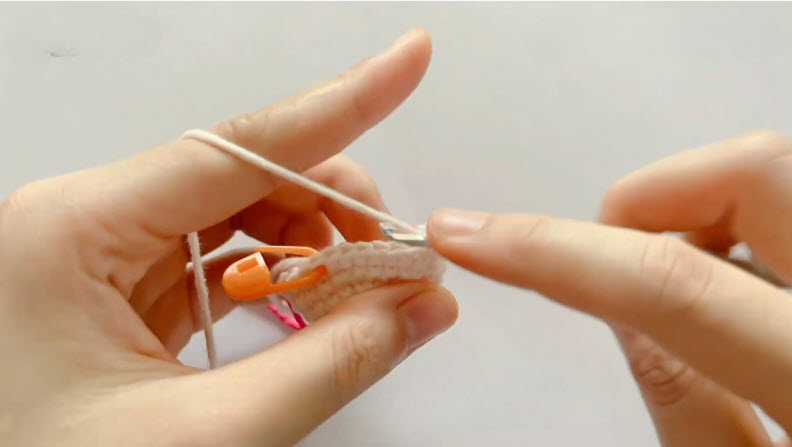
Step 3: Continue Building the Rounded Head Shape
Keep working rounds steadily, increasing and later decreasing as needed to shape the rounded head form. Hold the growing piece in your hand as you go, checking that your stitches stay tight and even so no stuffing shows through once finished.
Step 4: Add Ears and Face Details to Complete One Side
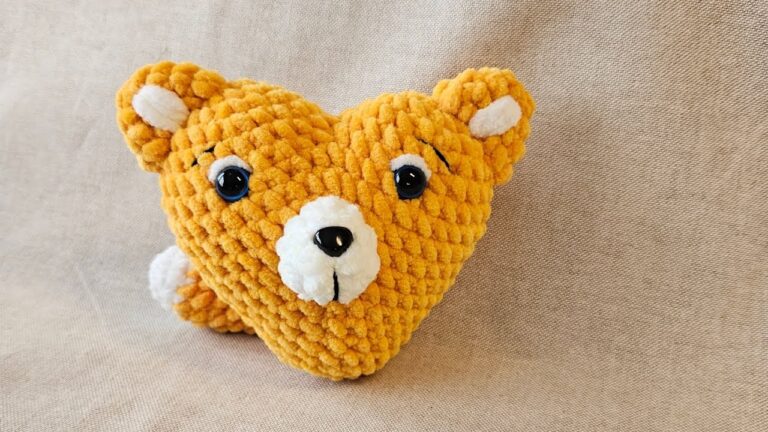
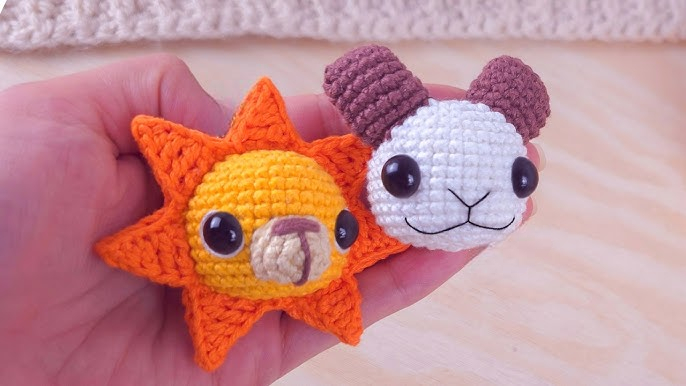
Once the head shape is complete, attach small ear pieces and add your embroidered face details, such as the eyes and mouth, to bring the first character to life. Stuff the piece firmly before closing it off, making sure the shape stays rounded and full.
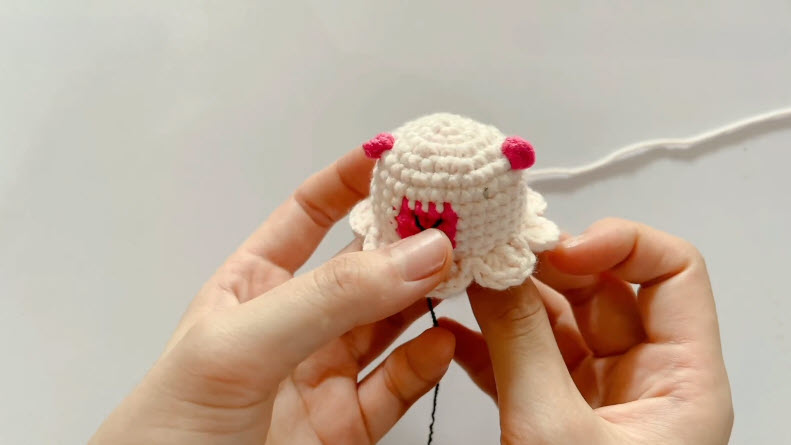
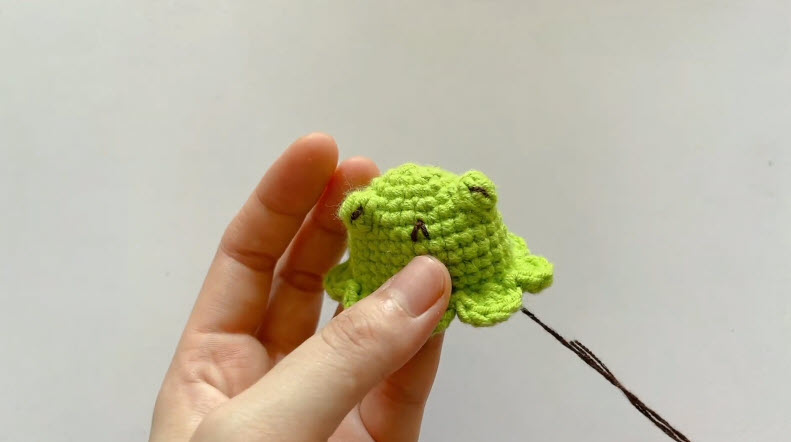
Step 5: Finish the Second Character Side
Repeat Steps 1 through 4 in your second yarn color to create the matching second character head, giving it its own set of embroidered face details. Once both sides are stuffed and finished, join them together at the base so the toy can be flipped from one character to the other, then weave in any remaining loose ends.
Helpful Tips for Beginners
- Stuff both halves firmly and evenly so the toy holds its shape well when flipped.
- Use stitch markers on every round, since amigurumi rounds are easy to lose track of.
- Keep your tension slightly tighter than usual to prevent stuffing from peeking through.
- Embroider the face details before fully closing each half, since it’s easier to work with an open opening.
- Try the toy on both sides periodically to check that the flip mechanism sits smoothly.
Common Mistakes to Avoid
- Loose stitches, which let stuffing show through the finished amigurumi.
- Uneven stuffing, causing one side of the toy to look lumpy or lopsided.
- Skipping stitch markers, which makes it easy to lose track of rounds and throw off the shaping.
- Rushing the face embroidery, leading to mismatched or off-center facial features.
- Joining the two halves unevenly, which can make the flip toy sit awkwardly in one direction.
Customization Ideas and Variations
- Swap the capybara and octopus characters for two entirely different animals of your choice.
- Add small accessories, like a tiny bow or hat, to one side for extra personality.
- Use a fuzzy or bouclé-style yarn for one character to give it a soft, textured coat.
- Try safety eyes on one side and embroidered eyes on the other for a mixed-texture look.
- Make a mini keychain-sized version using a smaller hook and thinner yarn.
Frequently Asked Questions
Is this flip amigurumi pattern beginner-friendly?
It leans toward intermediate, mainly because of joining two halves together and adding face details on both sides. Beginners with some amigurumi practice can still manage it.
What yarn works best for this Crochet Flip Capybara Octopus pattern?
A worsted weight cotton or acrylic yarn works well, since it holds shape nicely and gives clean, even stitches once stuffed.
Do I need safety eyes, or can I embroider the face instead?
Either option works. Embroidered eyes give a softer, more child-safe look, while safety eyes give a more defined, doll-like expression.
How much stuffing should I use?
Stuff firmly enough that the toy holds its rounded shape without feeling lumpy, adding small amounts at a time as you close each piece.
How long does this Crochet Flip Capybara Octopus pattern take to finish?
Most crocheters finish both character halves over a couple of sessions, depending on experience level and how detailed the face embroidery is.
Can I make this toy without the flip feature?
Yes, each character head can be made as a standalone amigurumi if you’d rather skip the two-sided joining step.