Free Crochet Heart Bird Amigurumi Pattern for Handmade Gifts
Combining a heart shape with a tiny bird design, the Crochet Heart Bird stands apart from everyday amigurumi designs. This unique creation comes together with easy stitches, making it perfect for any crocheter who loves crafting sweet, memorable amigurumi characters.
Standing out with its distinctive silhouette, the heart-shaped design gives the Crochet Heart Bird a special charm all its own. This beautiful piece works perfectly for Valentine’s Day decor, romantic-themed collections, kids’ rooms, soft amigurumi collections, or memorable handmade decorations. Crocheters familiar with basic single crochet and easy shaping can complete it with confidence. All you need for this project is yarn, a crochet hook, fiberfill, safety eyes, and a few basic amigurumi supplies. Clear, step-by-step instructions make it simple to bring the heart shape and bird details together without any complicated techniques.
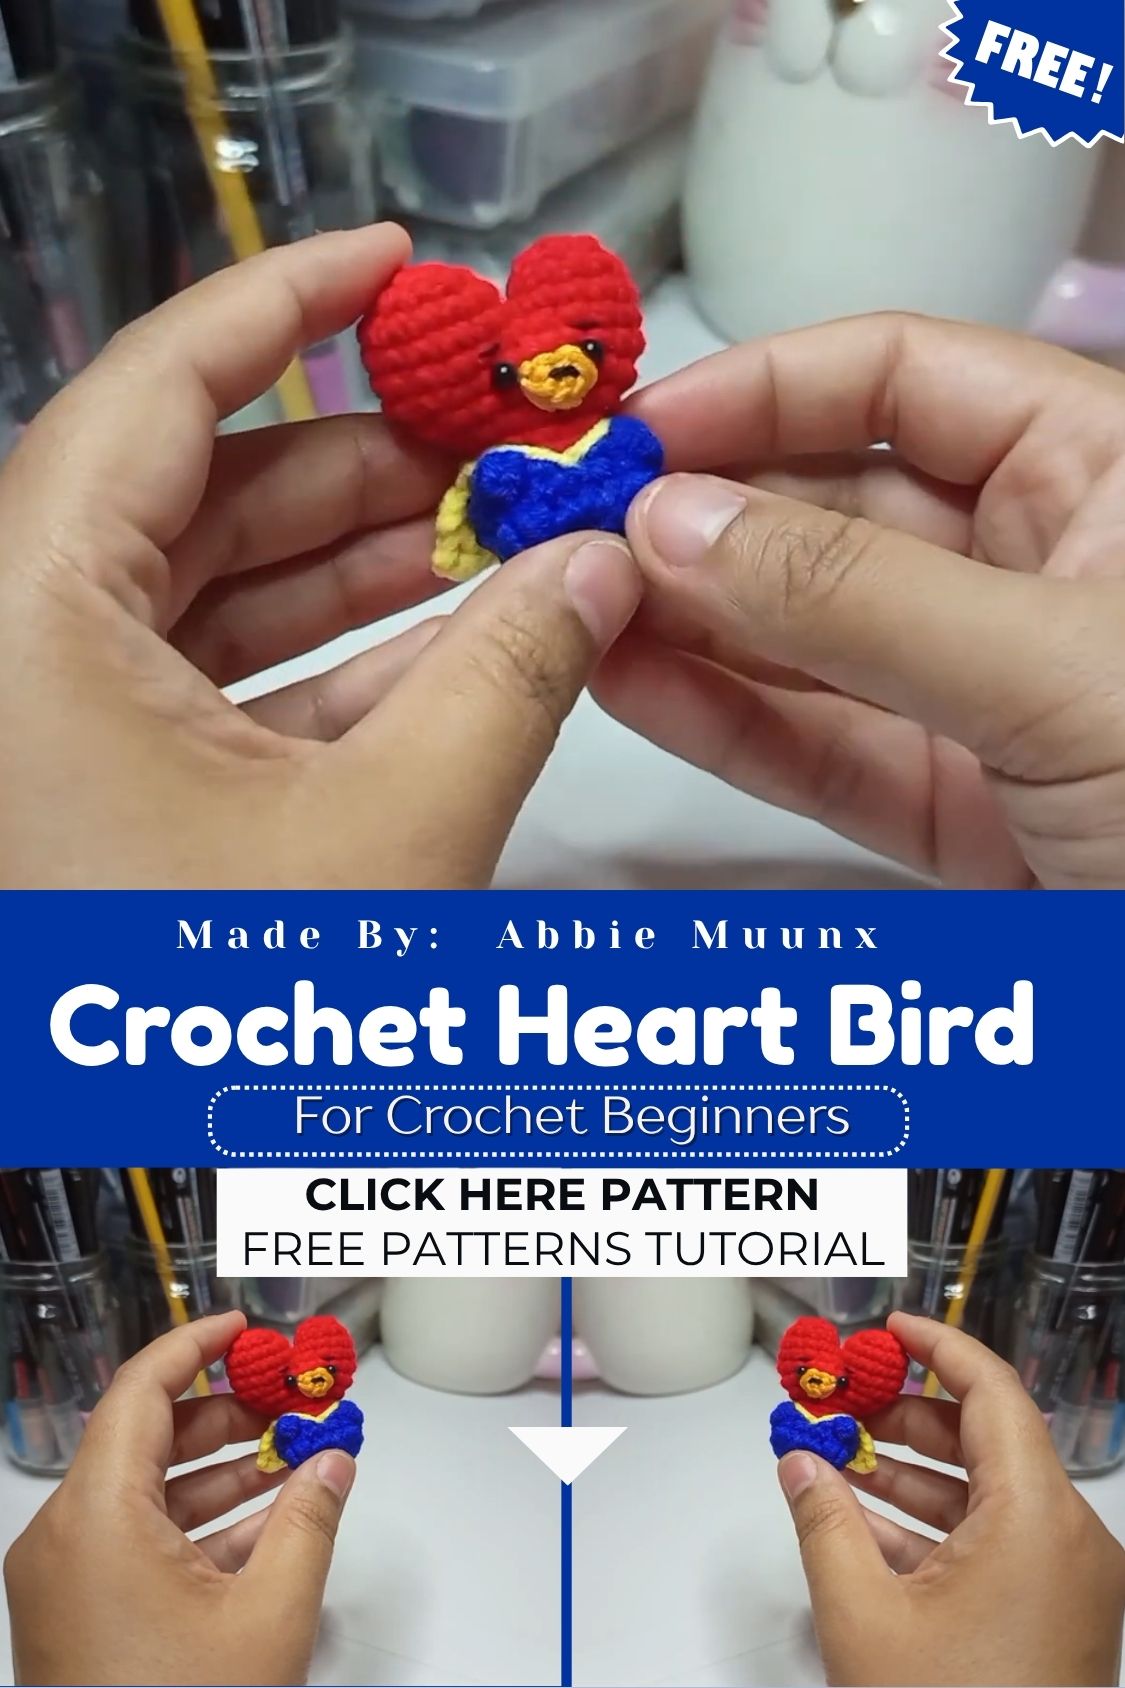
Skill-wise, the heart bird sits comfortably in beginner-friendly territory. Most of the piece relies on single crochet worked in a spiral, with only a handful of increase and decrease rounds to shape the heart notch and the tail. Anyone who has completed one or two amigurumi projects before will move through this pattern with ease, and total beginners can use it as a confidence-building first bird.
Project Details
- Skill Level: Beginner to Intermediate
- Finished Size: Approximately 3.5 inches tall and 3 inches wide
- Estimated Time Required: 2 to 3 hours
- Recommended Yarn Weight: Worsted weight (Medium, #4)
- Crochet Hook Size: 3.0mm to 3.5mm
Materials Needed
- Worsted weight yarn in red or pink (main color)
- Small amount of yellow or orange yarn (beak)
- Small amount of black yarn or two 6mm safety eyes
- Fiberfill stuffing
- Tapestry needle for sewing and weaving in ends
- Stitch marker to track the start of each round
- Scissors
Crochet Stitches & Techniques
- Magic Ring (MR)
- Single Crochet (sc)
- Increase (inc)
- Invisible Decrease (dec)
- Chain Stitch (ch)
- Slip Stitch (sl st)
- Fastening Off
- Sewing Pieces Together
Working in a continuous spiral rather than joined rounds keeps the surface smooth, which matters a great deal on a shape as visually precise as a heart.
Pattern Instructions
Creating the Heart-Shaped Body
Start with a magic ring of 6 single crochet stitches. Increase evenly over the next several rounds until you reach about 24 stitches. Work two separate decrease sections at the top instead of forming a standard sphere. This creates the two heart lobes and the signature center notch. Add stuffing as you crochet instead of waiting until the end. Even stuffing helps the heart keep its shape.
Shaping the Tail
Taper the bottom rounds gradually with decreases spaced apart, then finish with a short, flattened section worked back and forth to create a small fan-like tail. Three or four rows worked in single crochet, widening slightly with an increase on each side, give the tail enough body to stand out without overwhelming the compact frame.
Making the Wings
Two identical small pieces, each starting from a magic ring of 5 or 6 stitches, form the wings. Keep these flat rather than stuffed, working only a couple of increase rounds before fastening off with a long tail for sewing. A gentle folded crease down the center of each wing, secured with a stitch or two, adds a touch of realistic dimension.
Crocheting the Beak
A tiny cone shape does the trick here. Chain 2, work single crochet into the second chain from the hook, then build up 3 or 4 rounds with minimal increases until a small triangular point emerges. No stuffing is necessary for a piece this size, since the yarn itself holds enough structure.
Facial Features
Position the safety eyes (or embroider small black dots if working with children in mind) roughly one-third of the way down the body, spaced evenly apart. A few short pink stitches beneath each eye add rosy cheeks, which somehow make the whole bird feel warmer and friendlier.
Joining All Pieces
Pin the wings against the sides of the body before stitching, angling them slightly downward and back for a natural resting position. Attach the beak centered on the front, just below the eyes, and secure the tail at the base where the decrease rounds meet. Weave in every loose end thoroughly, then give the finished bird a gentle squeeze to settle the stuffing evenly.
Final Assembly
Double-check that both heart lobes sit symmetrically before setting the piece down to admire it. Small adjustments to the stuffing at this stage can make the difference between a lopsided heart and a perfectly balanced one.
Tips for Success
- Count stitches at the end of every round, especially through the increase and decrease sections that form the heart notch
- Use a stitch marker consistently, since losing track of the round start is easy in a shape with frequent shaping changes
- Stuff as you go rather than all at once, packing small amounts firmly with each added round
- Pull yarn tails to the inside of the piece before trimming to hide them completely
- Block the finished heart gently by reshaping it with your hands while the stuffing is still slightly soft
Personalization Ideas
- Swap red for deep burgundy or blush pink for a softer, romantic palette
- Stitch a mini flock in autumn oranges and browns for a seasonal display
- Give each bird a different facial expression by adjusting eye placement or adding a tiny smile
- Attach a keyring or jump ring to the top of the head for an instant keychain gift
- Crochet a jumbo version using bulky yarn and a larger hook for a standout centerpiece
- Add a loop of thread at the top seam to turn it into a hanging ornament
Common Mistakes to Avoid
Rushing the increase rounds can flatten the heart notch. Work slowly and check your stitch placement as you go. Avoid overstuffing before the top rounds are complete. Too much stuffing can push the heart lobes outward and distort the shape. Always use a stitch marker to keep the rounds aligned. Without one, the finished piece may look uneven. Before sewing on the wings, pin them in place first. Check the overall balance, then stitch them securely.
Frequently Asked Questions
Can I make this pattern without safety eyes?
Yes, embroidered French knots or simple black yarn stitches work perfectly. They are a safe choice for gifts made for young children.
What yarn weight gives the best stitch definition for the heart shape?
This Crochet Heart Bird Amigurumi is a small project with plenty of charm. It also makes a thoughtful handmade gift.
How much yarn do I need for one bird?
A single skein of worsted weight yarn easily makes several birds, since each one uses only a small amount of the main color.
Can this Crochet Heart Bird Amigurumi be scaled up into a bigger decorative piece?
Absolutely. Switching to bulky yarn and a 5mm or 6mm hook produces a much larger version suited to a shelf display or a nursery decoration.
Is this Crochet Heart Bird Amigurumi suitable for someone who has never made before?
Yes, the shaping is straightforward enough for a first project, particularly for anyone who already knows single crochet and basic increases.
What is the best way to attach a keychain ring?
Sew a small fabric or crochet loop into the top seam while closing the final round, then clip the keyring through that loop once the yarn ends are woven in.
How do I keep the two heart lobes even on both sides?
Work the increase and decrease rounds in mirrored pairs, counting stitches on each side of the center point to keep the shaping balanced.
Conclusion
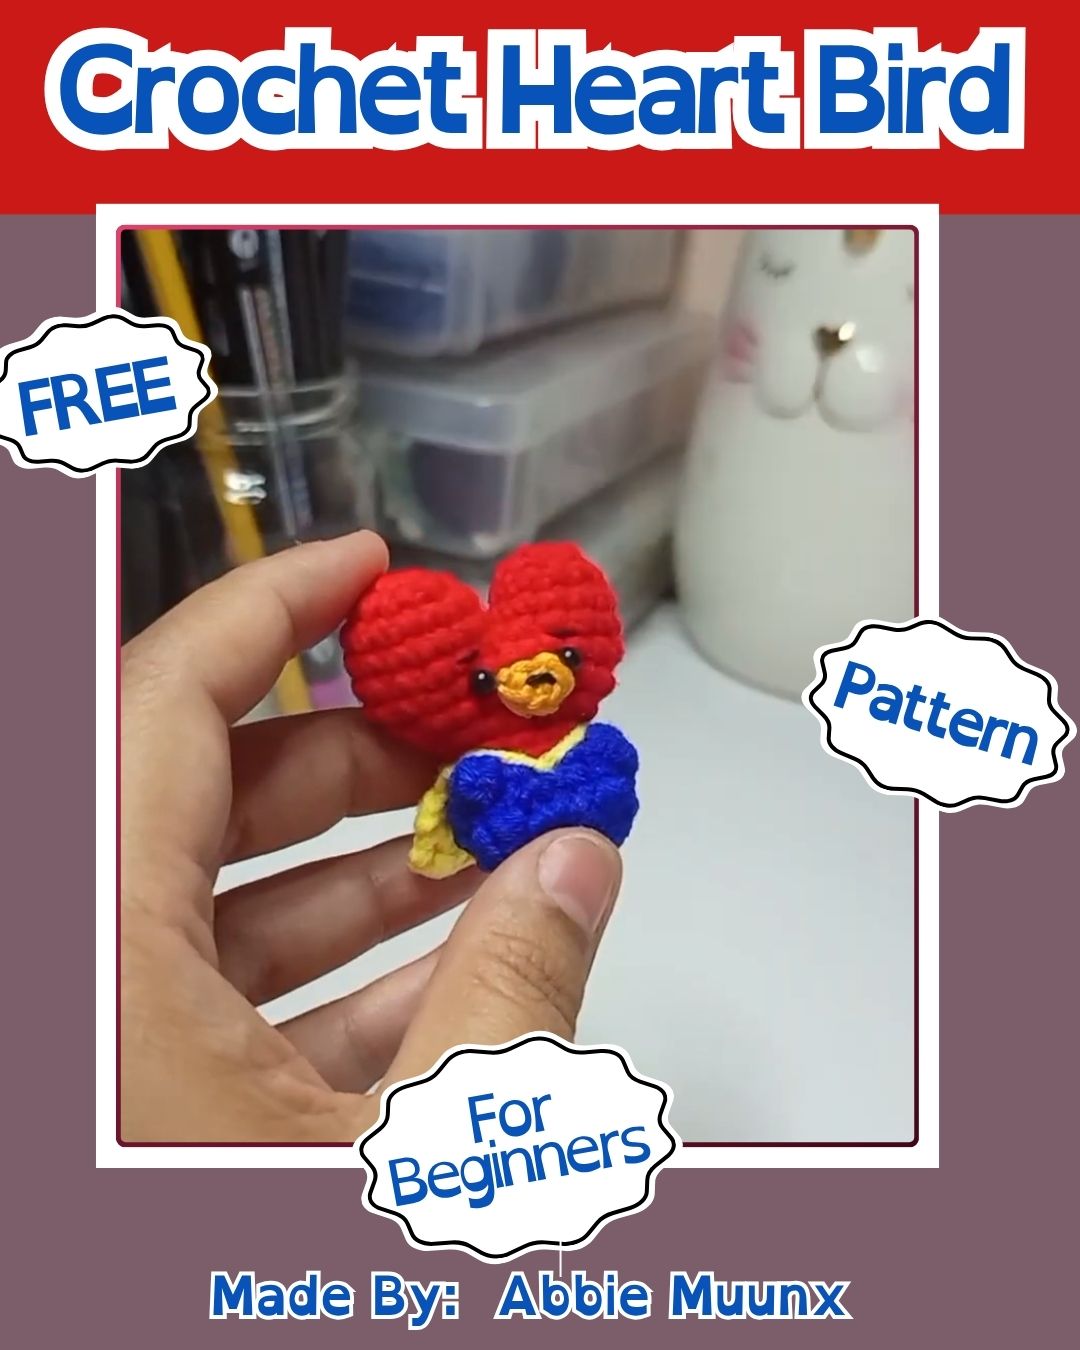
This Crochet Heart Bird Amigurumi is a small project with plenty of handmade charm. It makes a lovely keychain, holiday ornament, or desk companion. Every stitch adds warmth and personality to the finished piece. Choose your favorite colors and enjoy bringing this little bird to life. Before long, you’ll have a heartfelt handmade gift that’s ready to brighten someone’s day.