
Crochet Jellyfish Earrings Pattern With Curly Tentacles
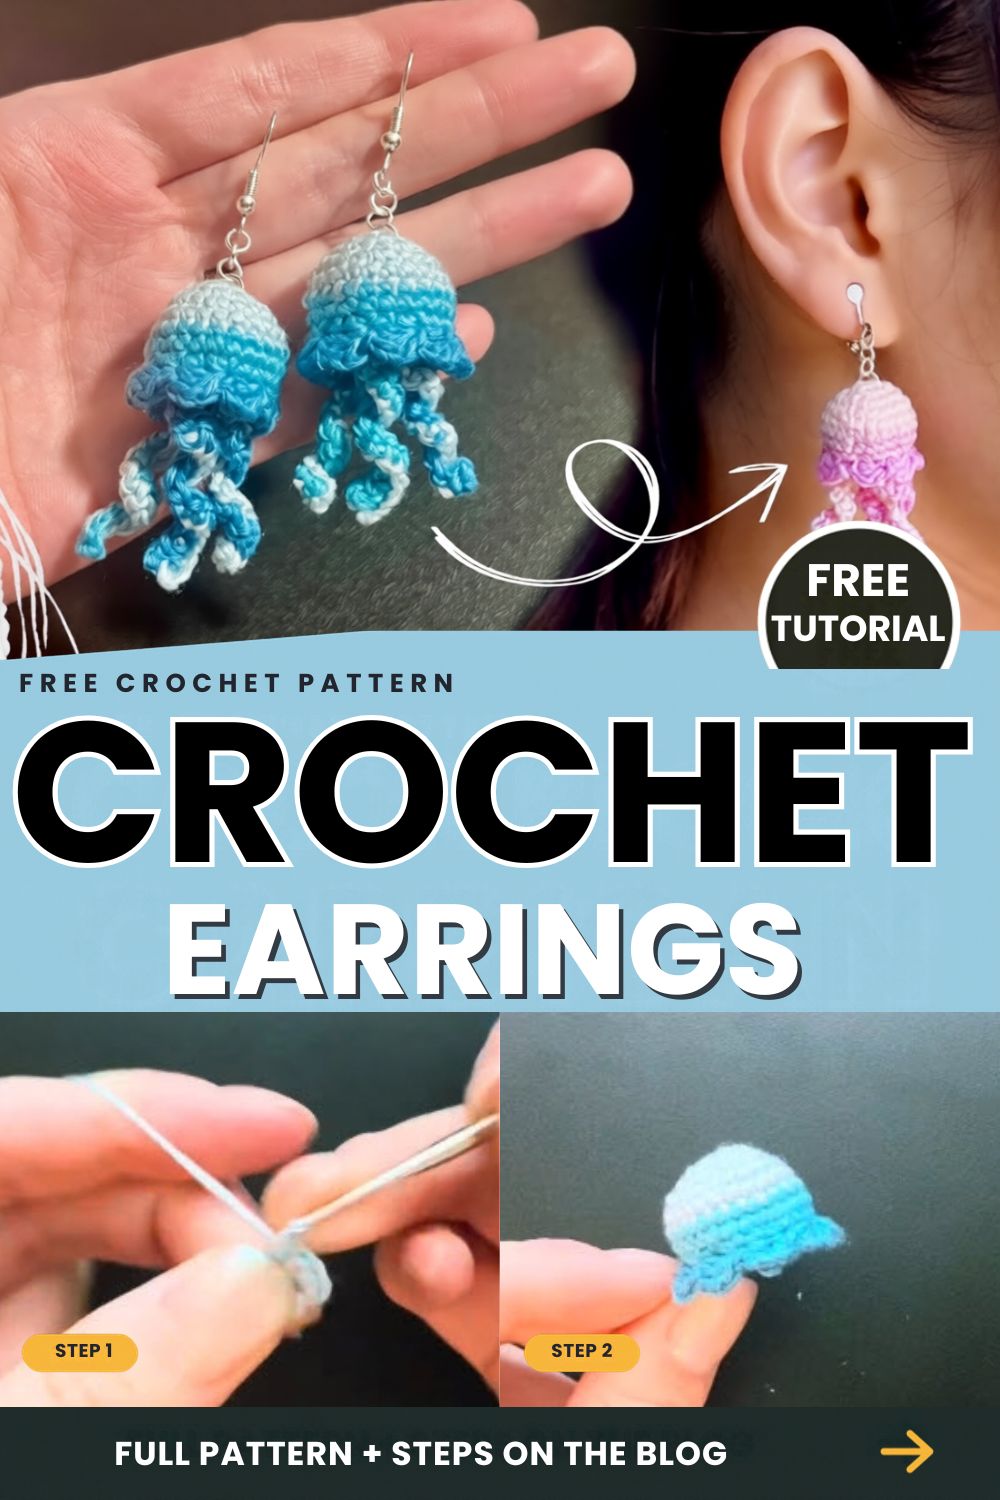
Tiny jellyfish drifting from your ears, with soft gradient domes and curly tentacles that sway when you move. That’s the little project we’re making today. The bell is a small rounded dome worked in a spiral, the rim flares into a gentle frill, and the tentacles twist into spirals as you crochet them. Grab a bit of fine yarn and an evening, because each one works up quickly.
Once the first jellyfish is done, the second goes much faster, since you already know where each round is heading. Pick shades that blend softly and keep your stuffing light, and the pair will hang evenly and feel comfortable all day. Try a new colour combination next time, or make a few pairs to give away. Every jellyfish ends up with its own curl and personality, which is half the fun.
What You’ll Make With This Crochet Jellyfish Earrings Pattern
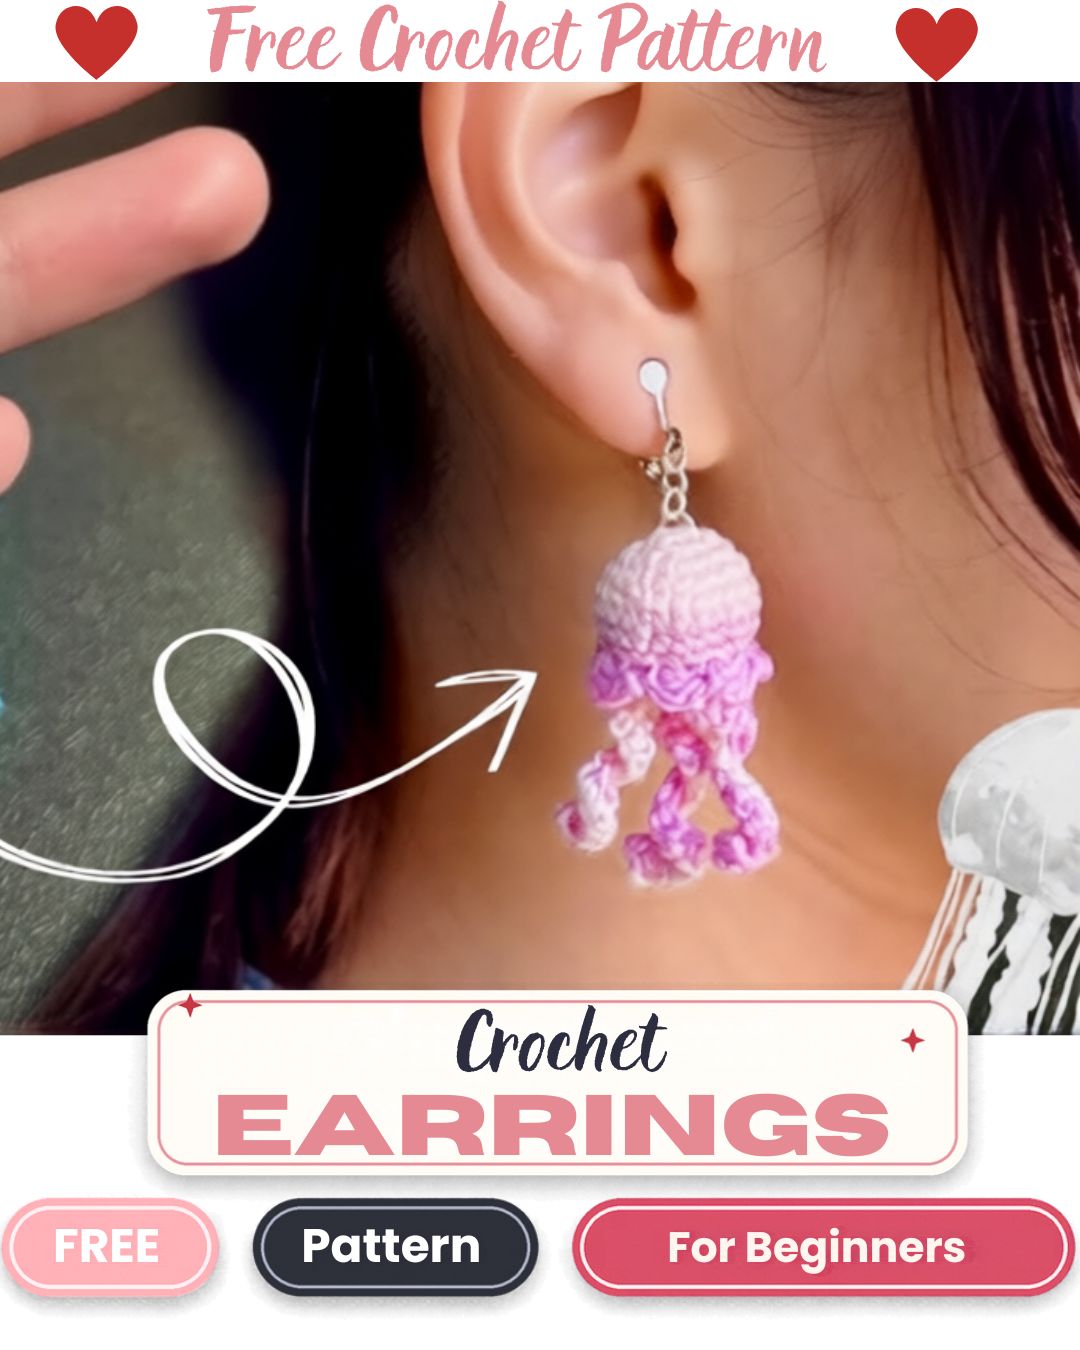
Each earring is a rounded bell worked in a spiral from a magic ring. The yarn shifts from a pale shade at the top to a deeper tone toward the rim, which gives the soft gradient look. The edge flares out slightly, and curly tentacles hang below it. Finally, a jump ring at the top connects the bell to a standard fishhook earring wire.
You make two identical jellyfish, so try to match them as closely as you can.
Materials for the Jellyfish Earrings
- Fine yarn or thread in two or three shades of one color family. Pale blue to turquoise is one option, and pale pink to deeper pink is another.
- A small steel crochet hook that suits your fine yarn. Choose a size that gives a tight, dense fabric with no gaps.
- A small amount of polyester fiberfill
- Two jump rings
- Two fishhook earring wires
- Flat or chain-nose pliers
- Scissors
- A tapestry needle
- A stitch marker, which is helpful in tiny rounds
Abbreviations (US Terms)
- MR: magic ring
- sc: single crochet
- inc: two single crochet in the same stitch
- dec: single crochet two stitches together
- ch: chain
- sl st: slip stitch
- st(s): stitch(es)
Before You Start
Work in a continuous spiral without joining, and mark the first stitch of each round so you don’t lose your place.
Crochet tightly, too. Earrings are small and light, so a loose fabric will show the stuffing and look floppy. If your stitches look open, drop down a hook size.
The steps below explain how the bell is built, but your exact stitch counts will depend on your yarn and hook. For that reason, keep the video above open next to this written guide and match your rounds to it as you go.
Step 1: Start the Bell
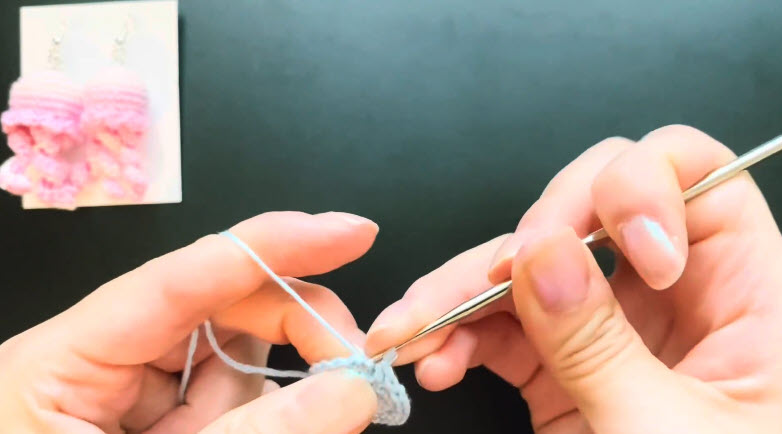
Begin with a magic ring in your lightest shade. Work a small group of single crochet stitches into the ring, then pull the tail to close it firmly. A tight center matters here because it becomes the very top of the dome, and any gap will be obvious on something this small.

Step 2: Increase to Shape the Dome
Next, work a few rounds of even increases so the circle widens and begins to curve. Spread the increases around the round instead of stacking them in the same place. Staggering them keeps the dome smooth and round rather than angular.
Stop increasing when the piece is as wide as you want the bell to be. Earring bells look best fairly small, so resist the urge to keep going.
Step 3: Work Even and Change Color
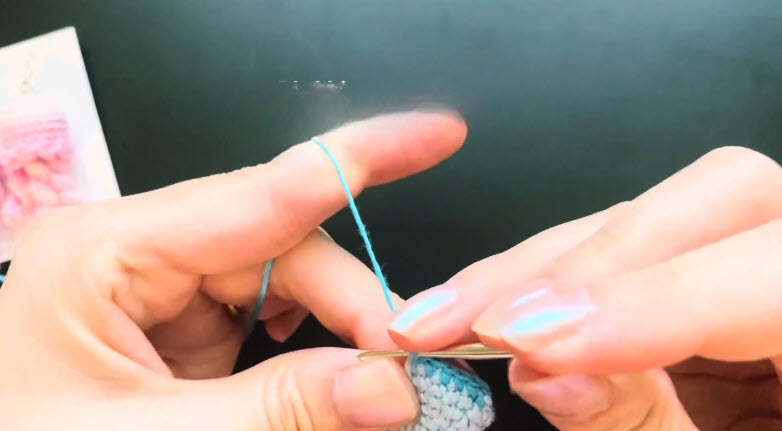
Now stop increasing and crochet a few plain rounds. This is where the gradient happens. Switch to your next shade at the start of a round and carry on in single crochet.
For a smoother blend, change color in the middle of a round for a couple of stitches, then continue in the new shade. This softens the line between colors. If you prefer crisp stripes, change at the round marker instead.
If you are using three shades, repeat the same color change for the third.
Step 4: Decrease and Stuff
Begin working decreases to close the base of the dome inward slightly. This pulls the bell into that classic rounded jellyfish shape.
Stuff lightly before the opening gets too small, using only a little fiberfill. An overstuffed bell feels heavy on the earlobe, and the stitches will stretch and show the filling. The dome should feel soft and just full, not hard.
Step 5: Make the Frilled Edge
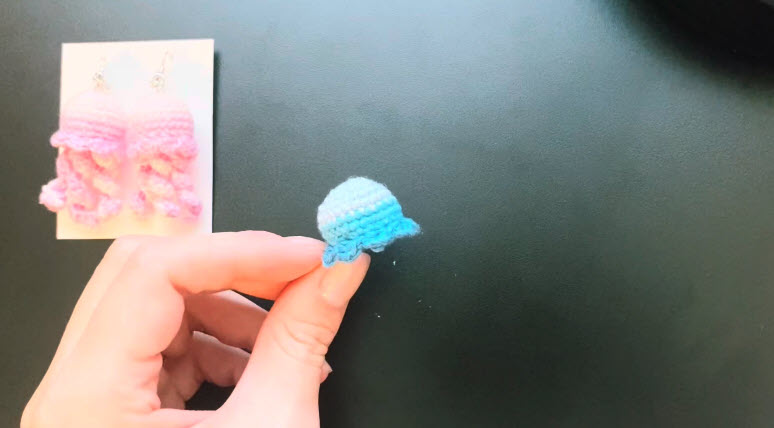
The rim of the bell flares out into a small frill. Work the edge so it ripples slightly outward instead of tucking in. Working extra stitches into each stitch of the final round creates the flare naturally.
Check the shape after this step. The rim should look like a little skirt around the bottom of the dome. If it curls inward, add a few more stitches to the edge round next time.
Step 6: Crochet the Curly Tentacles
The tentacles are what make these earrings special. Attach yarn at the edge of the rim and chain a short length for each tentacle. Then work two or more stitches into each chain so the strand twists into a spiral. The extra stitches per chain force the strand to curl tightly rather than hang straight.
Make several tentacles per earring, spaced evenly around the rim. Aim for slightly different lengths, because uneven tentacles make a jellyfish look more natural. However, keep the lengths close enough that both earrings feel balanced as a pair.
Fasten off, then weave in the ends with your tapestry needle. Hide them inside the bell where they won’t show or tickle.

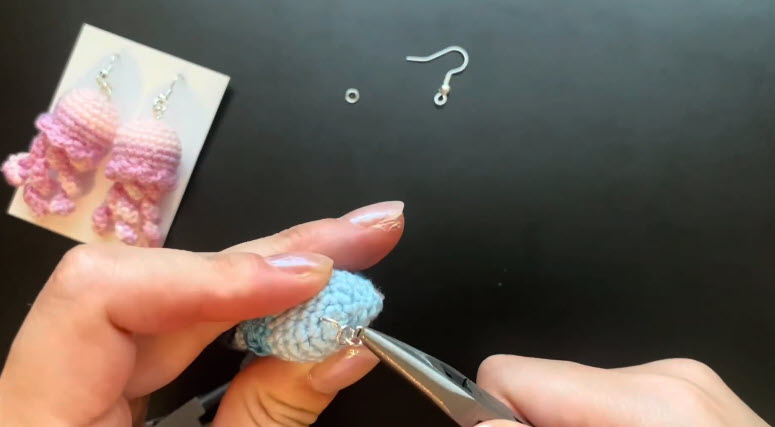
Step 7: Attach the Earring Hardware
Use pliers to open a jump ring by twisting the two ends sideways, not pulling them apart. Pulling it open weakens the metal and makes it hard to close neatly.
Slide the open ring through a stitch at the very top of the bell. Pick a stitch near the center so the jellyfish hangs straight. Then slide on the loop of the earring wire and close the ring, twisting the ends back until they meet without a gap.
Repeat with the second bell. Finally, hold both earrings up together and check that they hang at the same angle.
Troubleshooting Your Crochet Jellyfish Earrings
The bell looks floppy or shows the stuffing. Your fabric is too loose. Drop down a hook size and crochet more tightly.
The dome looks angular. Stagger the increases around each round instead of stacking them in the same spot.
The earring feels heavy. You may have overstuffed the bell. Use only a little fiberfill so the dome feels soft and just full.
The rim curls inward. Add a few more stitches to the edge round, as described in Step 5.
The tentacles hang straight. Work two or more stitches into each chain so the strand twists into a curl.
One earring hangs crooked. Attach the jump ring through a stitch near the center of the bell, then compare both earrings side by side.
Bonus: Turn a Jellyfish Into a Bag Charm
The same tiny bell works as a charm, too. Instead of an earring wire, slide a keychain or bag clasp onto the jump ring at the top. If you like small, pocket-sized makes like this, take a look at these mini crochet food items for more charm ideas.
Frequently Asked Questions
What yarn works best for this crochet jellyfish earrings pattern?
Fine yarn or thread in two or three shades of one color family works well. Pair it with a small steel hook that gives a tight, dense fabric.
Is this pattern hard for beginners?
It uses basic stitches, a magic ring, and simple shaping. However, the fine yarn and tiny rounds take some patience, so work slowly and use a stitch marker.
How do I get the gradient look?
Switch to a deeper shade at the start of a round. For a softer blend, change color in the middle of a round for a couple of stitches.
How do I make the tentacles curl?
Chain a short length for each tentacle, then work two or more stitches into each chain. The extra stitches twist the strand into a spiral.
How do I open a jump ring safely?
Twist the two ends sideways with pliers instead of pulling them apart. This keeps the metal strong and lets the ring close neatly.
A Little Ocean for Your Ears
Once the first bell is done, the second one goes faster because you already know the rhythm. Take a moment to match the tentacle lengths and the hang of both earrings, and the pair will look like it belongs together. Then try new color families for your next set.


