Kawaii Crochet Jellyfish Pattern for Beginners
Ocean-inspired plushies never go out of style! This soft velvet jellyfish comes together with basic stitches and a single dreamy loop-stitch texture, making it a beginner-friendly project that looks genuinely adorable.
Velvet yarn gives this little jellyfish plush an irresistibly soft, huggable finish that photographs beautifully too. Safety eyes add instant personality, while a simple dome-shaped body keeps the construction approachable for anyone just starting amigurumi. Honestly, the real showstopper is the looped tentacle texture underneath, which mimics real jellyfish movement without requiring any advanced stitch knowledge or complicated shaping.
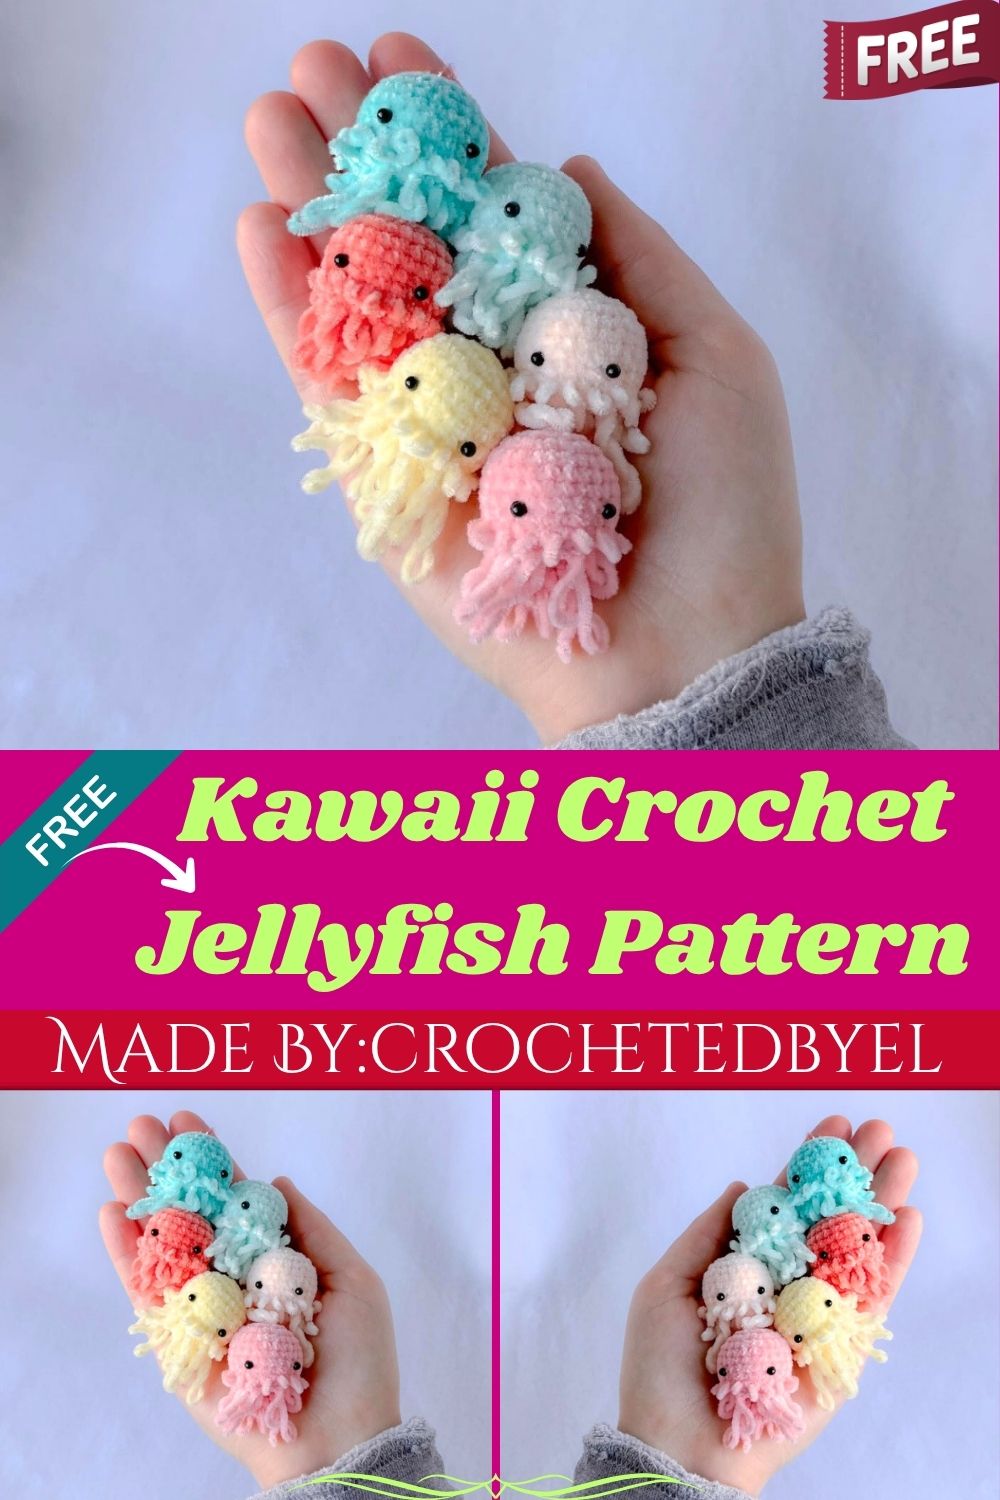
Skill Level
Beginner-friendly through and through. Basic single crochet, increases, and decreases build the entire body, while the loop stitch technique only takes a little practice before it feels natural and easy.
Abbreviations & Materials
Abbreviations:
- MC – magic circle
- SC – single crochet
- INC – increase
- DEC – decrease
- FO – fasten off
- LP ST – loop stitch
Materials needed:
- Velvet yarn (size 2)
- 2.25mm hook
- Safety eyes
- Poly-fil stuffing
- Row marker
- Tapestry needle
- Scissors
Pattern Overview
- Main title: Kawaii Crochet Jellyfish Pattern for Beginners
- Yarn used: Velvet yarn for a soft, plush finish
- Hook size: 2.25mm
- Core shape: a rounded dome-style body worked in continuous rounds
- Signature feature: loop-stitch tentacles that hang freely underneath the body
- Finishing details: safety eyes and a gently stuffed, huggable body
Special Techniques
- Magic Circle start: keeps the top of the head tight and gap-free before the increase rounds begin
- Loop Stitch (LP ST): worked by wrapping yarn around a thumb, inserting the hook into the next stitch on the left side of the loop, then pulling through both loops on the hook to leave a loop on the exterior
- Continuous rounds: the entire body works in a spiral using a row marker instead of joining each round, which keeps the surface smooth
- Safety eye placement: inserted before the final closing rounds so the plastic backing stays secure once stuffing is added
Common Mistakes
- Losing the round count while switching between increase and straight rounds
- Pulling loop stitches too tight, which shrinks the tentacle length
- Placing safety eyes after stuffing instead of before, making it harder to secure the backings
- Skipping the row marker and losing track of where the round begins
- Understuffing the dome, which leaves the plush looking flat instead of rounded
Uses & Benefits
A velvet jellyfish plush works as a nursery shelf accent, a calming sensory toy, or a thoughtful handmade baby shower gift. Trust me, the soft velvet texture makes it especially appealing for little hands, while the compact size means it never takes up much display space. Crocheters also get to practice loop stitch, a technique that transfers well into fringe, fur, and other textured amigurumi projects down the line.
Helpful Beginner Tips
- Practice the loop stitch on a scrap swatch before starting the tentacles
- Keep a steady tension throughout so the dome shape stays even
- Use a locking stitch marker rather than a loose one for continuous rounds
- Stuff firmly but gradually, checking the shape after every few rounds
- Trim tentacle loops evenly at the end for a tidy finish
Assembly
- Start the head with a magic circle and work several increase rounds to shape the rounded dome
- Continue straight rounds once the widest point is reached to build the body height
- Insert safety eyes a few rounds before closing, positioning them evenly on the front
- Stuff the body firmly with poly-fil, adding more as the decrease rounds begin
- Decrease steadily to close the top and fasten off, weaving in the end neatly
- Switch to the base opening and work the loop stitch tutorial evenly around the underside to form the tentacles
- Trim the loops to an even length once every stitch around the base is complete
Where Can You Use This Case?
- On a nursery shelf paired with other ocean-themed plushies
- As a handmade baby shower or new baby gift
- Tucked into an under-the-sea themed nursery display
- As a soft sensory toy for toddlers
- Displayed alongside other amigurumi sea creatures for a themed collection
Why Beginners Will Enjoy This Pattern
Every part of this jellyfish stays simple to follow. The dome body uses only single crochet, increases, and decreases, while the loop stitch tutorial breaks the trickiest technique into clear, repeatable steps. Low-key, this makes it one of the more forgiving beginner projects since small tension differences barely show once the tentacles are trimmed evenly.
Tips and Tricks for Success
- Count stitches after each increase round to avoid shape distortion
- Work loop stitches slightly looser than usual for fuller-looking tentacles
- Secure safety eye backings tightly before adding the final stuffing
- Space tentacle loops evenly for a balanced, symmetrical look
- Keep the velvet yarn tension consistent since it can slip more than cotton
Why This Crochet Pattern Is Trending
For real, ocean-themed amigurumi has surged in popularity alongside the wider kawaii plush trend, and jellyfish designs stand out for their unique silhouette and calming color palettes.
- Velvet yarn plushies are trending heavily for their soft, huggable texture
- Loop stitch tentacle details give this pattern a distinctive, eye-catching look
- Ocean and sea-creature amigurumi continue trending across gift and nursery decor searches
Conclusion
A kawaii jellyfish plush proves that a few basic stitches and one fun technique can create something genuinely charming. Between the soft velvet body, secure safety eyes, and playful loop-stitch tentacles, this pattern delivers a beginner project worth every minute. Anyone searching for a quick, gift-ready amigurumi will find this one hard to resist.