Crochet Kitty Keychain Amigurumi Pattern for a Chic Look
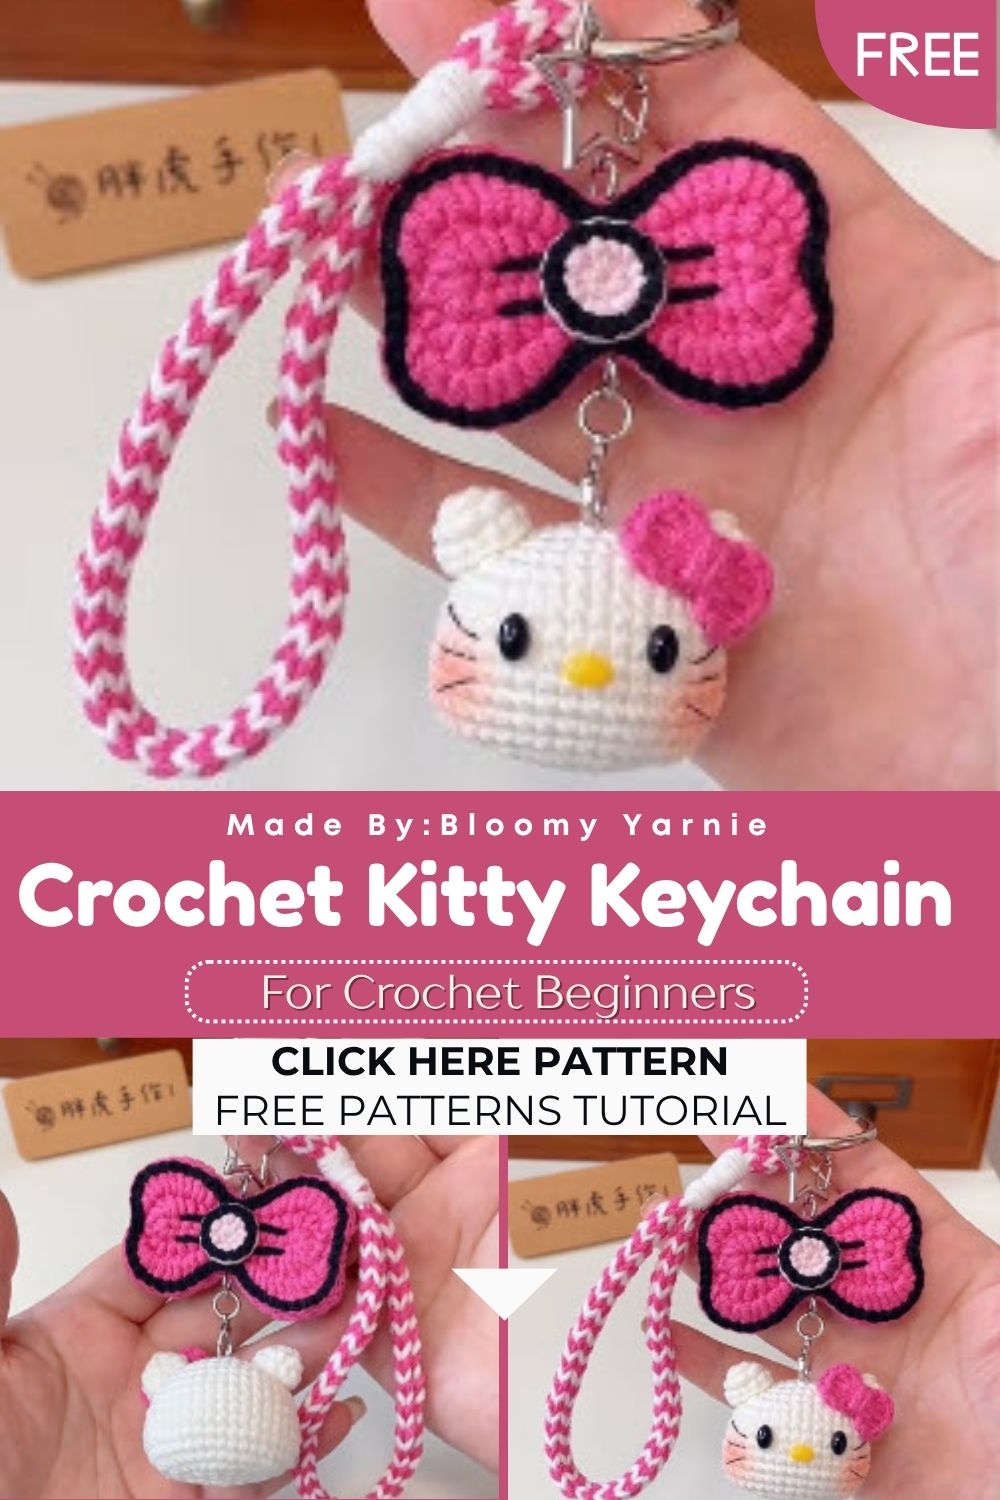
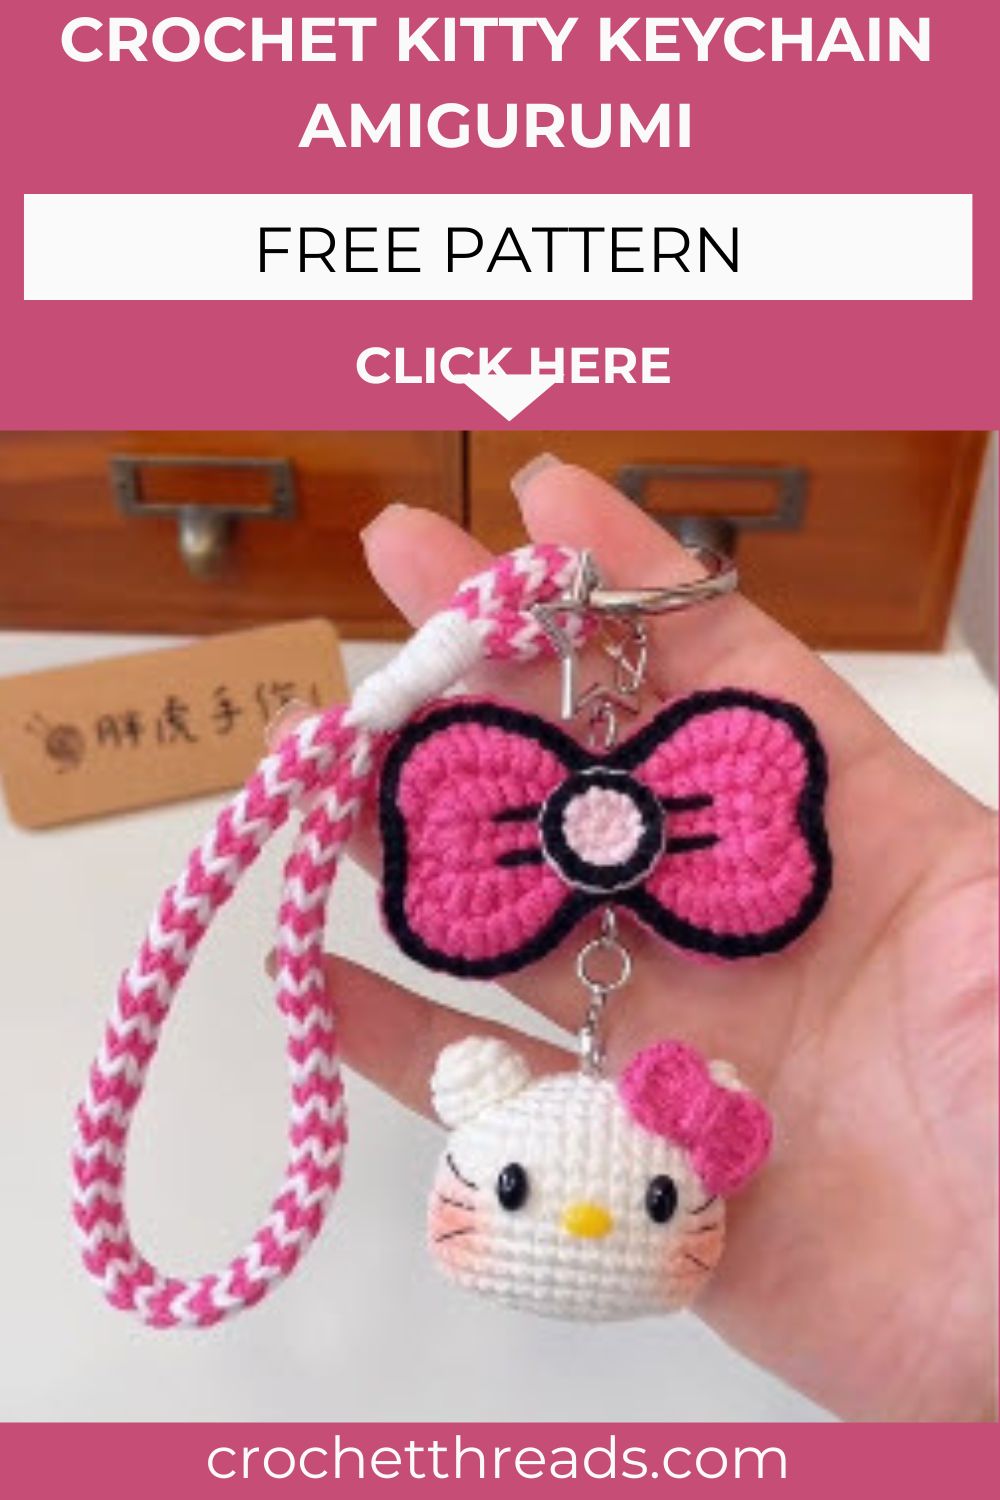
Small crochet projects always feel special despite their simplicity, and this Crochet Kitty Keychain Amigurumi is a perfect example. Featuring an adorable cat face, this keychain adds a charming touch to any bag or set of keys. Handmade keychains and bag charms rank among the most popular crochet projects these days, and if you’re looking for a quick, easy, and beautiful project, this little kitty is an excellent choice.
This pattern walks you through a beginner crochet project that turns a handful of yarn scraps into a chic little companion for your keys, backpack, or purse. It follows a simple, repeatable crochet pattern built from basic stitches, so newer crocheters can finish it in an afternoon. Every round is written out clearly, every abbreviation is explained, and every tricky spot gets a tip. Grab a hook, pick a soft yarn color, and let’s build a kitty that’s ready to ride along on your keyring.
What Is This Crochet Project
This project is a small amigurumi kitty head, shaped into a rounded face with two pointed ears, stitched details for the eyes and nose, and a metal keyring loop sewn to the top. It works up in one continuous piece with minimal seaming, which makes it a genuinely easy crochet project for anyone building their skills.
Crocheters love this kind of pattern because it’s fast, affordable, and endlessly customizable. Swap the yarn color, change the eye style, or add a bow, and the same base pattern becomes dozens of different characters. It’s also a fantastic stash-buster, since most kitty keychains only need small amounts of yarn.
Why Make a Kitty Keychain
- Quick finish: most crocheters complete it in one to two hours
- Great gift idea for cat lovers, coworkers, or party favors
- Uses minimal yarn, so it’s budget-friendly
- Works as a bag charm, zipper pull, or backpack clip
Skill Level
This Crochet Kitty Keychain Amigurumi pattern suits confident beginners as well as intermediate crocheters looking for a quick project. It relies on basic amigurumi stitches worked in continuous rounds, with simple increases and decreases throughout. No complex shaping or color-change techniques are required, so a first-time amigurumi maker can follow along with steady, careful stitching.
Materials and Supplies
Gathering the right supplies first makes the whole process smoother and keeps your stitches even from round one.
Yarn Type
- Worsted weight (4) cotton or acrylic yarn, about 20 yards in your main kitty color
- Small amount of contrast yarn for the muzzle and inner ears
- Black or dark brown yarn scrap for facial details
Hook Size
- 3.0mm or 3.25mm crochet hook, sized slightly smaller than the yarn label suggests for tight, gap-free stitches
Extra Tools
- Stitch marker or scrap yarn to track round starts
- Yarn needle for weaving in ends and sewing details
- Small amount of polyester stuffing
- Metal keyring or lobster clasp
- Small pair of scissors
- Optional: safety eyes (6mm) instead of embroidered eyes
Crochet Stitches and Abbreviations
Every stitch used in this pattern is listed below with its short form, so you can follow the instructions without flipping back and forth.
MR – Magic Ring
ch – Chain
sc – Single Crochet
inc – Increase (2 sc in same stitch)
dec – Invisible Decrease
sl st – Slip Stitch
st(s) – Stitch(es)
Step-by-Step Crochet Instructions
Work in continuous rounds and place a stitch marker in the first stitch of every round unless the pattern says otherwise.
Head (Worked First)
- Start with a MR, ch 1, work 6 sc into the ring, pull tight. (6 sts)
- Round 2: inc in each st around. (12 sts)
- Round 3: sc 1, inc repeat around. (18 sts)
- Round 4: sc 2, inc repeat around. (24 sts)
- Round 5: sc 3, inc repeat around. (30 sts)
- Round 6–9: sc around, no increases. (30 sts, 4 rounds)
- Round 10: sc 3, dec repeat around. (24 sts)
- Round 11: sc 2, dec repeat around. (18 sts)
- Stuff the head firmly before closing further.
- Round 12: sc 1, dec repeat around. (12 sts)
- Round 13: dec around. (6 sts)
- Fasten off, leaving a long tail, and close the small opening.
Ears (Make 2)
- Start with a MR, ch 1, work 5 sc into the ring. (5 sts)
- Round 2: inc in each st around. (10 sts)
- Fasten off, leaving a long tail for sewing.
- Fold the ear flat and sew it to the head with the point facing outward.
Muzzle (Optional Contrast Piece)
- Using contrast yarn, start with a MR, ch 1, work 6 sc into the ring. (6 sts)
- Round 2: inc in each st around. (12 sts)
- Fasten off and sew this oval piece just below the center of the face.
Assembly and Final Touches
- Embroider or attach small eyes above the muzzle, spaced evenly apart.
- Stitch a tiny triangle nose using dark yarn, right above the muzzle.
- Add three short straight stitches on each side of the muzzle for whiskers.
- Weave the keyring loop through a few stitches at the top of the head, then secure it firmly with several extra stitches.
- Weave in all remaining ends and trim neatly.
Helpful Beginner Tips
- Keep tension tight while working amigurumi rounds, so stuffing never peeks through.
- Count stitches after every round, especially through the increase sections.
- Use a smaller hook than usual for a denser, more polished fabric.
- Stuff firmly but avoid overstuffing, which can distort the rounded shape.
- Sew the ears on before fully closing the head, since it’s easier to judge placement.
Common Mistakes and Solutions
Uneven stitch count: Miscounting during increase rounds is the most frequent slip-up. Place a marker at the start of every round and recount before moving forward.
Visible gaps at the closing: A loose fastening at the top often leaves a small hole. Cinch the last stitches tightly and weave the tail through twice for extra security.
Floppy ears: Thin single-layer ears sometimes fold the wrong way. Add a light layer of stuffing or a stiffer stitch count to help them hold shape.
Crooked face features: Eyes and nose placed by eye alone can end up uneven. Pin the pieces first, step back, check symmetry, and only then stitch them permanently.
Pattern Customization Ideas
- Add a small crochet bowtie or flower at the base of the ear
- Use variegated yarn for a speckled, calico-style kitty
- Attach a tiny bell inside the head for a playful jingle
- Crochet a matching mini scarf around the neck area
- Switch the muzzle and inner ear color for a two-tone look
Size and Color Suggestions
A standard kitty keychain measures roughly 2 to 2.5 inches tall, ideal for keys, bags, and backpacks alike. Sizing up the hook or yarn weight produces a slightly bigger charm, while a thinner yarn creates a mini version perfect for phone charms.
Popular color choices include:
- Classic orange and white for a tabby-style kitty
- Soft gray with a pink muzzle for a gentle, dreamy look
- Solid black with green stitched eyes for a bold, sleek finish
- Pastel lavender or mint for a trendy, modern accessory
FAQ Section
Is this Crochet Kitty Keychain Amigurumi pattern good for absolute beginners?
Yes, it uses only basic amigurumi stitches, so it works well as an early project after mastering magic rings and single crochet.
How much yarn do I actually need?
A single keychain typically uses less than 25 yards total, making it perfect for using up leftover scraps.
Can I make it without safety eyes?
Absolutely. Embroidered eyes work just as well and are safer for keychains that children might handle.
How do I attach the keyring securely?
Weave the ring through several sturdy stitches at the top of the head and reinforce with extra stitching before weaving in the ends.
Can this pattern be turned into a plush toy instead?
Yes, simply skip the keyring and add a hanging loop, or leave it as a small standalone plush.
Conclusion
A Crochet Kitty Keychain Amigurumi delivers a satisfying mix of speed, cuteness, and creative freedom in one small project. With a handful of basic stitches and a bit of patience, anyone can turn simple yarn into a charming little companion for their keys or bag. Once the first kitty is finished, changing colors and details makes every new version feel fresh, so this pattern is well worth keeping in your regular crochet rotation.