Crochet Makeup Basket Pattern for Vanity Organization
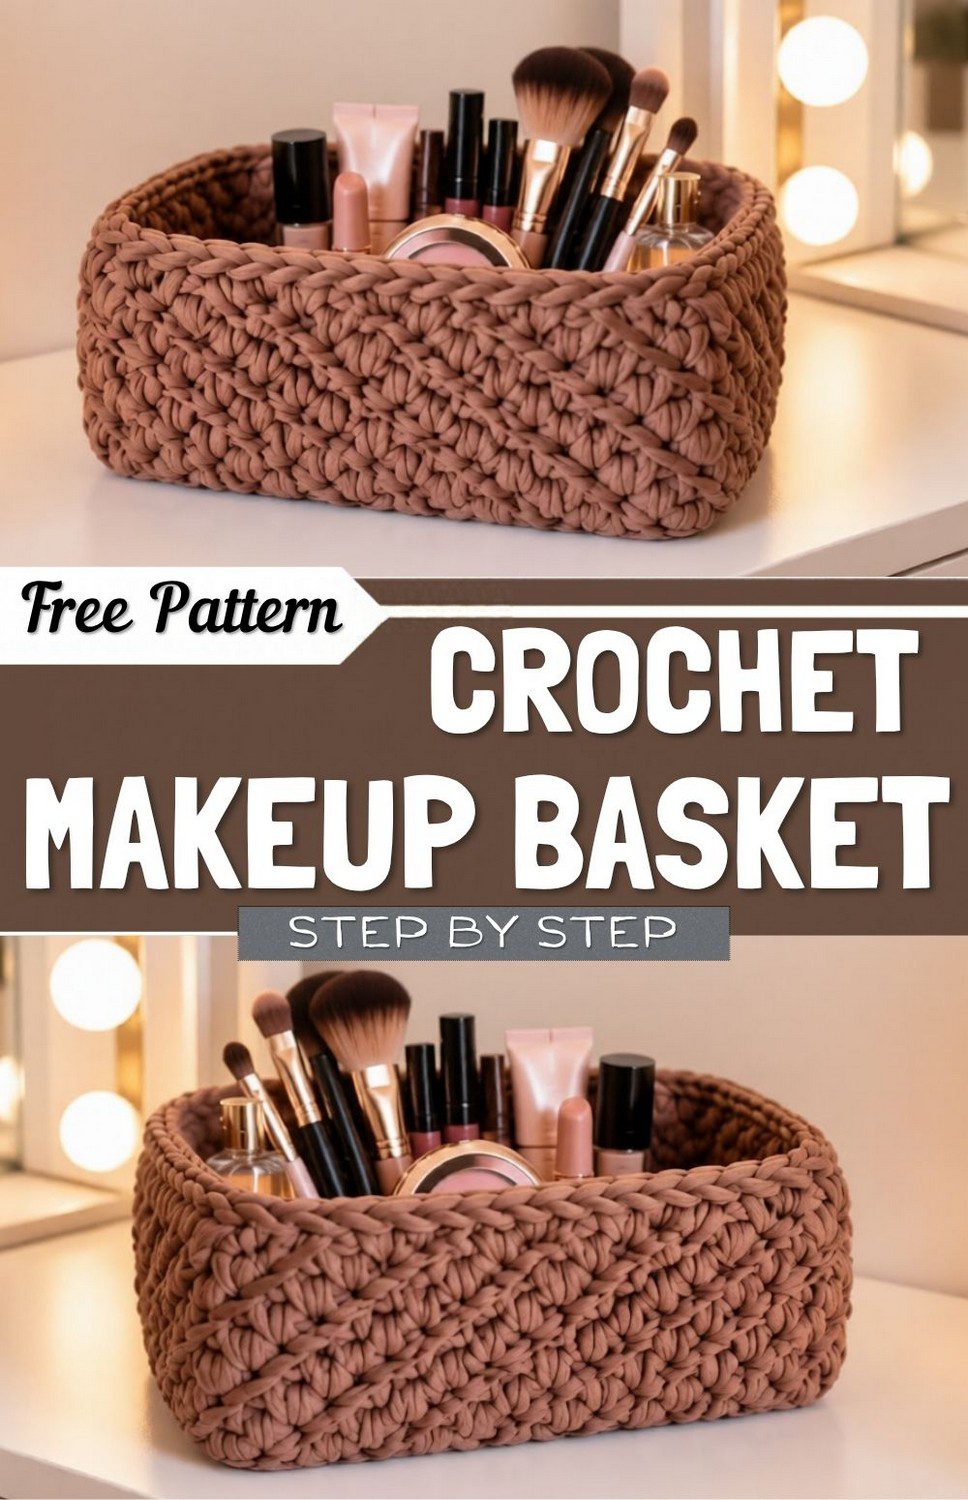
Picture thick, soft ribbons of knit fabric looping into chunky, slanted ridges beneath your fingertips. This crochet makeup basket pattern turns that tactile feel into a sturdy catch-all, so brushes, palettes, and skincare bottles finally get a tidy home on the vanity.
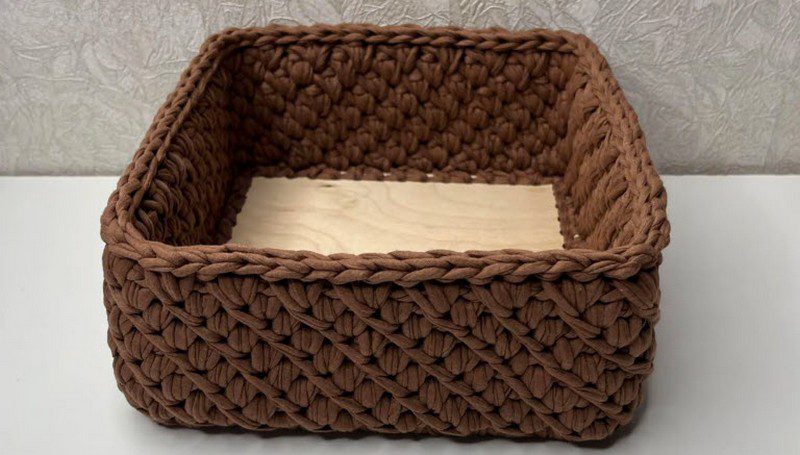
Few projects balance beauty and function like a square t-shirt yarn basket. The wooden base keeps the shape rigid, while the diagonal texture adds a woven look that feels far more complex than it is. Because the stitches repeat, rhythm replaces counting after a few rows. Add the practical payoff of a vanity storage basket, and every tabletop gains a clean, organized corner.
Materials for the Crochet Makeup Basket Pattern
Yarn and Hook
- Yarn: T-shirt yarn (jersey ribbon yarn). Its stretch and thickness give the walls body without extra stuffing.
- Recommended hook: 6 mm.
Tools and Base
- A square wooden or acrylic basket bottom with an even number of holes. Paired holes keep the stitch groups balanced on every side.
- Scissors.
- A tapestry needle for weaving in ends.
Skills and Learning Goals of the Crochet Makeup Basket Pattern
Skills You’ll Use
- Slip stitch
- Single crochet (SC)
- Increasing at corners
- Working into the side loops of previous stitches
- Invisible joining
- Fastening off and weaving in tails
What You’ll Learn
- How to bind a wooden base so the edge looks braided and clean
- How to keep square corners sharp without pulling or cupping
- How to build a slanted diagonal texture that repeats smoothly
Time Needed for This Crochet Makeup Basket
Most crocheters finish this project in about two to three hours. Experienced hands may move faster, since the diagonal rows quickly become automatic. In addition, chunky yarn works up fast, so the basket grows noticeably with each round.
Step-by-Step Crochet Makeup Basket Pattern
Follow the photos for the cleanest result, because each stage builds on the one before it. Skipping ahead makes the diagonal pattern harder to line up later. Therefore, stitch slowly through the first rounds, since they set the foundation for the whole basket.
Step 1: Bind the Base Edge
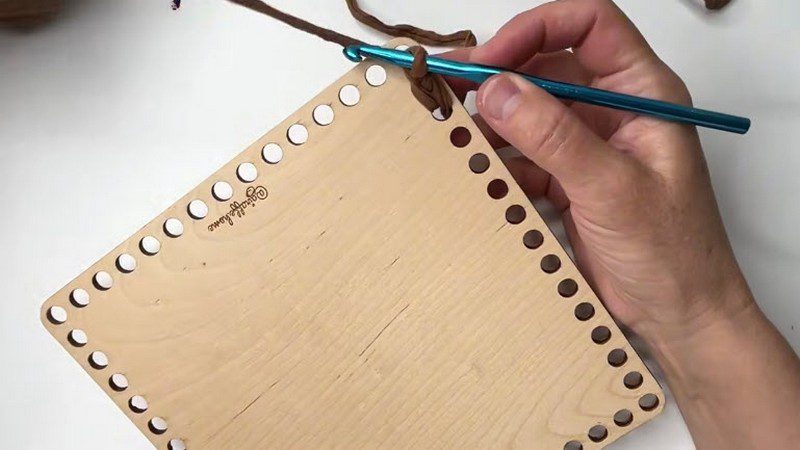
Begin by leaving a long tail, about 1.5 meters, for joining later. Next, slip-stitch around the entire rim of the square base, passing through every hole. The result is a clean, braided edge that hides the raw wood. Finally, join the last stitch invisibly with the long tail.
Step 2: Start the Foundation Single Crochet Round
Work single crochets around the base to form the first round of the sides. At each corner, place two single crochets into the holes on either side of the sharp angle. One goes just before the angle, and one goes just after. As a result, these increases keep the corners square and prevent pulling.
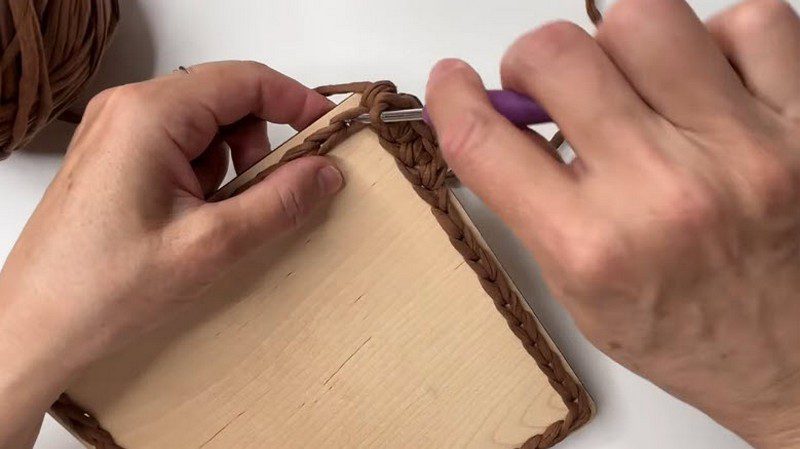
Step 3: Complete the Round and Join
Continue single crocheting until you circle back to the start. Keep the tension even so the wall rises straight up from the base. Then join the round invisibly with the tail. A smooth join now means no visible seam in the finished wall.
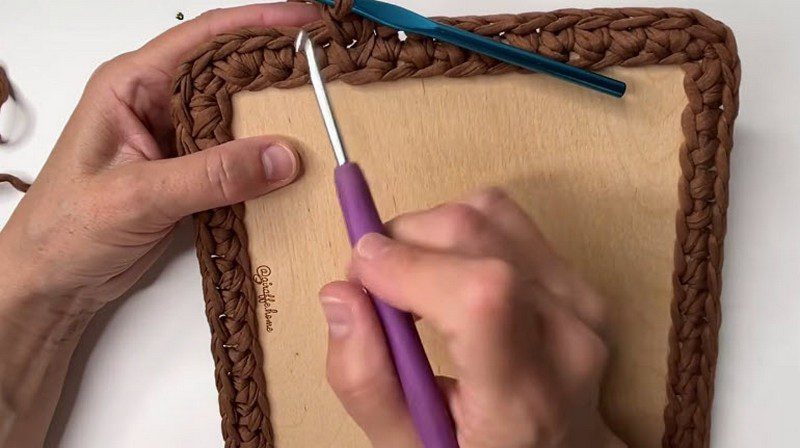
Step 4: Set Up the Pattern Foundation Row
Work a setup round of groups of two stitches into alternate intervals. In other words, place two stitches in one base stitch, then skip one. Check that the count matches on all four sides. Because the diagonal depends on this balance, a quick recount here saves frustration later.
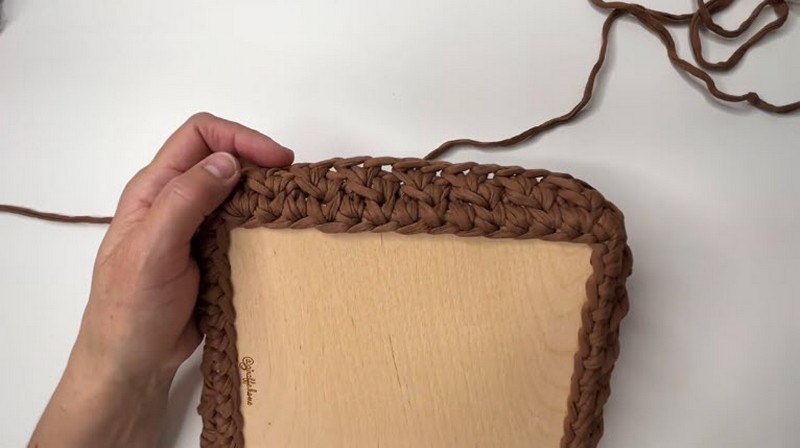
Step 5: Crochet the Diagonal Stitch Body
Keep working upward in rows with the diagonal stitch. Make groups of two stitches by dipping into the side loops of the previous row’s stitches. That small shift creates the slanted, seamless texture. Continue for about nine rows, or stop when the basket reaches your preferred height.
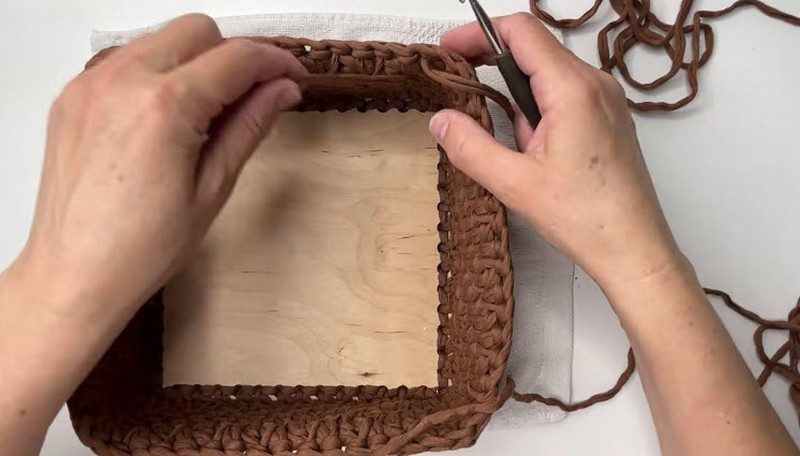
Step 6: Finish with the Inner Rim Trim
Top the edge with a neat slip-stitch border. Work along the inside rim so the outer edge stays crisp and polished. Afterward, fasten off invisibly. Finally, weave all remaining tails under the stitches, and the square basket is complete.
Common Mistakes in the Crochet Makeup Basket Pattern
Where People Go Wrong
Several small habits cause most of the trouble. Spotting them early keeps the basket looking professional.
- Pulling the yarn too tight, which makes the walls curl inward
- Skipping the corner increases, which rounds off the square shape
- Miscounting the setup round, which breaks the diagonal flow
- Splitting the ribbon yarn with the hook tip, which leaves frayed spots
- Leaving a short starting tail, which makes joining awkward
How to Fix Common Issues
If the walls lean inward, loosen your tension on the next round. Alternatively, rip back a few stitches and rework them with a relaxed grip. When the corners look rounded, add the missing increases on the next pass. Meanwhile, a mismatched diagonal usually traces back to the setup round, so return there and recount. For frayed ribbon, slow down and insert the hook into the center of each loop.
Finishing and Assembly Tips for the Makeup Basket
Weave in the tails through the thick stitches, not the thin edges, so they stay hidden. Once the work is done, shape the basket gently with your hands. Pressing the corners outward sharpens the square outline. For extra grip, tuck each tail back along the diagonal ridges before trimming. Altogether, a tidy finish makes this crochet makeup basket pattern look store-bought.
Creative Projects You Can Make With This Crochet Makeup Basket Pattern
The same construction adapts easily to other household needs. For example, try a smaller version for remote controls on the coffee table. A taller basket can hold rolled towels in the bathroom. Likewise, a mid-sized one makes a charming desk tray for pens and sticky notes. Readers who enjoy storage projects may also like pairing it with a matching coaster set or a round plant cover.
Ways to Style or Display Your Crochet Makeup Basket
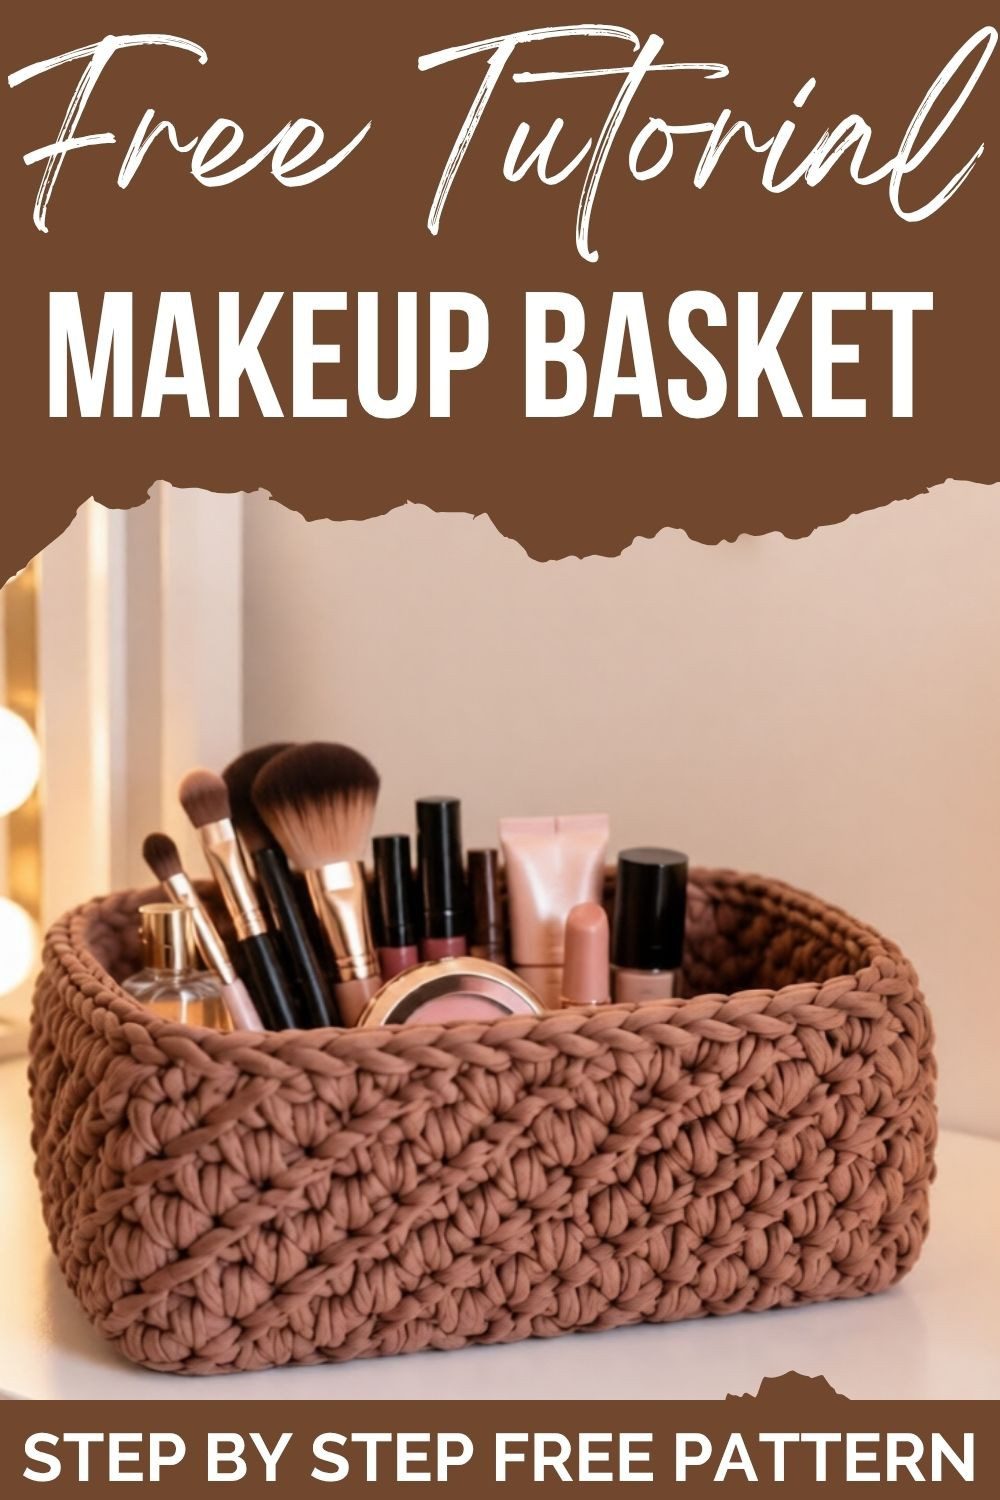
- Place it beside a mirror to corral daily brushes
- Set it on a floating shelf with a small plant
- Use it on a dresser for jewelry and hair accessories
- Add a folded cloth inside to cushion fragile items
- Stack two sizes together for a layered, curated look
Who This Crochet Makeup Basket Pattern Is Great For
Confident beginners will enjoy the steady repeats and the wooden base that does the shaping. Intermediate makers can use it as a relaxing, quick win between larger projects. Gift crafters will also appreciate how quickly it works up. Finally, anyone who loves tidy vanities will find an instant use for it.
Color Palette Suggestions for the Crochet Makeup Basket
Color choice changes the entire mood of the basket. Warm chocolate brown highlights the diagonal ridges and suits natural wood. Soft blush pink, on the other hand, brings a gentle, boutique feel to a dressing table. Cream and sand tones blend into neutral bedrooms, while deep sage green pairs nicely with plants and brass accents. When in doubt, pick a shade that echoes your existing decor.
Why the Crochet Makeup Basket Pattern Is Popular Right Now
Handmade storage keeps climbing in popularity as people trade plastic bins for textured, personal pieces. Chunky ribbon yarn fits that trend perfectly. Three points explain the appeal.
- Fast results: Thick yarn grows quickly, which keeps motivation high.
- Sturdy structure: The wooden base holds its shape through daily use.
- Textured style: The diagonal ridges add visual interest to plain surfaces.
Bonus Section: Gifting a Vanity Basket Set
A finished basket makes a thoughtful present because it is useful from day one. To start, choose a shade that suits the recipient’s room. Then tuck a few small vanity items inside, such as a hairbrush or a favorite skincare bottle. Finally, add a handwritten note, so the basket arrives ready to use.
Crochet Makeup Basket Pattern FAQ
What size hook works best for this crochet makeup basket pattern?
A 6 mm hook suits ribbon yarn well. It creates dense stitches without splitting the fabric.
Can I use a different base?
Yes, both wooden and acrylic bases work. Just make sure the hole count is even so the stitch groups line up.
How tall should the basket be?
Nine rows give a nice, medium height. Add or remove rows depending on what the basket will hold.
Can I wash it?
Spot cleaning is safest because the wooden base can warp. Wipe the yarn gently with a damp cloth and let it air dry.
Can I use regular yarn instead?
Regular yarn will work, but the walls will feel softer. T-shirt yarn gives the sturdiest, most structured result.
Your Vanity Deserves This
Every vanity deserves a corner that feels organized and a little bit special. Now that the steps are clear, the only thing left is choosing a color and beginning the first slip stitch. Once the basket is done, share a photo and tell us which shade you picked. After all, seeing different versions inspires everyone who tries this crochet makeup basket pattern next.