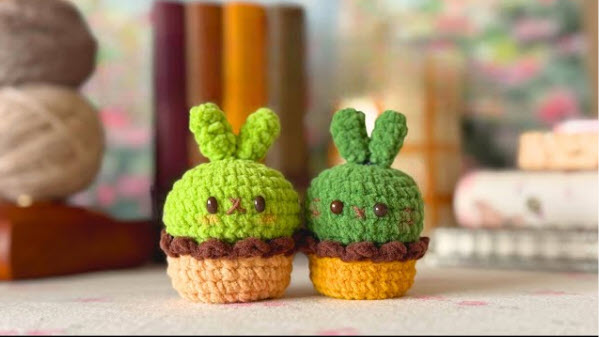
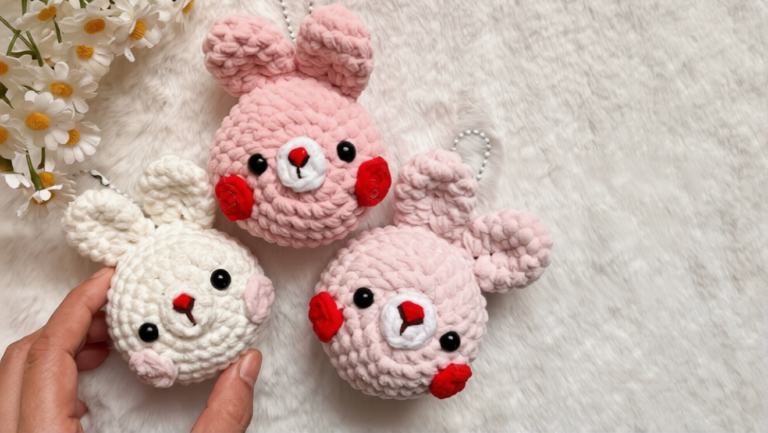
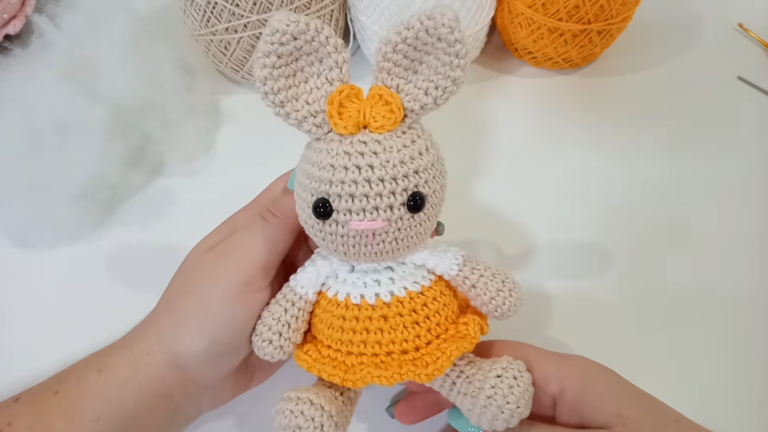
Crochet Bunny Cupcake Amigurumi Pattern for Easter Baskets
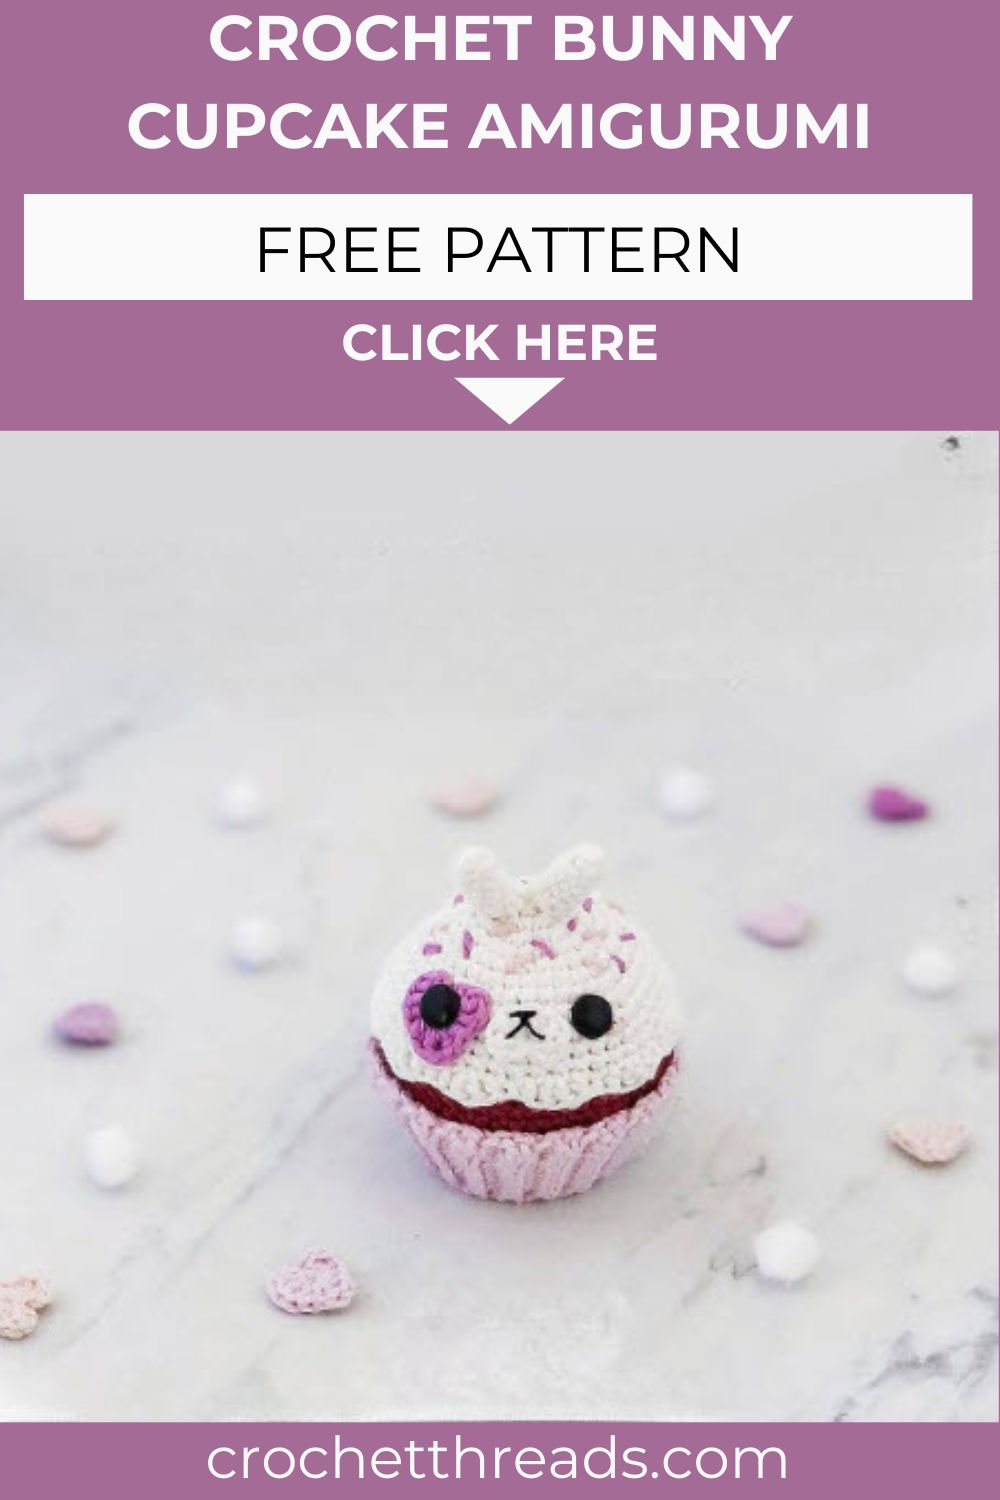
Hop into Easter with the cutest treat your hook can create this year! Fluffy ears, a heart-shaped face, and a ribbed liner come together in one adorable Crochet Bunny Cupcake Amigurumi perfect for Easter baskets, spring gifting, and sweet handmade fun.
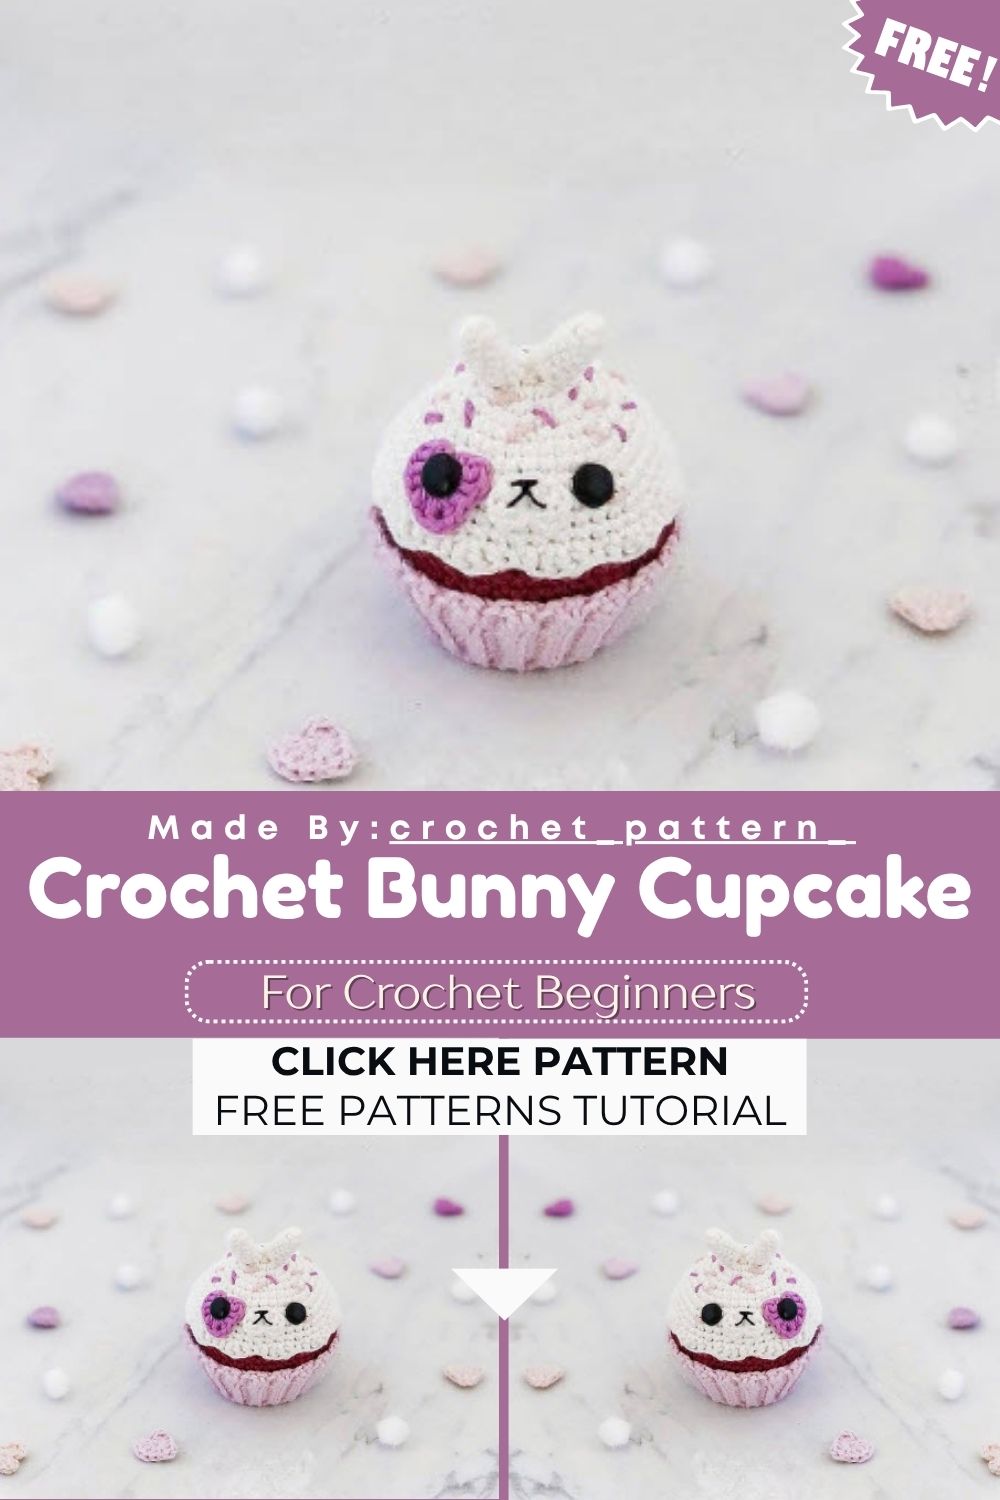
This bunny cupcake design is one of the sweetest Crochet Bunny Cupcake Amigurumi mashups you’ll stitch this spring. Made with fingering weight yarn and a tiny 2.25 mm hook, it stacks a plush frosted cupcake, a fluffy bunny face, and a ribbed crochet liner into one charming centerpiece. The heart-shaped muzzle detail and soft pastel palette make it ideal for Easter baskets, nursery shelves, or a handmade gift that feels extra thoughtful.
Skill Level
This Crochet Bunny Cupcake Amigurumi pattern suits confident beginners comfortable with BLO ribbing, invisible decreases, and basic embroidery. The multiple small pieces require patience, but each uses simple, repetitive stitches throughout the project.
Pattern Overview
- A rounded cupcake base worked in continuous rounds, stuffed and shaped in stages
- A tiny heart-shaped muzzle piece worked flat with double and half double crochets
- Two matching ears worked in small increasing rounds
- A heart-shaped face piece that doubles as an eye anchor
- A cupcake liner bottom worked in flat increasing rounds
- A ribbed cupcake liner side panel worked in rows using back-loop-only stitches
- A full assembly stage that layers the icing, face, and sprinkles onto the base
Special Techniques
- Back Loops Only (BLO) ribbing: used for the liner sides to mimic a textured, pleated cupcake wrapper
- Invisible decrease (dec): keeps the top rounds of the cupcake smooth and gap-free
- Carrying the MR tail: hides the starting tail inside the liner bottom for a cleaner finish
- Wedging an eye through the heart piece: anchors the eye securely while keeping the heart shape visible
- Loose embroidery stitches: pulled gently to form a soft, curved smile on the muzzle
Materials
Gather these supplies before starting so the project comes together smoothly from start to finish.
- Yarn: Fingering Weight
- Color A – Natural White
- Color B – Bordeaux
- Color C – Light Lavender
- Color D – Lilac
- Color E – Baby Purple
- Hook: 2.25 mm (size B)
- Eyes: 8 mm safety eyes (2)
- Stuffing: Polyester filling
- Embroidery floss: black and pink
- Sewing needle
- Pins
- Scissors
- Fabric glue (optional)
Abbreviations
MR – Magic Ring | Ch – Chain | St/Sts – Stitch/Stitches | Sc – Single Crochet | Hdc – Half Double Crochet | Inc – Increase | Dec – Invisible Decrease | BLO – Back Loops Only | Sl St – Slip Stitch | Sk – Skip | FO – Fasten Off | ( ) x – repeat pattern in brackets the indicated number of times | [ ] – total stitch count at end of round
Instructions
Cupcake (Color B)
- Round 1: MR 6 [6]
- Round 2: (Inc) x 6 [12]
- Round 3: (Sc, inc) x 6 [18]
- Round 4: (Sc, inc, sc) x 6 [24]
- Round 5: (Sc 3, inc) x 6 [30]
- Round 6: (Sc 2, inc, sc 2) x 6 [36]
- Round 7: (Sc 5, inc) x 6 [42]
- Round 8: Sc around [42]
- Round 9: (Sc 5, inc, sc 9, inc, sc 5) x 2 [46]
- Round 10: Sc around [46]
- Round 11: (Sc 10, inc, sc 11, inc) x 2 [50]
- Round 12: Sc around [50]
- Round 13: (Sc 6, inc, sc 11, inc, sc 6) x 2 [54]
- Round 14: Sc around [54]
- Round 15: (Sc 3, dec) x 10, sc 2, dec [43]
- Round 16: (Sc 9, dec) x 3, sc 8, dec [39]
- Rounds 17–20: Sc around [39] (4 rounds total)
- Round 21: (Sc, dec) x 13 [26] — Start stuffing the top of the cupcake and mold the round areas between rows 14 and 15 until smooth.
- Round 22: (Dec, sc) x 8, dec [17] — Finish stuffing the cupcake generously until plump.
- Round 23: (Sc, dec) x 5, dec [11]
- Round 24: Dec 5 times, sk last st [6] — Sew the hole closed and weave in ends.
Muzzle (Color A)
- Round 1: In MR, ch 2, dc 2, hdc 1, sl st, hdc 2, dc 2, ch 2, sl st. Pull MR tight and FO.
Ears – Make 2 (Color A)
- Round 1: MR 4 [4]
- Round 2: Sc, (inc) x 3 [7]
- Rounds 3–6: Sc around [7] — FO and leave a long tail to sew on the icing later.
Heart (Color D)
- Round 1: Create a MR but do not pull tight (an eye will sit inside the hole). In MR, ch 2, dc 2, hdc 2, ch 1, dc, ch 1, hdc 2, dc 2, ch 2, sl st [16]. Invisible FO and leave a long tail to sew onto the face later.
Cupcake Liner – Part 1 (Bottom, Color C)
- Round 1: MR 8 [8]
- Round 2: (Inc) x 8 [16] — carry the MR tail along to hide it for a cleaner finish
- Round 3: (Sc, inc) x 8 [24]
- Round 4: (Sc, inc, sc) x 8 [32]
- Round 5: (Sc 3, inc) x 8 [40] — Invisible FO and weave in ends.
Cupcake Liner – Part 2 (Sides, Color C)
This section uses a variation of the ribbing stitch to create the pleated liner texture.
- Row 1: Ch 11. From the third ch on hook, work in BLO: hdc 3, sc 6 [9]
- Row 2: Ch 1, turn. Work in BLO: sc 8, sc 1 in both loops of the last st [7]
- Row 3: Ch 2, turn. Sk 2 sts. Work in BLO: hdc 3, sc 5, sc 1 in both loops of the last st [7]
- Rows 4–41: Repeat rows 2 and 3 nineteen more times, then repeat row 2 once more (40 rows total). Leave a long tail to sew onto the liner bottom later.
Assembly
- Wedge one eye through the middle of the heart piece and attach it to the icing between rounds 9 and 10. About six stitches apart, attach the second eye on its own.
- Embroider the nose and mouth onto the muzzle. For a soft curved smile, keep the stitch loose and gently pull it down, securing with fabric glue if needed.
- Sew the muzzle between the eyes, just below round 7, using glue as an alternative if preferred.
- Sew the ears onto the top-middle of the icing.
- Embroider a flushed pink cheek beneath the eye without the heart, or use doll makeup instead.
- Sew scattered sprinkles across the icing using colors B, C, and D, each about one stitch long.
- Sew the finished icing piece onto the cupcake base.
- Place the cupcake into the finished liner to complete the piece.
Important Remarks
- Safety eyes are not recommended for children under three; embroider the eyes instead if the finished piece is meant for a young child
- Fabric glue is optional throughout and can replace hand-sewn placement for the muzzle, smile, and cheeks
- The pastel palette can be swapped for any spring shades without affecting the pattern’s stitch counts
- Stuffing firmly around rounds 14–21 keeps the cupcake’s rounded shape from collapsing
- Weave in all tails securely, since the liner ribbing and heart piece both carry long working tails
Conclusion
This Crochet Bunny Cupcake Amigurumi turns a handful of small pieces into one irresistible Easter centerpiece. Between the ribbed liner, the heart-shaped face, and the fluffy ears, every stage adds its own charm without overwhelming your hook time. Once assembled, it makes a sweet basket filler, shelf decoration, or gift for anyone who loves crochet treats with personality.