Amazing Crochet Mini Christmas Bells Pattern at Home
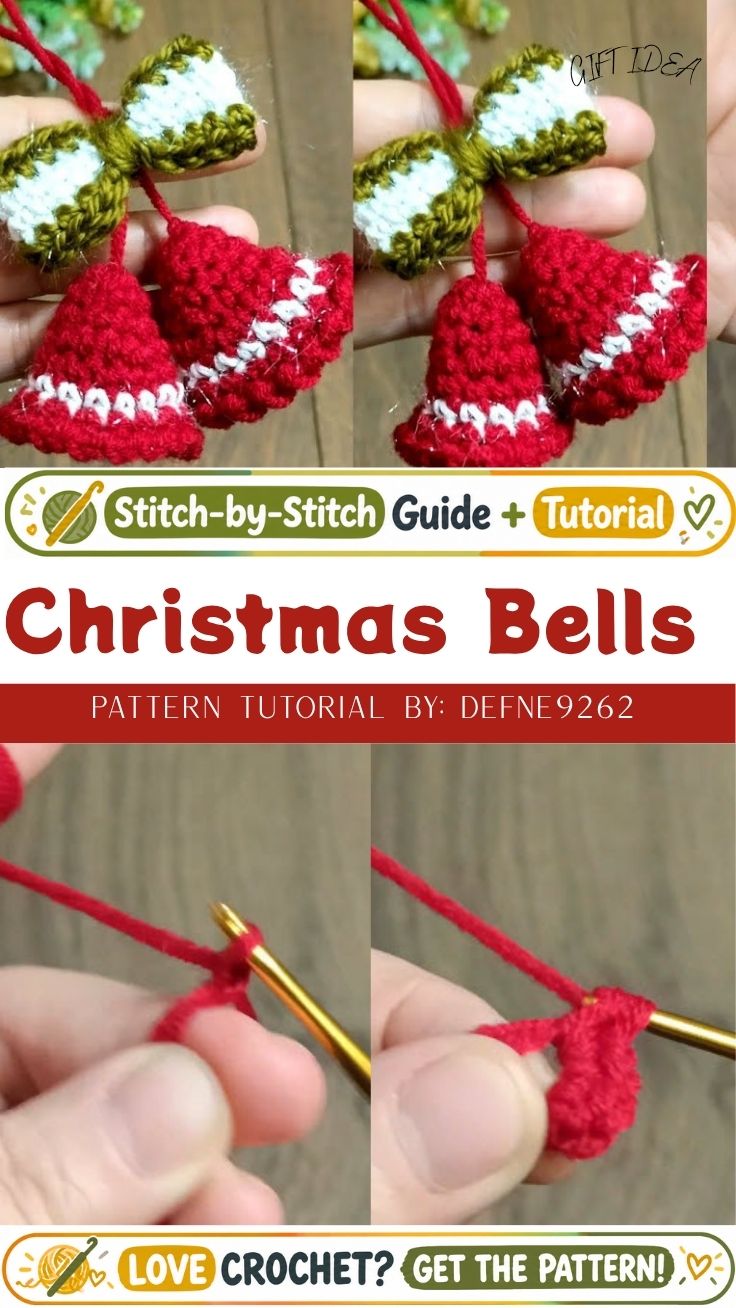
Red and white rounds spiral off one magic ring into this Amazing Crochet Mini Christmas Bells Pattern at Home, shaping a scalloped-mouth bell with a dangling clapper for the tree. Stiffened right, it holds a crisp flare for seasons, not just one hang on the branch.
What separates this bell from a plain round ornament is the shaping: increase rounds carry the crown outward into a true flare, not a ball, and a scalloped edge finishes the mouth with an even, lace-like ruffle instead of a raw hem. A dangling clapper swings free inside for a genuine bell silhouette, and the mini scale lets six or eight join one garland strand without crowding the tree.
Pattern Overview
- Finished size: about 2 in (5 cm) tall, 1.5 in (4 cm) across the mouth
- Techniques: magic ring, single crochet in continuous rounds, color-change stripe, shell/scallop trim, surface slip stitch loop
- Stiffening: required for the flare to hold – see Finishing
- Total active time: roughly 45–60 minutes per bell
- Best for: tree ornament, garland strand, or gift tag topper
Materials
- Worsted-weight (#4) mercerized cotton in a main color (red or green) and white for the contrast band – cotton takes stiffener crisper than acrylic and dries matte rather than shiny
- Small amount of matching or contrasting yarn for the hanging loop and clapper cord
- 2.5 mm (US B/1) hook, sized down from standard worsted gauge to keep mini stitches dense
- Yarn needle, stitch markers (4–6), scissors
- Light polyester fiberfill (crown only) or a small mold – a wooden bead, a trimmed foam cone, or a mini balloon knotted small
- Stiffening agent: fabric stiffener spray, sugar-water starch (1 part sugar to 2 parts boiling water, cooled), or PVA glue diluted 1:1 with water
Embellishment Options
Tiny buttons at the top of the flare, seed beads along the scallop points, a French-knot snowflake on one panel, a narrow ribbon bow at the hanger, or a mini pom-pom swapped in for the clapper.
Abbreviations
sc = single crochet · hdc = half double crochet · inc = increase (2 sc in one stitch) · dec = decrease (sc2tog) · sl st = slip stitch · ch = chain · rep = repeat
Important Stitches
Magic ring, sc, hdc, inc, dec, sl st, a 3-dc shell for the scalloped edge, a picot (ch 2, sl st in first ch), and a surface slip stitch worked over the finished fabric for the hanging loop.
Before You Start
Gauge is not critical for size here, but tension has to stay consistent round to round – loose stitches soak up stiffener unevenly and dry with visible gaps. Pick a stiffening method and a drying mold before the first stitch, since the mold decides how wide the flare needs to open.
Time Box
Prep and yarn prep: 5 minutes. Stitching the bell, trim, loop, and clapper: 40–50 minutes. Assembly: 5 minutes. Stiffener curing is separate from all of that plan on 4–6 hours for spray stiffener, or overnight for starch and diluted glue. None of that drying time is active crafting.
Bell Construction
Hanging Loop
Set this up mentally now, even though it’s worked last: mark the stitch that will sit at the exact center of the crown so the loop comes out centered instead of crooked.
Bell Crown (Top)
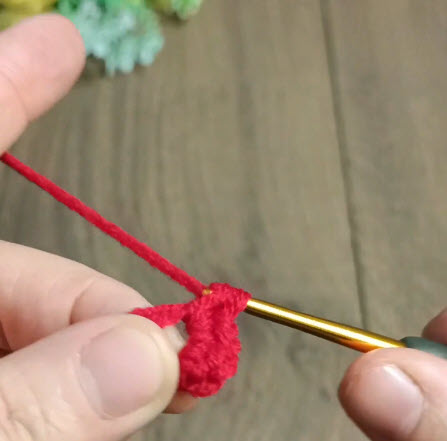
1. Foundation Round
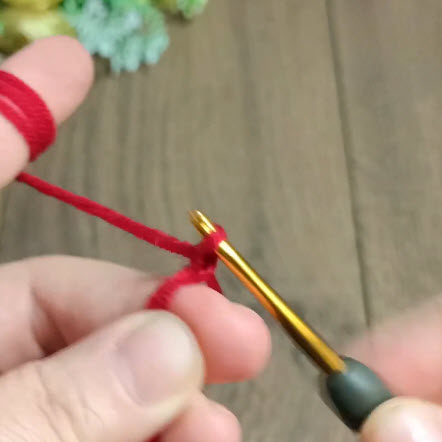
Make a magic ring and work 6 sc into it, then pull the tail to close.
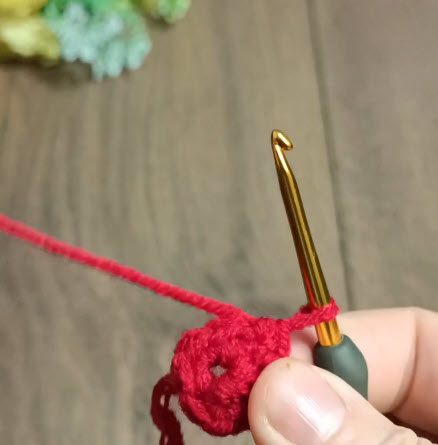
2. Close and Mark
Slip stitch to the first sc to join, and place a marker in that joining stitch; every round starts here.
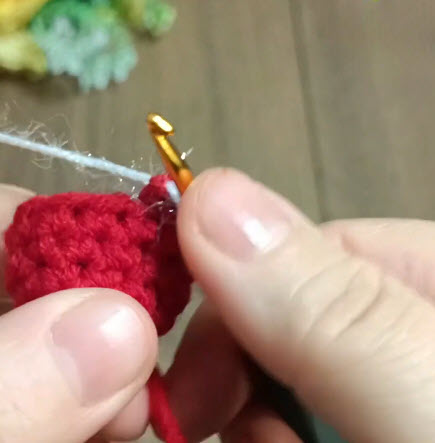
3. Shaping the Flare – Increase Round
Round 2: inc in every stitch (12 sc). Round 3: (sc, inc) around (18 sc). Round 4: sc even, no increases; this is the neck.
Bell Body (Flare / Increase Rounds)
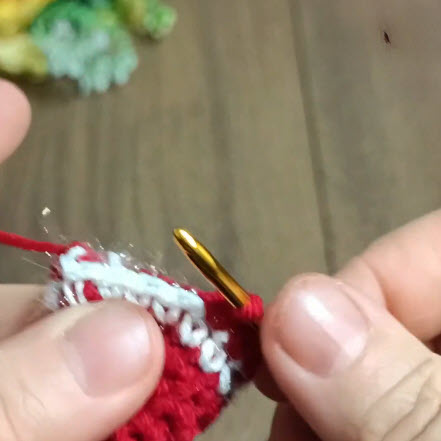
4. Contrast Band
Switch to white on the last pull-through of round 4. Work one full round of sc in white (18 sc), then cut white and rejoin the main color.
5. Resume the Flare
Rounds 5–6 in main color: (sc, sc, inc) around, increasing by 6 sts each round until the piece measures about 1.5 in (4 cm) across – typically 24 sc by round 6.
Pro-Tip: Before starting the scallop round, hold the piece mouth-up to the light. If you can see a gap or a pucker anywhere around the rim, that’s a missed or doubled increase – fix it now with a single compensating stitch in the next round rather than ripping back to the crown.
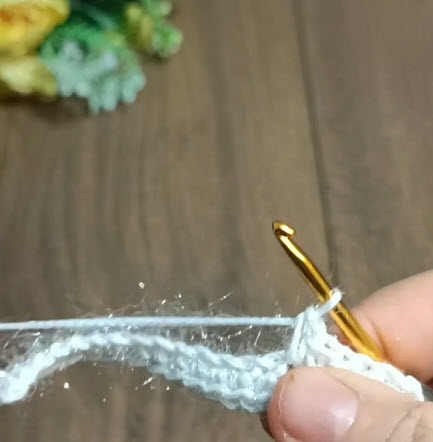
Scalloped Bottom Edge
6. Set Up the Repeat
Count total stitches around the mouth (24 in this size). Divide into a repeat of 3, placing a stitch marker at every third stitch: 8 markers, 8 shells.
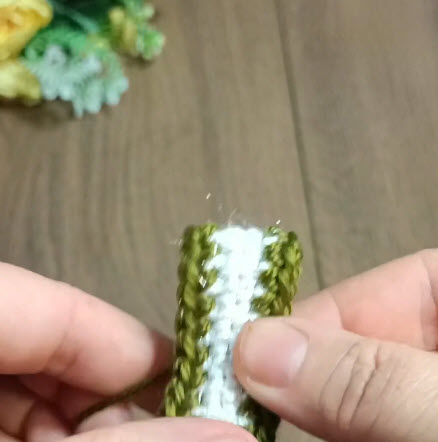
7. Work the Shells
At each marked stitch: (3 dc, picot) skip the next stitch, sl st in the following stitch, skip a stitch, repeat around. Fasten off, leaving a tail for the hanging loop.
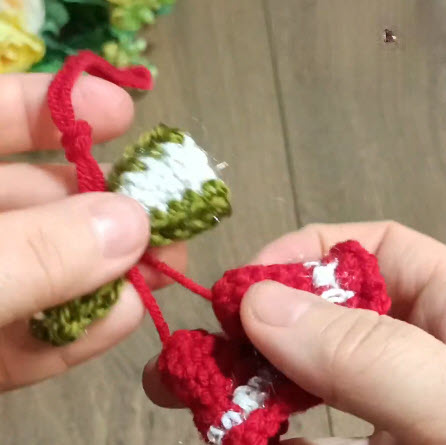
Clapper (optional dangling detail)
Crochet a tiny ball (magic ring 5, inc to 10, sc 2 rounds even, dec to close, stuff lightly) or thread on a wooden bead instead of a metal jingle bell if the ornament will be anywhere a small child or pet can reach it.
Assembly
Cut a cord 1.5 in (4 cm) long, secure the clapper to one end, and tack the other end to the inside centre-top of the bell. Measure this length against a ruler for every bell in a set so they hang at matching depth. Work the surface slip stitch loop starting and ending at the marked center-top stitch from earlier, chain 8–10, then slip stitch back down to the same point to close it. For a garland, join finished bells at their hanging loops with a length of the main-color yarn, spacing them 3–4 in apart along a foundation chain or ribbon.
Shape & Symmetry Check
Before closing the scallop round, fold the mouth flat and compare both halves; the increases should land in mirrored spots. Fold the finished bell in half again before attaching the clapper cord to confirm the hang point sits at the true center, not off to one side.
Stuffing & Stiffening Tips
Add a pinch of fiberfill to the crown only, right after round 4, before the flare rounds begin – stuffing the whole bell fights the shape once the stiffener sets. For a crisper mouth, skip stuffing there entirely and instead insert a mould — a small knotted balloon or trimmed foam cone – after stiffening, holding it in place with a pin until fully cured. Dry mouth-down or upside-down on a stand so the rim doesn’t flatten under its own weight.
Stitch Count Checkpoints
Round 1: 6 sc · Round 2: 12 sc · Round 3: 18 sc · Round 4 (contrast): 18 sc · Round 6: 24 sc before the scallop round.
Common Mistakes
Overstuffing so the flare collapses inward. Stiffener mixed too diluted (stays floppy) or too thick (dries brittle and cracks at the fold points). Skipping the mould, which lets the bell cave in as it dries. A crooked hanging loop from guessing the center stitch instead of marking it. Uneven scallop counts from not dividing the round before starting the trim.
Troubleshooting
A lopsided flare after stiffening usually traces back to an uneven increase round. Check stitch counts at each checkpoint next time, and for this piece, re-wet the section and re-shape it over the mold while damp. A caved-in mouth means it dried without support; re-dampen and dry again over a form. A crooked clapper can be fixed by picking out just the tacking stitches and re-centering, without touching the body.
Size Modification
For a larger bell, start with an 8-stitch magic ring and add one extra increase round before the neck; for a smaller one, drop to a 5-stitch ring and work one fewer flare round.
Color Variations
Classic red-and-white or green-and-white read as traditional Christmas colors, but a gold contrast band with cream reads more neutral for a farmhouse tree, and a single solid color with a white picot trim gives a cleaner, modern look for gift tags.
Care Instructions
Store stiffened bells flat or upright in a box rather than pressed under other ornaments, and keep them away from humidity, since starch and diluted glue both soften again in damp air. A quick re-stiffening the following season restores the crisp flare if it’s gone slightly soft in storage.
Personalization Ideas
Embroidered Snowflake
Add a small French-knot or lazy-daisy snowflake on the flare front before stiffening.
Bead Trim
Thread a seed bead onto each scallop picot as you work the trim round.
Pom-Pom Topper
Swap the crochet clapper for a marble-sized pom-pom for a softer, child-safe finish.
Garland Stringing
Join 6–8 bells at their loops along a length of twine for a mantel or tree-wrap garland.
Gift Tag
Skip the clapper, tie a ribbon through the hanging loop, and write a name on a small tag threaded through the same loop.
FAQs
Does a crochet Christmas bell need to be stiffened?
Without stiffening, the bell will flop rather than hold a flare, so stiffening is what gives the shape its structure; light stuffing alone won’t hold a mouth this open.
Can I use a real jingle bell inside instead of a crochet clapper?
Yes, but only for ornaments kept away from small children or pets, since a loose metal bell is a choking hazard if the stitching ever comes loose; a crochet ball or bead clapper is the safer default.
Will the bell hold its shape long-term?
Stiffened and stored dry, yes; humidity is the main thing that softens it back down over time.
How do I get a flared bell shape instead of a round ball?
Increases need to continue steadily through the body rounds rather than tapering off, which is what pushes the mouth outward instead of curving it back in like a sphere.
Is fabric stiffener safe to use indoors?
Work in a ventilated space and avoid prolonged skin contact; gloves help and keep wet pieces away from kids and pets until fully cured, since most sprays and glues aren’t meant to be handled wet.
Bonus Section Added: Batch-Drying Setup for Multiple Bells
When making a full garland, line up several molds (bottle caps, small cones, knotted balloons) on a drying rack or upturned egg carton so each bell cures at the same angle. This keeps the whole set’s flare consistent instead of some bells drying flatter than others.
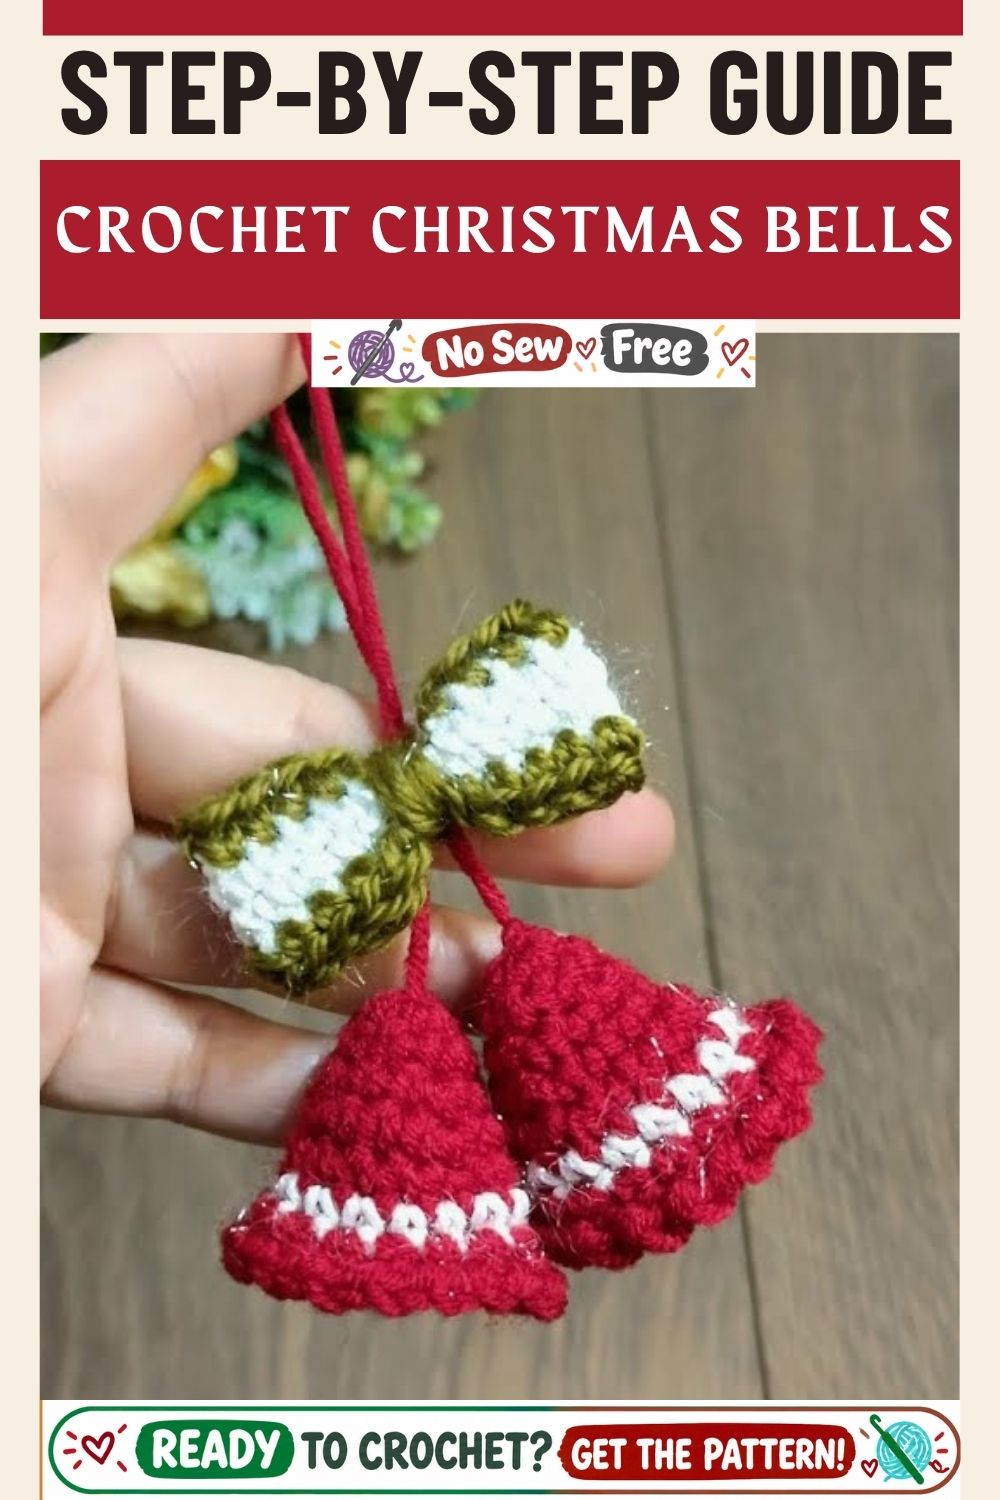
Finishing
Mix the stiffener per your chosen method, dip or brush the bell fully so the fibers saturate rather than just the surface, and blot excess with a paper towel before placing it over the mold. Sugar-water starch dries the softest and most matte; diluted PVA dries hardest and glossiest; spray stiffener sits between the two. Let it cure fully undisturbed – 4–6 hours for spray, overnight for starch or glue before removing the mold.