Crochet Mushroom Amigurumi Pattern for Handmade Decor
This little Crochet Mushroom Amigurumi is the kind of project that just makes you smile. It works up fast, looks adorable on any shelf, and feels good to make.
If you love quick weekend meals, this one is for you. The Crochet Mushroom Amigurumi uses basic stitches, comes together in a few hours, and gives you a chunky, squishy result. Honestly, it is hard to stop at just one. You will want a whole little mushroom family before long.
Pattern Overview
Here is a quick look at what makes this Crochet Mushroom Amigurumi pattern so beginner-friendly and fun to repeat.
- The body is worked in one continuous piece, so there is barely any sewing.
- You stuff as you go, which keeps the shape firm and even.
- The whole design uses simple increases and decreases only.
- A back loop and front loop section creates that classic mushroom ridge.
- The cap and stem flow together naturally, so the build feels smooth.
- You only sew on the spots at the end, which is the easy part.
In short, it is a clean and repeatable pattern. Once you make one, the next feels like second nature.
Special Techniques
A couple of small techniques give this mushroom its signature look. They sound fancy, but trust me, they are easy once you try them.
- Back loops only (BLO): This creates a sharp edge where the stem meets the cap.
- Front loops only (FLO): This adds the soft lip under the cap, giving it depth.
- Magic ring start: It keeps the bottom tight with no gap.
- Stuff as you go: You add filling while closing, so the shape stays plump.
Take these slow the first time. After a round or two, your hands will remember the rhythm.
Materials You Will Need
You do not need much for this project. Most of it is probably in your craft bag already.
- Yarn: Any yarn you like works here. I used Premier Basix and Bernat Blanket for a chunky feel.
- Hook size: Match it to your yarn. I went with a 7mm hook.
- Tapestry needle for sewing and weaving in ends.
- Scissors
- Stitch marker to track your rounds.
Abbreviations
Before you start, here is a quick key for the terms used below.
- SC single crochet
- MR magic ring
- INC increase
- DEC decrease
- BLO back loops only
- FLO front loops only
- CC color change
- SLST slip stitch
- FO fasten off
- ST stitch
- RND round
- CH chain
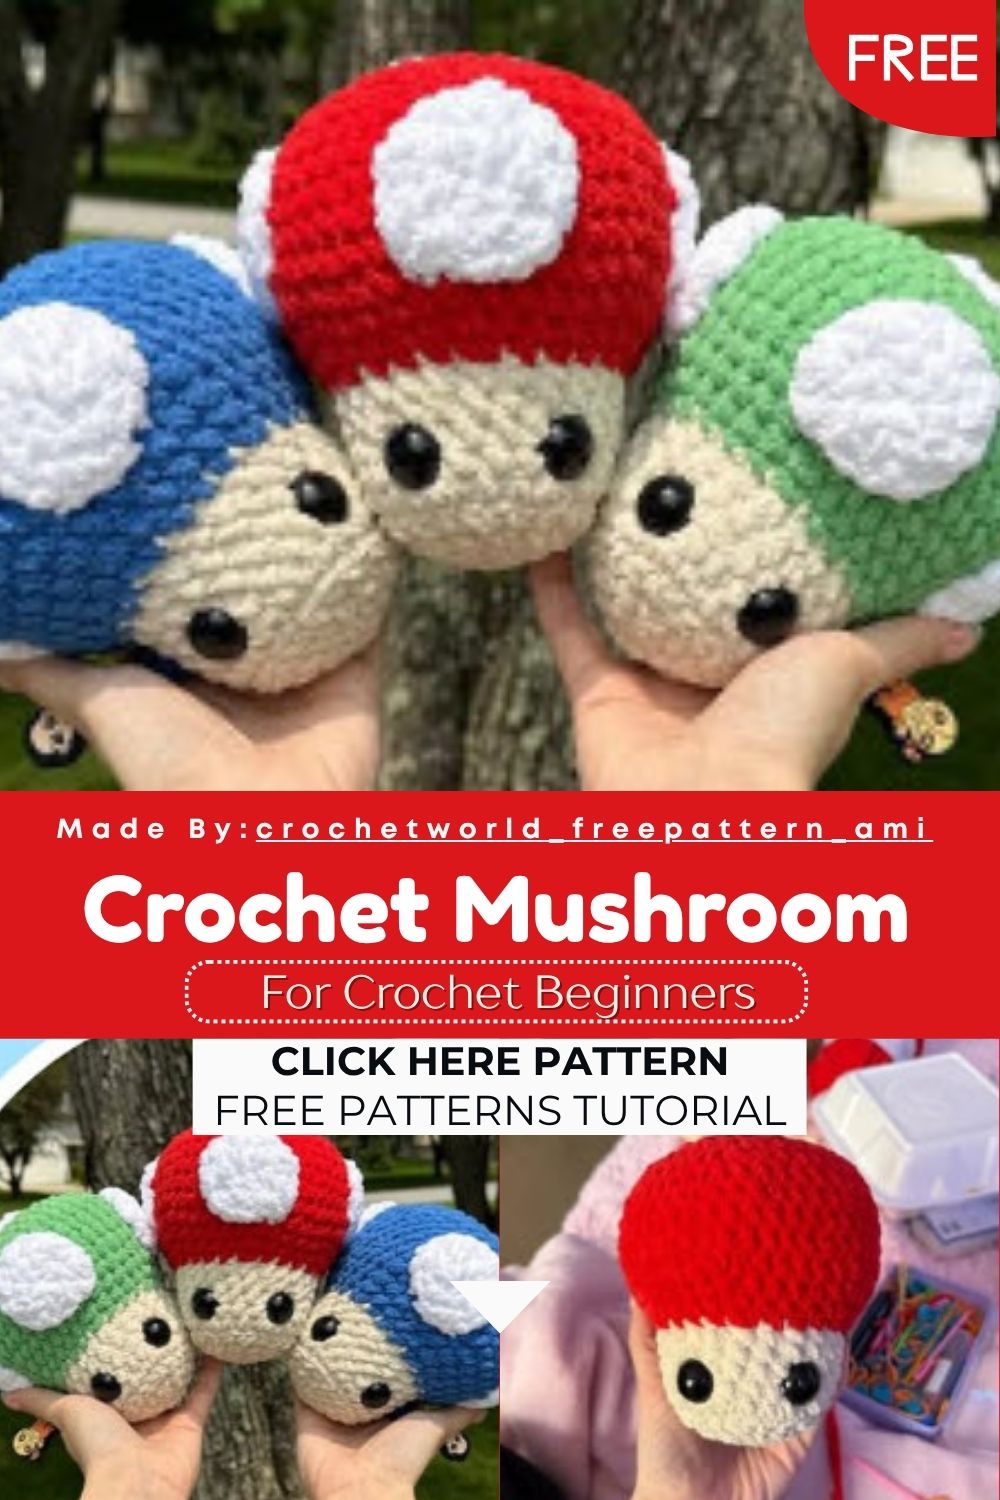
Which Color Mushroom Are You Making?
Pick a vibe and grab your colors. Each version uses the same body, just a different cap.
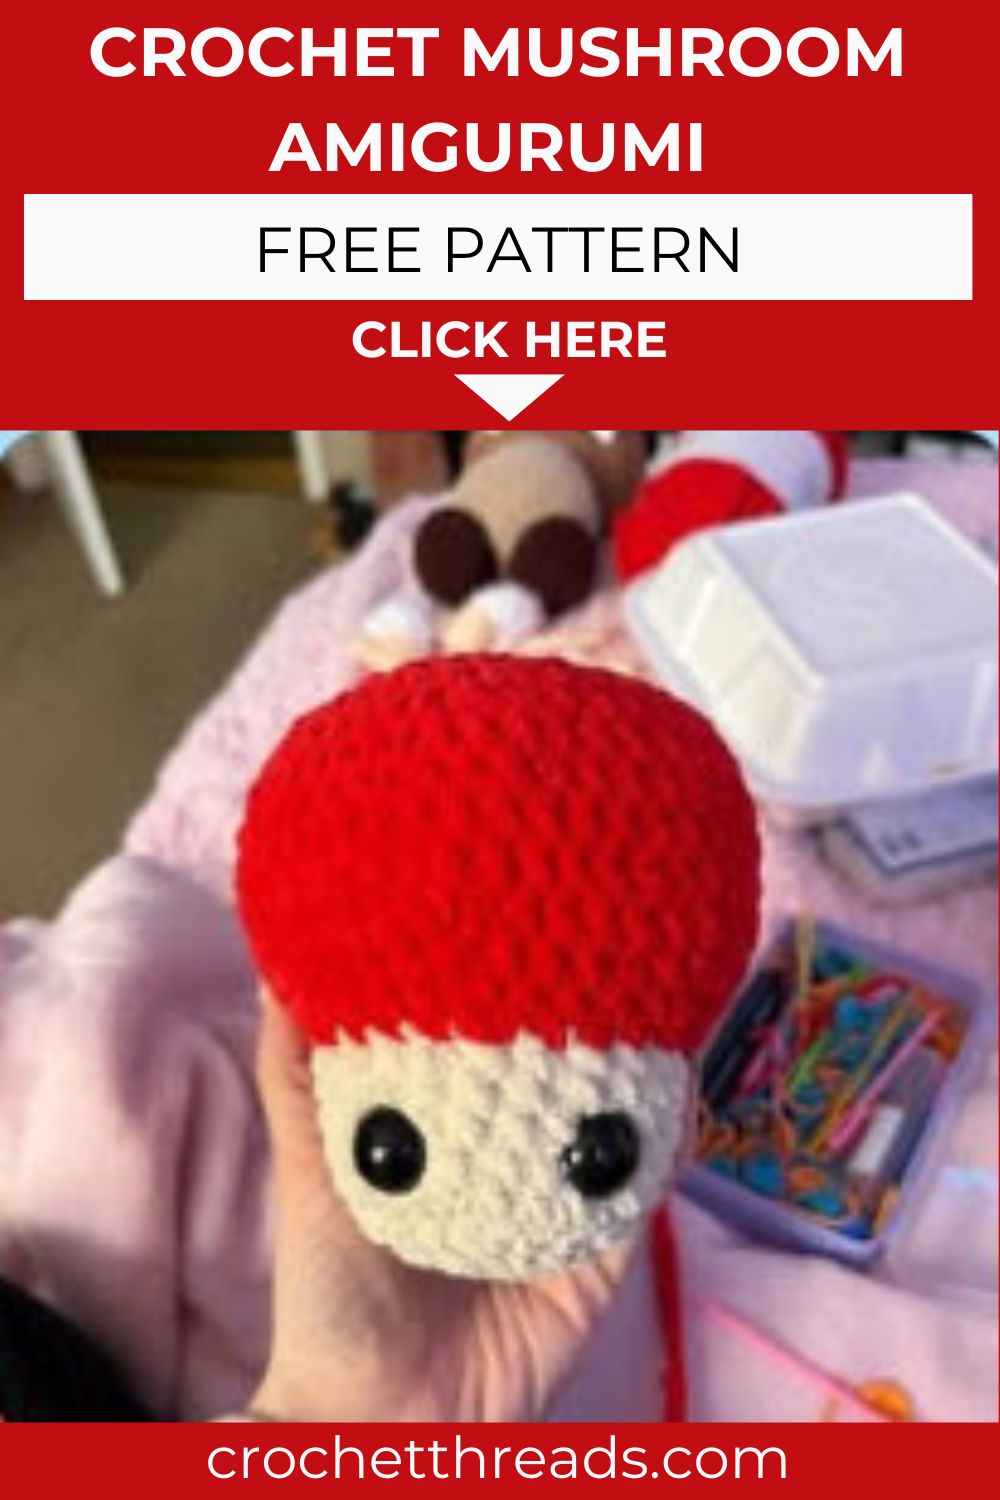
- Classic Red Mushroom: Red cap with white spots.
- Cool Blue Mushroom: Blue cap with white spots.
- Lucky Green Mushroom: Green cap with white spots.
The Mushroom Pattern
Stuff as you go in almond color for the stem, then switch to your cap color later.
1: MR 6 sc (6 st)
2: (inc) x6 (12 st)
3: (sc, inc) x6 (18 st)
4: (2 sc, inc) x6 (24 st)
5: In the BLO, sc around (24 st)
6 to 9: sc around (24 st) for 4 rounds
Insert safety eyes between rounds 7 and 8, about 4 stitches apart. Then change color to your cap shade.
10: In the FLO, (3 sc, inc) x6 (30 st)
11: (4 sc, inc) x6 (36 st)
12: (5 sc, inc) x6 (42 st)
13: (6 sc, inc) x6 (48 st)
14 to 17: sc around (48 st) for 4 rounds
Now you shape the top of the cap. Keep stuffing firmly as you close it up.
18: (6 sc, dec) x6 (42 st)
19: (5 sc, dec) x6 (36 st)
20: (4 sc, dec) x6 (30 st)
21: (3 sc, dec) x6 (24 st)
22: (2 sc, dec) x6 (18 st)
23: (sc, dec) x6 (12 st)
24: (dec) x6 (6 st)
Fasten off and leave a tail to sew the top closed.
Spots: Make 5
Work these in your spot color, usually white.
1: MR 6 (6 st)
2: (inc) x6 (12 st)
3: (sc, inc) x6 (18 st)
Fasten off and set them aside for assembly.
Customization and Variation
This is where you get to play. The base shape stays the same, but small changes give you a totally new look.
- Swap the cap color to match any theme, season, or room.
- Use sport weight yarn and a smaller hook for a mini version.
- Skip the safety eyes for a calm, faceless decor style.
- Add a tiny embroidered smile instead of plastic eyes.
- Try a speckled or gradient yarn for the cap for a magical effect.
- Make the spots bigger or smaller to change the whole personality.
So really, one pattern can give you dozens of unique mushrooms. Mix and match until it feels like yours.
Skill Level
This pattern sits at an easy to confident beginner level. If you can work a magic ring, single crochet, increase, and decrease, you already have every skill you need.
Common Mistakes to Avoid
A few little slip ups can trip people up. Here is what to watch for so your mushroom turns out clean.
- Forgetting your stitch marker: It is easy to lose your round count without one.
- Stuffing too late: Fill as you go, or the bottom stays flat and floppy.
- Wrong loop placement: The BLO and FLO rounds matter, so read them twice.
- Spacing the eyes wrong: Place them before closing, while you can still adjust.
- Pulling the spots too tight: Sew them on loosely so they sit flat and round.
Take your time on these steps. A slow round now saves a frustrating fix later.
Finishing Tips
Almost done. These final touches are what make a handmade piece look truly polished.
- Weave in all your ends fully so nothing pops out over time.
- Pin the spots in place before sewing to check the spacing.
- Sew the spots with matching thread for a clean, invisible finish.
- Give the cap a gentle shape with your hands once it is stuffed.
- Use a light steam or press if your yarn looks a little fuzzy.
Little details like these add up. They turn a cute make into a gift worthy keepsake.
Gifting Ideas
Honestly, these mushrooms make the sweetest little gifts. They are small, cheerful, and always a surprise.
- Tuck one into a gamer friend’s care package or desk setup.
- Add a keychain ring and turn it into a bag charm.
- Group three in different colors for a cozy shelf set.
- Pair one with a handwritten note for a thoughtful pick-me-up.
- Pop one in a kid’s Easter basket or stocking.
- Use them as quirky table decor for a themed party.
People love handmade gifts because they feel personal. A tiny mushroom says you cared enough to make something.
Assembly
Now bring it all together. Lay your finished Crochet Mushroom Amigurumi in front of you and grab your five spots.
First, place the spots across the cap and play with the layout. Once you like the spacing, pin them down. Then sew each one on with matching thread, going slow and keeping them flat. Finally, weave in any leftover ends and shape the cap with your hands. That is it, your mushroom is ready.
Conclusion
And there you have it, a chunky littleCrochet Mushroom Amigurumi you can make again and again. It is quick, it is forgiving, and it looks adorable in any color. Whether you keep it, gift it, or build a whole mushroom family, this pattern is a joy to come back to. So grab your hook, pick your favorite color, and have fun with it. Happy crocheting.