Crochet Doll Amigurumi Pattern With Blue Hair Girl in Yellow Raincoat
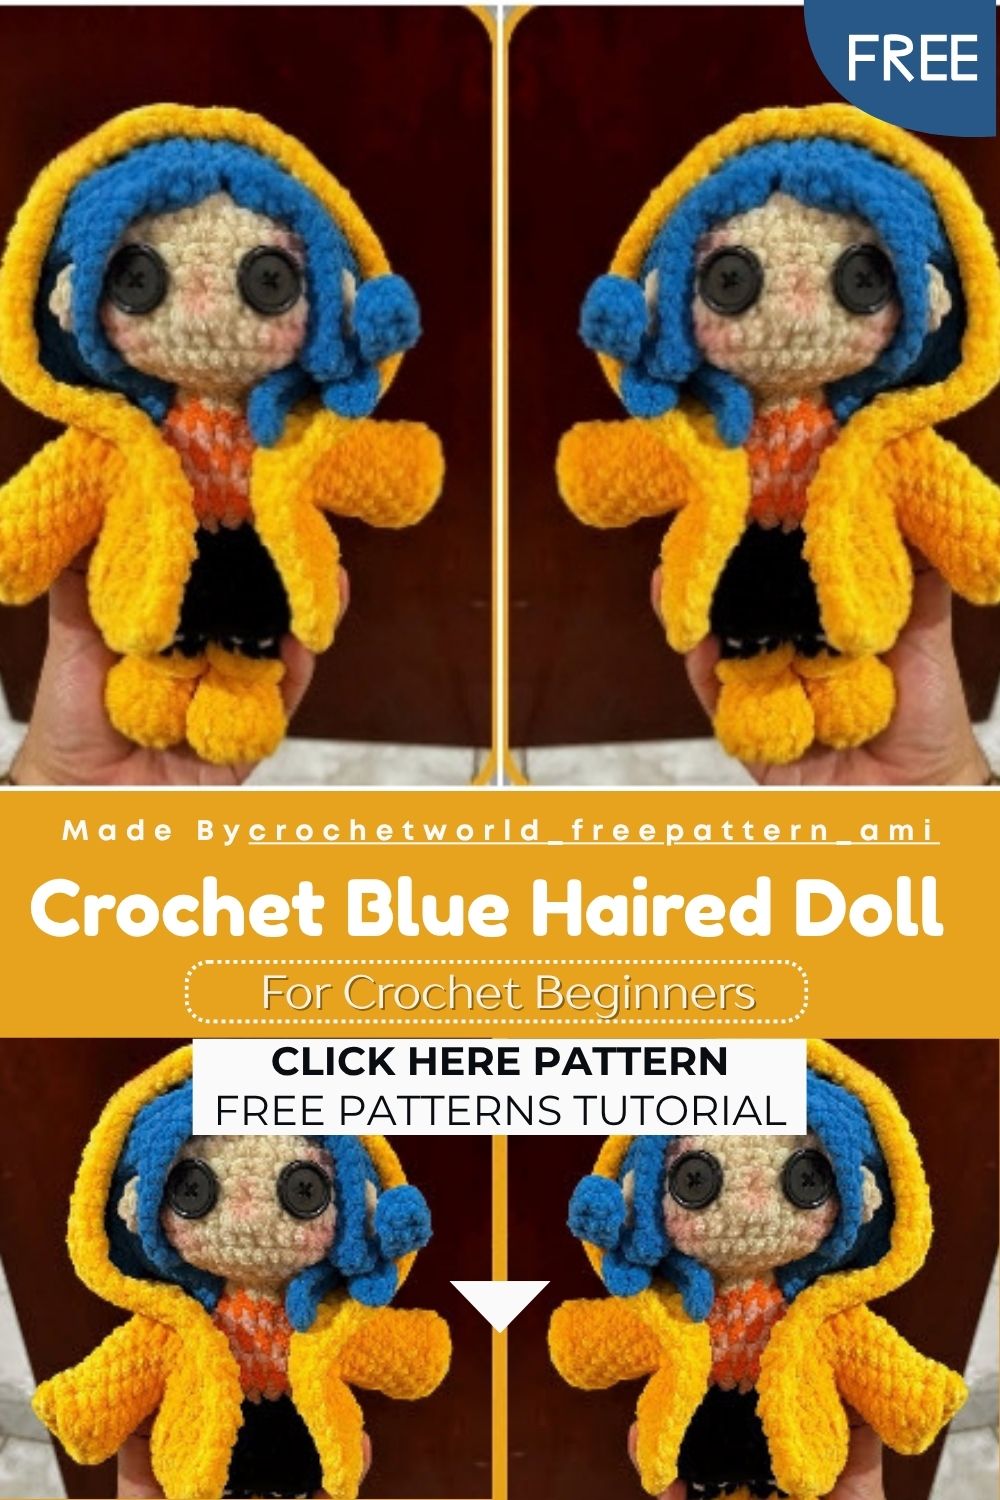
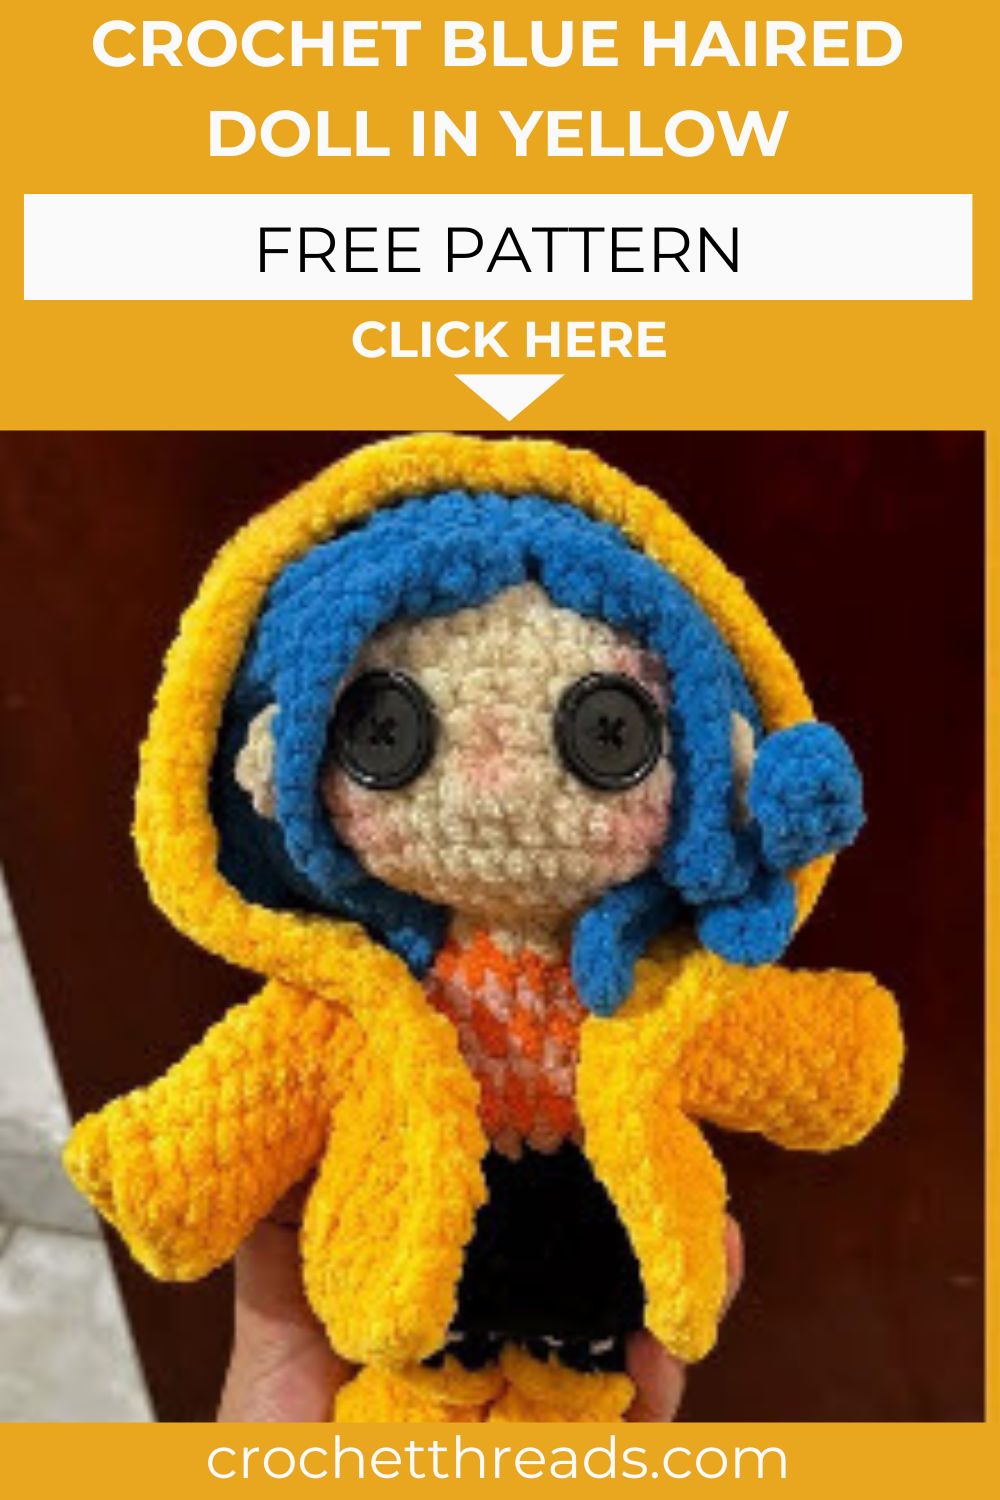
Some dolls don’t just brighten up a space; they bring it to life with their whole personality, and this blue-haired cutie Crochet Doll Amigurumi is exactly that. Dressed in a sunny yellow raincoat with striped sleeves, this little doll instantly makes any shelf charming and lively. The best part is that she’s made with the same soft, beginner-friendly stitches you already know, so this project is as easy as it is beautiful.
Rainy-day style never looked so cuddly. This blue-haired doll wears a cheerful yellow raincoat, striped sleeves, and tiny shoes you crochet right into her legs. You shape her in basic single crochet, add a head full of flowing blue locks, then dress her up piece by piece. For real, she makes a standout handmade gift, a nursery accent, or a cozy companion for a quiet, rainy window seat at home.
Skill Level
This Crochet Doll Amigurumi suits beginners with a little practice behind them. You will use single crochet, increases, decreases, color changes, and a few half-double stitches for the cozy raincoat.
Pattern Overview
Here’s the big picture before you cast on.
- You crochet the head, body, arms, and legs separately, then join them.
- Tiny shoes and striped tights form at the start of each leg.
- A blue hair cap with long locks frames her face.
- The yellow raincoat, with sleeves and a hood, slips on as a layer.
- A short skirt and embroidered details round out her look.
Special Techniques
This doll mixes a few core skills into one rewarding make.
- Color changing: Swap shades mid-round for the striped sleeves and tights.
- Working in BLO and FLO: Define crisp edges and anchor the skirt.
- Joining the legs: Bridge both legs with a small chain to start the body.
- Attaching arms mid-round: Crochet the arms straight onto the body as you go.
- Posing with wire: Thread wire or pipe cleaners through the arms for movement.
Materials
- 5.5 mm crochet hook
- 22 mm safety eyes
- Yarn needle
- Polyester stuffing
- Pins
- Hot glue gun and glue sticks
- Cotton thread for face details
- Stitch marker
- Galvanized wire or pipe cleaners (optional, for posing)
- Worsted or velvet yarn in skin tone, blue (hair), yellow (raincoat), black (shoes), white, and a couple of accent colors for stripes
Abbreviations
The Crochet Doll Amigurumi pattern uses US crochet terms. Place a stitch marker in the last stitch of each round.
- MR – magic ring
- sc – single crochet
- hdc – half double crochet
- dc – double crochet
- ch – chain
- sl st – slip stitch
- inc – increase
- dec – decrease
- BLO – back loop only
- FLO – front loop only
- ( ) – repeat the sequence the stated number of times
The finished doll stands about 20 to 23 cm tall, though size shifts with your yarn and tension.
The Pattern
Work each piece in order, and count your stitches after every round.
Head (in skin tone)
- R1: 6 sc in MR (6)
- R2: inc x6 (12)
- R3: (1 sc, inc) x6 (18)
- R4: (2 sc, inc) x6 (24)
- R5: (3 sc, inc) x6 (30)
- R6: (4 sc, inc) x6 (36)
- R7–13: 36 sc (36)
Insert the safety eyes between R9 and R10, about 6 stitches apart.
- R14: (4 sc, dec) x6 (30)
- R15: (3 sc, dec) x6 (24)
- R16: (2 sc, dec) x6 (18)
Start stuffing firmly.
- R17: (1 sc, dec) x6 (12)
Fasten off, leaving a long tail to sew the head onto the body.
Face Details
Embroider a small nose between R11 and R12, taking 2 stitches. Embroider the eyebrows over 4 stitches on R6, about 3 stitches apart. For ears, make 7 sc in a magic ring and sew one at each side, level with R10, about 3 stitches out from the eyes.
Arms (Make 2, in skin tone)
- R1: 6 sc in MR (6)
- R2–3: 6 sc (6)
Change to your first stripe color.
- R4–11: 6 sc, switching color every round for a striped sleeve (6)
Fold the top flat and sc 3 across to close. Fasten off, leaving a tail. Do not stuff. Thread wire through if you want posable arms.
Legs and Body
Legs (make 2), starting in black for the shoes:
- R1: 6 sc in MR (6)
- R2: inc x6 (12)
- R3: (1 sc, inc) x6 (18)
- R4: BLO 18 sc (18)
- R5: 18 sc (18)
- R6: (1 sc, dec) x6 (12)
Change to your tights color.
- R7–13: 12 sc, alternating two colors each round for stripes (12)
Finish the first leg and fasten off. Make the second leg the same way, but do not fasten off. On the second leg, ch 2, then join to the first leg with the feet facing forward. Mark this first stitch.
Now work the body across both legs:
- R14: 12 sc around the first leg, 2 sc in the ch, 12 sc around the second leg, 2 sc in the ch (28)
- R15–17: 28 sc (28)
- R18: (5 sc, dec) x4 (24)
- R19–20: 24 sc (24)
- R21: (4 sc, dec) x4 (20)
- R22: 20 sc (20)
- R23: (3 sc, dec) x4 (16)
- R24: 2 sc, 3 sc joining the first arm, 6 sc, 3 sc joining the second arm, 2 sc (16)
- R25: (2 sc, dec) x4 (12)
Stuff the body firmly.
- R26: 12 sc (12)
Fasten off, leaving a long tail to sew the head on.
Skirt (in a contrast color)
Work into the front loops of R16. Join your yarn to any front loop.
- R1: (6 sc, inc) x4 (32)
- R2: (7 sc, inc) x4 (36)
- R3–5: 36 sc (36)
Fasten off and weave in the tail.
Hair (in blue)
Make the cap first:
- R1: 6 sc in MR (6)
- R2: inc x6 (12)
- R3: (1 sc, inc) x6 (18)
- R4: (2 sc, inc) x6 (24)
- R5: (3 sc, inc) x6 (30)
- R6: (4 sc, inc) x6 (36)
- R7–10: 36 sc (36)
Now add the locks. For each strand, ch 15, work 14 hdc back along the chain from the 2nd ch from the hook, then sl st into the next cap stitch. Repeat in each stitch around the front and sides, using shorter chains of 10 to 12 for the front bangs. Fasten off and weave in the ends.
Raincoat (in yellow)
Sleeves (make 2): ch 12 and join into a ring with a sl st.
- R1–8: 12 sc (12)
Fasten off.
Coat body, worked flat in rows:
- Foundation: ch 31
- R1: 1 hdc in the 3rd ch from the hook and in each ch across, turn (28)
- R2–4: ch 2, 28 hdc, turn (28)
- R5: ch 2, 4 hdc, attach a sleeve over the next 6 stitches by working through both layers, 8 hdc across the back, attach the second sleeve over the next 6 stitches the same way, 4 hdc, turn (28)
- R6: ch 2, (2 hdc, dec) x7, turn (21)
- R7: ch 2, 21 hdc (21)
Fasten off.
Hood, worked from the neckline in rows:
- H1: ch 1, work 21 sc evenly along the neck edge, turn (21)
- H2–9: ch 1, 21 sc, turn (21)
Fold the hood in half and sc across the top to close the seam. Fasten off and weave in the ends.
Common Mistakes to Avoid
A Crochet Doll Amigurumi has a few spots that trip people up.
- Stuffing the head too loosely, which lets the face flatten.
- Changing colors with a hard yank, which puckers the stripes.
- Joining the legs with a twist, so the feet end up facing sideways.
- Sewing the head on crooked, which tilts her whole expression.
- Skipping pins before sewing, then placing pieces unevenly.
Assembly
Once every piece is ready, she comes together step by step. Pin first, then sew.
- Sew the head onto the neck, centered and facing forward.
- Place the hair cap over the head, then position and secure the locks.
- Attach the arms to the sides if you crocheted them as separate pieces.
- Add the nose and eyebrows, with the eyes set before closing.
- Dress the doll in her skirt and raincoat, then adjust the hood and sleeves.
Important Remarks
Keep these notes close as you build.
- Place the safety eyes before stuffing; you cannot move them later.
- Carry unused colors loosely up the inside to avoid bulky knots.
- Count your stitches after every shaping round.
- Leave long tails on the head and arms for sewing.
- Thread the wire through the arms only if you want them to bend and hold a pose.
Conclusion
Step back and admire your work: a bright-haired Crochet Doll Amigurumi ready for any rainy-day adventure. She makes a heartfelt gift, a shelf favorite, or a keepsake someone will treasure. Take each piece slowly, enjoy the color play, and let her personality shine through every stitch.