Crochet Pop Tart Turtle Amigurumi Pattern
This Crochet Turtle Pattern turns an amigurumi turtle into a snack-inspired cutie: a Pop Tart Turtle with icing and sprinkles. It’s beginner-friendly, plush-style, and written step by step so you can crochet along like a YouTube tutorial.
Amigurumi is the art of crocheting small stuffed toys, and it’s one of the most satisfying ways to learn shaping with simple stitches. Once you’ve made a basic round plush, the next fun step is trying a “mashup” design where two cute ideas combine into one unforgettable character. That’s exactly why the Pop-Tart Turtle trend is so loved: it blends a sweet little turtle with a playful food theme. Instead of a traditional shell, this turtle carries a Pop-Tarts-style shell with:
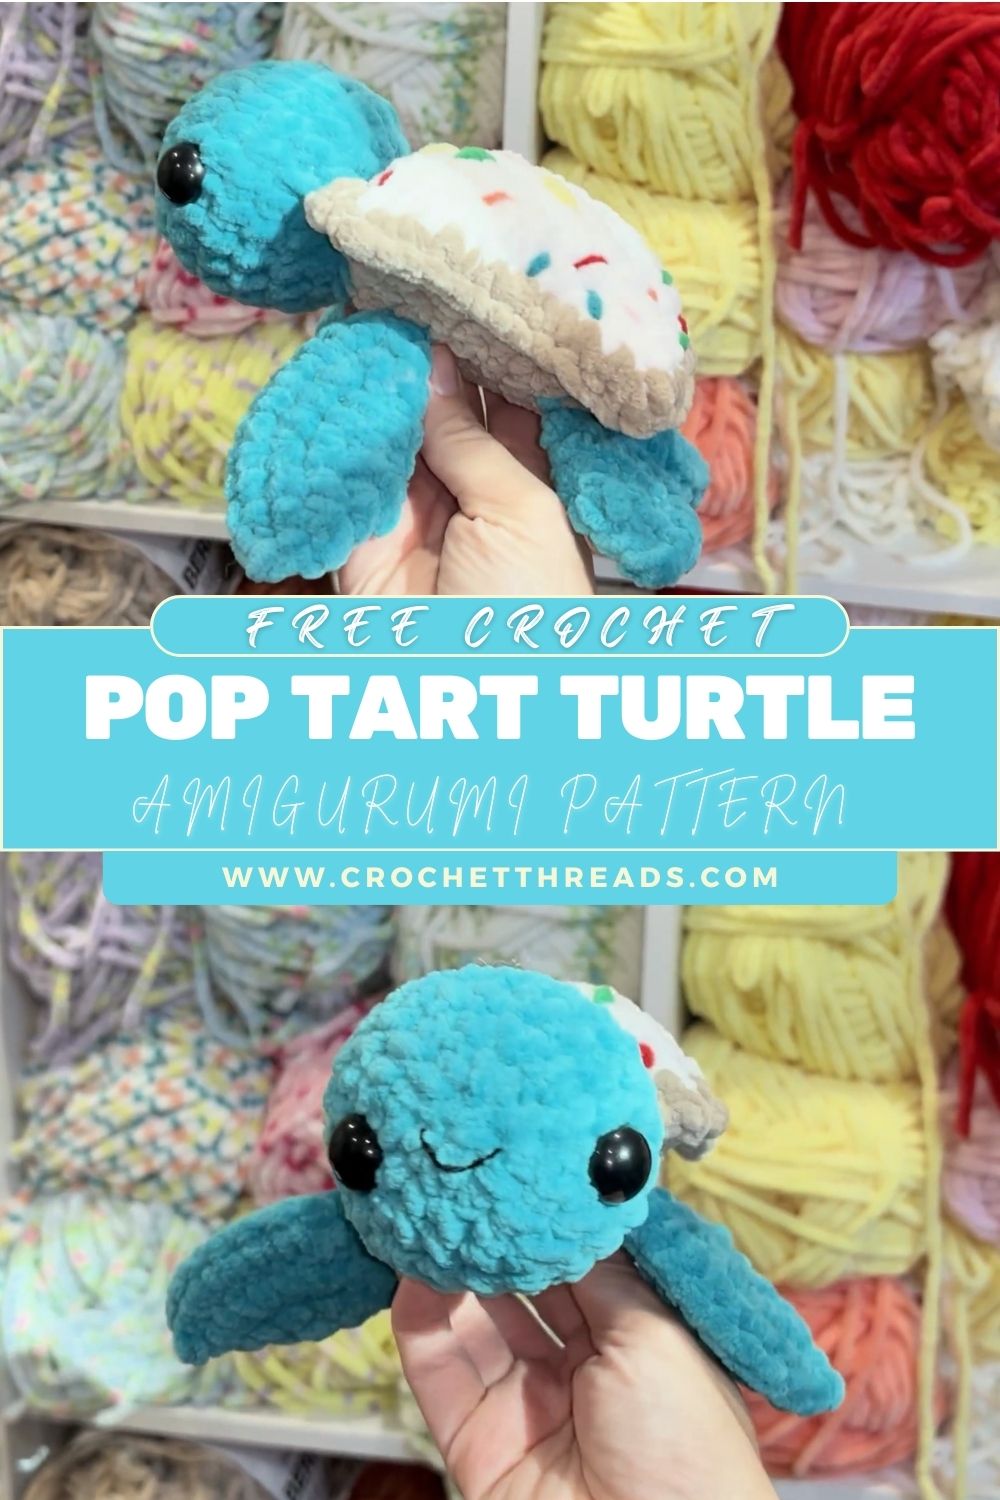
- Soft beige crust edges
- A smooth white icing panel
- Colourful sprinkles are stitched on top
The turtle itself is made from blue or teal plush/chunky yarn, giving it that squishy, cosy texture you often see in plush-style crochet patterns and step-by-step YouTube tutorials. Add large safety eyes, round limbs, and a simple head shape, and you get a beginner-friendly amigurumi that looks impressive without being complicated.
This project is perfect if you want something that’s:
- Relaxing (repetitive rounds and simple sewing)
- Creative (infinite icing/sprinkle colour combos)
- Gift-worthy (cute for birthdays, holidays, and desk decor)
- Customizable (make it mini for keychains or bigger for plushies)
Materials Needed
For the plush look, choose a chunky chenille/velvet yarn if possible. You can also use worsted yarn; your turtle will just look less fluffy and more “classic amigurumi.”
- Blue/teal yarn: turtle head, body, legs
- Beige yarn: Pop-Tart crust shell base (+ optional edging)
- White yarn: icing layer
- Colored yarn (scraps): sprinkles (pink, yellow, aqua, purple, etc.)
- Crochet hook: 5.0 mm–7.0 mm (match your plush yarn; use a smaller hook for tighter fabric)
- Fiberfill stuffing
- Safety eyes: 10–14 mm (big eyes fit the whimsical look)
- Yarn needle, scissors, stitch marker
Optional: felt circles for cheeks, embroidery thread for a smile, fabric glue (only for decorative sprinkle bits, if preferred).
Skill Level
Beginner / Advanced Beginner
You should be comfortable with:
- Single crochet in continuous rounds
- Increases and decreases
- Basic sewing/assembly (simple whip stitch)
Plush yarn can be trickier to count, but the shapes here are forgiving and perfect for learning.
Crochet Abbreviations
- MR = Magic Ring
- sc = single crochet
- inc = increase (2 sc in the same stitch)
- dec = decrease (sc2tog; invisible decrease recommended)
- sl st = slip stitch
- ch = chain
- st = stitch
- FO = fasten off
Finished Size
Approximate size using chunky yarn and a 6 mm hook:
- 15–20 cm (6–8 in) long
Size varies depending on:
- yarn thickness
- hook size
- stuffing firmness
- how tightly you crochet
Design Overview (What You’ll Crochet)
This Pop-Tart Turtle is built from easy, beginner-friendly parts:
- Head: round, plush sphere with large safety eyes
- Body: simple oval/round base to support the shell
- Legs (4): small, rounded limbs
- Shell base (Pop-Tart crust): rounded rectangle in beige
- Icing layer: white panel sewn to the top of the shell
- Sprinkles: embroidered dashes and dots for that classic toaster pastry look
- Face: eyes + optional tiny smile
Step-by-Step Crochet Pattern (Beginner-Friendly & Usable)
Important Notes Before You Start
- Work in continuous rounds unless noted.
- Use a stitch marker to mark the first stitch of each round.
- Stitch counts are in parentheses at the end of each round.
- For plush yarn: focus on counting, not appearance; the stitches can look “blended.”
Tension tip: With plush yarn, use a hook size that gives a tight fabric (no gaps). If stuffing shows, go down a hook size.
A) Head (Blue/Teal)
Round 1: MR, 6 sc (6)
Round 2: inc around (12)
Round 3: (sc, inc) around (18)
Round 4: (2 sc, inc) around (24)
Round 5: (3 sc, inc) around (30)
Rounds 6–8: sc around (30)
Safety Eye Placement
Insert safety eyes between Rounds 7 and 8, about 7–8 stitches apart.
- Wider spacing = cuter, “kawaii” look
- Slightly closer = more baby-like expression
Round 10: (2 sc, dec) around (18)
Start stuffing the head firmly but smoothly.
Add a bit more stuffing.
FO, close the hole. Weave it in the end (or leave a long tail for sewing).
B) Body (Blue/Teal)
This body is a compact oval shape, so the Pop-Tart shell sits nicely on top.
Round 1: MR, 6 sc (6)
Round 2: inc around (12)
Round 3: (sc, inc) around (18)
Round 4: (2 sc, inc) around (24)
Round 5: (3 sc, inc) around (30)
Round 6: sc around (30)
Round 7: sc around (30)
Round 8: (3 sc, dec) around (24)
Start stuffing. Keep it plush, not rock-hard.
Round 9: (2 sc, dec) around (18)
Add more stuffing, shaping it into a slightly flattened oval.
Round 10: (sc, dec) around (12)
Round 11: dec around (6)
FO, close the hole.
C) Legs (Make 4, Blue/Teal)
These are small, rounded nubs perfect for a plush-style turtle.
Round 1: MR, 6 sc (6)
Round 2: (sc, inc) around (9)
Rounds 3–4: sc around (9)
Lightly stuff (optional). For extra squish, leave unstuffed.
Round 5: (sc, dec) around (6)
FO, leave a long tail for sewing.
Tip: If you want the front legs slightly smaller, make 2 legs without Round 4 (only 3 rounds total before decreasing).
D) Shell Base (Pop-Tart Crust – Beige)
We’ll crochet a rounded rectangle. This creates the classic Pop-Tart silhouette: a flat-ish top, rounded corners, and a crusty edge.
Shell Base Panel (Beige, worked in rows)
Ch 11 (adjust length if you want a longer tart)
Row 1: sc in 2nd ch from hook and across (10), ch 1, turn
Row 2–6: sc across (10), ch 1, turn
Do not FO.
Now we round the rectangle by working around the outside (this smooths the corners).
Round the Edges (Beige, working around)
Working around the panel:
- sc evenly along the side (about 6 sc)
- 3 sc in the corner
- sc across the bottom (10 sc)
- 3 sc in corner
- sc evenly up the other side (about 6 sc)
- 3 sc in corner
- sc across the top (10 sc)
- 3 sc in corner
You should have approximately (44 sts) total around (counts may vary slightly depending on how many you place on the short sides; consistency matters more than perfection).
Next Round (Crust thickness): sc around, placing inc in each corner stitch to keep it rounded and flat (about 48 sts)
FO, weave in end.
Optional “Crimped Crust” Edge (Beginner-Friendly)
For a cute crust texture, add one decorative round:
- Join beige yarn anywhere on the edge
- (sl st, ch 1) repeat around
This creates a simple, bumpy ridge without complicated stitches.
E) Icing Layer (White)
This is a smaller panel sewn onto the shell base. It should leave a visible beige crust border.
Icing Panel (White, worked in rows)
Ch 9
Row 1: sc in 2nd ch from hook and across (8), ch 1, turn
Row 2–5: sc across (8), ch 1, turn
FO, leave a long tail for sewing.
Sizing tip: If your shell base looks wider, add 1–2 rows to the icing. If it looks too big, remove a row. The goal is a neat beige border.
F) Sprinkles (Colored Yarn Embroidery)
Sprinkles are the detail that makes the Pop-Tart instantly recognizable
With a yarn needle and small yarn scraps:
- Stitch short straight dashes (about 0.5–1 cm)
- Mix directions: some vertical, some diagonal
- Add a few tiny dot stitches for variety
Colour ideas:
- Pink + yellow + aqua = pastel kawaii
- Rainbow sprinkles = classic fun
- Brown + tan + cream = “cinnamon sugar” vibe
Tip for plush yarn: Embroidery can sink into fluff. Use a slightly thicker strand (or double strand) if needed.
G) Assembly (Attach Shell + Legs + Head)
We’ll build the turtle in a way that feels like a tutorial: place parts, pin, sew, then finalize details.
H) Face Details (Eyes + Optional Smile)
- Eyes: already placed on the head (Rounds 7–8)
- Optional smile: embroider a small curved line under the eyes with black thread or yarn
A tiny smile is enough. Pop-Tart Turtle looks cutest with minimal facial features.
Assembly Instructions (Step-by-Step + Placement Tips)
Step 1: Sew Head to Body
- Position head on the front/top of the body (no neck look).
- Thread needle with head tail (or new yarn).
- Sew through stitches on the head and body using whip stitch.
- Before closing completely, add a pinch of stuffing if the front looks flat.
- Finish seam and weave in ends.
Symmetry check: Look from the side, the head should tilt slightly upward (cute), not downward (sleepy).
Step 2: Attach Legs (4)
- Place two legs on each side of the body:
- The front pair is closer to the head
- Back pair closer to the shell’s rear
- Sew each leg securely.
- Make sure the turtle balances and sits evenly.
Beginner trick: Attach the first leg, then count stitches to match placement on the opposite side.
Step 3: Build the Pop-Tart Shell Top (Icing + Sprinkles)
- Sew the white icing panel onto the centre of the beige shell base.
- Add sprinkles by embroidering colored dash stitches across the icing.
Do this before attaching the shell to the turtle body, as it is much easier to handle flat.
Step 4: Attach Shell to Body
- Centre the Pop-Tart shell on the turtle’s back (beige side down).
- Pin in place (use stitch markers at four points: front, back, left, right).
- Sew around the edge to attach the sleeve to the body.
Optional: Give the Shell a Slight Puff
Before you fully close the seam:
- Add a small amount of stuffing under the shell (between the shell and the body)
- This creates a rounded “toaster pastry” look
Stuffing Tips (Keep It Plush, Not Stiff)
- Stuff the head firmly to create a cute, round face.
- Stuff the body moderately; too much stuffing can distort the shell placement.
- For plush yarn, avoid overstuffing because it can stretch openings.
- Use small pieces of fiberfill and push them into the edges to smooth the shape.
Beginner Tips (Especially for Plush Yarn)
Stitch Counting
- Count every round. Plush yarn hides stitches, so counting is your best tool.
- Use a stitch marker and move it each round.
Magic Ring Help
If MR feels frustrated with chunky yarn:
- Ch 2, then work 6 sc into the first chain, then continue as written.
Invisible Decrease (Smoother Shaping)
Plush amigurumi looks cleaner with invisible decreases:
- Insert hook into front loop of next st, then front loop of next st, yarn over and pull through, yarn over and pull through 2.
CColourChanges (If You Add Details)
When switching colours (for example, if you want a lighter belly):
- Change colour on the last yarn-over of the stitch before the new colour begins. Customisation Ideas (Make Your Pop-Tart Turtle Unique)
- Different icing colours: pink icing, chocolate icing, mint icing, lavender icing
- Flavourr themes:
- Strawberry: pink icing + red sprinkles
- Chocolate: brown icing + rainbow sprinkles
- Blueberry: pale purple icing + navy sprinkles
- Mini keychain version: use DK yarn + 3 mm hook; add a small loop on the shell corner
- Pastel kawaii style: pastel body + blush cheeks + star sprinkles
- Extra details: add a tiny frosting “drip” edge with surface crochet
Common Mistakes to Avoid
- Uneven stuffing creates a lumpy head/body. Add stuffing gradually and shape as you go.
- Loose stitches: stuffing may show; go down a hook size and keep tension even.
- Wrong stitch count: pieces won’t match size; recount if the head/body looks pointy or wavy.
- Misaligned shell: pin at four points before sewing so the Pop-Tart sits centred.
- Icing is too large; it should leave a beige-crust border. Resize by changing rows/chains.
Care Instructions
- Spot clean with mild soap and a damp cloth.
- Air dry completely; reshape while damp.
- Avoid aggressive washing, plush yarn can shed or fuzz.
- Store away from direct sunlight to prevent fading (especially bright icing/sprinkles).
Safety note: Safety eyes are not recommended for children under 3. For baby-safe toys, embroider eyes instead.
Who Is This Pattern For?
This Pop-Tarts Turtle amigurumi is great for:
- Beginners who want a cute plush project using basic stitches
- DIY bloggers looking for a trendy crochet mashup design (food + animal)
- Gift makers (birthdays, stocking stuffers, “just because” gifts)
- Etsy sellers who want a fun, recognizable plush concept (see FAQ)
- Crochet hobbyists who love whimsical, customizable patterns
Conclusion
A Pop-Tart Turtle is the kind of amigurumi that makes people instantly smile. You get the cosy comfort of a plush turtle with big eyes, round limbs, and a squishy body, plus the creative charm of a frosted pastry shell with sprinkles. It’s beginner-friendly, works up quickly, and offers endless color variations so that you can make one turtle… and then “just one more flavor.”If you’re following a step-by-step YouTube tutorial style, use this written pattern as your roadmap: count your stitches, take your time with assembly, and enjoy the process.