Crochet Shrimp Amigurumi Pattern with Easy Instructions
Crochet shrimp amigurumi combines whimsy and simplicity in one adorable little sea creature that anyone can make in an afternoon. Bright colors, a curled tail, and tiny googly eyes give this project instant charm, whether it ends up on a keychain, a shelf, or a child’s play kitchen. Crafters who love quick, satisfying wins will find this pattern especially rewarding. Beginners get to practice essential stitches without feeling overwhelmed by complicated shaping.
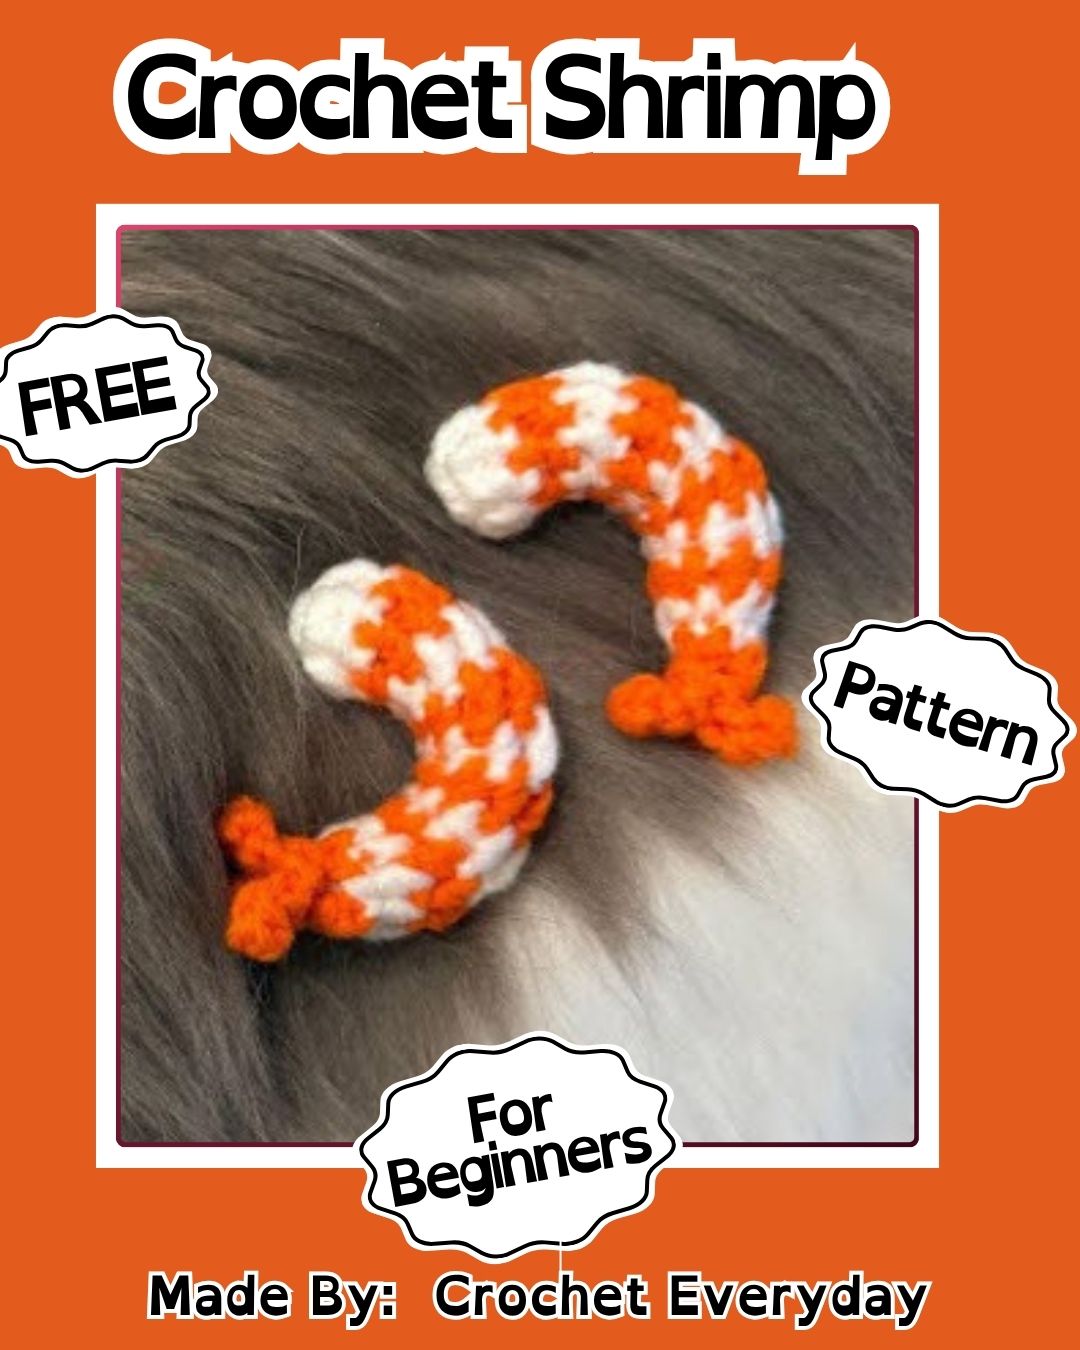
Shrimp amigurumi has grown into a favorite among ocean-themed crochet fans, largely because the curled body shape looks far more advanced than it actually is to create. Soft pink or orange yarn mimics cooked shrimp beautifully, while a segmented body built from simple rounds gives the piece its signature texture. Small details like antennae and a fanned tail add personality without demanding advanced techniques.
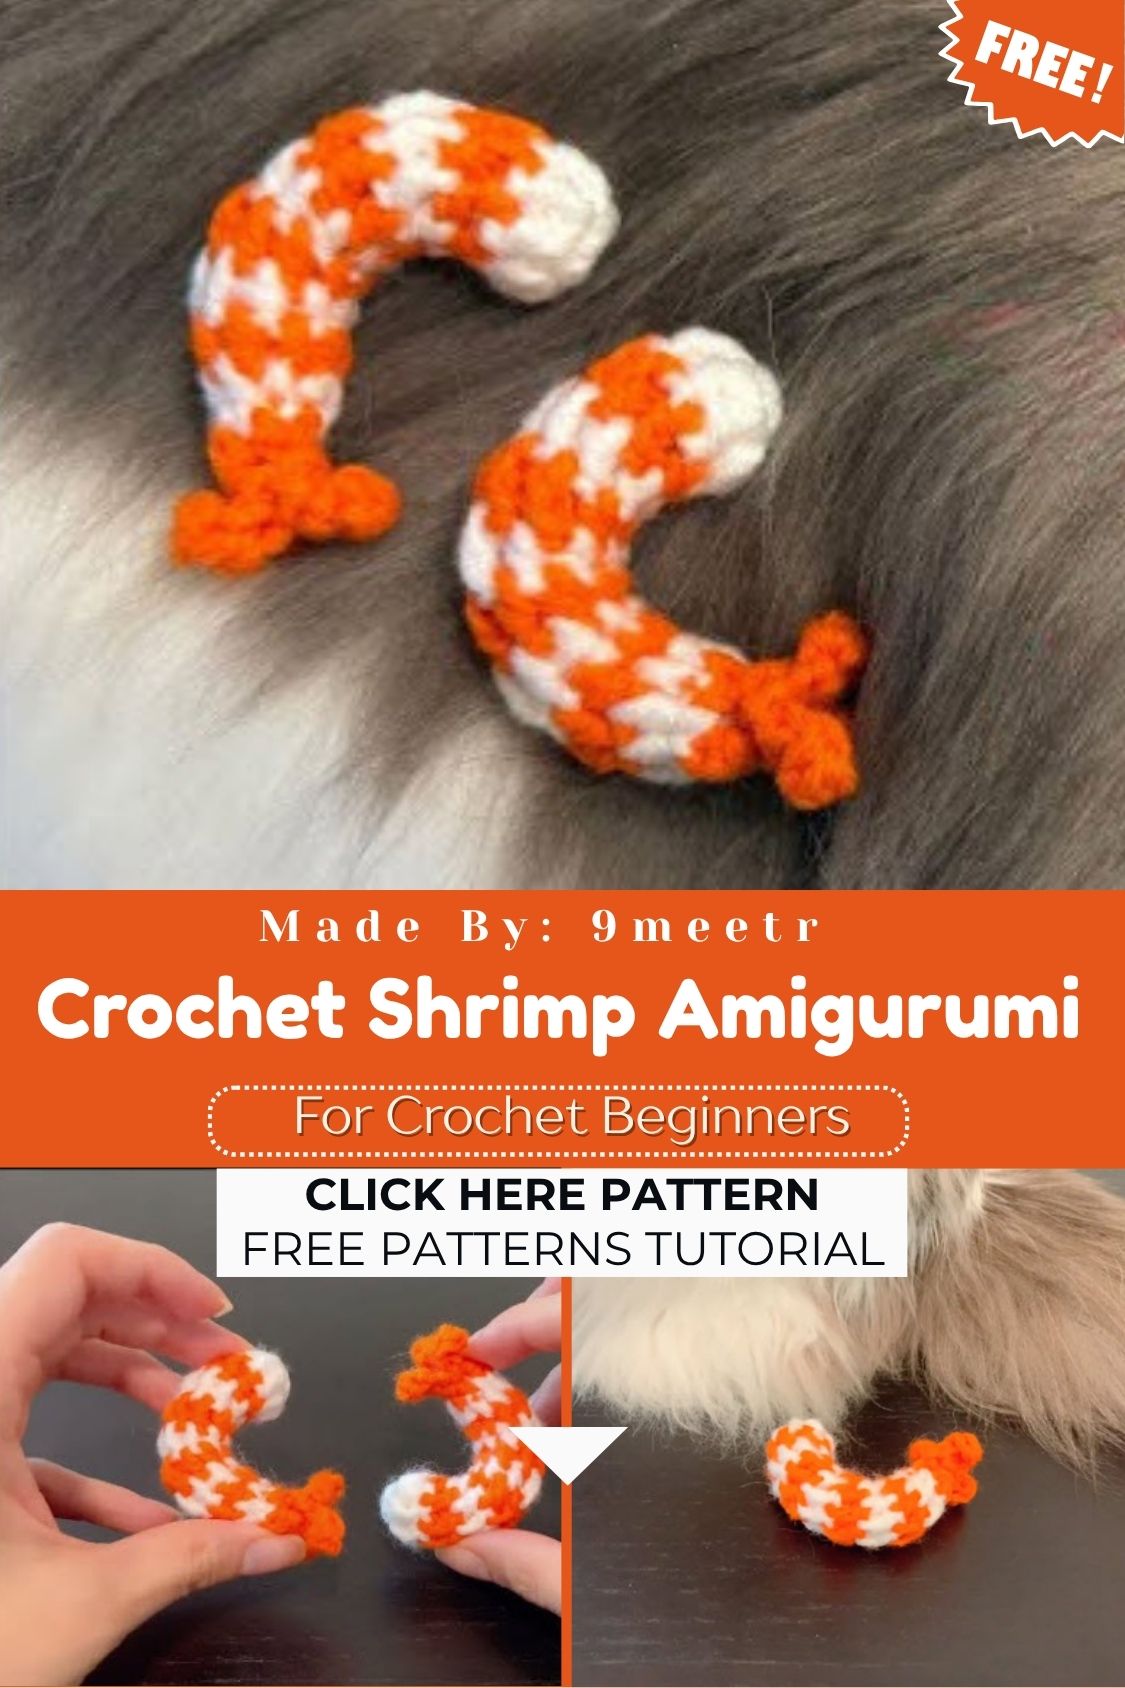
Crafters drawn to food-themed amigurumi, ocean animals, or quirky keychain designs tend to gravitate toward this particular project. Its compact size makes it an excellent stash-buster for leftover yarn, and the finished piece works equally well as a standalone toy, a bag charm, or part of a larger seafood-themed collection alongside crochet crabs and fish.
Project Details
- Skill Level: Beginner to Intermediate
- Finished Size: Approximately 4–5 inches from head to curled tail
- Estimated Time Required: 2–3 hours
- Recommended Yarn Weight: Worsted weight (Category 4)
- Crochet Hook Size: 3.5mm (E/4) or 4mm (G/6), depending on desired tightness
Materials Needed
- Worsted weight yarn in pink or orange (main body color)
- Small amount of white yarn (for tail detailing, optional)
- Black safety eyes, 6mm (or embroidery floss for safety-conscious gifts)
- Fiberfill stuffing
- Tapestry needle
- Stitch markers
- Scissors
- Optional: keychain clasp or small bell for added charm
Crochet Stitches & Techniques
Several core techniques come together to build this little crustacean, and none of them require prior amigurumi experience.
- Magic Ring: Forms a tight, adjustable starting loop for the head and tail.
- Chain Stitch: Used sparingly for the antennae.
- Single Crochet: The primary stitch throughout the entire body.
- Increase: Widens the body at the head and curls the tail outward.
- Invisible Decrease: Keeps shaping smooth and closes gaps cleanly.
- Color Changes: Blends the body color into a lighter tail tip.
- Fastening Off: Secures each finished section neatly.
- Sewing Pieces Together: Joins the tail fan and antennae to the main body.
Pattern Instructions
Creating the Head
Begin with a magic ring and work six single crochets into it, pulling the ring closed snugly. Increase evenly over the following two rounds to widen the head gradually, since a sudden jump in stitch count creates a lumpy, uneven shape. Work several rounds even, without increasing, once the desired head width is reached, allowing the shape to round out naturally.
Crocheting the Segmented Body
Shrimp bodies get their signature look from visible ridges along the back, so working in the back loops only for a few rounds creates that ribbed texture beautifully. Decrease gradually as the body curves toward the tail, mimicking the natural bend seen on a real shrimp. Stuff firmly as rounds progress rather than waiting until the end, since stuffing a curved shape after it’s fully closed becomes tricky.
Shaping the Curl
Achieving that signature curved shrimp silhouette comes down to stuffing pressure and wire placement rather than complicated stitchwork. Inserting a small length of pipe cleaner or floral wire through the body before closing the final rounds allows the curl to hold its shape permanently, though skipping this step still produces a soft, gently curved result.
Making the Tail Fan
Small triangular flaps, crocheted flat and sewn onto the final round of the body, create the fanned tail shrimp are known for. Three to five small fan pieces, worked in rows of single crochet with a slight increase at the tip, give the tail its layered, feathery appearance. Attaching them in a slight overlapping pattern adds realism without extra bulk.
Antennae and Facial Features
Two lengths of chain stitch, left unworked and simply knotted at the tip, form delicate antennae that attach near the head. Safety eyes get inserted before the head is fully stuffed and closed, positioned close together for that classic wide-eyed amigurumi expression. A tiny embroidered smile beneath the eyes brings surprising personality to such a small piece.
Joining All Pieces
Sewing the tail fan onto the curled end of the body should happen only once the body itself is fully stuffed and closed, since accessing the inside afterward becomes impossible. Weaving in loose ends along the underside of the body keeps the finished piece looking clean from every angle.
Final Assembly
Trimming any stray fibers and fluffing the tail fan pieces gently with a fine-tooth comb gives the whole project a polished, finished look. A quick shape check under good lighting helps catch any lopsided stuffing before calling the project complete.
Tips for Success
- Counting stitches at the end of every round prevents the shape from drifting off-center.
- Stitch markers placed at the start of each round save enormous frustration later.
- Stuffing in small amounts throughout, rather than all at once, produces smoother curves.
- Weaving yarn tails through several stitches, not just knotting them, keeps ends from working loose.
- A steam or light spray of water on the finished piece helps stubborn curls hold their shape.
Personalization Ideas
- Swapping pink for a deep red creates a more realistic “cooked shrimp” look, while pale gray suits a raw or cartoon-style version.
- Adding a small chef’s hat turns the shrimp into a playful kitchen-themed decoration.
- Attaching a keyring instead of a hanging loop transforms the pattern into a bag charm or zipper pull.
- A jumbo version, worked with bulky yarn and a larger hook, makes a fun oversized pillow or plush toy.
- Mini versions strung together on a cord create a quirky seafood-themed garland for parties.
Common Mistakes to Avoid
Rushing the increase rounds at the head often leads to a pointed rather than rounded shape, so slowing down during shaping rounds matters more than speed. Skipping stitch markers tends to cause rounds to shift, leaving a spiral seam that’s difficult to hide later. Overstuffing before the curl is shaped can also flatten the natural bend, so stuffing gradually alongside the shaping produces a far more realistic result. Forgetting to secure the wire or pipe cleaner ends properly may allow sharp edges to poke through the yarn over time.
Frequently Asked Questions
Can beginners really finish this pattern successfully?
Absolutely the stitch count stays low throughout, and no advanced techniques are required beyond basic increases and decreases.
Is wire or pipe cleaner necessary for the curl?
Not strictly. Firm stuffing alone creates a gentle curve, though wire holds the shape more permanently over time.
What yarn weight works best for a keychain-sized shrimp?
Worsted-weight yarn with a smaller hook (around 3mm) keeps the stitches tight enough to prevent stuffing from showing through.
How much yarn does one shrimp typically require?
Roughly 20–30 grams covers the entire project, making it an excellent way to use up leftover yarn scraps.
Can safety eyes be swapped for embroidered ones?
Yes, and doing so makes the toy safer for very young children who might be tempted to pull at plastic pieces.
Does the tail fan need to be crocheted separately?
Working it separately gives cleaner, more defined layers, though a simplified attached version also works for a quicker finish.
What’s the best way to store or display finished shrimp amigurumi?
Keeping pieces out of direct sunlight prevents yarn colors from fading, and a small decorative bowl makes a charming display for a shrimp collection.
Conclusion
Crochet shrimp amigurumi proves that small projects can pack in plenty of charm and creative potential. Practicing increases, decreases, and basic shaping on a project this size builds confidence for tackling bigger amigurumi down the road. Sharing a finished shrimp with fellow crafters, whether through an online photo or a handmade gift, adds another layer of joy to a project that’s already fun from start to finish. Grabbing a hook and a bit of yarn might just be the start of an entire seafood-themed amigurumi collection.