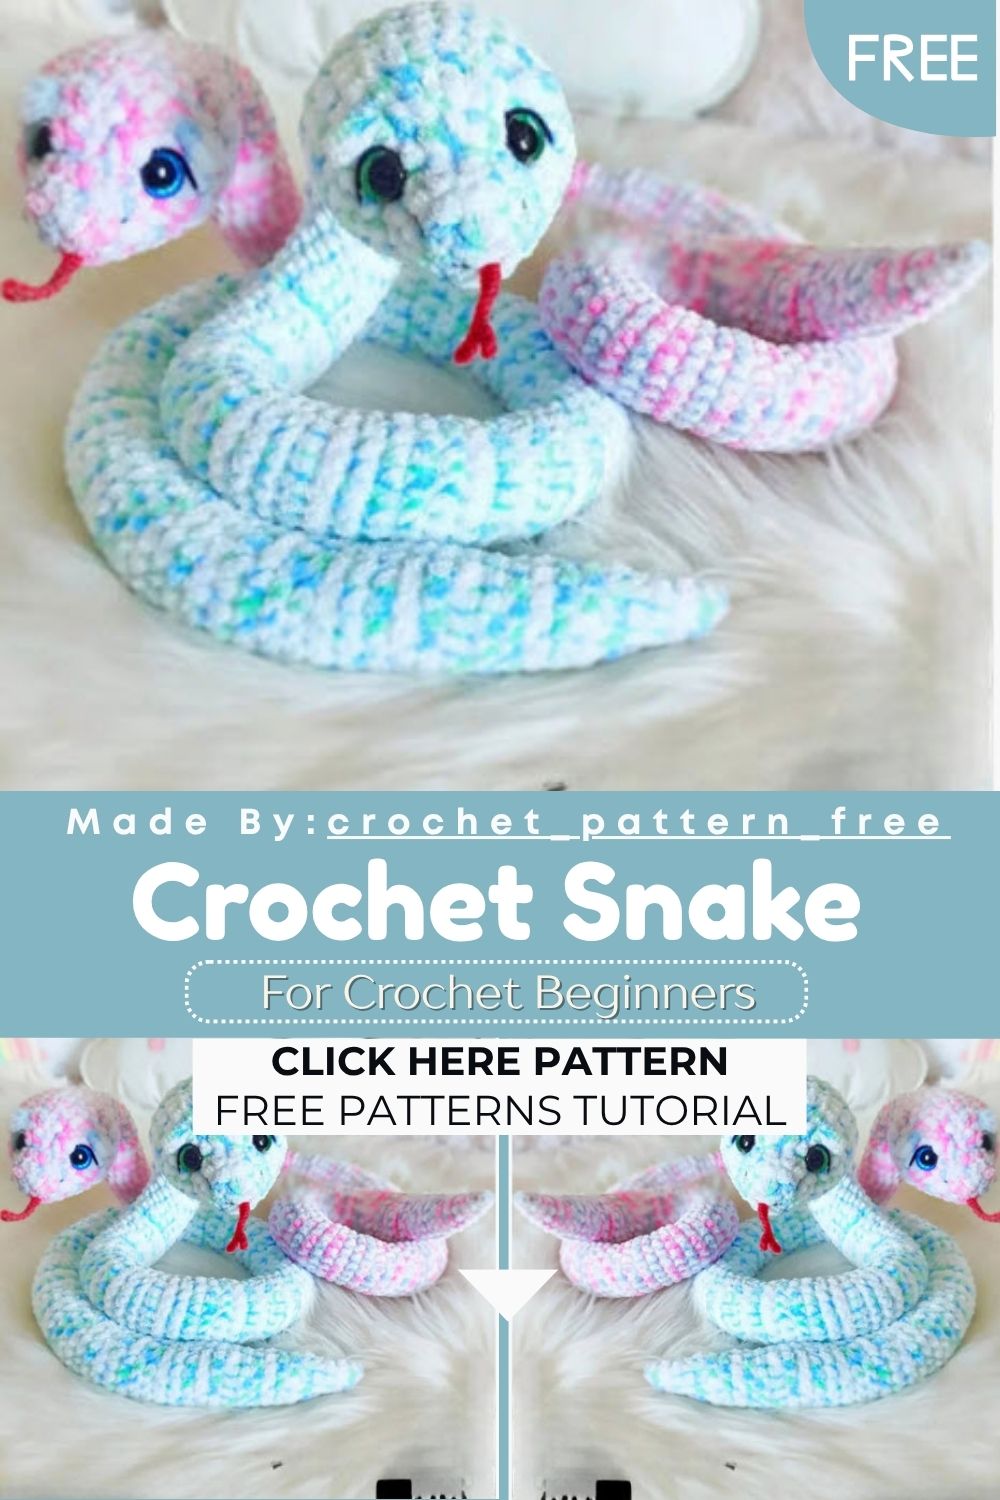
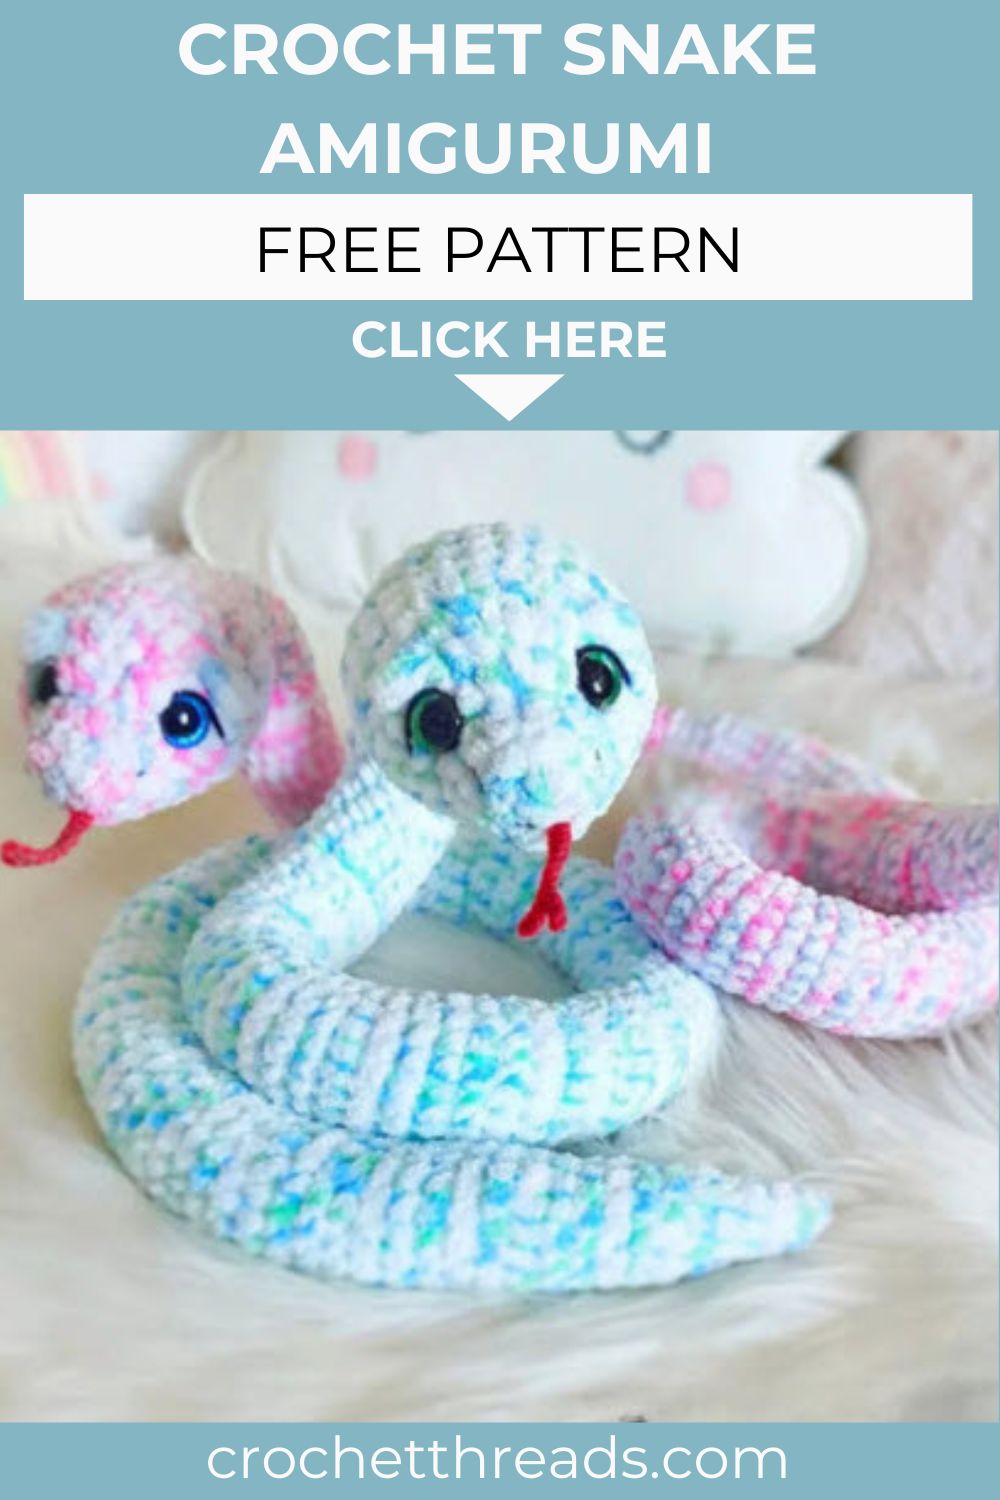
Cuddly Crochet Snake Amigurumi Pattern That Slays Fashion
Long, squishy, and ridiculously huggable. That sums up this chenille plush Crochet Snake Amigurumi in three words. Crocheters love these stretchy companions because they curl around shelves, beds, and necks with ease. Low-key, this might become your new favorite quick project yet.
Chenille yarn changed the amigurumi game for plush makers everywhere. Its soft, velvety texture turns a simple snake into something you cannot stop squeezing. This pattern uses super bulky chenille for the body and fine yarn for the delicate face details. Real talk, the long tube shape makes this an ideal first big project. You repeat the same round for ages, then shape the tail and finish it off strong.
Skill Level
Beginners can absolutely handle this Crochet Snake Amigurumi. You mainly repeat single crochet for the body. Increases, decreases, and a few half double crochets shape the head and the gentle tail.
Pattern Overview
Here is the quick map of how this snake comes together from start to tail.
- The head starts first from a magic ring, shaped with increases and half double crochets.
- Safety eyes go into round 5, right where the hdc increases sit.
- The body is one long tube of single crochet, repeated as many rounds as you like.
- Gradual decreases taper the tail down to a neat, pointed finish.
- A separate red tongue gets crocheted and stitched onto the mouth.
- Embroidered eyelids, nostrils, and brows bring the whole face to life.
Stitches and Skills You’ll Need
A handful of techniques carry this entire project. Get comfortable with these and you are set.
- Half double crochet increase (hdc inc): widens the head smoothly around the eyes.
- Continuous single crochet rounds: build the long, flexible body without any seams.
- Slip stitch chains: form the forked tongue in two tiny prongs.
- Color changing: swaps the chenille for fine yarn on the facial details.
- Hand embroidery: adds the eyelids, nostrils, mouth, and eyebrows.
- Stuffing as you go: keeps the head firm and the body soft and bendy.
What You’ll Need
Round up your supplies before the first stitch so the work flows without breaks.
Materials
- Super Bulky/14 ply chenille yarn (Himalaya Dolphin Baby Colors 100g/120m or analogue)
- Fine/4 ply yarn (YarnArt Jeans 50g/160m) for face decoration and the tongue
- Hooks: 3.5 mm for the snake, 2 mm for the tongue
- Safety eyes 14 mm (16 mm will also work)
- Needle with a large eye
- Fiberfill
- Scissors
Abbreviations Guide
- MR – magic ring
- CH – chain
- SL ST – slip stitch
- SC – single crochet
- HDC – half double crochet
- INC – increase (work 2 sc in one stitch)
- HDC INC – half double crochet increase (work 2 hdc in one stitch)
- DEC – decrease
- ( )*3 – repeat stitches in brackets 3 times
Step by Step Pattern
Begin at the head with the 3.5 mm hook, then flow straight into the body.
Head and Body
- 6 sc in a MR, or ch 2 and 6 sc in the 2nd ch from the hook (6)
- 6 inc (12) 3–4. 12 sc (12) for 2 rounds
- 2 inc, 4 hdc inc, 2 inc, 4 sc (20)
- 3 sc, inc, (1 hdc, 1 hdc inc)*4, inc, 7 sc (26) 7–12. 26 sc (26) for 6 rounds
Insert the safety eyes in round 5 where the hdc inc are. Place the 14 mm eyes at a distance of 6 to 7 hdc, counting from the eye stem. Before securing them with a plug, check that they sit evenly against the snout.
Stuff the toy with fiberfill as you go. Pack the head quite tightly, then stuff the rest so the body stays soft and elastic.
- 4 sc, dec, 12 sc, dec, 6 sc (24)
- (6 sc, dec)*3 (21)
- (5 sc, dec)*3 (18)
- 18 sc (18)
- (4 sc, dec)*3 (15) 18–140. 15 sc (15) for as many rounds as you need (I did 123 rounds)
- dec, 13 sc (14)
- 14 sc (14)
- (5 sc, dec)*2 (12)
- 12 sc (12)
- (4 sc, dec)*2 (10)
- 10 sc (10)
- (3 sc, dec)*2 (8)
- 8 sc (8)
- (2 sc, dec)*2 (6)
- 6 sc (6)
- 3 dec (3). Cut the yarn and fasten off.
Decoration
Take the black YarnArt Jeans yarn and a suitable needle. Embroider the upper eyelids, nostrils, and mouth. Then embroider the eyebrows with chenille yarn above the eyes, where four or five stitches will be enough.
Tongue
Use the 2 mm hook and red YarnArt Jeans yarn. Crochet the tongue as a separate piece, then attach it with the thread ends. You can also crochet it directly on the toy. Insert the hook in the middle of the mouth, grab the red yarn, draw a loop, and make ch 1. Then follow this:
- Ch 12, from the second chain on the hook: 3 sl st.
- Ch 4, from the second chain on the hook: 3 sl st.
- Work 8 sl st on the main chain.
Cut the yarn, leaving an end for sewing. Attach the finished tongue to the mouth.
Mistakes Worth Avoiding
These slip ups catch makers off guard, so keep them on your radar.
- Stuffing the whole body too firmly kills that soft, bendy snake feel. Pack the head tight, then ease off for the rest.
- Placing the eyes before checking symmetry leaves the face lopsided. Line them up against the snout first.
- Losing track of body rounds is easy on such a long tube. Use a counter or a marker thread.
- Pulling chenille too hard splits the fibers and shows the core. Work with a relaxed, even hand.
- Rushing the tail decreases creates bumps instead of a smooth taper. Slow down across those final rounds.
- Skipping the fine yarn for the face makes the details look bulky and unclear.
Putting It All Together
Assembly here stays refreshingly simple thanks to the one piece build.
- Crochet the head and body as one continuous piece from round 1.
- Insert the safety eyes during round 5, six to seven hdc apart.
- Stuff firmly through the head, then loosely along the body.
- Embroider the eyelids, nostrils, mouth, and brows once the body closes.
- Crochet the red tongue separately with the 2 mm hook.
- Sew the tongue into the middle of the mouth using the leftover ends.
Key Notes to Remember
Keep these pointers nearby to make your snake look its best.
- Use 14 mm safety eyes, though 16 mm work fine for a bigger look.
- Work the head and body tight enough to hide all the stuffing.
- Repeat rounds 18 to 140 as long as you want your snake to be.
- Keep the body soft so it drapes and curls naturally.
- Switch to the 2 mm hook and fine yarn for the slim tongue.
- Embroider the brows with chenille yarn, just four or five stitches each.
Ways to Customize Your Snake
This Crochet Snake Amigurumi pattern bends to your imagination, so play around with the details.
- Crochet it in bright rainbow stripes by changing color every few rounds.
- Make a baby version by stopping the body early after fewer repeats.
- Try ombre chenille for a smooth color shift down the length.
- Add tiny felt scales along the back for extra texture.
- Stitch a forked tongue in a different shade to match your theme.
For real, no two snakes ever need to look the same.
Handy Tips Before You Start
A little prep saves a lot of frustration later on.
- Keep a stitch marker in the first stitch of every round.
- Stuff in small amounts so the body never looks lumpy.
- Lay the snake flat now and then to check for an even shape.
- Save longer yarn tails than you think you need for sewing.
Wrapping Up
And there you have it, one seriously Crochet Snake Amigurumi ready to slither into someone’s heart. This plush works as a draft stopper, a neck wrap, or simply a soft buddy for the couch. No joke, the hardest part is deciding what color to make next. Adjust the length, play with the face, and make each snake feel unique. Snap a photo of your finished friend and show it off to your crochet crew.