Crochet Kawaii Ball Kitty Amigurumi Pattern for Beginners
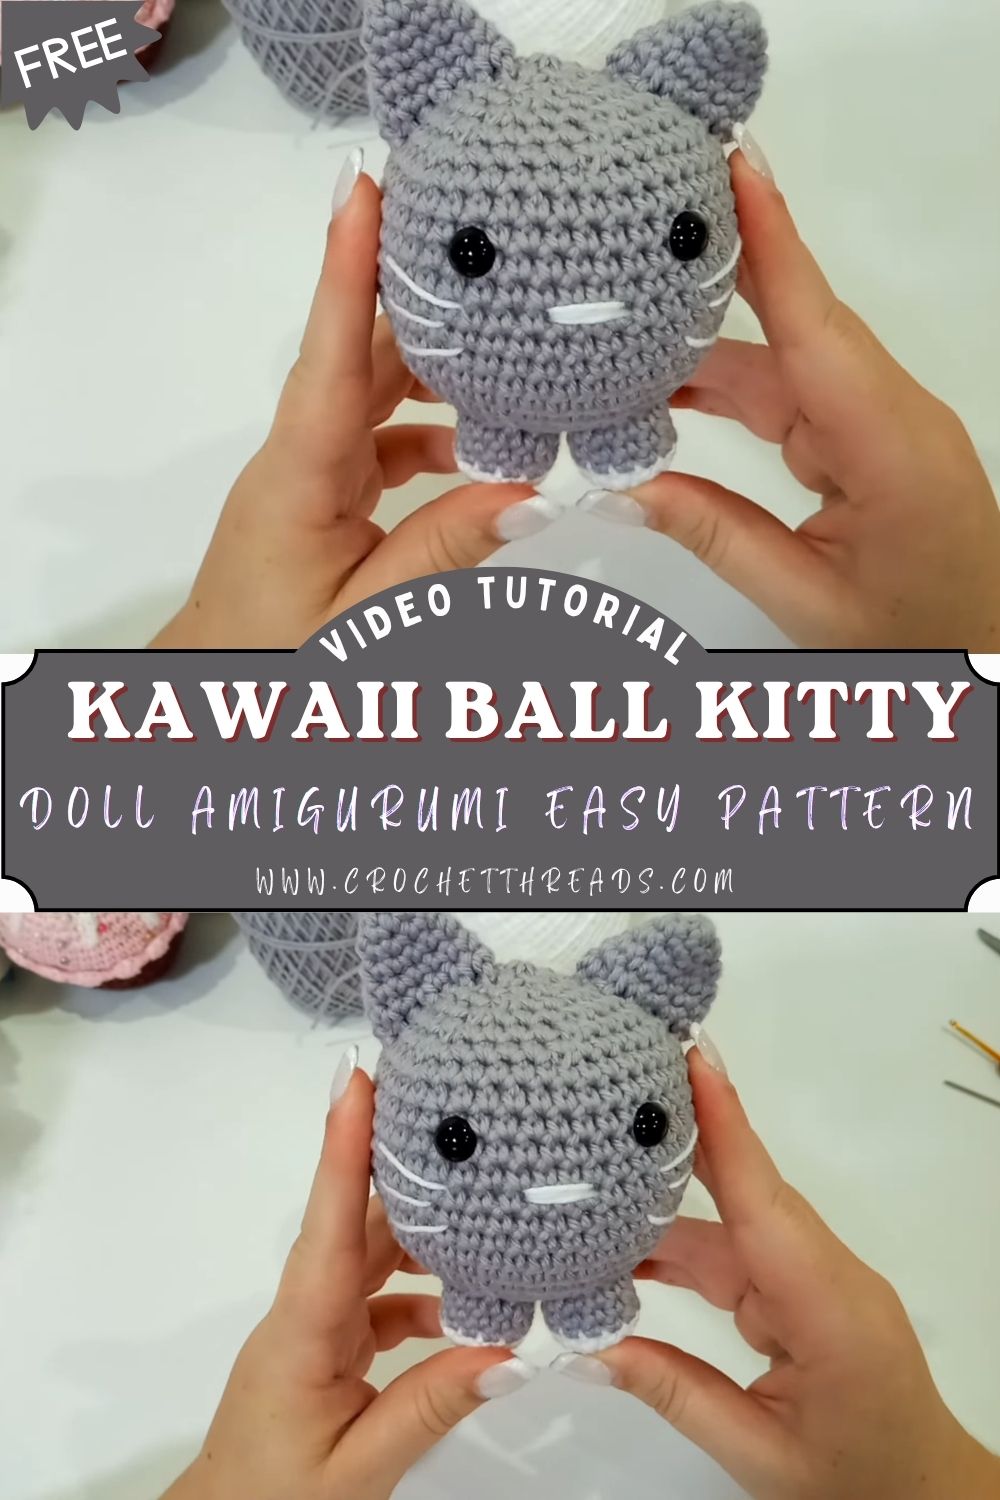
Beginners often gravitate toward this pattern because it relies on just a handful of core stitches repeated in a steady rhythm. There’s no complicated limb shaping or multi-piece body to assemble, so the learning curve stays gentle. Despite the easy stitch count, the finished doll doesn’t look basic at all the compact, huggable form has a polished, boutique-style appeal that makes it a popular choice for craft fairs and handmade markets.
Project Details
- Skill Level: Beginner
- Finished Size: Approximately 3.5–4 inches in diameter
- Estimated Time Required: 3–5 hours
- Recommended Yarn Weight: Worsted weight (Medium, #4) or DK weight for a smaller version
- Crochet Hook Size: 3.25mm (US size D/3) or 3.5mm (US size E/4), depending on yarn weight
Materials Needed
- Worsted weight yarn in your main color (cream, gray, or orange work beautifully for a classic cat look)
- Small amounts of contrasting yarn for ears and facial details
- Crochet hook matching your yarn weight
- 6mm safety eyes (or embroidery thread for beginners who prefer a no-safety-eye version)
- Fiberfill stuffing
- Tapestry needle for weaving in ends and sewing pieces
- Stitch markers to track your rounds
- Sharp scissors
- Optional: small bow, bell charm, or embroidery floss for extra personality
Crochet Stitches & Techniques
This pattern stays approachable by relying on a short list of essential techniques:
- Magic Ring – forms the tight starting point for the round body
- Chain Stitch (ch) – used briefly for whiskers or small details
- Single Crochet (sc) – the primary stitch throughout the body
- Increase (inc) – two single crochets in one stitch, shaping the widening rounds
- Invisible Decrease (inv dec) – keeps decrease rounds smooth and gap-free
- Color Changes – swaps colors cleanly for ears and facial patches
- Fastening Off – secures your final stitch before weaving in ends
- Sewing Pieces Together – attaches ears, tail, and any add-ons neatly
Pattern Instructions
Creating the Main Body
Start with a magic ring and work six single crochets into it to form your foundation round. From here, the body grows through a sequence of increase rounds, then holds steady through several rounds of plain single crochet before tapering back down. This gradual shaping is what gives the kitty its signature round, ball-like silhouette rather than an oval or egg shape.
Keep your tension consistent as you work. Loose stitches at this stage can leave visible gaps once the piece is stuffed, so aim for stitches snug enough to hide the fiberfill but loose enough to work your hook through comfortably.
Shaping the Head Area
Since this is a one-piece ball design, the head isn’t crocheted separately it blends directly into the upper portion of the body. Increase rounds near the top widen the shape gradually, and this is where you’ll want to pause and insert safety eyes before continuing, since accessing the inside becomes much harder once stuffing begins.
Position the eyes a bit wider apart than feels natural at first; amigurumi faces tend to look better with slightly generous spacing, especially on a round body where the whole face reads as one unit.
Crocheting the Ears
Small triangular or rounded ears give this design its unmistakable cat identity. Work each ear as a tiny flat or slightly domed piece using just a few rounds of increases, then fold the bottom edge in half before sewing it onto the head. Slight folding adds dimension and keeps the ears from lying too flat against the round body.
Adding the Tail
A short, curled tail balances the round body nicely. Crochet a small tube shape, stuff it lightly, then curve it gently before sewing it to the back of the body. Curving it while sewing rather than crocheting it pre-curved gives you more control over the final pose.
Facial Features
Facial charm comes from restraint here. A simple embroidered nose, a small stitched mouth line, and the placement of the safety eyes carry the entire expression. Whiskers made from short lengths of embroidery thread or fine yarn, pulled through with a needle and knotted on each side, finish the kawaii look without overcomplicating the design.
Joining All Pieces and Final Assembly
Before closing the body completely, stuff it firmly but evenly, pushing fiberfill into every curve so no lumps or flat spots form. Close the final round using an invisible decrease technique for a nearly seamless finish, then weave in your yarn tail securely through several stitches.
Attach the ears symmetrically on either side of the head, checking the angle from multiple sides before committing to the stitches. Sew the tail to the back, and add any optional accessories like a bow or tiny bell last, once the main shape is fully assembled.
Tips for Success
- Count your stitches at the end of every round, especially through increase and decrease sections
- Use a stitch marker in the first stitch of each round so you never lose track of where a round begins
- Stuff in small handfuls rather than one large clump, checking the shape as you go
- Weave in ends by running the yarn through several stitches in different directions, not just a straight line
- Block your finished piece lightly with a damp cloth if the round shape looks slightly uneven after stuffing
Personalization Ideas
- Swap the main color for pastel shades to create a softer, spring-themed kitty
- Work the pattern in red and green for a holiday-ready ornament version
- Try different ear shapes or add a small patch of contrasting color for a calico look
- Crochet a mini version using thread-weight yarn as a keychain or bag charm
- Make a jumbo edition with bulky yarn and a larger hook for a statement plush
- Attach a keyring or ribbon loop before final stuffing to turn it into a hanging ornament
Common Mistakes to Avoid
Uneven tension is the most frequent issue beginners run into, usually from switching grip pressure partway through a project. Try to keep your hand relaxed and your stitches consistent from the first round to the last.
Skipping stitch counts often leads to a lopsided body, since a single missed increase or decrease throws off the entire round. Pausing every few rounds to recount takes only seconds and saves considerable frustration later.
Overstuffing can distort the round shape into something closer to an oval, while understuffing leaves the body soft and floppy. Aim for a firm, evenly distributed fill that holds its shape when gently pressed.
Frequently Asked Questions
Can I make this Crochet Kawaii Ball Kitty pattern without safety eyes?
Yes, embroidered eyes work as a safe alternative, particularly for anyone gifting the doll to a small child.
What yarn works best for beginners attempting this pattern?
A smooth worsted weight cotton or acrylic yarn in a light color makes stitches easiest to see and count.
How much yarn do I need for one Crochet Kawaii Ball Kitty?
A single small skein easily covers the main body, with scraps enough for ears and tail.
Why does my ball shape look lopsided?
Uneven stitch counts between rounds are the usual culprit, so recheck your increases and decreases against the pattern.
Can this pattern be adjusted for a bigger size?
Absolutely, switching to bulky yarn and a larger hook scales the design up without changing the stitch pattern itself.
Is this project suitable as a first-ever amigurumi attempt?
Yes, the round shape and minimal piece count make it one of the more approachable amigurumi projects for true beginners.
How do I keep the tail from flopping?
Light stuffing combined with a few securing stitches at the base keeps the tail upright and shapely.
Conclusion
This Crochet Kawaii Ball Kitty brings together simplicity and charm in a way that makes it hard to stop at just one. Whether you’re crocheting your very first amigurumi or adding a quick, satisfying project to a busy week, this round little cat delivers a big payoff for a modest time investment. Give it a try, experiment with your own color combinations, and share your finished kitty with the crochet community; chances are, it’ll spark someone else’s next project too.