Crochet Spider Pattern for Spooky Home Decor
Want a spider that is cute and not scary? Crochet a black spider with big white eyes and an orange web. The free crochet spider pattern is easy for beginners. Use it as cute Halloween decor or a small toy.
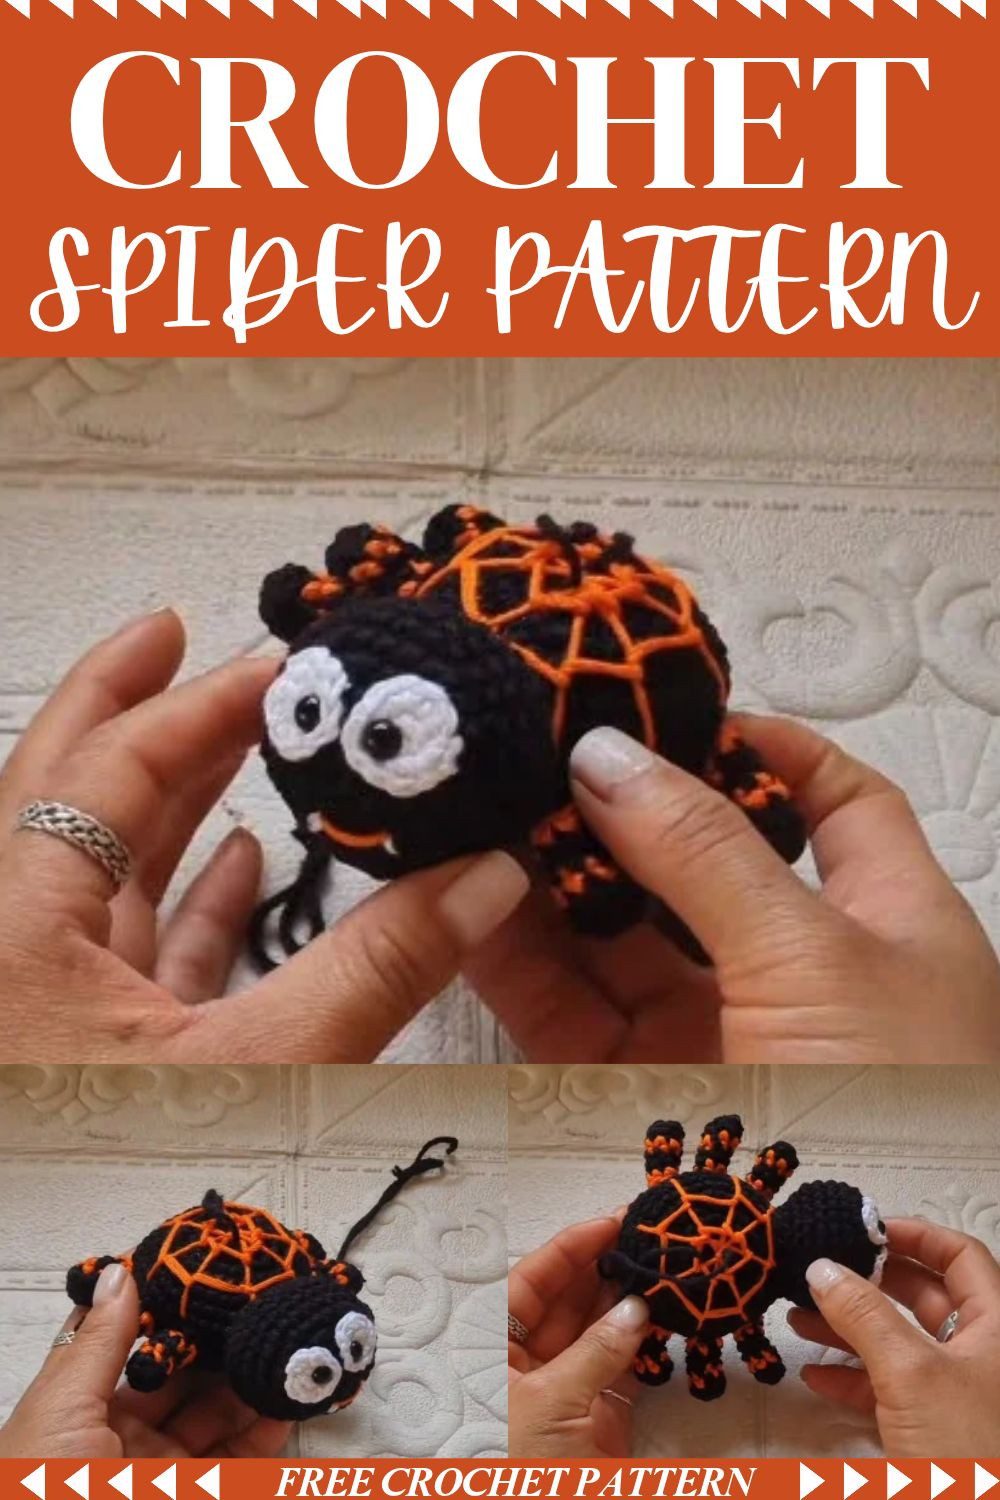
Meet a happy black spider. It has big white eyes and a small smile with tiny fangs. An orange web covers its back. The legs have orange stripes and bend easily. Follow the free crochet spider pattern to make it step by step. It is easy for beginners. You only need soft cotton yarn and a few scraps. Make it for spooky Halloween decor or as a cute handmade gift.
Crochet Spider Pattern Overview
First, this little spider has a round purple body and white eye circles. In addition, it has a stitched smile and six striped legs. Pipe cleaners sit inside the legs, so you can bend them into any pose.
Skill level: Beginner
Finished size: 11 cm long, 8 cm body width, 12 cm leg-to-leg span
Materials for the Crochet Spider Pattern
Yarn for Your Crochet Spider
- Mercerized cotton, sport/DK weight, in purple, black and white
- A slightly thinner white yarn for the eye circles
- Smooth cotton with a matte to slight sheen works best
- Small amounts are enough, so scraps work too
Hook Size for the Spider
- 2.5 mm crochet hook
Notions You Will Need
- 2 safety eyes, 6 mm
- Fiberfill
- 6 pipe cleaners for the legs
- Black embroidery thread or spare black yarn for the smile, fangs and web
- A little white or black thread for face details
- Stitch markers
- Tapestry needle
- Scissors
Abbreviations in This Crochet Spider Pattern
First, note that all terms are US terms.
mr = magic ring
ch = chain
sc = single crochet
inc = increase (2 sc in same stitch)
dec = decrease (2 sc worked together)
sl st = slip stitch
FLO = front loop only
BLO = back loop only
sts = stitches
Rnd = round
Special Techniques for the Crochet Spider
Magic Ring
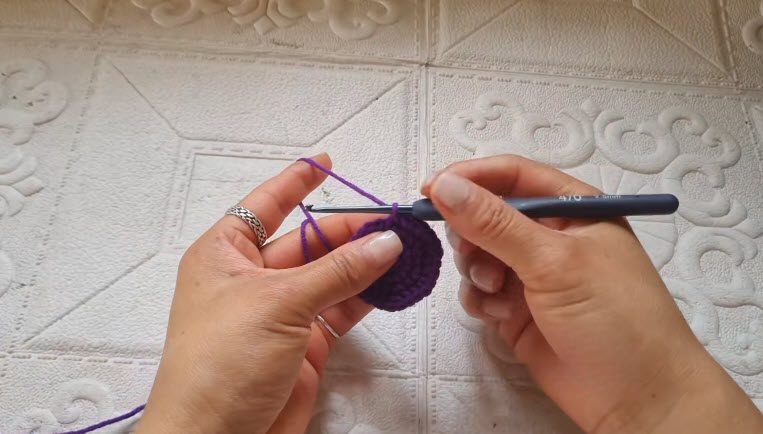
First, wrap the yarn around your index and middle fingers. Next, insert the hook under the first strand and pull the working yarn through. Then ch 1 to lock the ring. After that, work the stated number of sc over both the ring and the tail. Finally, pull the tail firmly to close the center.
Single Crochet
First, insert the hook into the stitch and yarn over. Then pull up a loop, so two loops sit on the hook. After that, yarn over again and pull through both loops.
Increase
Basically, an increase means working 2 sc in the same stitch. As a result, the piece curves outward and grows wider.
Invisible Decrease
Insert the hook into the front loop of the first stitch. Then insert it into the front loop of the next stitch, so three loops sit on the hook. Next, yarn over and pull through the first 2 loops. Finally, yarn over once more and pull through the last 2. This way, bumps and holes stay away.
Slip Stitch
First, insert the hook into the stitch, yarn over, and pull through both the stitch and the loop on the hook. Because of this, the edge finishes flat.
FLO and BLO
First, FLO means you work only the loop closest to you. Also, you will use it when closing the body. On the other hand, BLO means you work the back loop, which leaves a small ridge behind.
Continuous Spiral Rounds
In this method, you never join a round and never turn the work. Likewise, you skip the turning chain. Instead, mark the first stitch of every round, then move the marker up as you go.
Changing Colors for the Spider Legs
First, work the last sc of the old color until 2 loops remain on the hook. Then drop the old color. Next, yarn over with the new color and pull it through both loops.
Fastening Off
First, cut the yarn. Next, leave a 15–20 cm tail if you plan to sew, or about 15 cm if you only weave it in. Afterwards, pull the tail through the last loop and tighten. Then weave it through the stitches and hide it inside.
Crochet Spider Pattern Instructions
Step 1: Crochet the Spider Body (Purple)
- Rnd 1: mr, 7 sc. (7)
- Rnd 2: 7 inc. (14)
- Rnd 3: (1 sc, 1 inc) x 7. (21)
- Rnd 4: (2 sc, 1 inc) x 7. (28)
- Rnd 5: (3 sc, 1 inc) x 7. (35)
- Rnd 6: (4 sc, 1 inc) x 7. (42)
- Rnds 7–11: sc in all 42 sts. (42)
- Rnd 12: (4 sc, 1 dec) x 7. (35)
- Rnd 13: (3 sc, 1 dec) x 7. (28)
- Rnd 14: (2 sc, 1 dec) x 7. (21)
Start stuffing now. However, add small amounts at a time.
- Rnd 15: (1 sc, 1 dec) x 7. (14)
- Rnd 16: 7 dec. (7)
First, fasten off and leave a tail. Then thread it through the front loops only of the last 7 sts and pull tight. Next, secure it with a knot in the center and weave in the end.
Pro-Tip: Also, use the invisible decrease for every dec round. Also, keep your marker on the first stitch of each round, so the top closes neatly and flat.
Step 2: Make the Crochet Spider Eye Circles (Make 2, Thinner White Yarn)
- Rnd 1: mr, 6 sc. (6)
- Rnd 2: 6 inc. (12)
Fasten off. Then push a 6 mm safety eye through the center of each white circle.
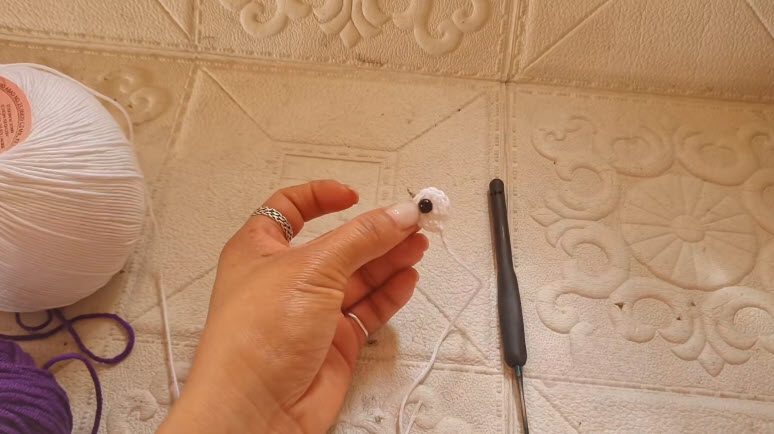
Step 3: Crochet the Spider Head (Purple)
- Rnd 1: mr, 6 sc. (6)
- Rnd 2: 6 inc. (12)
- Rnd 3: (1 sc, 1 inc) x 6. (18)
- Rnd 4: (2 sc, 1 inc) x 6. (24)
- Rnd 5: (3 sc, 1 inc) x 6. (30)
- Rnds 6–9: sc in all 30 sts. (30)
- Rnd 10: (3 sc, 1 dec) x 6. (24)
- Rnd 11: (2 sc, 1 dec) x 6. (18)
Before stuffing, fix the eye circles on the front of the head. Then stuff the head firmly. Finally, fasten off and leave a long tail for sewing.
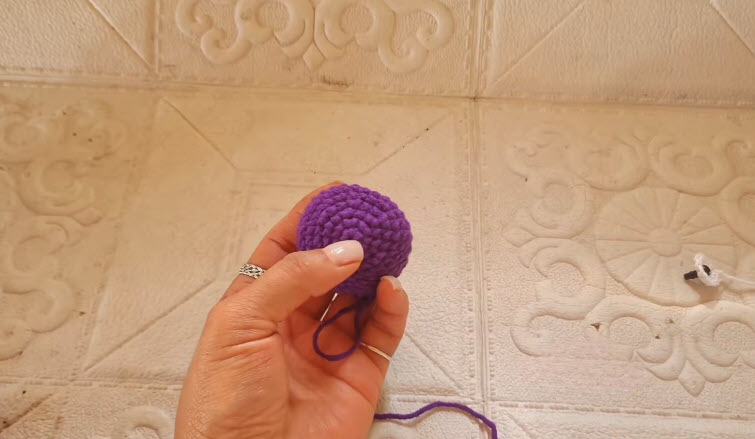
Step 4: Crochet the Striped Spider Legs (Make 6)
- Rnd 1 (black): mr, 7 sc. (7)
- Rnd 2 (black): sc in all 7 sts. (7)
- Rnd 3 (purple): sc in all 7 sts. (7)
- Rnds 4–5 (black): sc in all 7 sts. (7)
- Rnd 6 (purple): sc in all 7 sts. (7)
Finally, fasten off and leave a long tail for sewing. Then slide a small piece of pipe cleaner inside each leg, so it holds a pose.
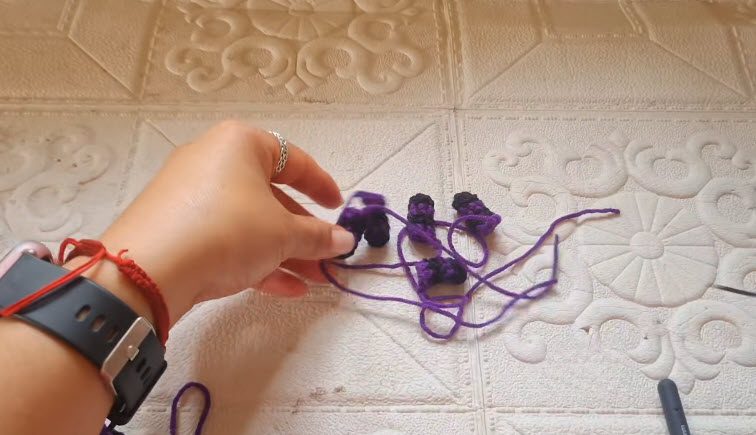
Step 5: Embroider the Spider Web
First, thread a tapestry needle with black yarn. Then stitch straight lines across the top of the body, so the lines cross each other like a spider web. Also, work the lines evenly across the purple top. This way, the web frames the head nicely.
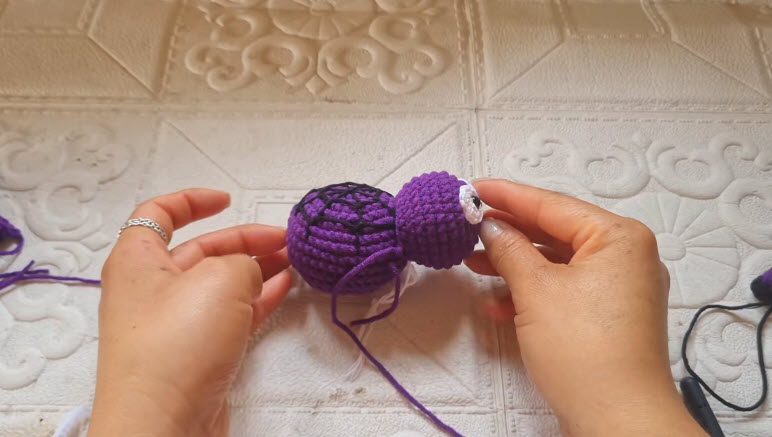
How to Assemble the Crochet Spider
Step 1: Prepare the Spider Face
First, place the white eye circles with safety eyes on the front of the head, 2 stitches apart. Remember, fix the eyes before stuffing the head.
Step 2: Attach the Head to the Body
First, pin the head to the front of the body and match the head center to the body center. Then sew it on securely with the head’s tail.
Step 3: Attach the Spider Legs
Next, sew 3 legs along each side with each leg’s own tail, spaced evenly. However, pin all six first, so both sides match.
Step 4: Check the Embroidered Web
Now, look at the web lines from Step 5 above. If they look uneven, simply add a few more straight stitches across the top of the body.
Step 5: Stitch the Smile and Fangs
First, use black thread to embroider a straight smile line. After that, add two tiny fangs under it.
Step 6: Shape the Spider Legs
First, bend the pipe cleaners into a curved spider stance. Then trim any loose ends and make sure both sides are even.
Stuffing and Shaping Tips for Your Crochet Spider
Begin stuffing the body at Rnd 14, before the last decreases close it. Meanwhile, fill the head firmly before you sew it on. Add fiberfill a little at a time, so stitches do not stretch and no stuffing peeks through. Finally, close each part by pulling the tail tight.
Common Beginner Mistakes With This Spider Pattern
Skipping Stitch Markers
Mark the first stitch of every round and move the marker up. Otherwise, you may lose your place.
Overstuffing the Spider
Too much fiberfill pulls the stitches apart. Therefore, add small amounts instead.
Sewing Without Pinning
Pin the head and legs first, so your spider ends up symmetrical.
Checking Your Finished Crochet Spider
First, count your stitches against the numbers at the end of every round. Next, confirm all six legs share the same length and color order. Finally, make sure both sides look alike.
Safety Note for Children
Because safety eyes and pipe cleaners can be choking and poking hazards. Therefore, for a baby or toddler, embroider the eyes with black thread. Also, leave the pipe cleaners out.
Bonus: How to Clean and Care for Your Crochet Spider
Because cotton toys stay pretty with a little care, here is a quick routine. First, brush off dust with a soft cloth. Next, if you see a small spot, dab it with a damp cloth and mild soap. However, avoid soaking the spider, because the pipe cleaners can rust inside. Finally, let it dry in the air before you bend the legs again.
Uses and Benefits of This Crochet Spider Pattern
This spider makes a cute Halloween decoration or a small toy. Also, because it is a quick afternoon make, it stays beginner friendly from start to finish. Moreover, scraps work, so even leftover yarn gets a happy job. Small amounts of cotton are all you need, so starting feels easy for any beginner.
Ways to Display Your Crochet Spider
Hang the Spider From a Doorway
First, tie a thread to the web lines and let the spider dangle.
Place the Spider on a Shelf
Next, set the spider on a shelf and bend its legs wide.
Sit the Spider on a Pumpkin or Wreath
Also, a pumpkin or Halloween wreath makes a cozy seat. Likewise, a fall basket works well too.
Make a Crochet Spider Family
Instead of one, stitch several spiders in different colors. Together, they become a whole family.
Crochet Spider Pattern FAQs
What skill level is the crochet spider pattern?
Because it uses only basic stitches, it is a beginner pattern.
What hook size should I use for the crochet spider?
First, use a 2.5 mm hook with sport/DK weight mercerized cotton.
What yarn works best for the spider?
First, use mercerized cotton in purple, black and white. In addition, pick a slightly thinner white for the eye circles. Scraps work too.
How do I keep the spider legs bendy?
First, slide a small piece of pipe cleaner inside each leg. Then bend it into a curved stance.
Is there a safe version of the crochet spider for babies?
Yes. Instead of safety eyes, embroider the eyes with black thread, and leave the pipe cleaners out.
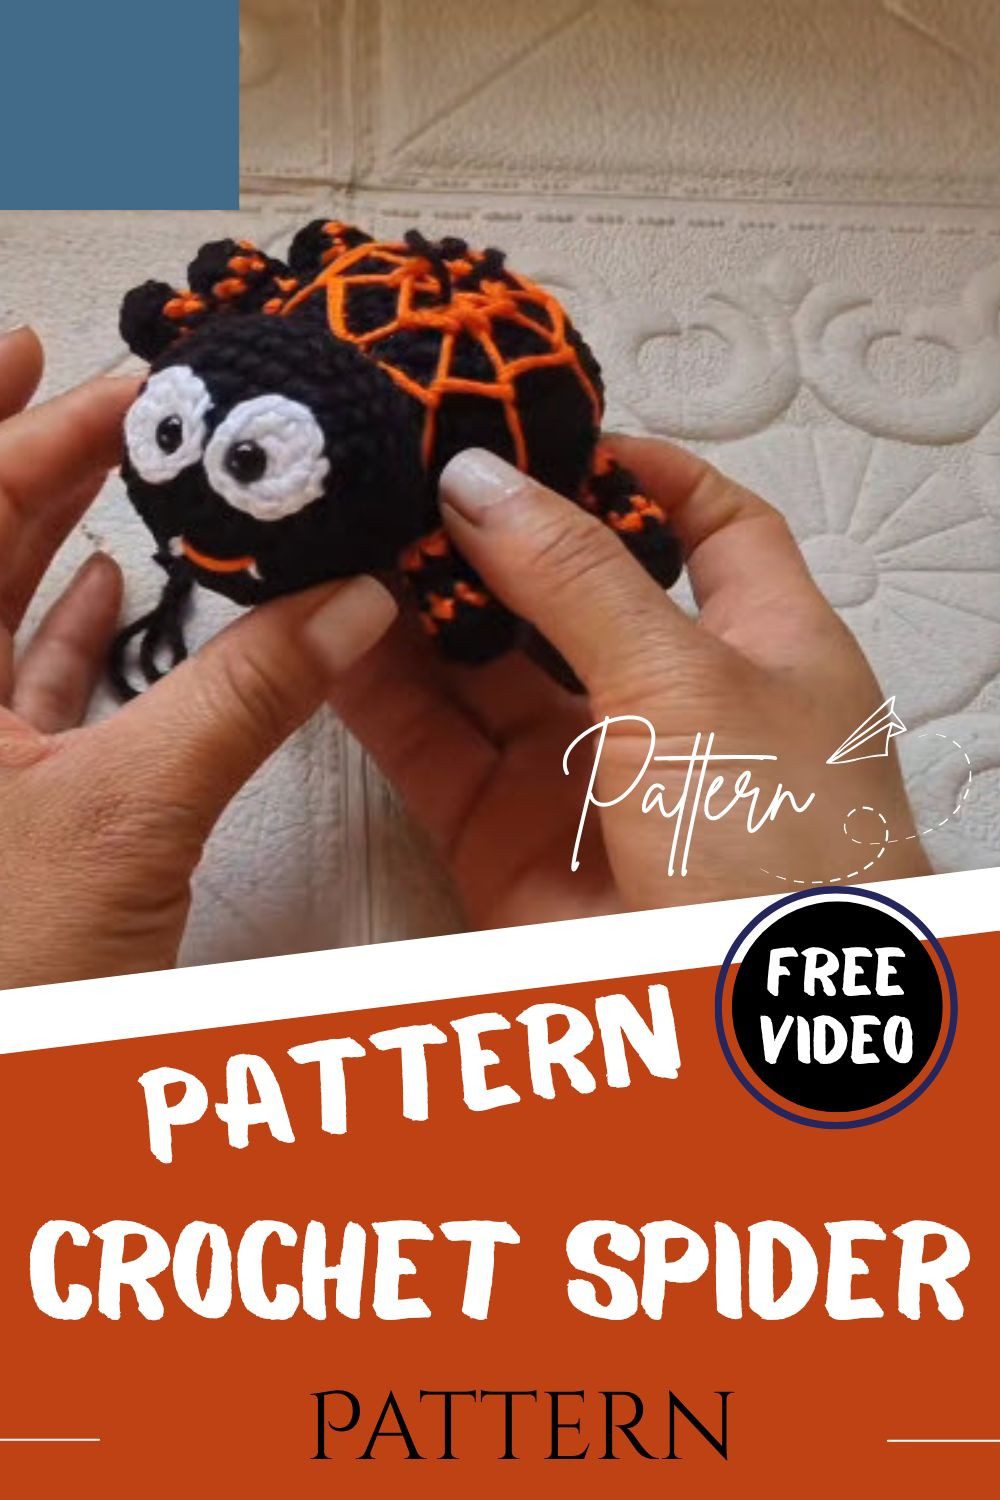
Your Little Web Guest Is Ready to Move In
So, sew the parts together and add the face. Also, I like how the web lines make this crochet spider look fun, not creepy. Still, you can always change the colors to match your own decor. So, if you wanted an easy crochet spider pattern, give it a go. Grab your scraps, pin everything before you sew, and enjoy your new little guest.