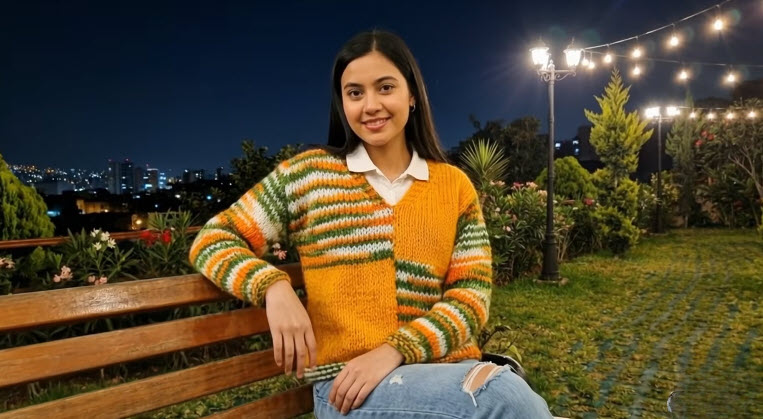
Easy Knit Sweater Pattern with 1×1 Ribbing
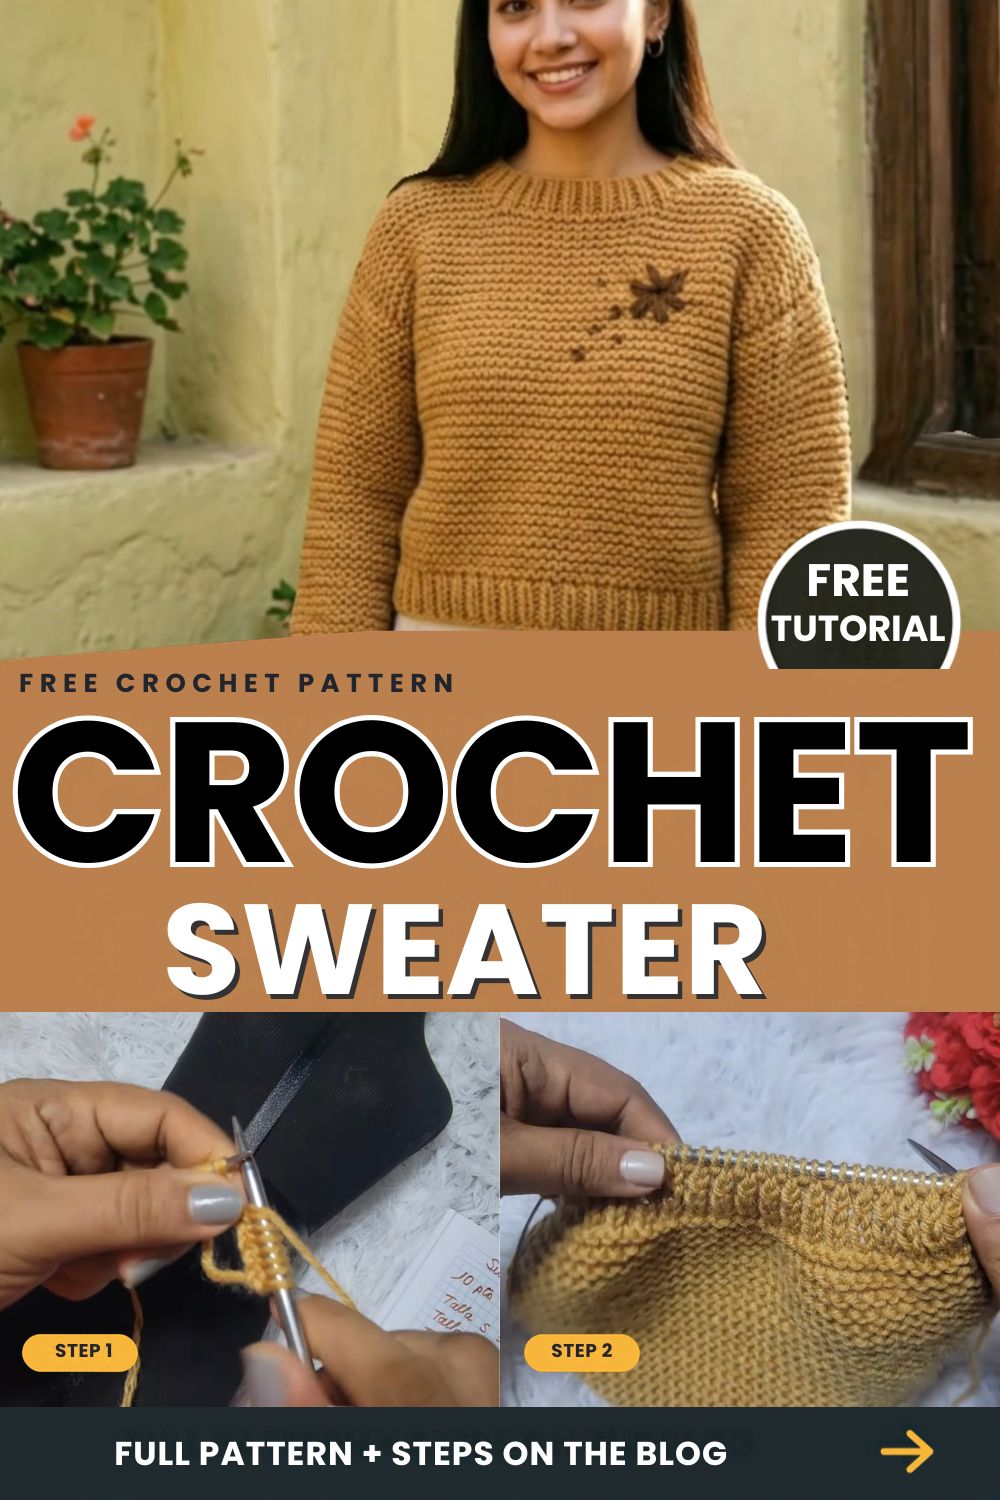
An easy knit sweater is a simple pullover made from two identical panels and two sleeves. Each panel has a 1×1 ribbed hem and shoulder band, with garter stitch in between. This is a knitting pattern worked with two needles, not a crochet pattern. It uses only knit and purl stitches, plus a few decreases for the sleeves.
In this tutorial, you will cast on for your size, knit the panels, and join the shoulders. Then you will pick up stitches along the armholes, shape and finish the sleeves, and seam everything together. At the end, there is an optional embroidered flower. The pattern covers sizes S to XL, and a custom-fit method is included if you want a different fit.
Why Make an Easy Knit Sweater?
This project uses only two basic stitches and a short list of techniques. For example, you practice ribbing, garter stitch, picking up stitches, and seaming. As a result, it makes a good project once you can cast on, knit, purl, and bind off.
Also, the body is made of simple rectangles, so there is no neckline or armhole shaping to figure out.
Materials for Your Easy Knit Sweater
- Yarn: medium or worsted weight. Yarn amounts depend on your size, yarn, and tension, so buy extra from the same dye lot.
- Needles: 5.0 mm (US 8), straight or circular.
- Tools: tapestry needle, tape measure, stitch markers, and scissors.
- Optional: a little accent yarn in a contrasting or darker shade for the flower.
Sizing and Cast-On Reference for the Easy Knit Sweater
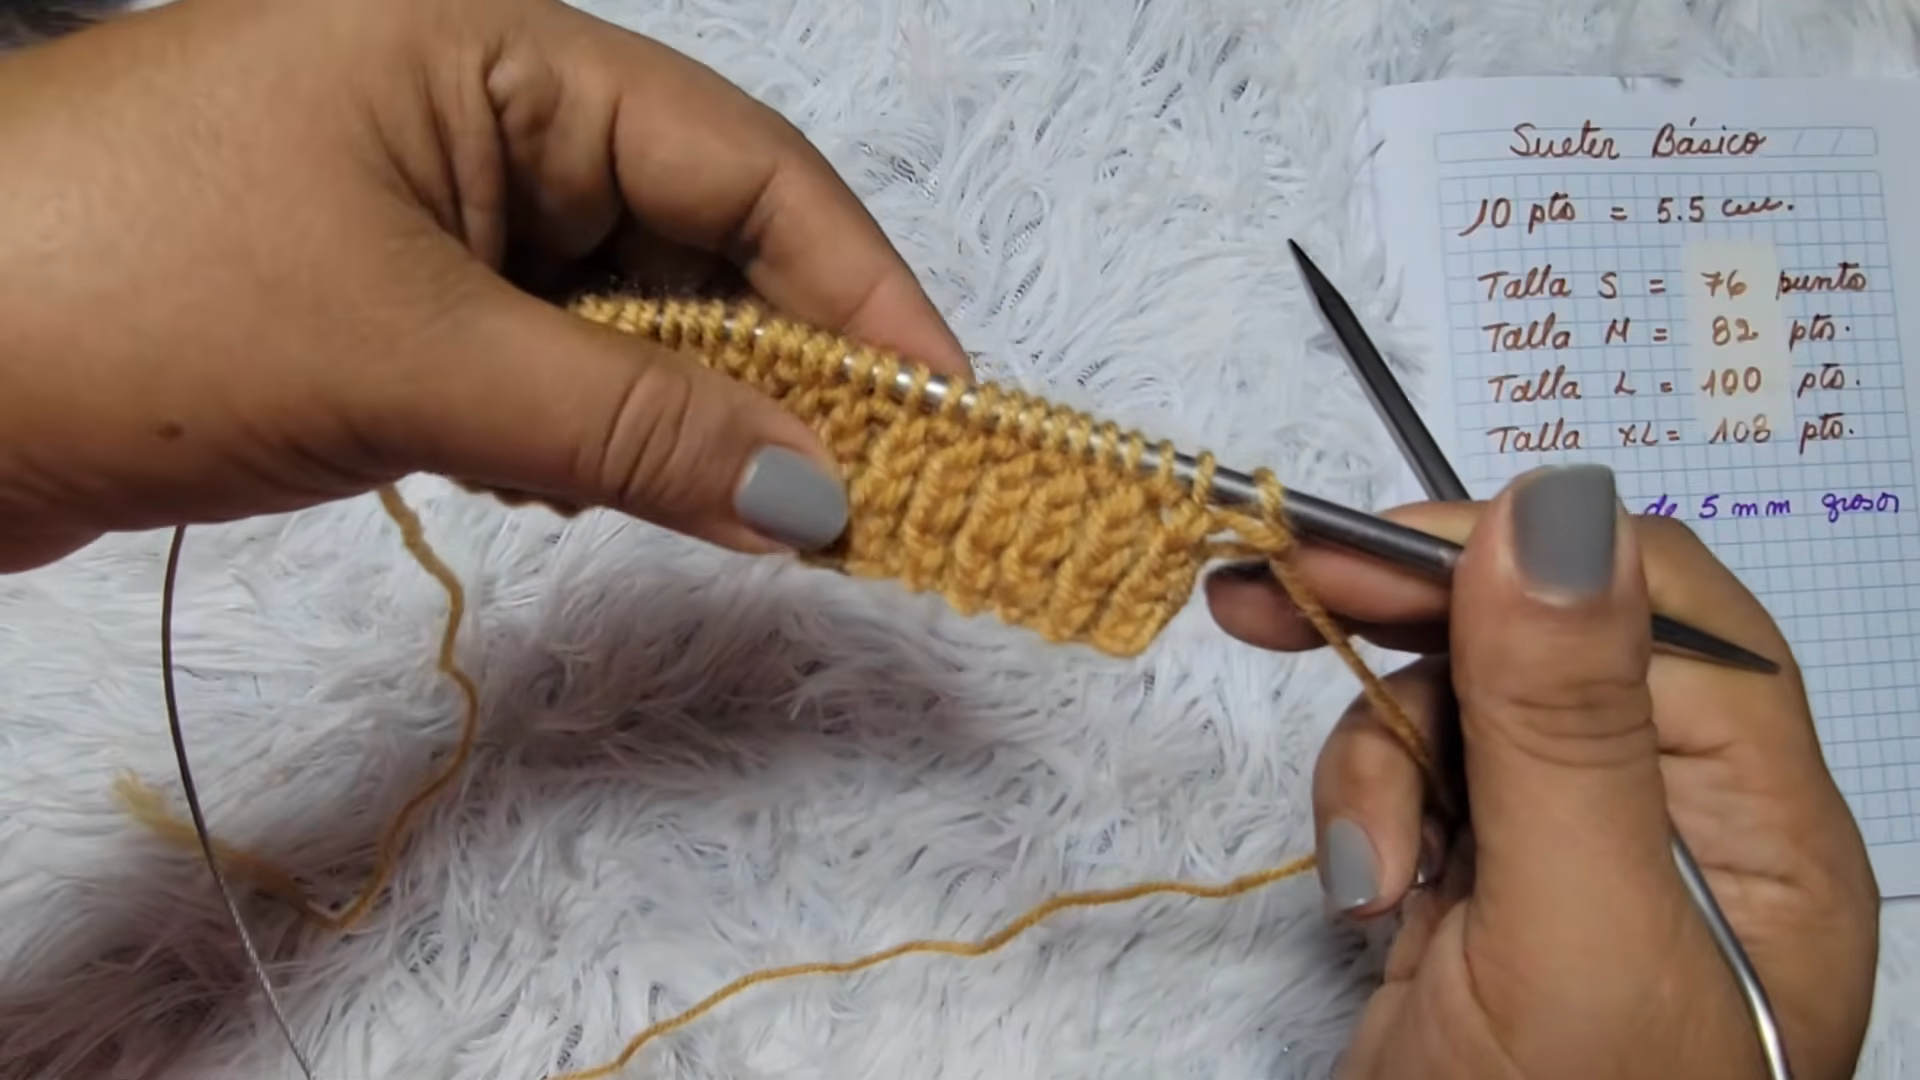
This pattern uses a gauge of 10 stitches to about 5 cm (2 in) on 5.0 mm needles. At that gauge, the cast-on counts below give these approximate widths:
- Size S: 76 stitches, about 38 cm (15 in) wide.
- Size M: 82 stitches, about 41 cm (16 in) wide.
- Size L: 100 stitches, about 50 cm (20 in) wide.
- Size XL: 108 stitches, about 54 cm (21 in) wide.
Custom fit: First, measure half of your hip or waist circumference, depending on where you want the hem to sit. Then add 2 to 3 cm (about 1 in) for ease. Next, knit a small gauge swatch and count the stitches per cm. Finally, multiply that number by your width to get your cast-on count, and keep it an even number for the 1×1 ribbing.
Gauge varies with your yarn and tension, so the swatch matters more than the numbers above.
Stitches and Terms You Will Use (US Terms)
- Cast on: the first row of stitches placed on the needle.
- K (knit) and P (purl): the two basic knitting stitches.
- 1×1 ribbing: knit 1, purl 1 across the row. On the next row, knit the stitches that look like knits and purl the ones that look like purls.
- Garter stitch: knit every stitch on every row, on both right-side and wrong-side rows. This leaves a ridge on the fabric for every two rows.
- K2tog (knit 2 together): a decrease that leans to the right.
- SSK: a decrease that leans to the left. Slip 2 stitches knitwise, one at a time, then knit them together through the back loops.
- P2tog (purl 2 together): a purl decrease.
- Bind off: finishing the last row so the stitches don’t unravel. In UK patterns, this is called cast off.
- Pick up and knit: drawing new stitches through the edge of finished fabric.
- Right side / wrong side: the right side faces out when you wear the sweater.
- Lazy daisy stitch: an embroidery stitch that makes a petal shape.
- st(s): stitch or stitches.
Knit the Front and Back Panels (Make 2)
Make two identical panels. Count your rows so the front and back match.
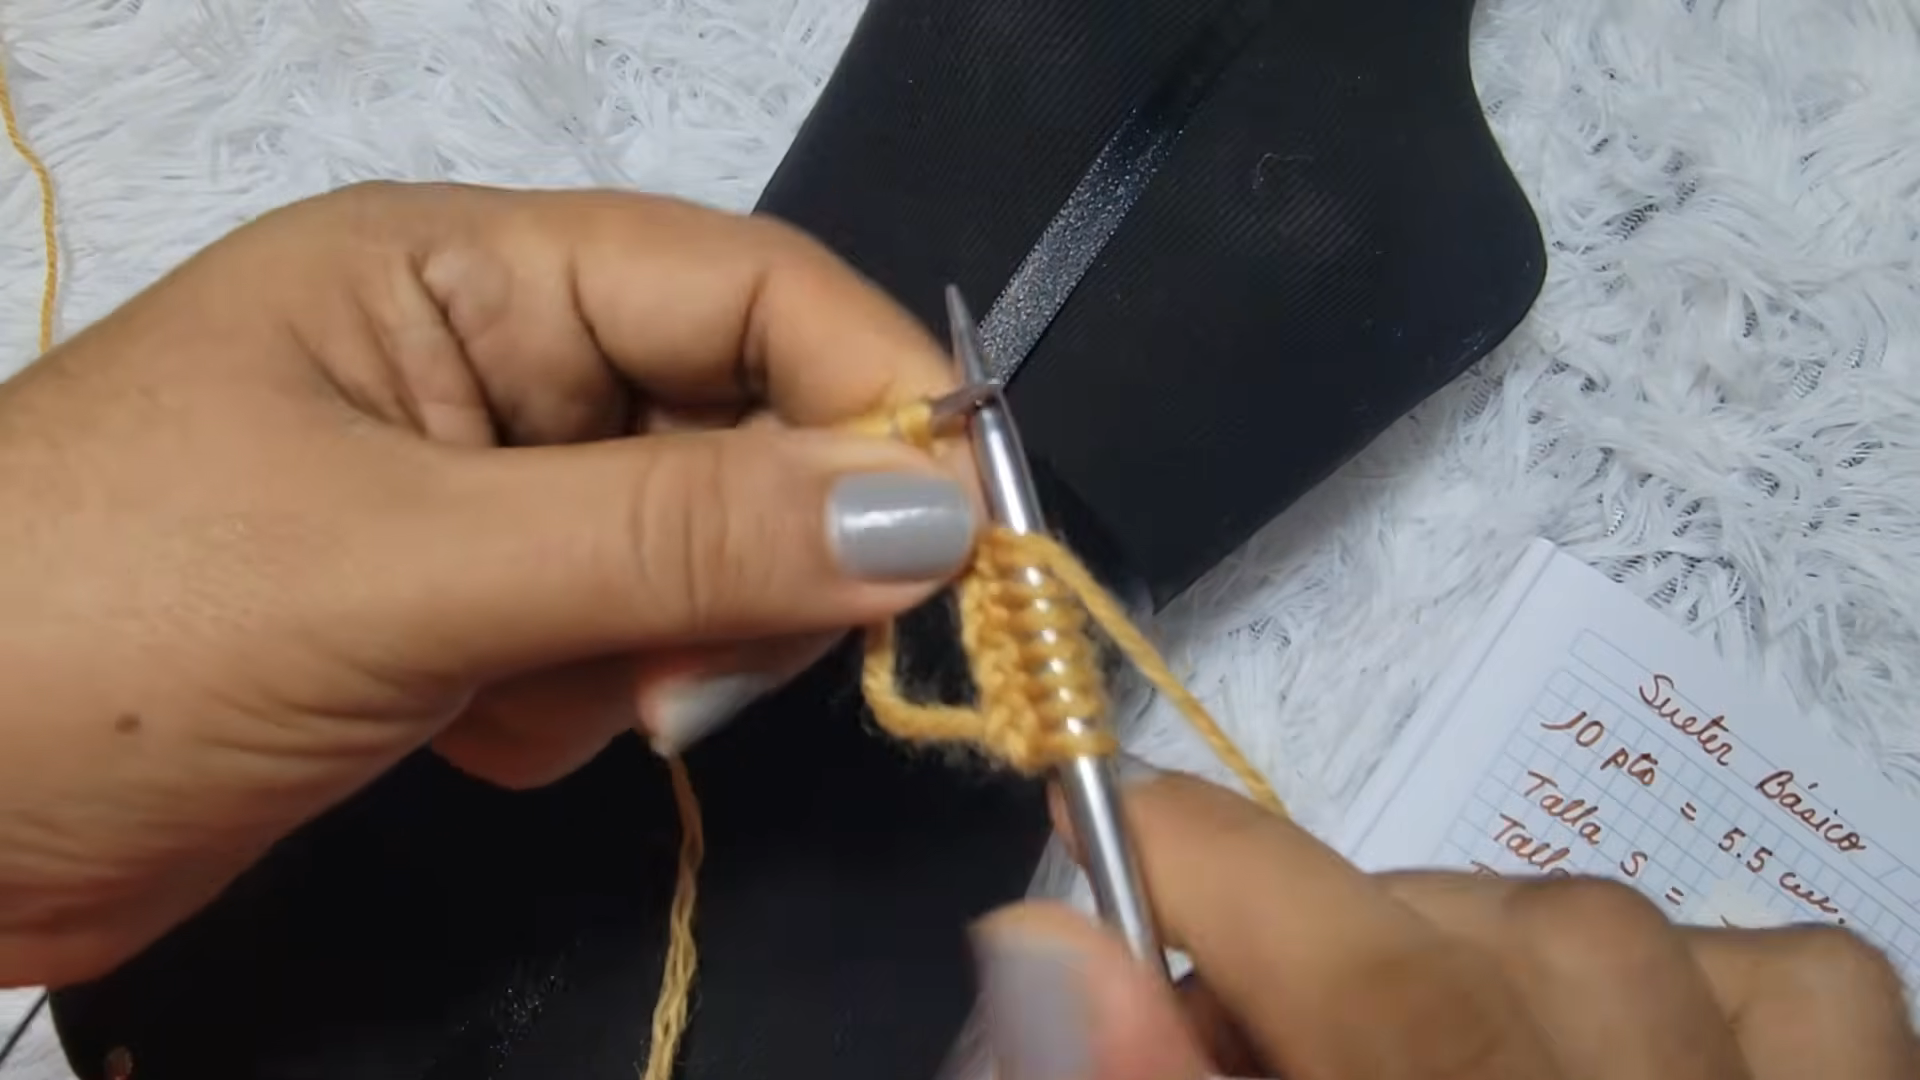
- Bottom hem ribbing: Cast on the stitches for your size with 5.0 mm needles. Then work 10 rows of 1×1 ribbing (K1, P1).
- Main body: Switch to garter stitch and knit every row. Keep going until the piece reaches about 2 to 3 cm (1 in) below your shoulder line.
- Shoulder ribbing: Switch back to 1×1 ribbing and work 10 rows, matching the bottom hem.
- Bind off: Bind off all stitches in knit on the right side. Fasten off, leaving a yarn tail for seaming.
Pick Up Stitches for the Sleeves
- Lay the joined body flat.
- Measure down 22 cm (8.7 in) from the shoulder line on both panels, or 23 cm (9 in) for a looser fit. Mark that point. Together, the two sides make an armhole edge of about 44 cm (17 in).
- Using your needle and yarn, pick up stitches along that 44 cm edge. Pick up 1 stitch from each of 3 garter ridges, then 1 stitch from the space between ridges. This gives 4 stitches for every 3 ridges, so the sleeve won’t feel tight or pull.
Knit and Taper the Sleeve
The standard sleeve length is 48 to 50 cm (19 to 20 in), not counting the cuff. Work the sleeve in garter stitch, so you knit every row.
- Divide the total length into 5 equal sections, roughly every 9 to 10 cm (3.5 to 4 in).
- At each of the 4 points between the sections, work a decrease row on each edge:
- Decrease row: K1, SSK, knit across until 3 stitches remain, K2tog, K1.
- Work 4 sets of decreases in total down the length of the sleeve.

Knit the Cuff
- When the sleeve reaches the wrist, about 48 to 50 cm (19 to 20 in) long, work a decrease row across the stitches to gather the width. For example, use [K5, P2tog] or [K3, P2tog]. The cuff should be at least 22 cm (8.7 in) wide so your hand passes through easily.
- Then work 10 rows of 1×1 ribbing for the cuff.
- Bind off all stitches loosely in knit.
- Repeat Steps 3 to 5 for the second sleeve on the opposite side.
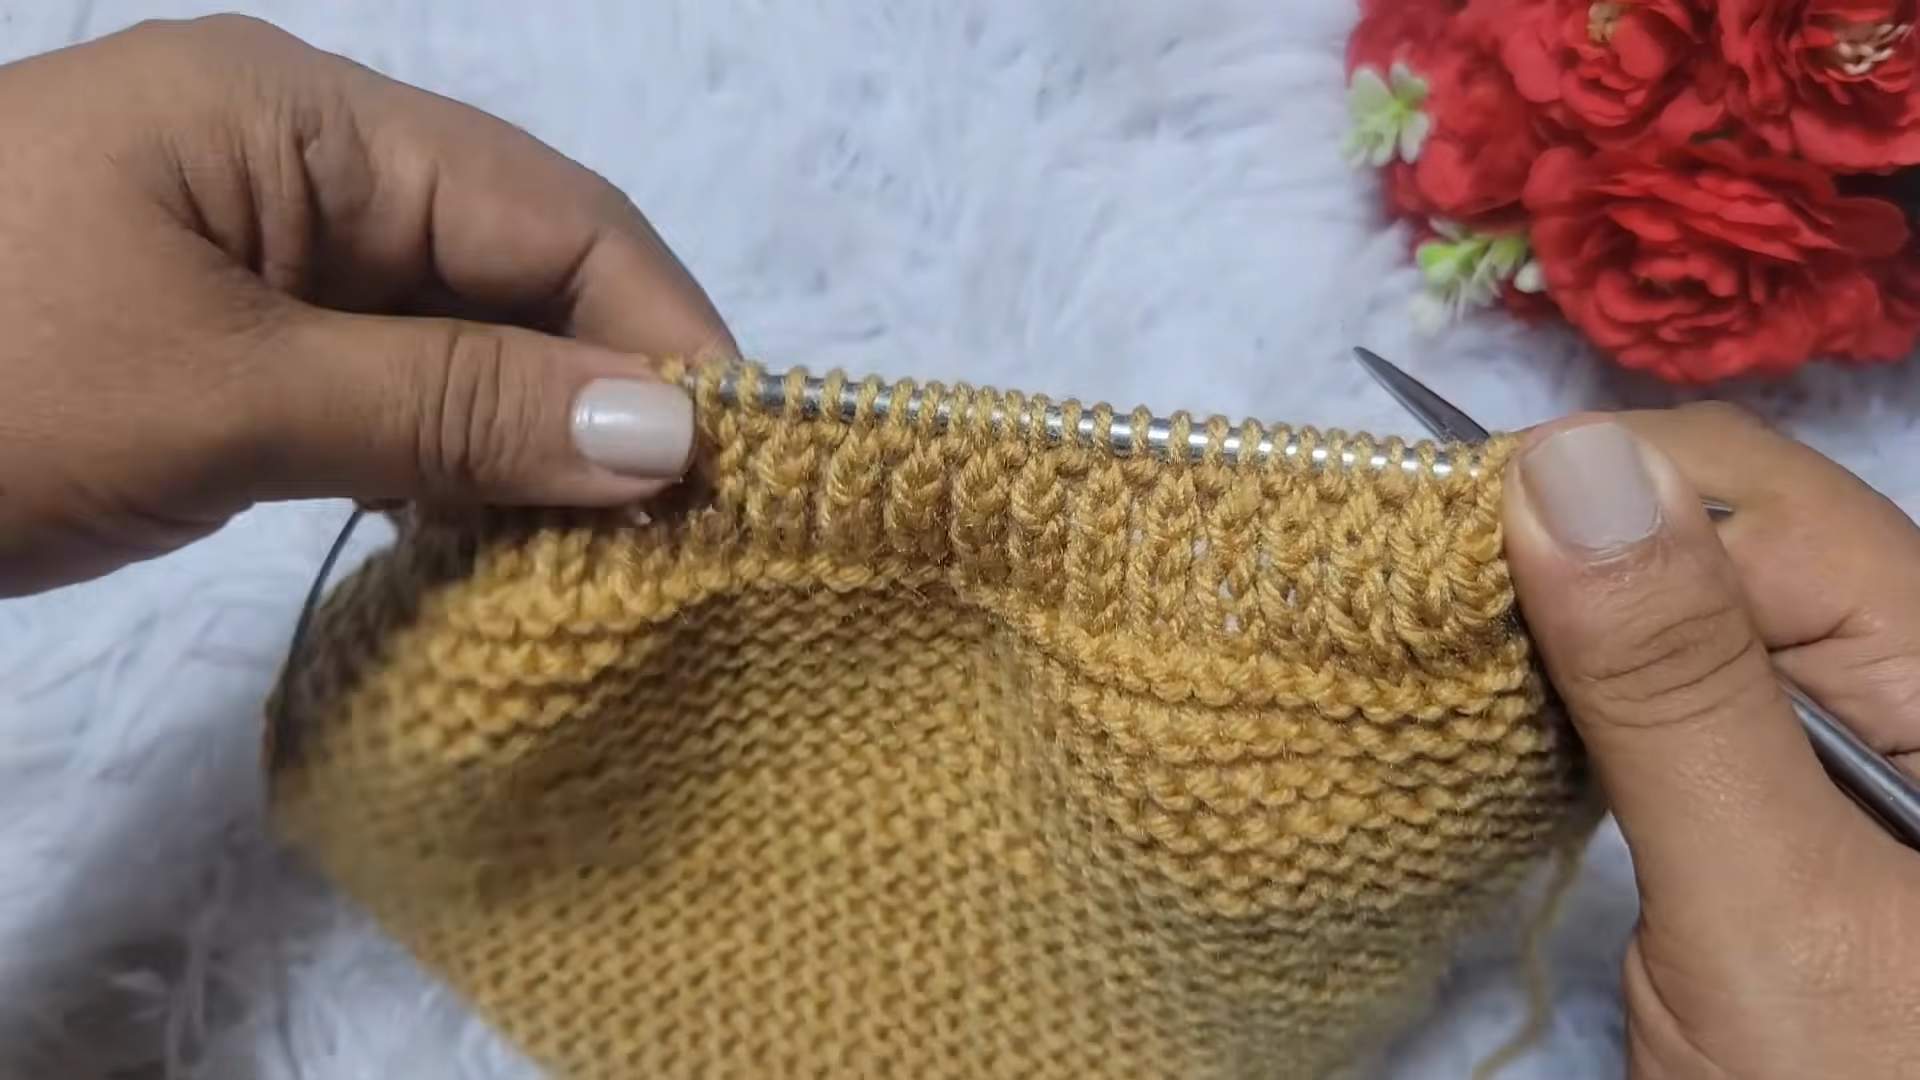
Sew the Side and Underarm Seams
Sew from the wrist cuff along the underarm and down to the bottom hem. Do this on both sides, then weave in all loose ends.
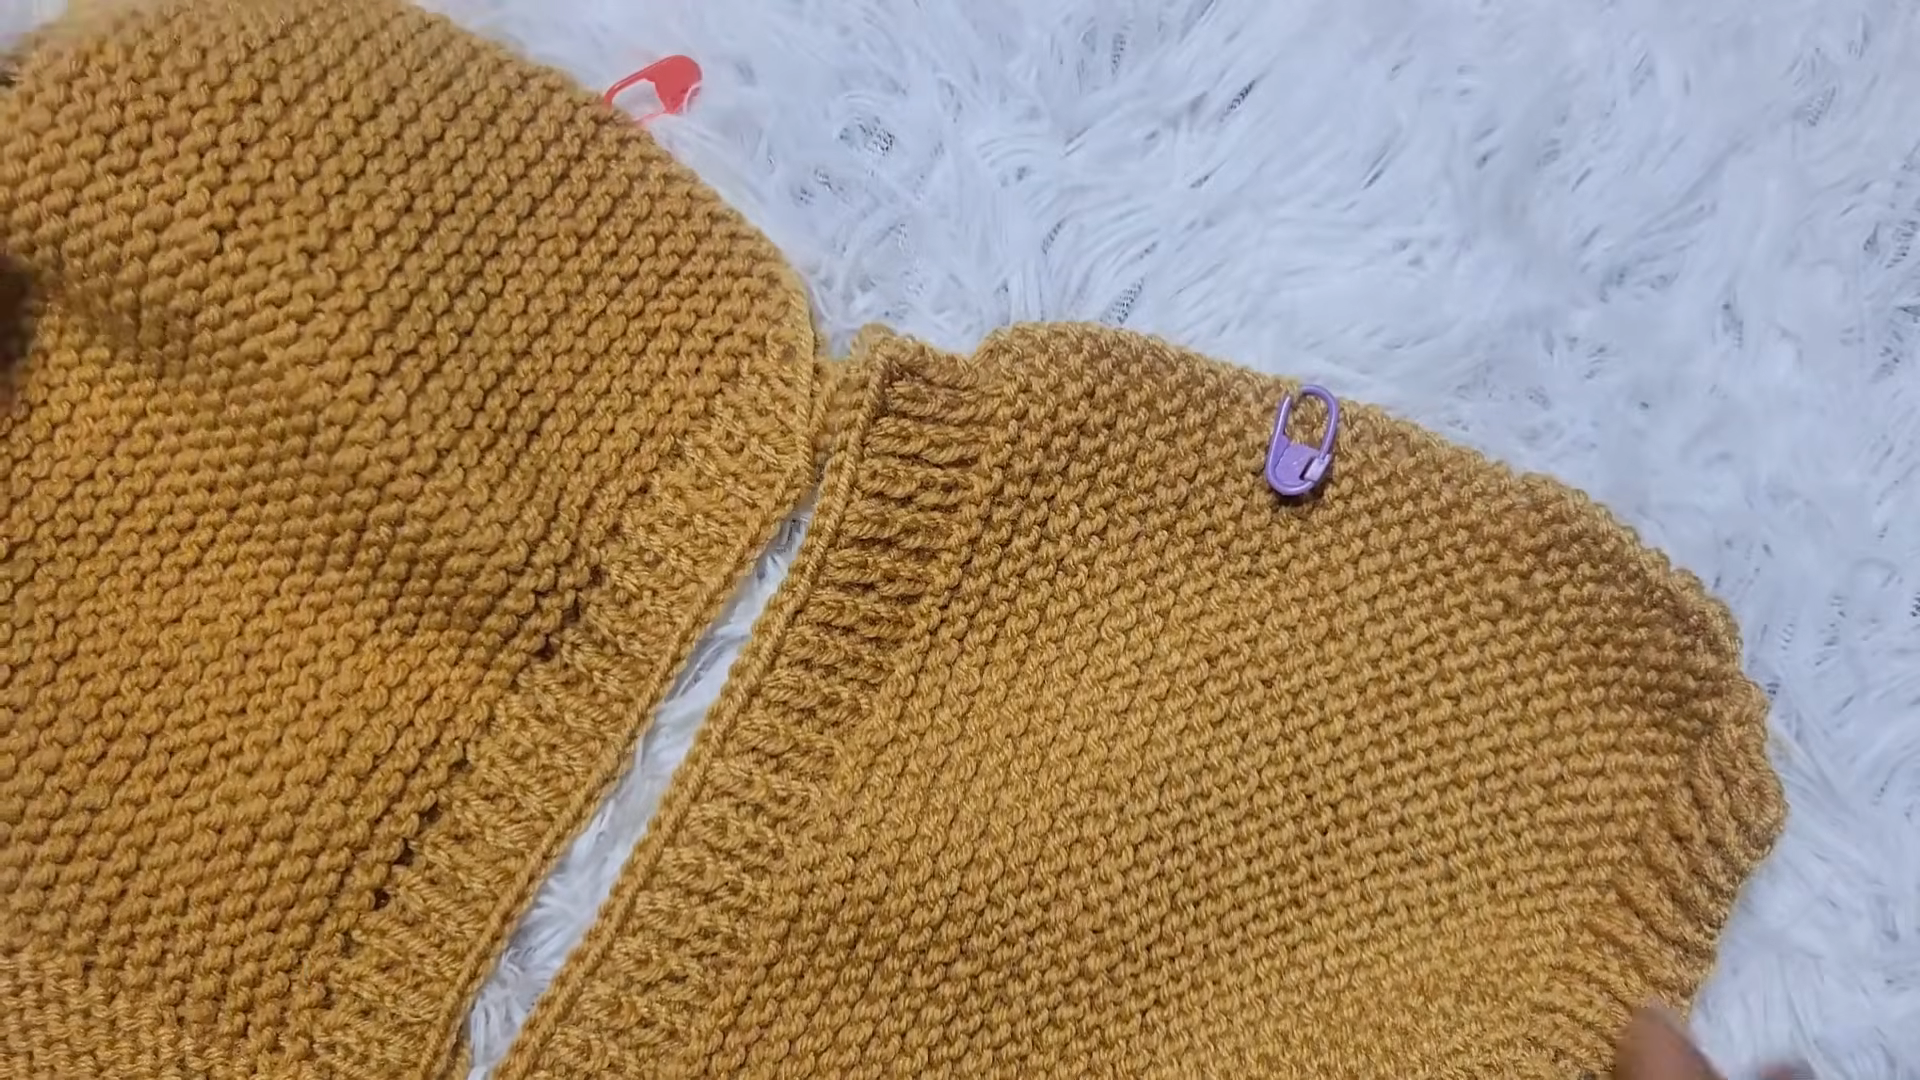
Join the Shoulder Seams
- Place the front and back panels together with right sides facing.
- Next, sew the shoulder edges from the outer points inward. Leave a centre opening of about 28 cm (11 in) for the boat neck.

Troubleshooting Your Knit Sweater
If the sweater comes out too narrow, check your gauge, because a tighter swatch than the pattern gives smaller pieces. Similarly, if it feels too wide, go down a needle size and swatch again. When the sleeve pulls at the armhole, pick up a few more stitches next time. Finally, if the neck opening feels too tight, leave a wider opening when you sew the shoulders.

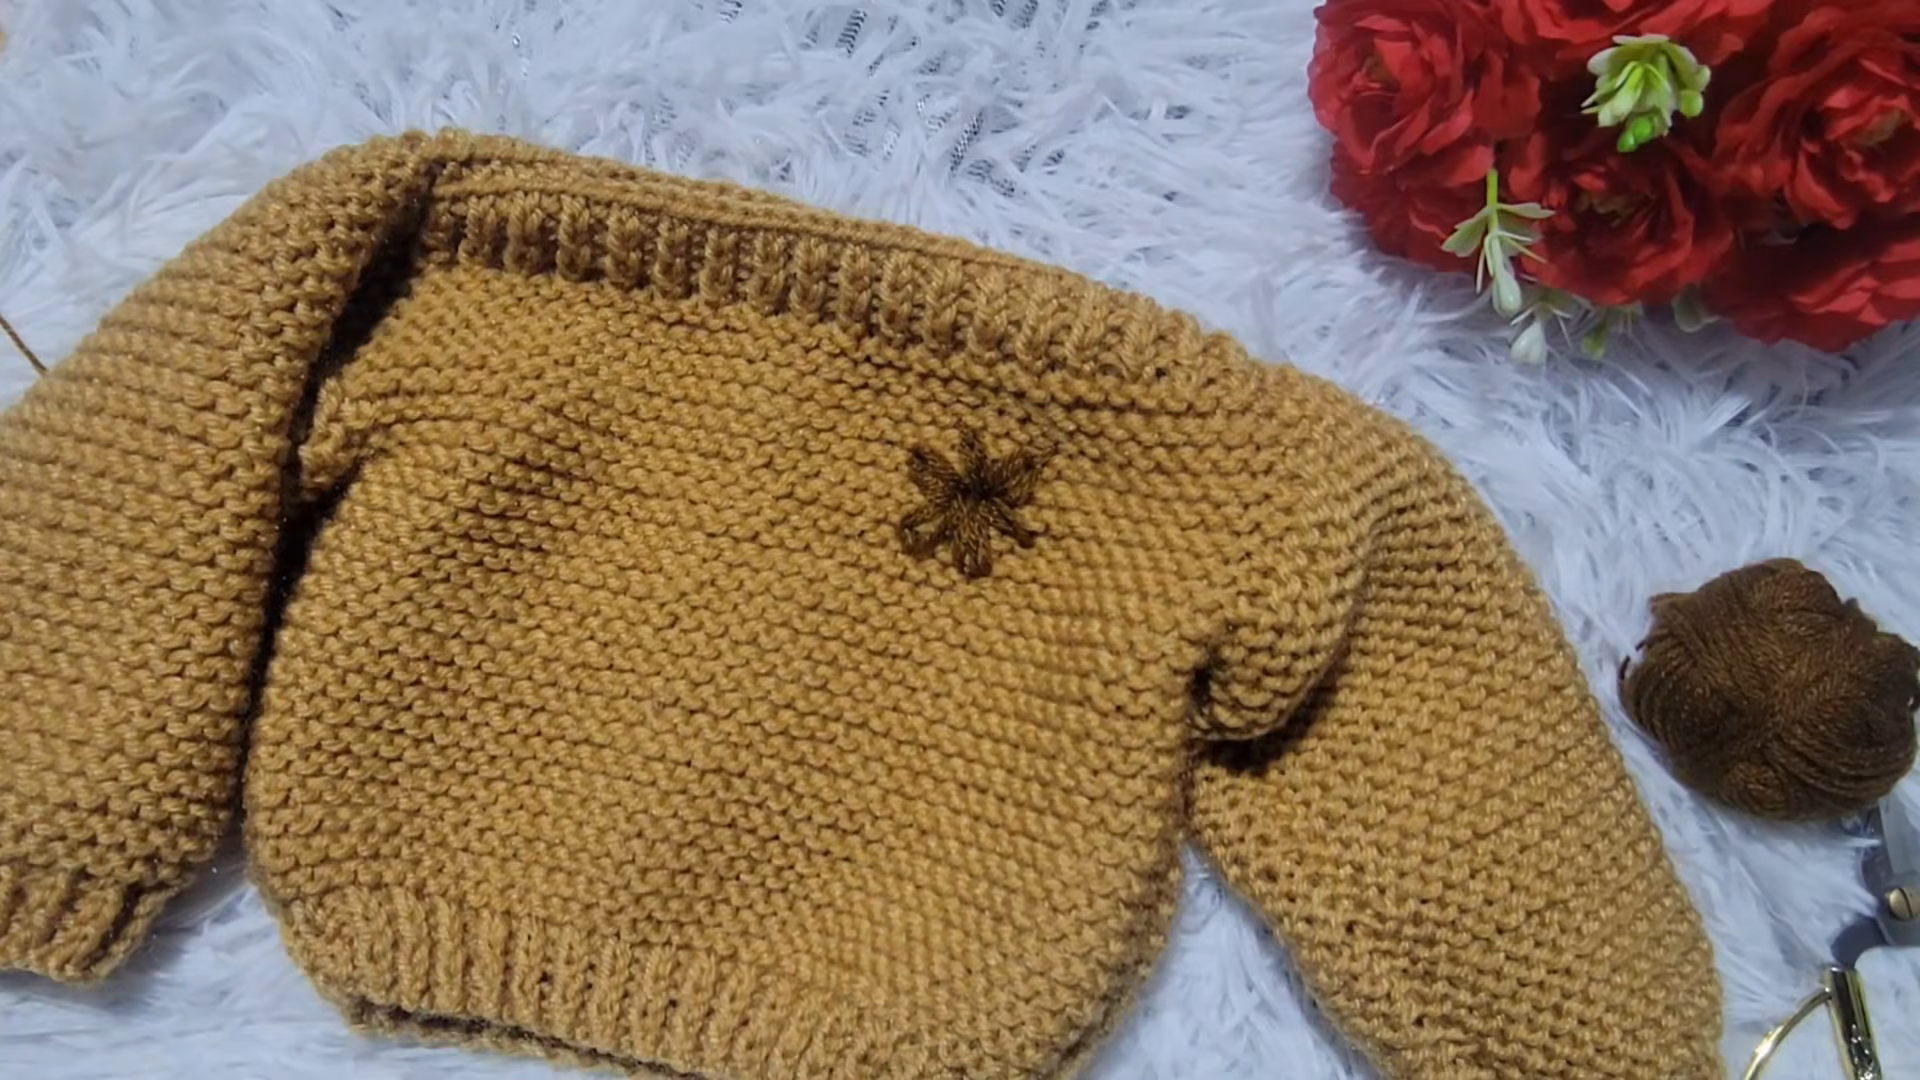
Add the Flower (Optional)
- Thread a contrasting or darker yarn onto a tapestry needle.
- Near one lower corner of the sweater, work a 5-petal lazy daisy flower:
- First, bring the needle up through the fabric and form a loop with the yarn.
- Next, insert the needle back close to where it came up, and bring it up at the tip of the petal.
- Then secure the tip of the loop with a small tacking stitch.
- Repeat to make 5 petals.
- Finally, secure the yarn and weave in the ends on the inside.
Common Easy Knit Sweater Mistakes
- Wrong stitch count: count your stitches after the ribbing and again after a few rows of garter stitch.
- Panels that don’t match: count the ridges and rows on the first panel, and repeat them exactly on the second.
- Odd cast-on counts: 1×1 ribbing needs an even number of stitches.
- Tight sleeve edges: pick up a few more stitches along the armhole.
- Uneven decreases: place the decrease rows at equal distances along the sleeve.
Tips for a Neater Easy Knit Sweater
- Write down your row counts after the first panel and use them for the second.
- Also, use stitch markers to mark the armhole depth before you pick up stitches.
- Bind off loosely, because a tight edge can make the ribbing pull.
- Before you sew the seams, lay the pieces flat and check that they match.
Bonus: Mark the Armhole with Waste Yarn
Before you pick up the sleeve stitches, thread a piece of scrap yarn through the panel edge at the 22 cm (8.7 in) point. As a result, you can see the armhole depth clearly and keep the pick-up even on both sides.
Frequently Asked Questions About the Easy Knit Sweater
Is this easy knit sweater good for beginners?
It uses only knit and purl stitches and has minimal shaping. However, it also needs decreases, picking up stitches, and seaming, so it suits knitters who have finished a few smaller projects.
Which sizes does this pattern cover?
It gives cast-on counts for S, M, L, and XL. You can also size it yourself with a swatch and your own measurements.
Why use garter stitch for the body?
It leaves a ridge on both sides of the fabric. Because it also lies flat, you don’t need extra edging.
Can I use a different yarn?
Yes, but the size will change. In addition, you may need a different needle size, so swatch first.
Do I have to add the flower?
No. It is an optional detail, and the sweater works without it.
Simple Panels, Cozy Result
You’ve cast on, knit two matching panels, shaped two sleeves, and sewn them into a sweater. Now try it on and add the flower if you like. When you want another project, try the same method with a different yarn colour.