
Free Crochet Floral Hair Tie Pattern for a Trendy
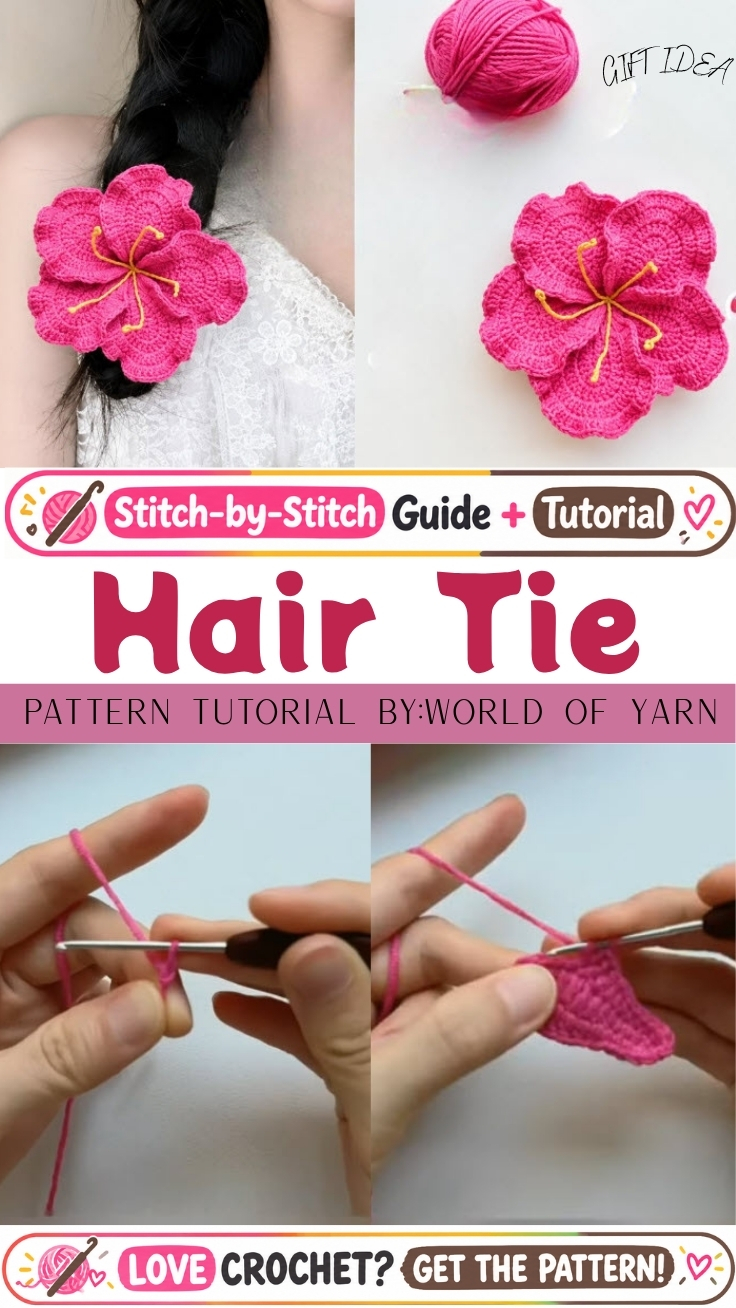
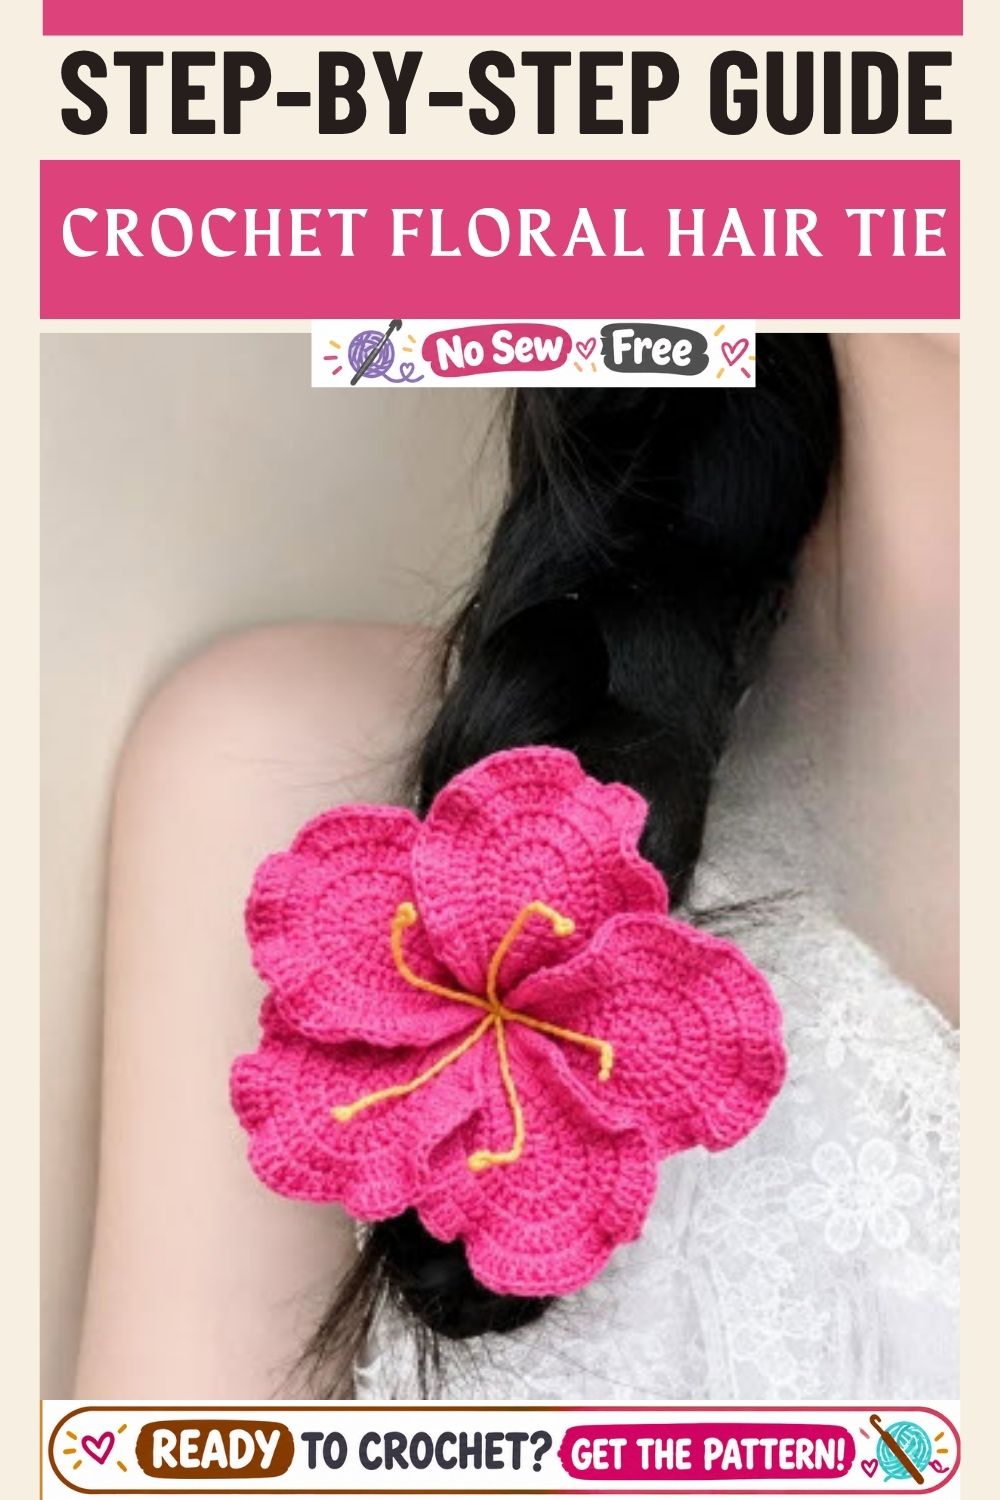
Bright fuchsia ruffles and sunny yellow loops sit at the heart of the Free Crochet Floral Hair Tie Pattern for a Trendy Handmade Look, turning a plain elastic into a tiny wearable flower and a truly fresh handmade crochet idea.
Here you’ll crochet a ruffled flower from soft pink yarn, build a slim yellow stamen cluster, and attach everything to a plain black hair elastic. The whole easy crochet project uses single crochet stitches, a magic ring, and simple sewing, so every beginner crochet fan can follow along quite comfortably.
The finished flower measures about 6 cm across and sits nicely on ponytails, buns, or braids. Make one for yourself, then stitch a few more in different colors as gifts.
Time Box and Skill Level
- Skill level: Beginner to confident beginner. The magic ring may take a couple of tries. Everything else is plain single crochet.
- Prep time: About 10 minutes to gather supplies and cut the yellow strands
- Stitching time: 35 to 45 minutes
- Finishing time: About 10 minutes for weaving in ends and shaping
Plan on roughly an hour in total. Speedy crocheters will finish sooner, and first-timers might need a bit longer while the magic ring clicks.
Materials and Supplies
Yarn Colors
- Hot pink smooth cotton yarn (sport or DK weight) for the flower
- Golden yellow yarn in the same weight for the stamens (a small scrap is plenty)
Tools and Extras
- 2.5 mm crochet hook
- One black hair elastic
- Yarn needle
- Small sharp scissors
- Stitch marker or a scrap of contrasting yarn
- Optional: keychain ring, brooch pin, or hair clip for alternate versions
No safety eyes or stuffing needed. The flower is worked flat, so it stays light and comfortable in your hair.
Crochet Techniques Used
- Magic ring: Creates a tight, hole-free center for the petals.
- Single crochet (sc): The only base stitch in the whole pattern.
- Increase: Widens the flower each round and later creates the ruffle.
- Decrease: Not required here, but it’s the technique to reach for if you reshape the petals or try a cupped version.
- Working around an elastic: Covers the hair tie with snug pink stitches.
- Sewing parts together: Joins the flower to the covered elastic.
Abbreviations (US Terms)
- sc: single crochet
- inc: 2 sc in the same stitch
- sl st: slip stitch
- st(s): stitch(es)
- * *: repeat the instructions between the asterisks
Step-by-Step Crochet Pattern (Photo Guide)
Each step below matches the numbered photo, so you can compare your work as you go.
Step 1: Create the Magic Ring
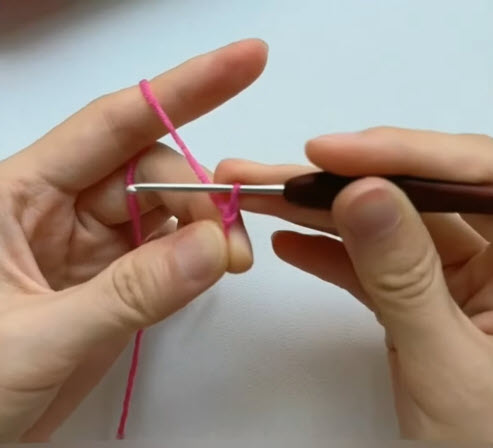
Lay the yarn tail across your palm. Wrap the working yarn around your index and middle fingers so it forms an X, just like the first photo. Slide the hook under the front strand, catch the working yarn, and pull up a loop. Chain 1 to lock the ring. Keep the working yarn draped over your index finger for smooth tension.
Pro-Tip: Leave a tail of at least 10 cm. A short tail slips out when you close the ring, and fixing that mid-project is annoying.
Step 2: Work the First Round
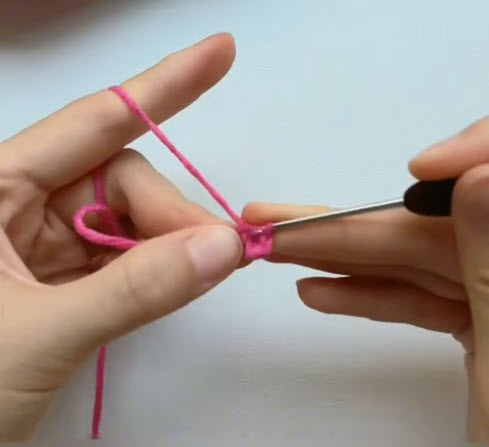
Push the hook into the ring, yarn over, and pull up a loop. Yarn over again and draw through both loops on the hook. That’s one sc. Repeat until the ring holds 6 sc, as shown in the second photo.
Round 1: 6 sc in the magic ring (6)
Tug the tail gently to close the ring. Then place your stitch marker in the first stitch. You’ll work in a continuous spiral, so the marker keeps your place.
Step 3: Grow the Center
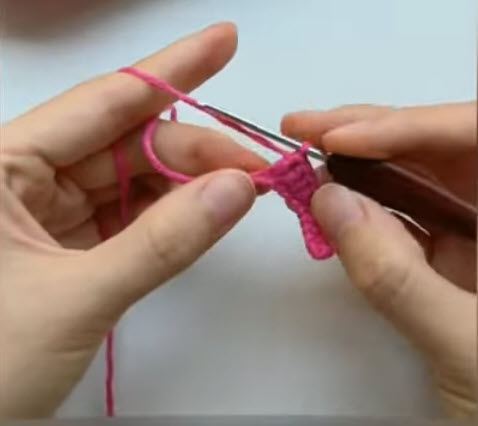
The tiny piece will curl up as you add rounds, so hold it flat between your thumb and finger while you stitch.
Round 2: 2 sc in each stitch around (12)
Round 3: *1 sc, inc* repeat 6 times (18)
Count your stitches after each round. It only takes a few seconds, and it saves you from a lopsided flower later.
Step 4: Widen the Flower
Now the piece opens up into a small, fan-like disc as it turns in your hand.
4: *2 sc, inc* repeat 6 times (24)
5: *3 sc, inc* repeat 6 times (30)
6: *4 sc, inc* repeat 6 times (36)
Pro-Tip: If the disc cups upward, you’ve likely missed an increase. If the edge waves too early, you’ve added an extra one. Recount before moving on.
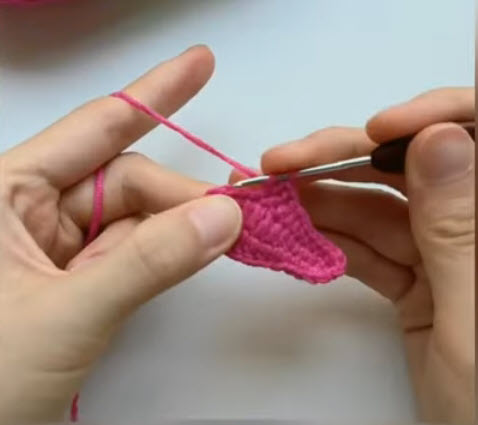
Step 5: Add the Ruffle and Weave In
Round 7 (ruffle): 2 sc in each stitch around (72)
Suddenly the round holds far more stitches than it can lie flat with, so waves appear on their own. That’s your ruffle. Slip stitch into the next stitch, then fasten off, leaving a 15 cm tail for sewing.
Thread the beginning tail onto your yarn needle, as in the fifth photo. Weave it through a few stitches on the wrong side and trim close. Keep the ending tail long, because you’ll need it in Step 7.
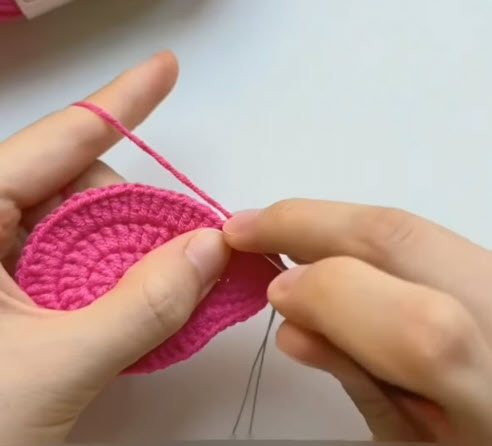
Step 6: Cover the Hair Elastic
Make a slip knot on your hook and push the hook through the middle of the black elastic. Pull the yarn through and work single crochet stitches over the elastic, one snug stitch after another, sliding them along as you go. About 20 sc should cover it, though your elastic may need a few more or fewer. Join with a sl st to the first sc, fasten off, and leave a 15 cm tail.
Pro-Tip: Push each stitch tightly against the last one. If the elastic is peeking through, your tension is too loose.
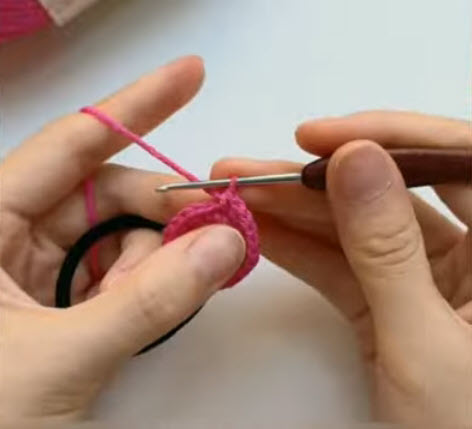
Step 7: Add the Stamens and Join
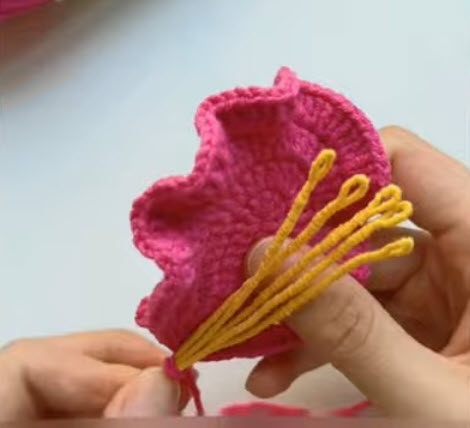
Cut five strands of yellow yarn, each about 10 cm long, and fold them in half. Using your hook, pull each folded end through the center of the flower so the loops stand up in the middle, just like the last photo. Tie all the ends together in a tight double knot at the back.
Now sew the covered elastic to the back of the flower with the pink tail. Stitch through the elastic band and the flower base four or five times, knot, and hide the end inside the stitches.
Finishing Touches
Turn the flower over and check that every tail is tucked away. Trim the stray yellow ends at the back, but leave the loops uncut. Fluff the ruffled edge with your fingertips so the waves sit evenly. Give the flower a gentle tug against the elastic, and if anything wiggles, add another stitch or two.
Helpful Beginner Tips
Keep Your Stitches Tight
Tight stitches give the flower its shape and hide the elastic. If your tension runs loose, drop down a hook size. A smaller hook makes the ruffle stand out crisply.
Use a Stitch Marker
In a spiral, it’s easy to lose your place. Move the marker up each round so you always know where the round starts and ends.
Skip the Stuffing, Keep It Flat
Unlike amigurumi toys, the flower needs no stuffing. A flat, firm fabric sits comfortably against hair and holds its ruffle without extra help.
Common Mistakes to Avoid
- Skipping the stitch marker and losing track of the round
- Closing the magic ring loosely, which leaves a hole in the center
- Missing an increase, which makes the disc cup instead of lying flat
- Working loose stitches around the elastic so black shows through
- Cutting the yellow loops, when only the back ends should be trimmed
Uses and Benefits
Clip it onto a ponytail, tuck it into a low bun, or attach it to a braid’s end for an instant garden touch. Because the base is a real elastic, it holds thick hair without slipping. Cotton stays gentle on strands, and the flower weighs almost nothing. Handmade pieces like it also make sweet party favors, teacher gifts, and craft fair bestsellers. You can also dangle it from a bag zipper or hang a mini version on a keychain ring.
Design Customization Ideas
Different Colors
Try lavender petals with white stamens, sunset orange with a pink center, or classic red with black. Switching colors every round creates a lovely striped-petal effect.
Cute Accessories
Sew the flower onto a hair clip, a brooch pin, or a headband. A few matching flowers on a plain scrunchie look adorable, too.
Mini Size Variations
Stop after Round 4, then add the ruffle round, and use a 2.0 mm hook for a 3 to 4 cm blossom. Tiny versions are perfect for kids’ hair.
Bonus: Care and Storage Guide
Hand wash your flower in cool water with a drop of mild soap. Squeeze out the water without wringing, then reshape the ruffle with your fingers. Dry it flat, away from direct heat. For storage, keep it in a small pouch, away from other elastics that might tangle the yellow loops.
FAQ
What is the best yarn for amigurumi and small crochet projects?
Mercerized or plain cotton is a top pick. It’s smooth, shows off stitch definition, and gives ruffles structure. A firm, smooth acrylic also works if you prefer it.
How do I make a crochet piece firm?
Go down one hook size, keep your tension tight, and choose cotton yarn. For extra hold, mist the finished flower lightly with fabric stiffener, shape the ruffle, and let it dry flat. Plush toys get their firmness from stuffing, but this flat flower doesn’t need any.
How long does the project take?
Most crocheters finish in about an hour. First-timers may need up to 90 minutes, since the magic ring often takes a few attempts.
Conclusion
You now have everything you need for a pretty, wearable crochet pattern that works up fast. Remember that your first flower doesn’t have to be perfect, because every ruffle teaches your hands something new. Grab your hook, pick two colors you love, and start stitching. Then save this crochet tutorial for later, and share your finished hair tie in the comments.


