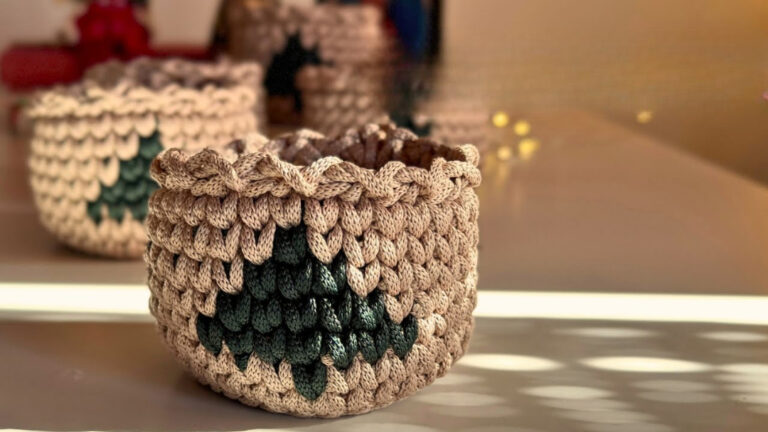
Refreshing Crochet Little Penguin Doll & Toy Plush Pattern Guide
Little penguins always bring a smile, especially when they are tiny and handmade. This cozy crochet penguin pattern is one of those projects that feels relaxing from the very first round.
A soft amigurumi penguin toy also makes the cutest gift, and it is a wonderful beginner-friendly crochet animal for practicing shaping. Calm yarn, simple stitches, and a sweet face turn into something you will want to hold all day.
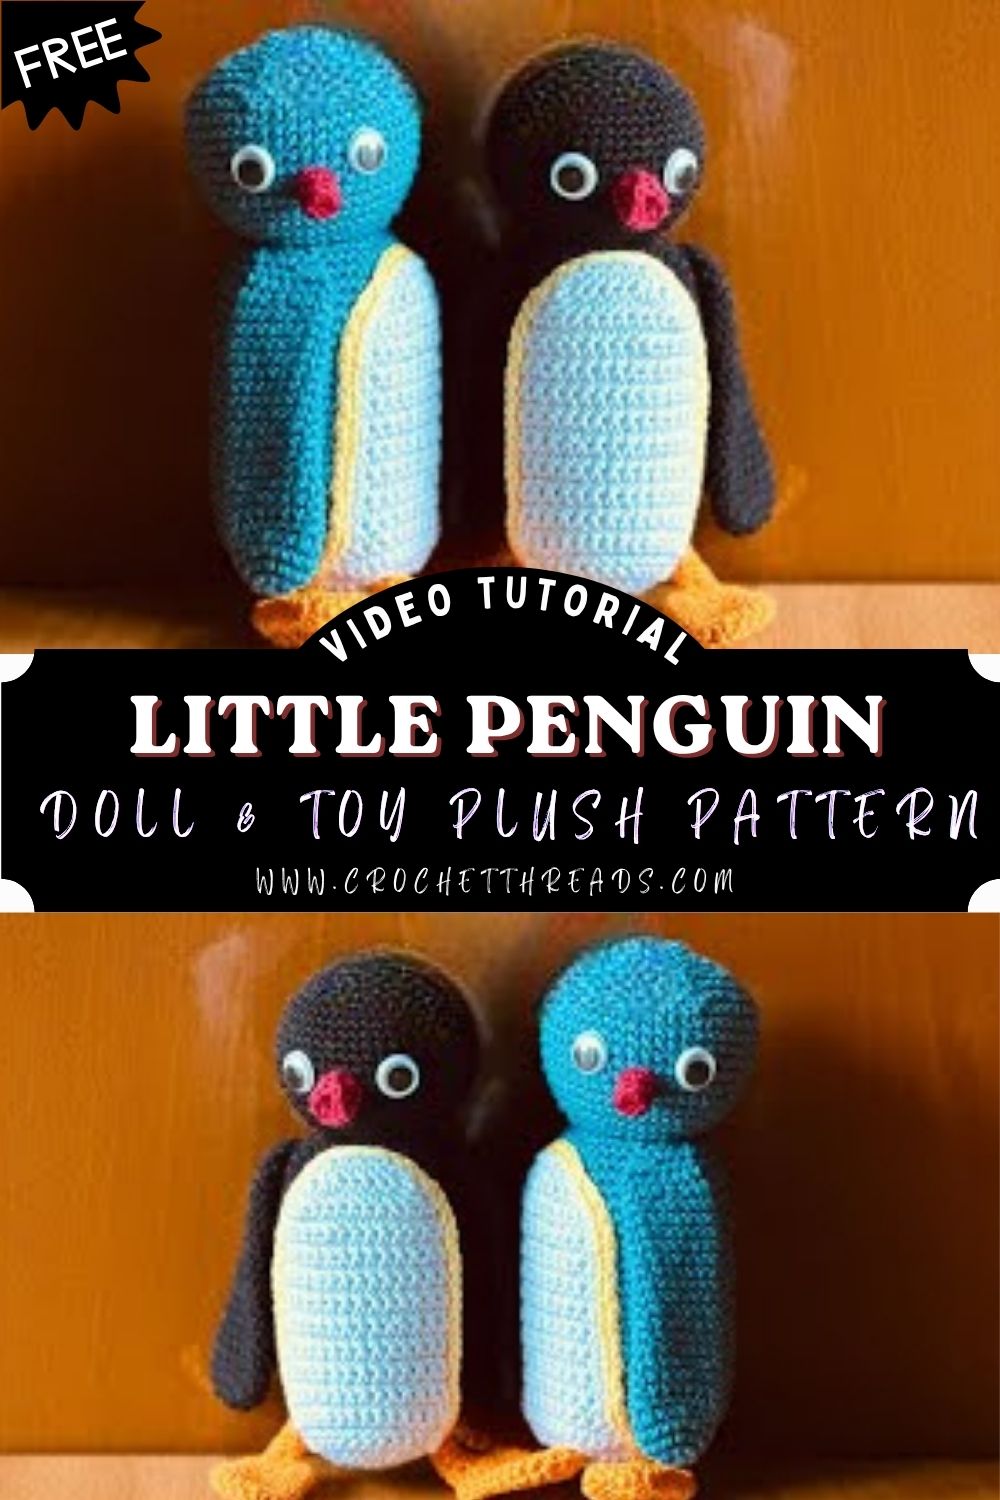
Penguin amigurumi is loved for being simple, sweet, and forgiving. A tall oval body, a round head, and two small wings already create that penguin look, even before adding details. The clean white belly panel makes it pop, and the tiny triangle beak gives it a playful personality. Best of all, it comes together with basic stitches, so it feels calm and beginner-friendly.
This Crochet Penguin Amigurumi Pattern is inspired by the classic plush-style penguin shape that looks soft and huggable. The main piece is worked in continuous spiral rounds using single crochet, with increases and decreases to shape it. The belly features a neat color-change section that stays on the front as long as you keep your stitch count steady. After sewing on the wings, beak, and feet, you get a minimal cute face with round eyes and a simple finish that looks handmade in the best way.
Materials Needed (Exact Measurements)
Black or blue yarn (body): approx. 50–80 g
White yarn (belly): approx. 20–30 g
Yellow or orange yarn (beak and feet): approx. 10–15 g
Crochet hook: 3mm–5mm
Safety eyes (optional): 6–10 mm, or embroidery thread for stitched eyes
Stuffing (polyfill): approx. 20–40 g
Stitch marker
Tapestry needle
Scissors
Abbreviations (US Terms)
MR, sc, inc, dec, sl st, ch, rep, FO
Skill Level
Beginner level. The whole project uses basic stitches like single crochet, increases, and decreases. Slow stitch counting and tight tension help you get a neat plush finish.
Finished Size
Approx. 5–8 inches tall. The final size depends on your yarn thickness, hook size, and how firmly you stuff the toy.
Time Planning
Total time: about 2–4 hours.
Head and body: 1.5–2.5 hours
Wings: 20–40 minutes
Details and assembly: 30–60 minutes
Important Notes Before Starting
- Stitch counting matters more than speed, so count at the end of each round.
- Keep your tension firm so stuffing does not show through the gaps.
- Always move your stitch marker to the first stitch of the new round.
- For the belly panel, keep the white stitches in the same position each round so it stays centered.
- Stuff slowly and shape often with your hands for a smooth, plush look.
Step-by-Step Pattern (Short in Points)
- Start the base with an MR and crochet 6 sc. Pull tight and mark the first stitch.
- Increase in a balanced way for a few rounds until you get a flat circle wide enough for the penguin’s base.
- Crochet even rounds in sc to build a tall oval body.
- Create the white belly by switching to white for a block of front stitches, then switch back to black/blue. Repeat the same placement each round.
- Begin stuffing the lower body early, then add more stuffing as the body grows.
- Shape the head by slightly decreasing for a gentle neck, crocheting a few even rounds, then slightly increasing to round out the head.
- Insert safety eyes evenly before closing the head, or plan to embroider eyes later.
- Decrease to close the top, add final stuffing, FO, and weave in the yarn end.
- Make two flat wings with simple shaping (a small oval or a small circle that stays flat), then sew them evenly to the sides.
- Make a tiny yellow/orange triangular beak and sew it centered below the eyes.
- Make two small feet in yellow/orange and attach them to the front base, checking balance as you place them.
Assembly
Pin the wings first and check them in a mirror or from a distance to make sure they match. Place the eyes evenly, using the same stitch spacing, so the face looks calm and cute. Before you tie the i.e., final knots, set the penguin down and see if it sits nicely, then adjust the feet’ placement if needed.
Finishing Touches
Gently squeeze and shape the body and head to smooth the stuffing. Push any lumpy areas into place with your fingers until the surface looks even. Weave yarn ends in several directions so nothing comes loose, then trim neatly. A tiny stitched smile or a soft cheek blush can be added, but the simple face already looks adorable.
Customization Ideas
- Change the color palette (pastel, gray, navy, or even rainbow belly).
- Add accessories like a mini scarf, beanie, bow tie, or earmuffs.
- Customize the face (embroidered sleepy eyes, small smile, rosy cheeks).
- Adjust the size by switching yarn/hook (mini keychain or big plush version).
- Add details like a heart on the belly or a weighted base so it sits nicely.
Beginner Tips
- Use a smaller hook than usual for tighter stitches and a plush finish.
- Count stitches after increase and decrease rounds to keep the shape even.
- Change colors neatly by finishing the last yarn-over of the stitch with the new color.
- Stuff in small pieces and shape often so the penguin stays smooth.
- Take your time with sewing, because careful placement makes the toy look professional.
Common Mistakes to Avoid
- Loose stitches that show stuffing
- Uneven stuffing that creates bumps
- Incorrect belly color placement that drifts sideways
- Misaligned eyes or a beak that changes the expression
Variations
Pastel penguins look sweet for nurseries, like mint and cream or lavender and white. A mini keychain version is easy with thinner yarn and a small hook, plus a loop on top. A simple scarf or hat adds extra personality and is great for using yarn scraps. Bigger or smaller sizes are simple to make by changing yarn thickness and adjusting how tall you build the body.
Conclusion
This little penguin is such a comforting project because it comes together with simple steps and basic stitches, yet the finished toy looks full of character. Enjoy the process, keep your stitch marker close, and do not worry about tiny imperfections because handmade plushies always have their own charm. After finishing one, making a second penguin feels even easier, and it is honestly hard to stop at just one.