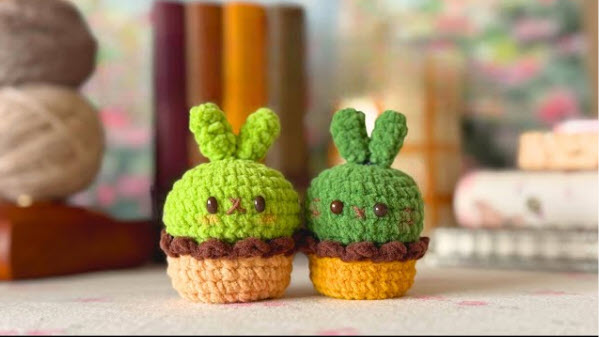
Free Crochet Mushroom Amigurumi Pattern with Bunny Cap
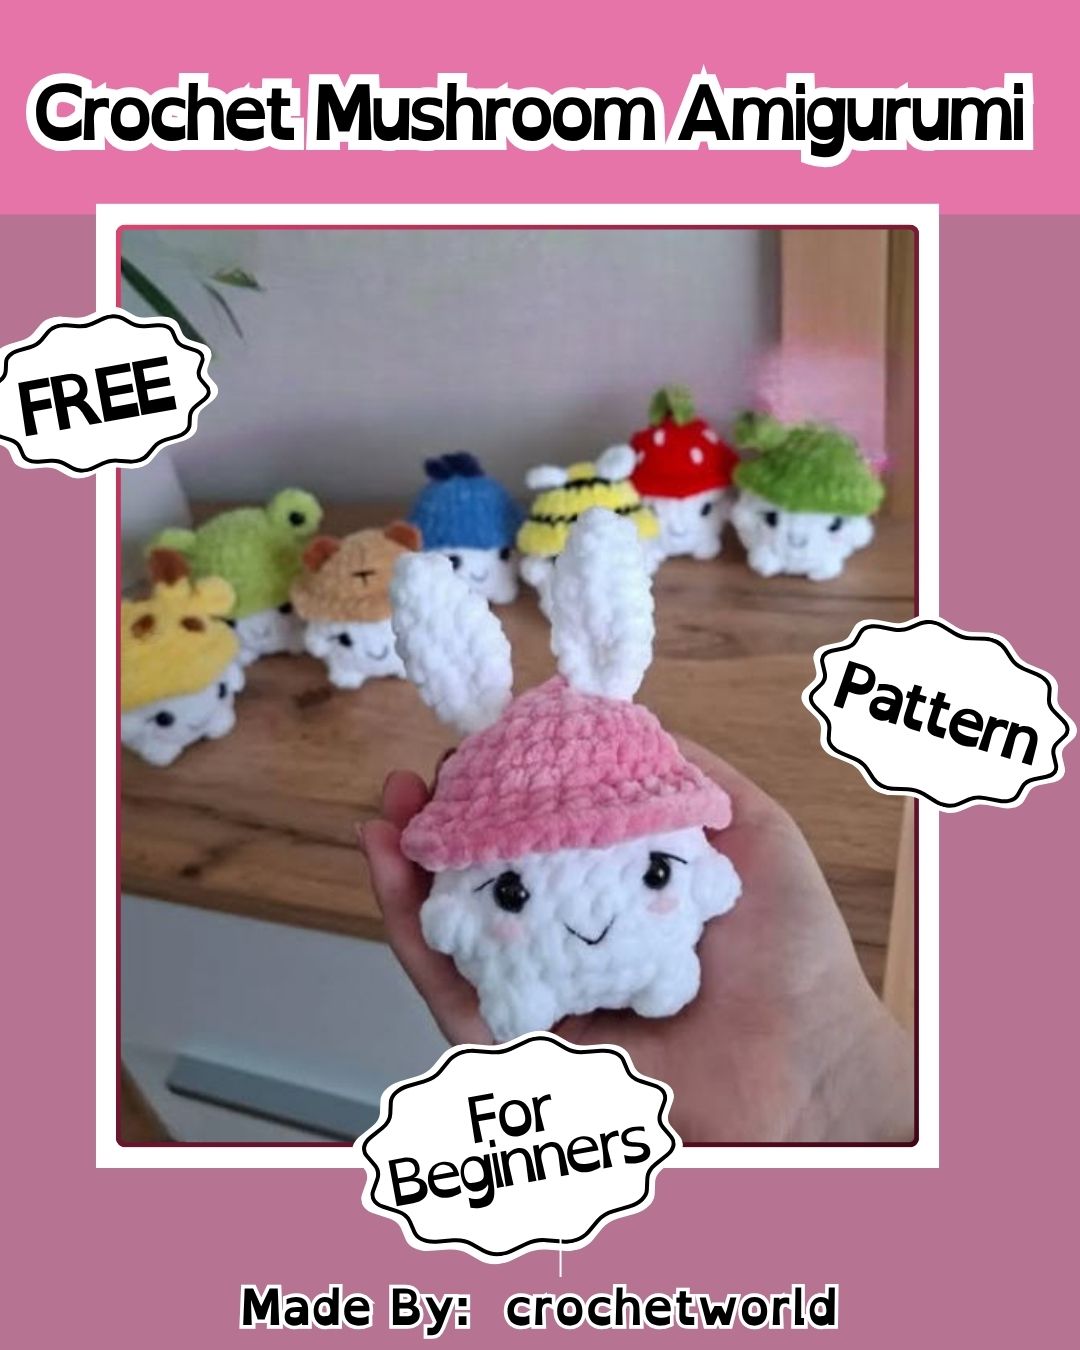
Every amigurumi maker eventually stumbles on a pattern that feels almost too fun to put down, and this mushroom family is exactly that kind of project. Built on a shared body base with swapped colors and topper details, the set lets you practice color changes, front-loop and back-loop techniques, and simple embellishments while ending up with four completely different characters. Whether you’re stitching for a nursery shelf or a market table, this pattern rewards patience with personality.
Pattern Overview
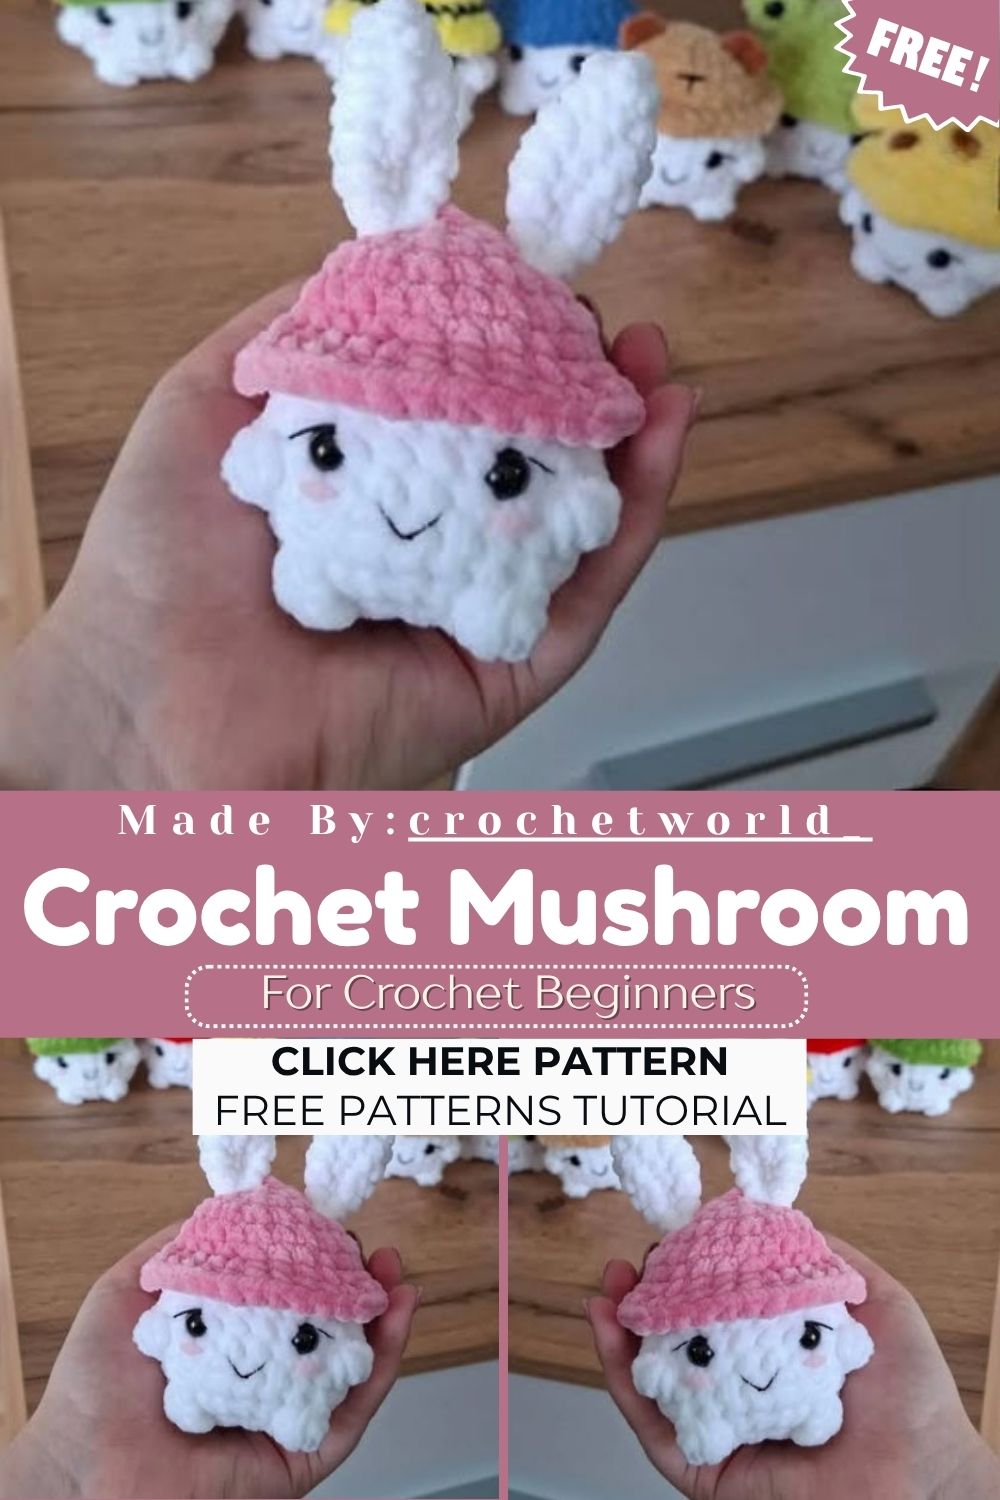
- Four amigurumi mushrooms sharing one base body structure: Bee, Bunny, Shrek, and Starberry
- Worked in continuous rounds using single crochet (sc) throughout
- Color changes create the classic mushroom cap-and-stem silhouette
- Front loop only (FLO) and back loop only (BLO) techniques separate the cap ridge from the stem
- Bobble-style decreases (BO) form the signature white cap spots
- Each character includes a unique topper: bee wings, bunny ears, ogre-style ears, or a leafy sprout
- Finished size is small enough for shelf display, keychains, or gift bundles
- Safety eyes and light stuffing give each piece its rounded, huggable shape
Special Techniques
Two techniques carry this entire pattern and are worth practicing before diving in. Front loop only (FLO) crochet means working solely through the front loop of each stitch, leaving the back loop free for the next stage; this is what creates the raised ridge separating the cap from the stem. Back loop only (BLO) does the reverse, picking up that leftover loop to continue the piece in a new color without a visible seam. The bobble decrease (BO) used for the spotted rounds pulls several stitches together into one raised bump, giving the caps their dotted, mushroom-like texture without any separate appliqué pieces.
Special Techniques
Two techniques carry this entire pattern and are worth practicing before diving in. Front loop only (FLO) crochet means working solely through the front loop of each stitch, leaving the back loop free for the next stage — this is what creates the raised ridge separating the cap from the stem. Back loop only (BLO) does the reverse, picking up that leftover loop to continue the piece in a new color without a visible seam. The bobble decrease (BO) used for the spotted rounds pulls several stitches together into one raised bump, giving the caps their dotted, mushroom-like texture without any separate appliqué pieces.
Pattern Instructions
Bee
Start with the yellow yarn: R1: 6 sc in mr R2: 6 inc (12) Change color to black: R3: (sc, inc) x6 (18) Change color to yellow: R4: (2 sc, inc) x6 (24) R5: 24 sc Change color to black: R6: 24 sc Change color to yellow: R7: FLO (3 sc, inc) x6 (31) R8: (4 sc, inc) x6 (36) — Cut the yarn and fasten off. Work with white color into the BLO of row 7. R9: BLO 24 sc (24) R10-11: 24 sc (2 rows) R12: 7 sc, BO, 8 sc, BO, 7 sc (24) R13-14: 24 sc (2 rows) R15: 9 sc, BO, 5 sc, BO, 8 sc (24) R16: dec x12 (12) — Stuff the body! R17: dec x6 (6)
Wing: 6 sc in MR. Sew it between rows 1 and 2.
Bunny
Start with the pink yarn: R1: 6 sc in mr R2: 6 inc (12) R3: (sc, inc) x6 (18) R4: (2 sc, inc) x6 (24) R5: 24 sc R6: 24 sc R7: FLO (3 sc, inc) x6 (31) R8: (4 sc, inc) x6 (36) — Cut the yarn and fasten off. Work with white color into the BLO of row 7. R9: BLO 24 sc (24) R10-11: 24 sc (2 rows) R12: 7 sc, BO, 8 sc, BO, 7 sc (24) R13-14: 24 sc (2 rows) R15: 9 sc, BO, 5 sc, BO, 8 sc (24) R16: dec x12 (12) — Stuff the body! R17: dec x6 (6)
Ears: R1: 4 sc in MR R2: 4 inc (8) R3-6: 8 sc (4 rows) R7: (2 sc, dec) x2 Fold flat and crochet together with 3 sc. Sew the ears into round 3.
Insert the eyes between rounds 11 and 12, leaving stitches between them.
Shrek
Start with the green yarn: R1: 6 sc in mr R2: 6 inc (12) R3: (sc, inc) x6 (18) R4: (2 sc, inc) x6 (24) R5: 24 sc R6: 24 sc R7: FLO (3 sc, inc) x6 (31) R8: (4 sc, inc) x6 (36) — Cut the yarn and fasten off. Work with white color into the BLO of row 7. R9: BLO 24 sc (24) R10-11: 24 sc (2 rows) R12: 7 sc, BO, 8 sc, BO, 7 sc (24) R13-14: 24 sc (2 rows) R15: 9 sc, BO, 5 sc, BO, 8 sc (24) R16: dec x12 (12) — Stuff the body! R17: dec x6 (6)
Ears: R1: 4 sc in MR R2-4: 4 sc (3 rows) R5: 4 inc (8) Sew the ears into rounds 3-4.
Insert the eyes between rounds 11 and 12, leaving stitches between them.
Starberry
Start with the red yarn: R1: 6 sc in mr R2: 6 inc (12) R3: (sc, inc) x6 (18) R4: (2 sc, inc) x6 (24) R5: 24 sc R6: 24 sc R7: FLO (3 sc, inc) x6 (31) R8: (4 sc, inc) x6 (36) — Cut the yarn and fasten off. Work with white color into the BLO of row 7. R9: BLO 24 sc (24) R10-11: 24 sc (2 rows) R12: 7 sc, BO, 8 sc, BO, 7 sc (24) R13-14: 24 sc (2 rows) R15: 9 sc, BO, 5 sc, BO, 8 sc (24) R16: dec x12 (12) — Stuff the body! R17: dec x6 (6)
Sew white spots onto the hat. Insert the eyes between rounds 11 and 12, leaving stitches between them.
Leaf: Make 3 ch. Starting from the 2nd stitch: 2 sc. Sew the leaf into rounds 1-2.
Skill Level
This pattern suits confident beginners and intermediate crocheters comfortable with magic rings, increases, decreases, and basic color changes, since the front-loop and back-loop steps need a little prior practice to look neat.
Common Mistakes
- Forgetting to switch between front loop only and back loop only, which flattens the ridge between cap and stem
- Losing stitch count after a color change, especially around rounds 3 and 4
- Stuffing too early, before the decrease rounds are complete, making later shaping difficult
- Placing the bobble decreases unevenly, so the white spots on the cap look lopsided
- Skipping stitch markers, which makes it easy to lose track of round starting points
- Attaching ears or wings before checking placement against the eyes, leading to an off-balance face
- Pulling the yarn too tight during color changes, which distorts the round right at the transition point
- Rushing the bobble stitches, which can make the white spots look flat instead of raised and dimensional
Uses & Benefits
Beyond the charm of finished characters sitting on a shelf, this pattern doubles as genuine skill-building practice for anyone growing their amigurumi toolkit. The repeated body structure across four color variations means you reinforce the same techniques four times without the project ever feeling repetitive, since each topper changes the outcome. These mushrooms also make excellent low-cost gifts, bag charms, or nursery mobile pieces, and their compact size means a single skein of each color easily covers the whole set, making it a budget-friendly stash-buster too.
Helpful Beginner Tips
- Use stitch markers on round 1 of each new color to avoid confusion later
- Count stitches after every increase or decrease round before moving forward
- Practice front loop only and back loop only on a scrap swatch first
- Keep tension slightly tighter than usual so stuffing doesn’t peek through gaps
- Pin ears, wings, or leaves in place before sewing to check symmetry
- Weave in ends as you go rather than saving them all for the finish
- Choose a lightly textured cotton or acrylic blend so the stitch definition stays crisp
- Photograph your progress after each color change to catch mistakes before they compound
Assembly
- Complete the body through round 17 and stuff firmly before closing the bottom
- Attach safety eyes between rounds 11 and 12, spacing them evenly with stitches between
- Sew the bee’s wings between rounds 1 and 2 of the cap
- Attach the bunny’s ears at round 3, folding them flat before stitching closed
- Position Shrek’s ears across rounds 3 and 4 for the signature pointed look
- Sew Starberry’s white bobble spots and short chain leaf onto the cap top
- Trim and secure all loose yarn ends on the underside of each piece
- Double-check that the cap sits evenly on the stem before the final stitches are locked in, adjusting stuffing if one side sags lower than the other
Where Can You Use This Pattern?
- Nursery shelves and playroom decor for a whimsical woodland theme
- Keychains or bag charms using a smaller yarn weight
- Handmade market stalls, craft fairs, and small Etsy shop listings
- Birthday or baby shower gifts paired with a small gift box
- Photo props for seasonal or storybook-themed photography sessions
- Desk companions or bookshelf accents that add a pop of color to a workspace
- Charity craft drives or classroom projects where a repeatable base pattern helps a group finish together
Why Beginners Will Enjoy This Free Crochet Mushroom Amigurumi
- The body repeats identically across all four characters, so mistakes on the first one become lessons for the next
- Color changes are simple and clearly marked, easing beginners into multi-color amigurumi work
- Each finished piece is small, so the project never feels overwhelming or slow
- The reward of four distinct personalities from one base pattern keeps motivation high throughout
Tips and Tricks for Success
- Work with a hook size slightly smaller than the yarn label suggests for tighter, gap-free stitches
- Test stuffing firmness by gently squeezing before closing the final round
- Use locking stitch markers rather than scrap yarn to avoid losing your place
- Keep a small notebook of round numbers if you’re making all four at once
- Block or lightly steam finished caps if the bobble spots look uneven
- Save leftover yarn scraps for the leaf or wing accents so nothing goes to waste
- Compare your gauge against the pattern’s stitch counts on round 5 to catch sizing drift early
Why This Crochet Pattern Is Trending
Amigurumi collections built around a single shared base with swappable details have become increasingly popular, and this mushroom family fits that trend perfectly. Crafters get the satisfaction of finishing an entire themed set while only truly learning one core pattern, which keeps the process approachable and highly shareable across pattern communities and social platforms. The cottagecore and woodland aesthetic that mushrooms represent has also carried steady momentum through home decor and gift markets, giving this particular design extra staying power beyond a passing trend cycle.
- Mushroom-themed decor has surged across home and craft aesthetics alike
- Collectible character sets encourage crafters to finish more than one project in a sitting
- The mix of simple technique and big personality payoff photographs well for social sharing
Conclusion
This mushroom amigurumi family proves that a single well-designed base pattern can stretch into four completely different personalities with just a few color and topper swaps. Whether you stitch one character or the full set, the combination of approachable techniques and charming results makes this a project worth keeping in your permanent pattern collection. Start with one character to build confidence, then let the remaining three come together far faster once the base body feels familiar in your hands.