Chubby Crochet Bunny Keychain With Pink Stripes
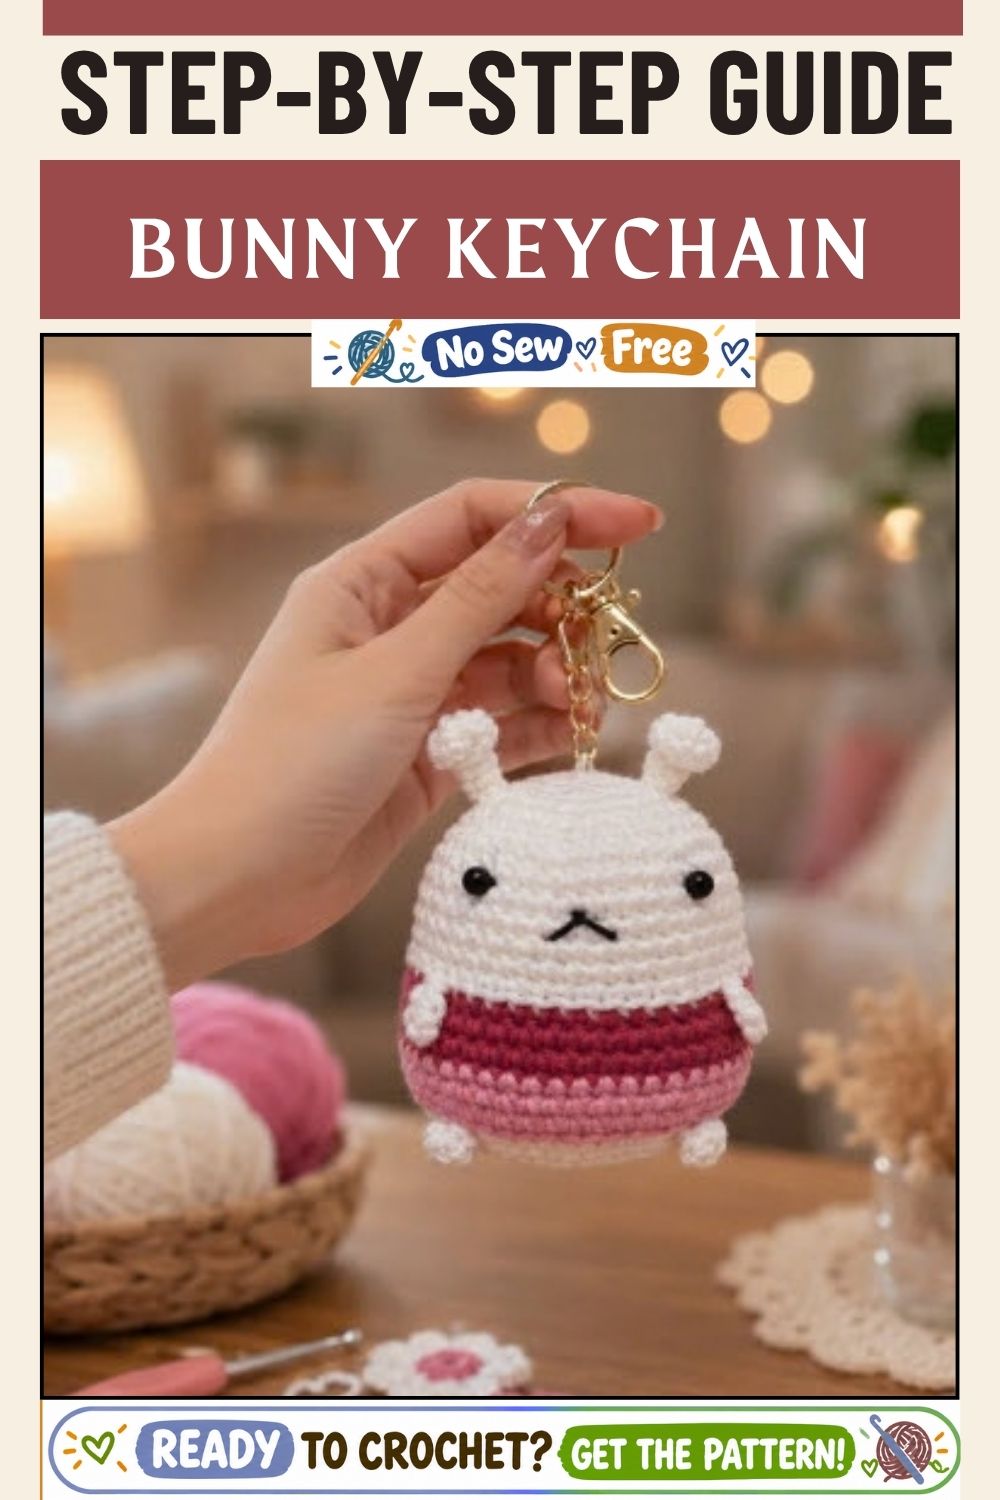
Soft white cotton, a candy-pink band around the middle and a smooth domed top shape the Chubby Crochet Bunny Keychain With Pink Stripes into a round, barrel-like charm. Two small upright ears and tiny bead eyes finish the amigurumi bunny keychain, ready to clip onto keys or a bag strap.
Most bunny patterns stitch a head and body separately, then sew them together. Here the whole bunny grows as one plump piece: a flat white base, walls that rise in pink stripes, and a white dome that closes after stuffing. Only the ears are made separately. The pink band even doubles as a built-in guide for face placement, which makes the easy crochet bunny a relaxed pick for anyone still learning one-piece amigurumi.
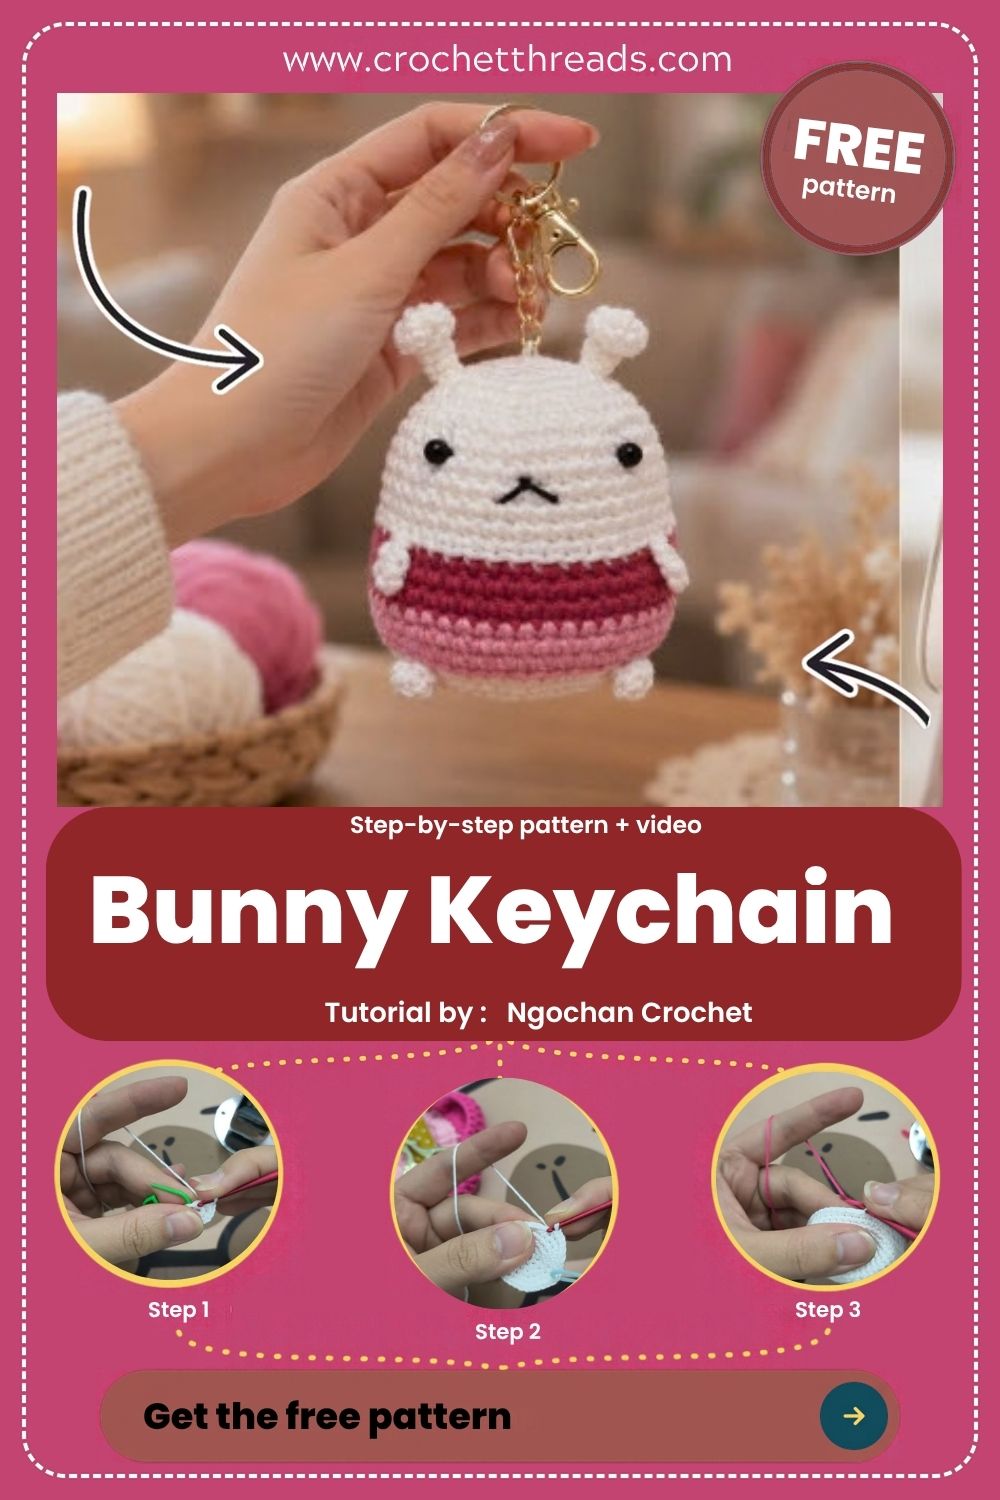
Pattern Overview
The body is worked from the bottom up in continuous spiral rounds:
- A flat white circle forms the base.
- A back-loop round in pink turns the edge upward into walls.
- Pink and light pink rounds build the striped band.
- White rounds shape the domed head with gradual decreases.
- The body is stuffed and closed at the top.
- Bead eyes and a stitched mouth go on, followed by two white ears.
Materials and Tools
- White cotton yarn, DK or light worsted, for the base, head and ears
- Pink and light pink cotton in the same weight for the stripes
- 2.5 mm crochet hook, or one size smaller than the yarn label suggests
- Two 4 mm black beads for the eyes
- Black embroidery thread for the mouth
- Polyester fiberfill
- Locking stitch markers
- Row counter
- Tapestry needle and a thin sewing needle for the beads
- Key ring with a jump ring
Time Box
- Prep: 5 to 10 minutes to gather colors and tools
- Stitching: 60 to 90 minutes for the body and ears
- Finishing: 20 to 30 minutes for the face, ears and hardware
Stitches and Abbreviations (US Terms)
- MR – magic ring
- sc – single crochet
- inc – 2 sc in the same stitch
- dec – invisible single crochet decrease
- BLO – back loop only
- sl st – slip stitch
Special Techniques
- BLO turning round: working one round through back loops creates a crisp ridge, so the base stays flat and the walls rise straight up.
- Hidden color jogs: keeping the round start at the back of the bunny tucks the small step from each color change away from the face.
- Gradual dome shaping: spreading decreases across several rounds keeps the head rounded instead of pinched.
Before You Pick Up the Hook
Mark every round. Keep a locking marker in the first stitch of each round. On a small spiral piece, losing the start is the fastest way to end up with an uneven stripe.
Use a row counter. Clicking once per finished round lets you match both pink shades without recounting the whole piece.
Test tension on white. White yarn shows gaps more than darker colors, and the face sits on white. If stuffing peeks through a quick swatch, drop a hook size.
How to Crochet the Chubby Bunny Keychain
Step 1: Start the White Base
Work 6 sc into a magic ring with white and pull the tail firmly closed. Place a marker in the first stitch, then begin the increase rounds, adding 6 stitches per round.
A tight center matters here, since any gap shows on the bottom of the finished keychain.
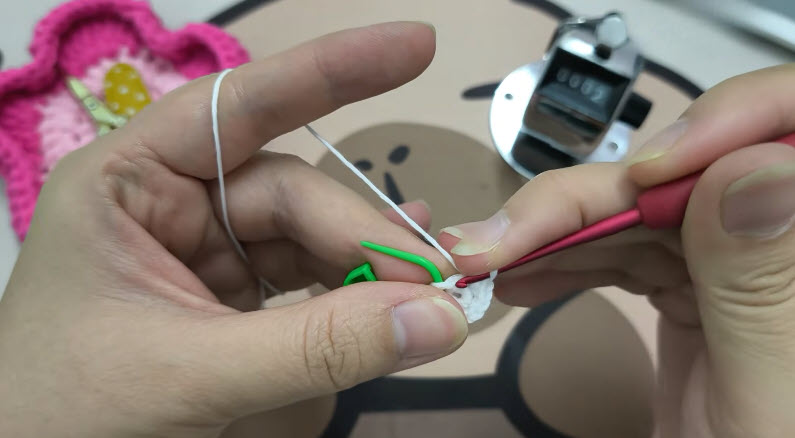
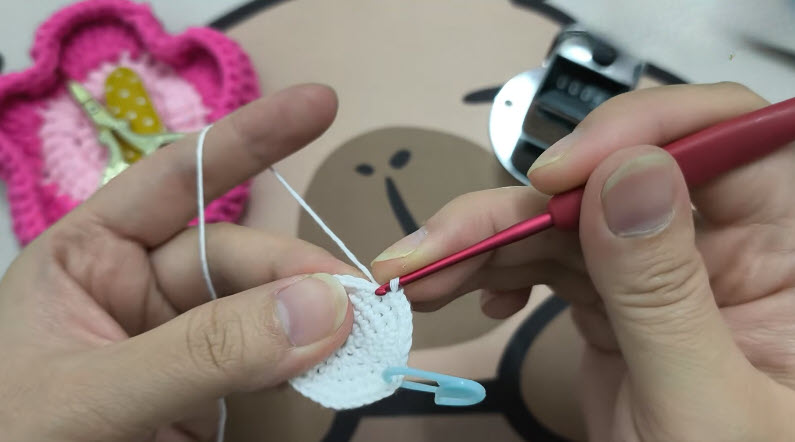
Step 2: Grow the Flat Circle
Keep increasing evenly, moving the marker up each round, until the disc reaches about 3.5 to 4 cm across. The circle should lie completely flat.
Flat check: If the disc cups early, stitches are missing; if it ruffles, extras have crept in. Count before moving on, because the base sets the width of the whole bunny.
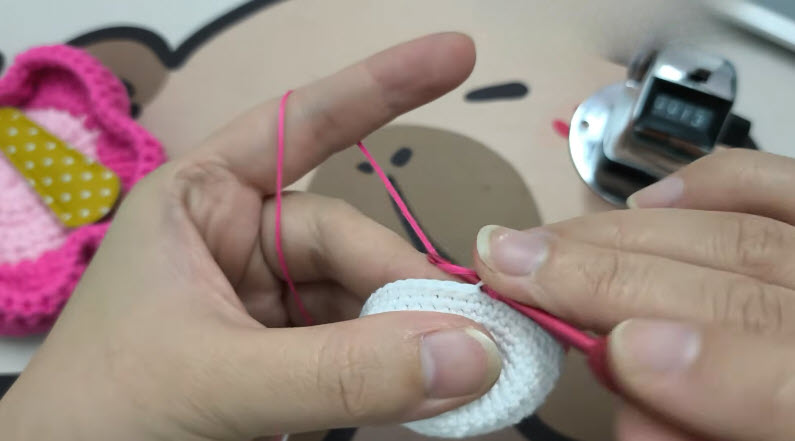
Step 3: Join Pink and Turn the Walls
Change to pink on the last pull-through of the final white stitch. Work one round of sc in BLO; the unused front loops form a ridge, and the edge begins lifting into a shallow cup.
Pro tip: Decide now which side is the back and keep the round start there. Every color jog will then land away from the face.
Step 4: Build the Pink Stripe Band
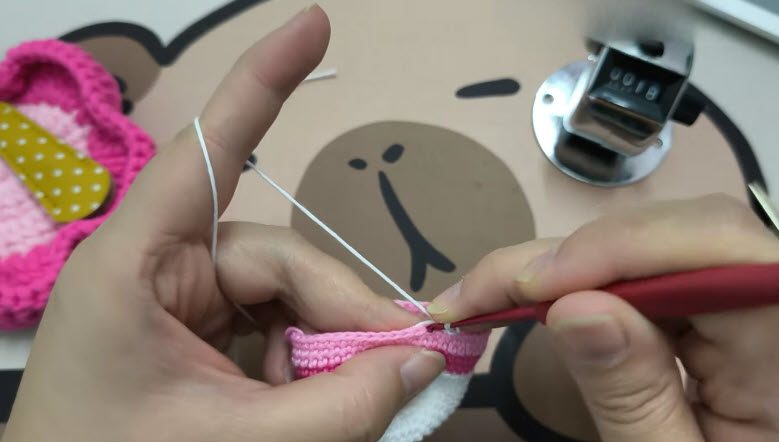
Work even rounds without increases, alternating pink and light pink every one or two rounds to form the stripes. Carry the resting color loosely up the inside.
Level check: Look at the band from the side. Top and bottom edges should run level all the way around; a stripe that climbs on one side usually means a round was skipped or doubled.
Step 5: Shape the White Head
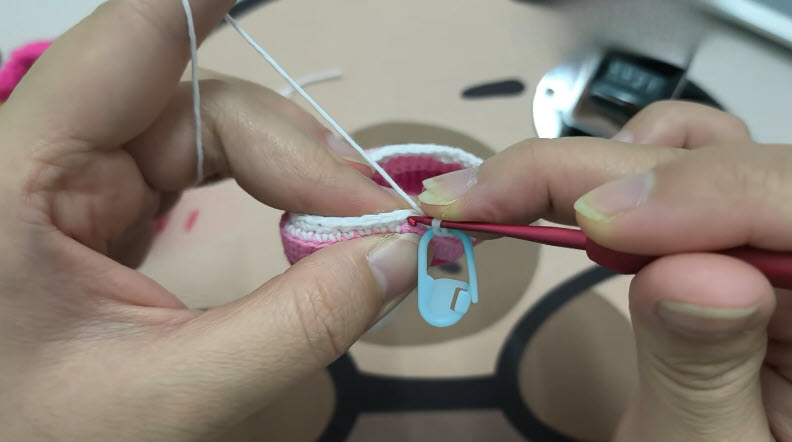
Switch back to white and work a few even rounds for the face area. Then begin decreasing, spreading 6 decreases evenly across each round so the top curves inward gradually.
A slow curve keeps the bunny chubby; pulling in sharply all at once makes the head look pinched.
Step 6: Stuff and Close the Top
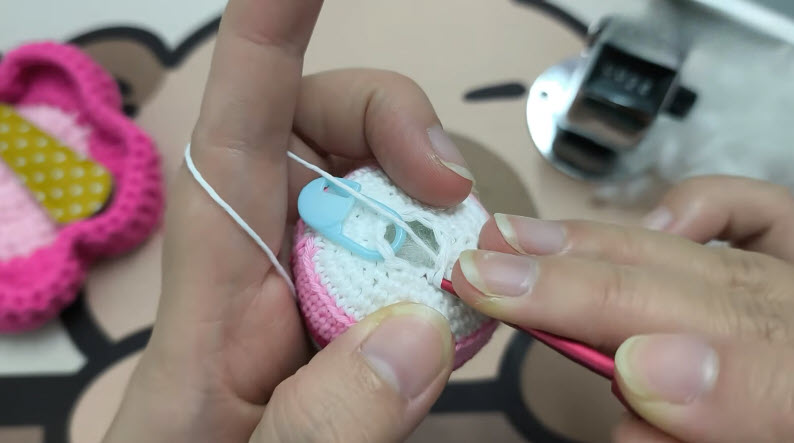
Stuff while the opening is still wide. Push fiberfill into the bottom edges first so the base stays flat, then fill the pink band and the dome. Keep decreasing, adding small tufts as the hole shrinks, then fasten off and cinch the last stitches closed.
Pro tip: Small tufts beat large clumps. Big wads leave lumps in the white area, where they’re easy to spot.
Step 7: Add the Face
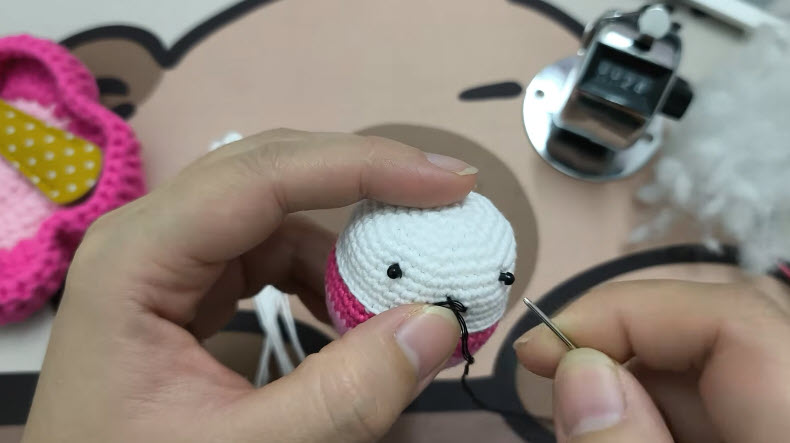
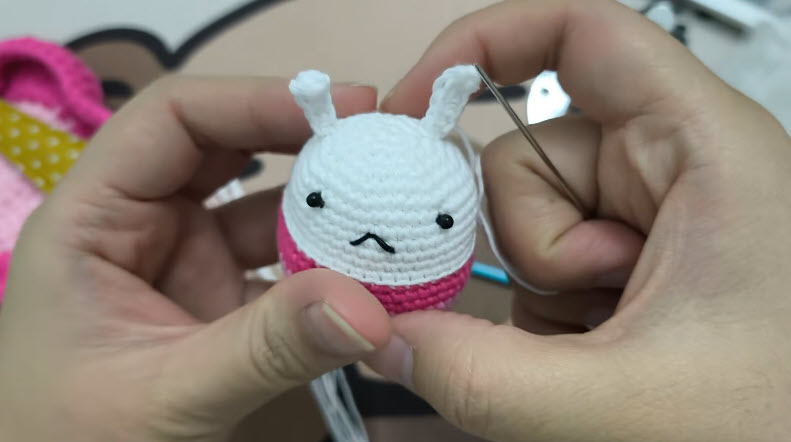
Sew the black bead eyes just above the pink band, set fairly wide apart. With black thread, stitch a tiny angled mouth centered between and slightly below them.
Tension check: Keep the mouth stitches short and just snug enough to lie flat. Pulling hard dimples the white fabric and distorts the expression.
Step 8: Make and Sew the Ears
For each ear, work 6 sc into a magic ring in white, then a few even rounds to form a small upright tube. Fasten off with a long tail. Pin both ears toward the front of the dome, above the eyes, and check them from the front and from above before sewing around the full base of each one.
Step 9: Attach the Keychain
Sew a small yarn loop through several stitches at the top of the head, between the ears, then thread the jump ring and key ring through it. Anchoring through multiple stitches helps the charm survive daily tugging.
Checking the Face Before You Commit
The face carries most of the bunny’s personality and is the hardest part to change once stitched. Mark the eye and mouth positions with pins or scrap yarn first, then step back and look from a short distance. Move the pins one stitch at a time until both sides match, using the pink band as a level guide, and only then sew.
Common Mistakes
- Hole in the base center: the magic ring tail wasn’t pulled tight.
- Walls flaring outward: the BLO turning round was skipped.
- Visible color jog on the face: the round start drifted to the front.
- Pinched head: decreases were bunched into too few rounds.
Troubleshooting
- The pink band looks slanted. Fix: Count rounds on each side of the band. If they differ, frog back to the uneven round and rework it.
- The base rocks when set down. Fix: Recount the base rounds. If the count is right, pull some stuffing from the bottom edge and redistribute it upward.
- Stuffing shows through the white. Fix: Use a smaller hook or tighter tension next time. On the current piece, avoid overstuffing, which stretches the stitches.
Beginner Tips
- Practice the invisible decrease on a scrap swatch before shaping the head.
- Use a contrasting marker color so it stands out against white yarn.
- Weave the color-change tails to the inside before stuffing.
- Finish the ears before closing the body, so everything is ready for assembly.
Uses and Benefits
A plump bunny dangling from a key ring makes keys easy to spot in a crowded bag, and the one-piece body means almost no sewing. The project needs only small amounts of cotton, so leftover pinks finally get used. Quick to finish in an evening, the charm works well as an Easter basket filler, a birthday add-on, a zipper pull for a school bag or colorful stock for a craft fair table.
Child-Safe Version for Little Hands
Beads and metal rings can pose a choking risk for children under three. For young kids, embroider the eyes with black yarn in place of beads, skip the key ring and sew on a short fabric ribbon loop instead. Stitch the ears on twice around the base, and give each seam a firm tug test before gifting.
Personalization Ideas
Color Swaps
Try mint and cream stripes for spring, or lilac and lavender for a softer pastel bunny.
Face Details
Add two tiny pink blush marks under the eyes with embroidery floss, or a small bow sewn between the ears.
Animal Friends
Keep the same body and swap the ears for round ones to make a bear, or pair the bunny with a crochet cat keychain for a matching set.
More Keychain Ideas to Try Next
- A bunny with a working card pocket: the crochet card holder keychain
- Two quick characters in one project: the crochet bee and duck keychain
- A storage charm for small essentials: the crochet small pouch keychain
FAQs
Is the head a separate piece?
No. The head and body form one continuous shape, from the white base through the pink stripes to the white dome.
When should the stuffing go in?
Once the decreases begin, while the top opening is still wide enough to reach the base.
Which parts are made separately?
Only the ears. They’re sewn on after the body is stuffed, closed and given its face.
How big is the finished bunny?
With DK cotton and a 2.5 mm hook, expect roughly 5 to 6 cm tall, not counting the ears.
Can safety eyes replace the beads?
Yes. Use 5 or 6 mm safety eyes and insert them before stuffing, since the backs need open access from inside.
Final Thoughts
A flat white base, level walls, even pink stripes, a smooth dome and firm stuffing are all the bunny asks for. Check each stage before moving on, pin the face before sewing, and anchor the key ring through several stitches. Before long, a round little rabbit will be riding along on your keys, and a second one in new colors will be tempting you already.