Crochet Bunny Doll Amigurumi with Dress Pattern
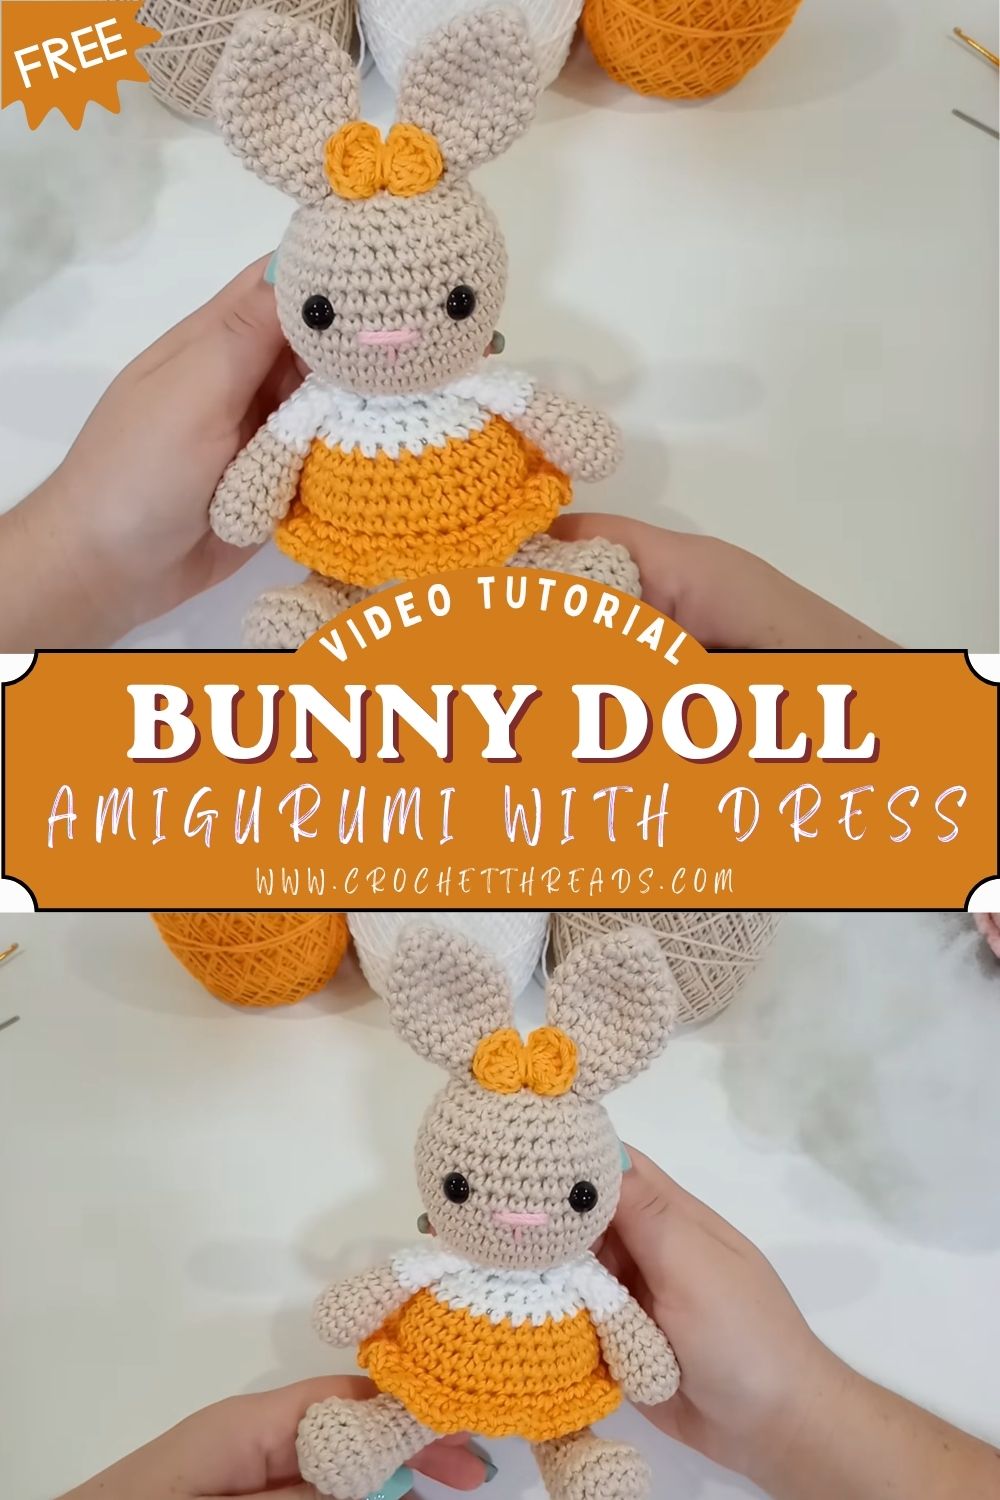
Difficulty-wise, this pattern sits comfortably in the beginner-to-intermediate range. None of the individual pieces are complicated, but assembling several small parts and adding the dress requires a bit of patience. Crafters who have made at least one or two amigurumi animals before will find this project especially satisfying, since it introduces garment-style crochet without overwhelming complexity.
Project Details
- Skill Level: Beginner to Intermediate
- Finished Size: Approximately 8–9 inches tall (with dress on)
- Estimated Time Required: 6–8 hours, depending on experience
- Recommended Yarn Weight: DK or worsted weight (Yarn Weight 3 or 4)
- Crochet Hook Size: 3.0mm–3.5mm (adjust based on yarn and gauge)
Materials Needed
- Worsted or DK weight yarn in main bunny color (white, cream, or pale pink works beautifully)
- Contrasting yarn color for the dress (pastel shades give a classic doll look)
- Small amount of pink yarn for cheeks or inner ears (optional)
- 3.0mm–3.5mm crochet hook
- 9mm safety eyes (or embroidery floss for safety-conscious gifting)
- Polyester fiberfill stuffing
- Tapestry needle for sewing pieces together
- Stitch markers to track rounds
- Sharp scissors
- Optional: small ribbon or button for the dress trim
Crochet Stitches & Techniques
- Magic Ring (MR)
- Chain Stitch (ch)
- Slip Stitch (sl st)
- Single Crochet (sc)
- Half Double Crochet (hdc)
- Increase (inc)
- Invisible Decrease (invdec)
- Color Changes
- Fastening Off
- Sewing Pieces Together
These techniques form the backbone of nearly every amigurumi doll pattern, so mastering them here will make future projects feel much easier.
Pattern Instructions
Creating the Head
Start with a magic ring and build upward using single crochet increases until the head reaches its widest point, typically around round 6 or 7. From there, work several rounds even before beginning gradual decreases to shape the top of the skull. Stuffing should happen gradually as the rounds progress rather than all at once at the end, which helps avoid lumpy or uneven shaping.
Crocheting the Body
The body usually begins the same way as the head, with a magic ring foundation. Increases build the widest section around the middle, mimicking a rounded torso, before tapering slightly toward the neckline. Attaching the head to the body happens after both pieces are stuffed firmly but not overly tight, since overstuffing can distort the seams.
Shaping the Arms and Legs
Arms and legs are typically worked in matching pairs to keep the doll symmetrical. Each limb starts small, using single crochet in the round, and may include a color change near the top if paws or feet are a different shade. Light stuffing works best here the limbs should feel soft and slightly flexible rather than rigid.
Making the Ears
Bunny ears are one of the most distinctive features of this pattern. Working them flat rather than in the round often gives a nicer floppy silhouette, especially if a contrasting inner-ear color is added using a simple color change technique. Folding the ear slightly before sewing helps it sit naturally against the head.
Facial Features
Positioning safety eyes correctly makes an enormous difference in the doll’s expression. Spacing them a few rounds down from the top of the head and a reasonable distance apart usually produces the sweetest look. Embroidered eyebrows, a small nose, and subtle blush marks using pink yarn or fabric-safe markers can add extra charm without much extra effort.
Crocheting the Dress
The dress typically starts at the neckline and works downward, increasing steadily to create an A-line skirt shape. Working in rounds of half double crochet gives the fabric a bit more drape than single crochet alone, which helps the dress fall naturally over the body. A simple scalloped or picot edge along the hem adds a decorative touch without requiring advanced skills.
Joining All Pieces
Once every piece is complete, laying them out before sewing helps confirm placement and symmetry. Arms generally attach at the shoulder level, while legs sit at the base of the body to allow the doll to sit upright. Ears attach just above the eye line, angled slightly forward for a lifelike, alert expression.
Final Assembly
After sewing, slipping the dress over the body completes the look. Securing it with a few discreet stitches at the shoulders prevents it from shifting during play or display. A small bow, button, or ribbon at the waistline finishes the outfit beautifully.
Tips for Success
- Count stitches at the end of every round to catch mistakes early.
- Use a stitch marker consistently, since amigurumi rounds have no natural starting point.
- Stuff firmly but evenly, checking the shape from multiple angles as you go.
- Weave in yarn ends through several stitches rather than tying knots, which can come loose over time.
- Block the dress piece lightly if the edges curl, giving it a cleaner finished appearance.
- Pin pieces in place before sewing to avoid lopsided assembly.
Personalization Ideas
- Swap the dress color to match a seasonal theme, such as red and green for winter or pastel florals for spring.
- Give the bunny a different facial expression by adjusting eyebrow placement or adding a tiny embroidered smile.
- Add a matching bow or headband for extra detail.
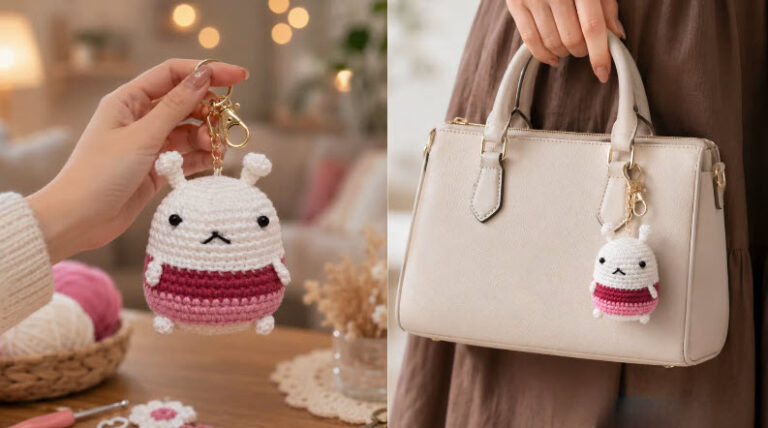
- Crochet a mini version as a keychain or ornament using a smaller hook and thinner yarn.
- Create a jumbo version with bulky yarn for a statement nursery decoration.
- Experiment with different ear shapes for a more playful or realistic look.
Common Mistakes to Avoid
Many beginners lose track of stitch counts partway through a round, which throws off the entire shape of the head or body. Using a stitch marker religiously prevents this issue. Another common mistake is overstuffing early rounds, which can stretch the fabric and create visible gaps between stitches. Stuffing gradually and checking firmness as you go solves this problem. Finally, rushing the sewing stage often leads to visibly crooked limbs or ears taking a moment to pin and compare placement before stitching saves a lot of frustration later.
Frequently Asked Questions
Can I use cotton yarn instead of acrylic?
Yes, cotton yarn works well for amigurumi and often gives a slightly firmer, more defined stitch definition, though it can be a bit harder on the hands during long projects.
What size hook should I use for a tighter stitch?
Going down half a millimeter smaller than the yarn label suggests typically produces a tighter fabric, which helps prevent stuffing from showing through.
Is this Crochet Bunny Doll Amigurumi suitable for children’s toys?
With safety eyes and small parts, this pattern is best suited for older children or display purposes. For infants or toddlers, embroidered features are a safer alternative.
How do I keep my rounds from spiraling unevenly?
Placing a stitch marker at the start of each round and moving it up consistently helps maintain a clean, even spiral throughout the piece.
Can the dress be made removable?
Yes, many crafters design the dress to be removable by leaving it unattached at the shoulders, allowing for easy outfit changes.
What’s the best way to attach the safety eyes securely?
Inserting the eyes before stuffing the head and securing the backing firmly against the fabric ensures they stay in place permanently.
How long does this project typically take to finish?
Most crafters complete the doll and dress across several sittings, totaling around 6 to 8 hours depending on experience level and stitch speed.
Conclusion
This Crochet Bunny Doll Amigurumi with her charming little dress offers the perfect blend of creativity and comfort for crocheters of nearly any skill level. Every stitch brings her closer to life, from the first magic ring to the final bow at her waist. Trying this pattern is a wonderful way to build confidence with garment-style amigurumi while creating a keepsake worth treasuring. Once finished, sharing a photo of your handmade bunny with fellow crafters can be just as rewarding as making her.