Free Crochet Spider Amigurumi Pattern Cute Creepy Toy
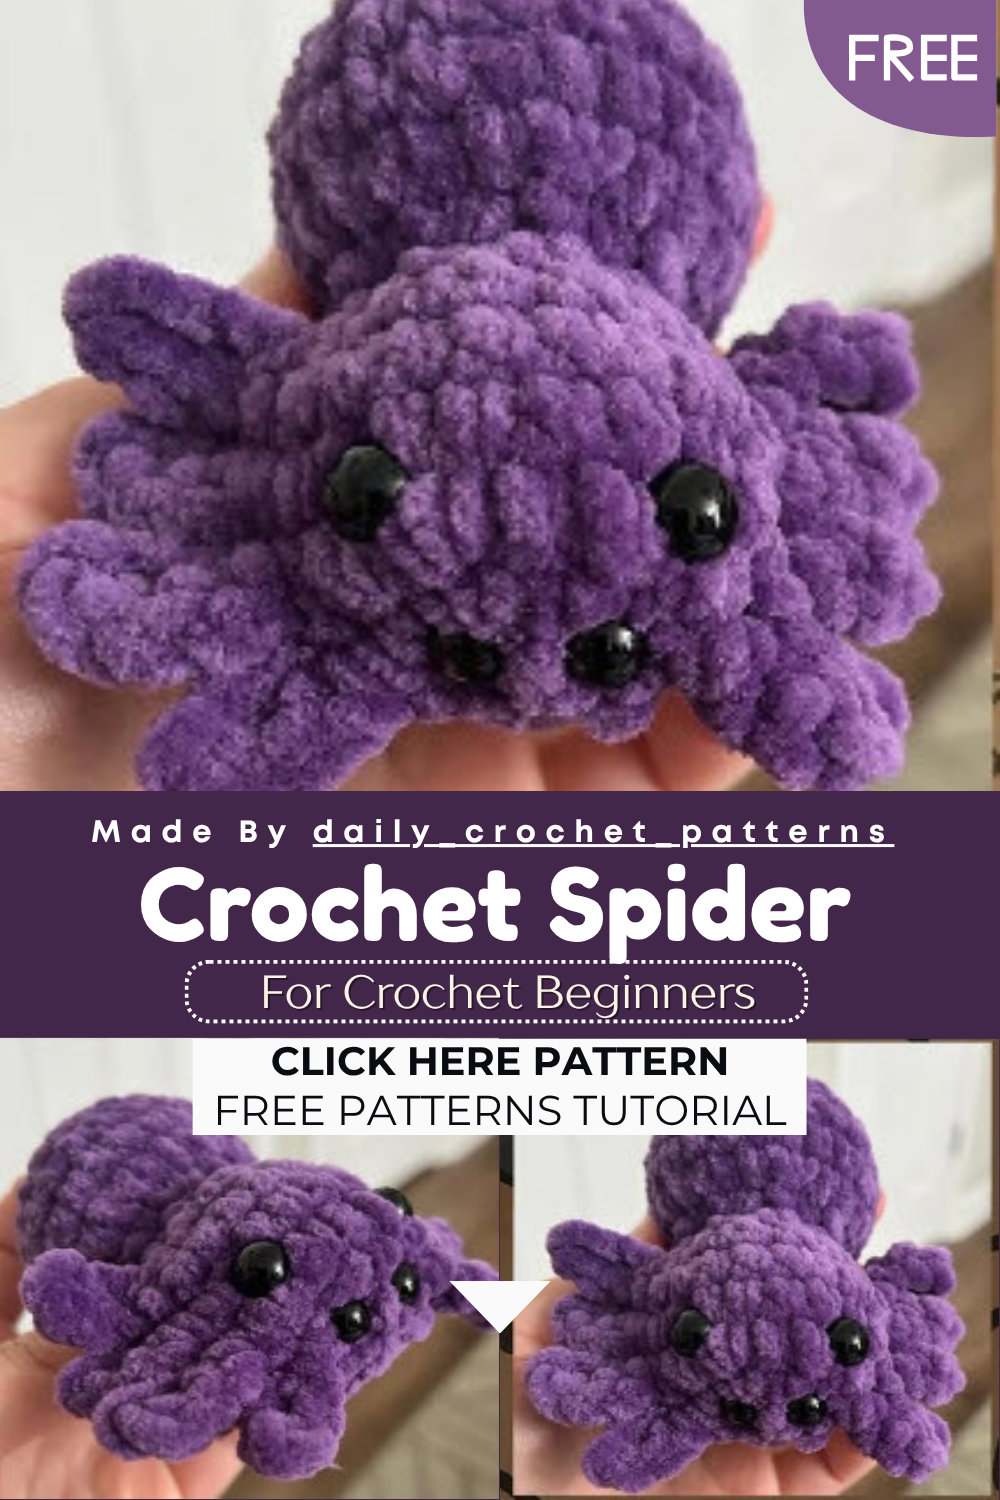
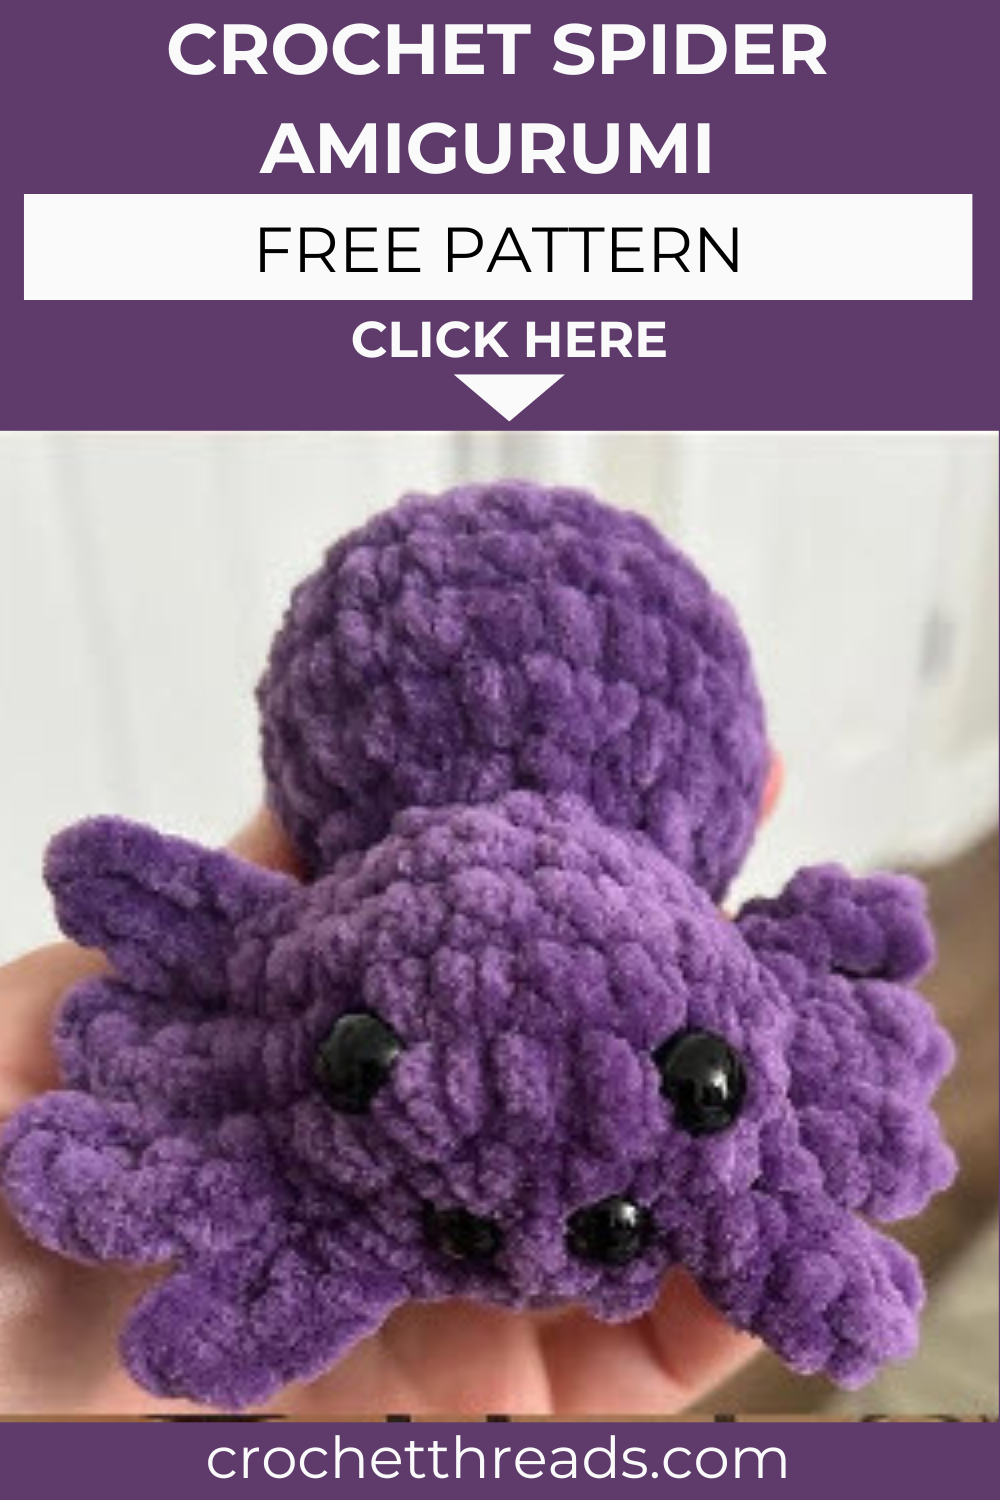
Spiders are usually considered scary, but this Free Crochet Spider Amigurumi completely changes that impression. With chunky yarn, big safety eyes, and a cute design, this little spider works up quickly and looks full of personality. Whether you make it for Halloween decoration or keep it on your shelf year-round, this charming amigurumi is sure to grab attention wherever it goes.
Honestly, this Free Crochet Spider Amigurumi is one of the friendliest patterns you can pick up right now. The super bulky yarn makes every round grow quickly, so beginners stay motivated from start to finish. You build the body and head as one piece, then add eight tiny legs along the way. Four safety eyes give it that cute yet creepy charm. Grab your hook and let us start stitching together today.
Skill Level
This Free Crochet Spider Amigurumi pattern suits confident beginners who know basic stitches well. You only need single crochet, increases, decreases, and a magic circle. The integrated legs add a small, manageable challenge.
Abbreviations
Before you begin, keep these short codes handy. They appear throughout every round below.
- MC: magic circle
- Rnd: round
- Ch: chain
- Sc: single crochet
- Slst: slip stitch
- St: stitch
- Inc: increase
- Dec: decrease
- FO: fasten off
Materials You Will Need
Gather your supplies first, because nothing slows you down like a missing tool mid round. Luckily, this list stays short and simple.
- Yarn: #6 super bulky yarn, any color
- Hook: 5.00mm
- Two 8mm safety eyes
- Two 10mm safety eyes
- Scissors
- Stitch marker
- Yarn needle
- Stuffing
The bulky yarn really speeds things along. Pick whatever color matches your spooky vision, whether classic black or something bright and unexpected. You only need a small amount, so leftover skeins work perfectly. Keep your stuffing nearby too, since you add it partway through.
Pattern Overview
So before the rounds begin, here is a quick map of how this spider comes together. Knowing the structure first makes the whole process feel smoother.
- You crochet the entire spider as one continuous piece from the head down.
- The eight legs grow directly out of the early rounds, so you never sew them separately.
- A small chain forms each leg, then you return and keep working the body round.
- Two pairs of safety eyes go in at different stages for that layered creepy look.
- You stuff the body firmly as you close it, shaping the round spider shape.
- Finally, you decrease the bottom shut and fasten off cleanly.
Basically, everything stays attached, which means far less assembly later. That is a huge win for anyone who dreads sewing parts together.
Special Techniques
Now, a couple of techniques make this spider stand out from a plain ball shape. Master these and the rest feels easy.
- Working legs mid round: You pause the main round, chain four, single crochet back down, then slip stitch to anchor. After that, you continue the body round like normal.
- Not counting the slip stitch: The slip stitch at the leg base just secures it. Never include it in your stitch count, or your numbers drift off.
- Spiral rounds: You work in a continuous spiral, not joined rounds. A stitch marker in the first stitch keeps your place perfectly.
- Staggered eye placement: Placing the smaller and larger eyes at different rounds creates depth. That clever detail gives the spider real personality.
- Firm stuffing: Adding stuffing before you close the body keeps the shape round and plump rather than flat.
Trust me, once you nail the leg trick, you will fly through the rest.
Spider Pattern Instructions
Here comes the main event. Work each round in order, and remember to make your legs exactly where noted.
Leg pattern (used several times below): Ch 4, in second ch from hook, sc, 2 more sc to bottom of ch. (3 sc) Slst into base of Rnd. Do not count the slst in your stitch count.
1: 6 sc in MC
2: inc x2, make leg, inc x3, make leg, inc (12)
3: (sc, inc) x2, make leg, (sc, inc) x3, make leg, (sc, inc) (18)
4-5: sc 6, make leg, sc 9, make leg, sc 3 (18)
Attach the 8mm eyes between Rnds 1 and 2, one stitch in between. Attach the 10mm eyes between Rnds 3 and 4, about 4-5 stitches apart.
Rnd 6: (sc, Dec) x6 (12)
Stuff the head now.
7: (2 sc, Dec) x3 (9)
8: inc x9 (18)
9: (2 sc, inc) x6 (24)
10-12: sc 24
13: Dec x12
Finish stuffing here.
14: Dec x6, FO
And there you have it. After Rnd 14, weave the tail through the final stitches and pull tight to close.
Common Mistakes To Avoid
Even simple patterns trip people up sometimes. Watch out for these slip ups and your spider turns out great.
- Counting the slip stitch: Many people accidentally add the leg slip stitch to their count. This throws off every following round.
- Loose stuffing: Stuffing too lightly leaves a saggy, wrinkled body. Pack it firmly for a smooth, plump finish.
- Skipping the stitch marker: Without a marker, you lose track in the spiral. Suddenly your rounds look uneven and lopsided.
- Wrong eye spacing: Placing eyes too close or too far changes the whole face. Follow the round and spacing notes carefully.
- Forgetting a leg: It is easy to power through a round and miss a leg placement. Double check each leg as you go.
Honestly, slowing down for two seconds per round prevents almost all of these.
Assembly
The best part? This spider needs barely any assembly. Still, a few finishing steps pull it all together neatly.
- Secure the legs: Give each leg a gentle tug to check it sits firmly. Tighten any that feel loose.
- Close the body: Thread the final yarn tail onto your needle. Then weave through the last six stitches and pull snug.
- Hide the tails: Push every loose tail deep inside the body. This keeps the surface clean and tidy.
- Shape the spider: Roll the body lightly between your hands. That rounds out any flat spots from stuffing.
- Position the legs: Bend and arrange the eight legs evenly around the body. Now your spider stands ready to creep.
That is genuinely all it takes: no long sewing session and no fiddly attaching.
Important Remarks
Before you wrap up, keep these handy notes in mind. They help your spider look its absolute best.
- Always work in a continuous Free Crochet Spider Amigurumi unless a round clearly states otherwise.
- Adjust your hook size slightly if your stitches feel too loose or stuffing peeks through.
- Use a smaller hook than the yarn label suggests for tight amigurumi fabric.
- Feel free to swap yarn colors for a fun, custom creepy crawly look.
- Keep your tension even across legs so they all match in length.
- This toy suits older kids and decor, though the tiny parts mean adult supervision is important.
Conclusion
And just like that, your Free Crochet Spider Amigurumi is complete. This pattern proves that scary creatures can look totally adorable in yarn form. The bulky weight means you finish fast, which feels incredibly satisfying for a quick afternoon project. Beginners build real confidence here, especially with those clever integrated legs and staggered eyes. You also skip the tedious sewing that scares so many crafters away. Whether you make one for Halloween, a gift, or your own shelf, this little guy always brings a smile. Display him on a windowsill or perch him beside a pumpkin for instant spooky charm. So grab some leftover yarn and stitch up a whole spider family next. Happy crocheting, and enjoy your new eight-legged friend.