Graceful Crochet Basket Easter Egg Hunt Pattern
Skill Level
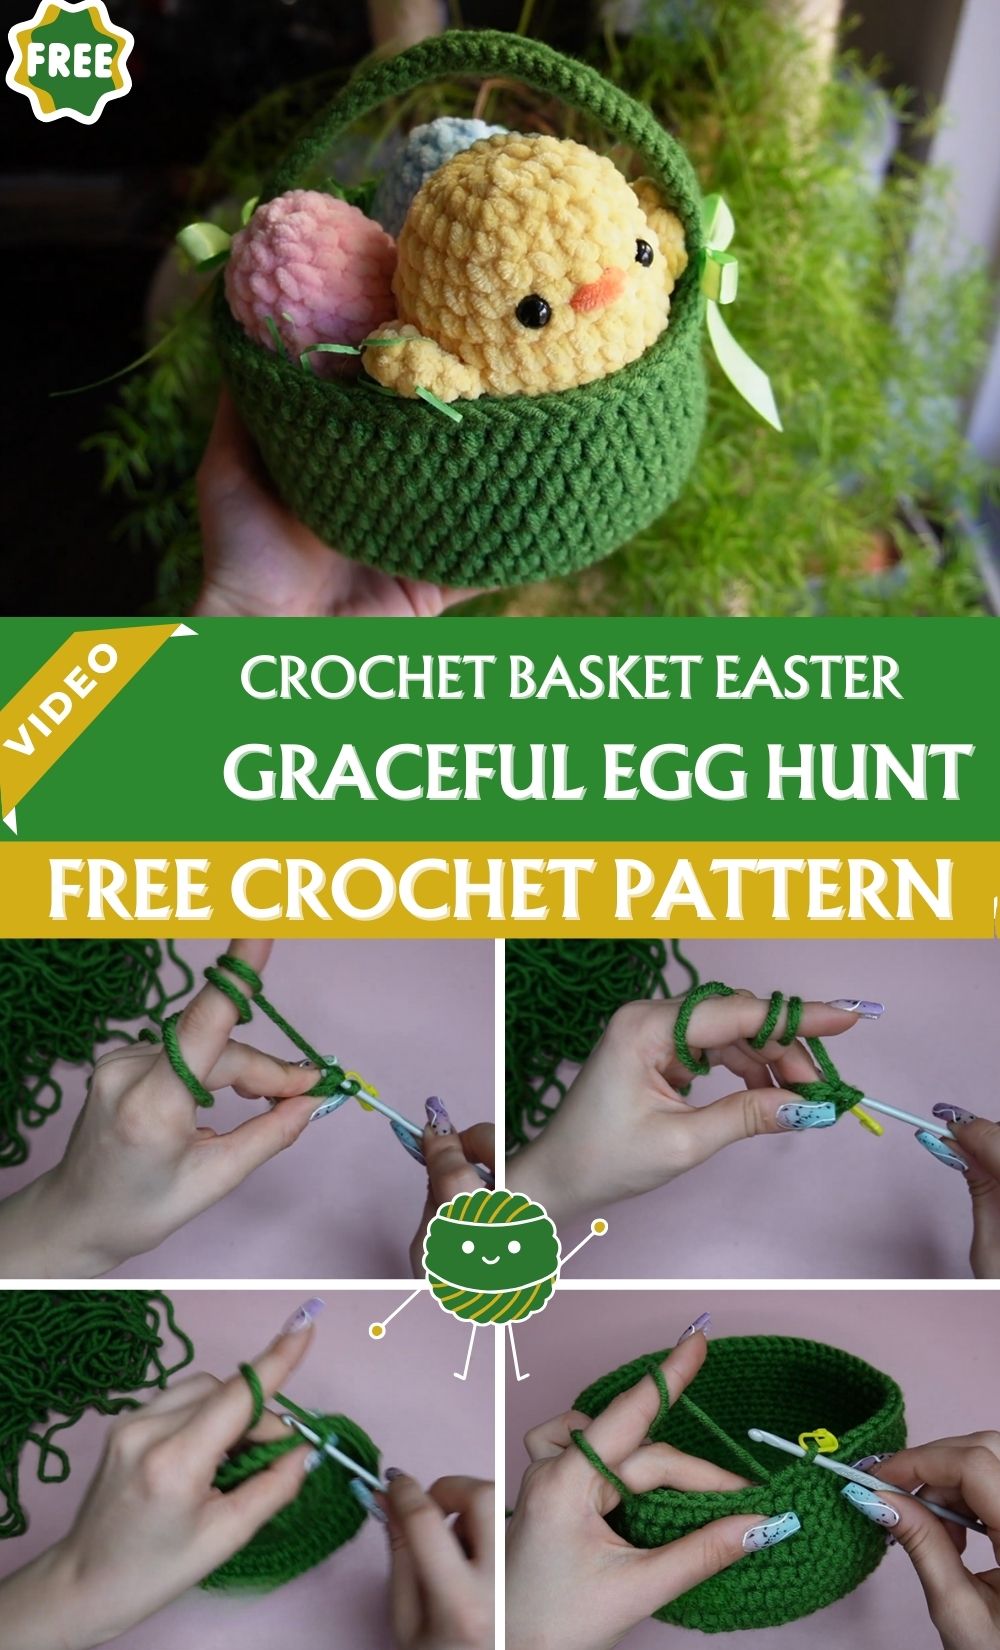
Beginner to Intermediate. If you’re comfortable with a magic ring, single crochet, and basic increases, you’re ready to go. There’s no colorwork and no tricky shaping, just steady rounds and a bit of patience while sewing the pieces together.
Materials and Supplies
Gathering your supplies ahead of time makes this project move so much smoother. Here’s your complete shopping list:
Yarn
- Worsted weight cotton or cotton-blend yarn, held double throughout
- Main basket color: soft pastel pink, mint, or lavender
- Accent color for inner ears and trim: white or cream
- Small scrap of pink for inner ear detailing
Hook
- 5.0mm to 6mm crochet hook (size J/10 or K/10.5, depending on yarn thickness)
Safety Eyes
- 9mm or 10mm black safety eyes (optional, for a bunny-face variation)
Stuffing
- Polyester fiberfill for the ears and any bunny features
- Pipe cleaners or floral wire for the handle, so it holds its curve
Notions
- Yarn needle for sewing pieces together
- Sharp scissors
- Stitch markers (locking ones work best)
- Small amount of pink felt or embroidery floss for a nose, if adding a face
Optional Accessories
- Small pom-poms for a tail
- Ribbon or bow for the handle
- Keychain ring, if making a mini version as a party favor
Crochet Techniques Used
This Crochet Basket Easter Egg pattern relies on a handful of core amigurumi and basket-crochet skills, so it’s a lovely project even for newer crocheters:
- Magic ring to start the base without a hole in the center
- Single crochet (sc) as the main stitch throughout
- Increase and decrease rounds to shape the base and taper the rim
- Working in the round with a stitch marker to track your rounds
- Sewing parts together, including the ears, handle, and any face details
Step-by-Step Pattern Instructions
Building the Base
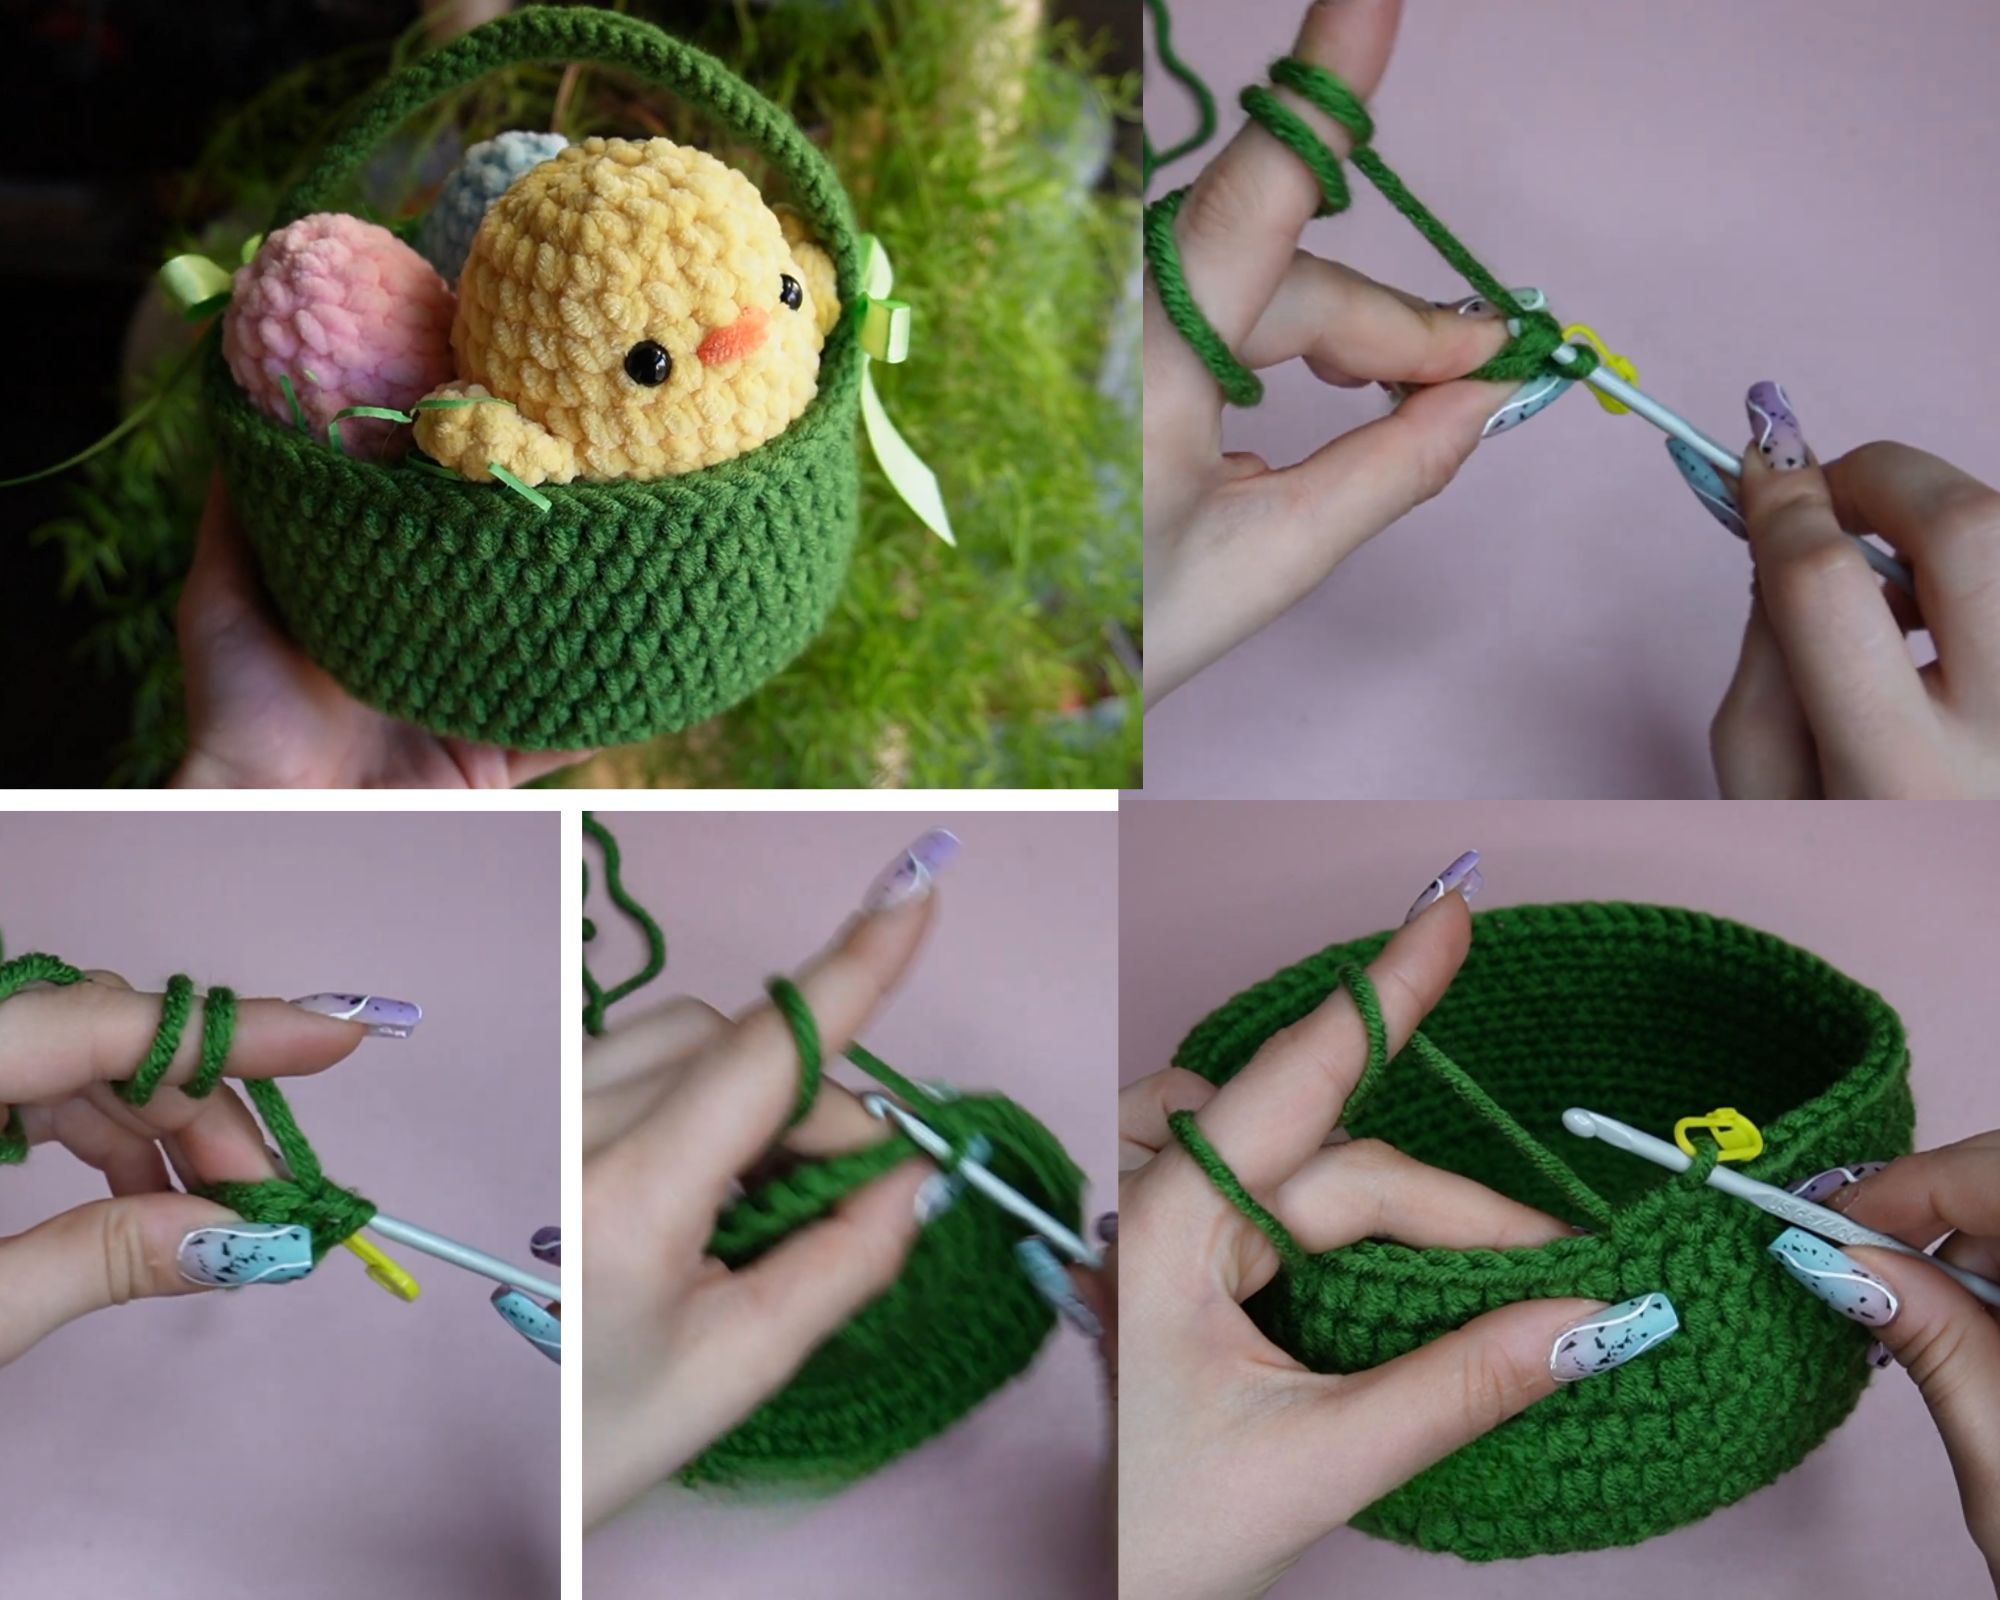
Start with a magic ring and work 6 single crochets into it, pulling the loop tight to close. From there, increase each round evenly, adding six extra stitches per round, until your circle measures about 4 to 5 inches across. This becomes the sturdy bottom of your basket.
Move a stitch marker to the first stitch of every round so you never lose your place. It’s a small habit that saves a lot of frustration later.
Shaping the Body
Once your base circle is wide enough, stop increasing and begin working straight rounds without any shaping. This turns the flat circle upward into the basket’s sides. Continue for 10 to 12 rounds, depending on how tall you want your basket to stand.
Keep your tension even here. Loose stitches will make the walls floppy, while stitches that are too tight will curl the fabric inward.
Finishing the Rim
For the last two rounds, switch to your accent color and work single crochet as usual, or try a simple reverse single crochet (crab stitch) for a neat, decorative edge. This gives the basket a clean, finished look around the top opening.
Making the Ears
Using your main color, crochet two small oval pieces by working increases on both sides of a flat starting chain, then mirroring the decreases on the way back. Add a smaller white or cream oval for the inner ear and stitch it onto the front of each larger piece.
Leave the ears unstuffed or add just a whisper of fiberfill so they hold a soft, floppy shape rather than standing stiffly upright.
Facial Details
If you’re giving your basket a bunny face, this is where the personality comes alive. Attach the safety eyes between rounds 6 and 8 of the body, spacing them evenly apart. Embroider a small triangular nose in pink beneath the eyes, and add a few short straight stitches for whiskers if you like the extra charm.
The Handle
Cut a length of pipe cleaner or floral wire slightly longer than your desired handle span, then crochet single crochet stitches directly over it, covering the wire completely. Curve it into an arch and sew both ends securely to opposite sides of the rim, tucking the ends inside for a clean finish.
Assembly Process
Pin the ears to the top rim before sewing, so you can check the spacing and angle looks right. A slightly outward tilt gives the most lifelike, playful look. Sew everything down firmly using a whip stitch, weaving in all loose ends through the inside of the basket where they won’t show.
Finishing Touches
Give your finished basket a light steam or a gentle press with your hands to help it hold its rounded shape. If you added a tail or bow, this is the moment to sew those final flourishes on.
Helpful Beginner Tips
- Keep your stitches tight. Amigurumi and basket crochet both rely on a snug fabric so stuffing doesn’t peek through gaps. Go down a hook size from what’s recommended on your yarn label if your stitches tend to run loose.
- Use stitch markers religiously. Working in a continuous spiral means it’s easy to lose track of where a round starts. A locking stitch marker moved up every round keeps your shaping accurate.
- Stuff a little at a time. Add small amounts of fiberfill as you go rather than cramming it all in at the end. This keeps the shape smooth and prevents lumpy, uneven spots.
Design Customization Ideas
- Play with color. Swap pastels for bold brights, or try an ombré effect by changing shades every few rounds.
- Add cute accessories. A fabric bow, tiny embroidered flowers, or a scalloped trim can completely change the basket’s personality.
- Try a mini version. Scale the pattern down using a smaller hook and thinner yarn to make miniature baskets perfect as place settings, keychains, or party favors.
Frequently Asked Questions
What is the best yarn for amigurumi and basket projects like this?
Cotton or cotton-blend yarn is ideal because it holds its shape well and doesn’t stretch out over time the way some acrylics can. Holding two strands together adds extra body, which matters a lot for a basket that needs to stay upright.
How do I make my crochet plush or basket feel firm?
Firmness comes down to three things: a smaller hook for tighter stitches, evenly packed fiberfill, and cotton or a sturdy-blend yarn rather than something too soft or drapey.
How long does this Crochet Basket Easter Egg project take to finish?
Most crocheters finish the basket itself in three to five hours, spread across a weekend. Adding a face, handle, and extra details might add another hour or so, depending on how detailed you want to get.
Ready to Start Stitching?
There’s something so satisfying about handing over a basket you made yourself, especially when it’s about to be filled with hidden treasures on Easter morning. Grab your yarn, cast on that magic ring, and let this graceful little Crochet Basket Easter Egg come to life one stitch at a time.