Fabulous Crochet Bunny Ear Hat Pattern That Stands Out
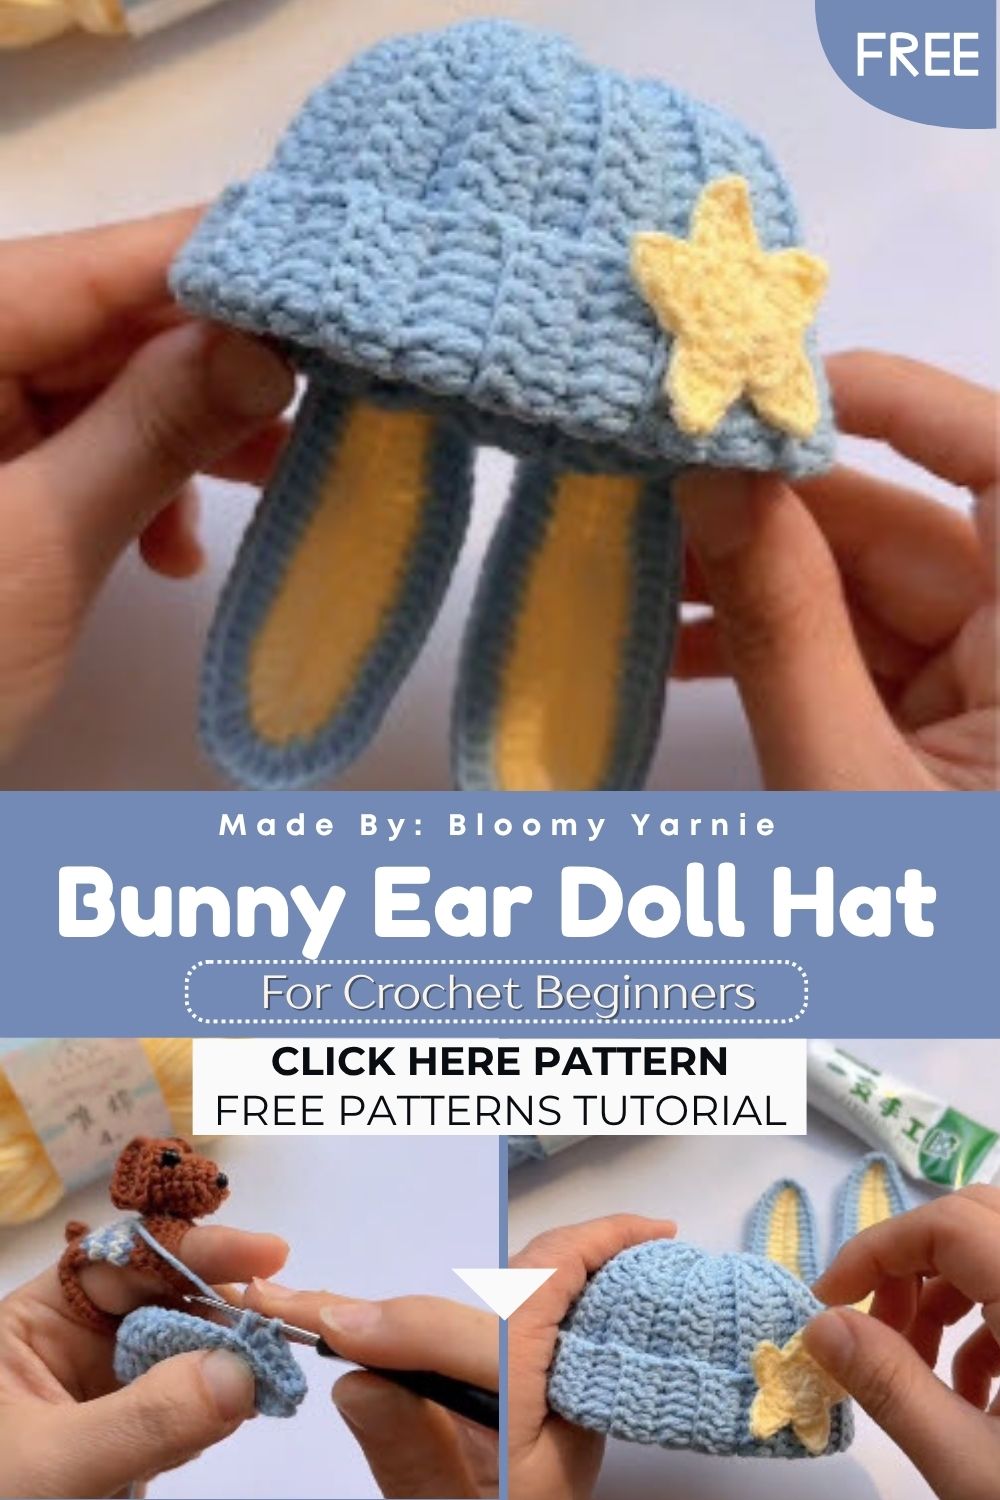
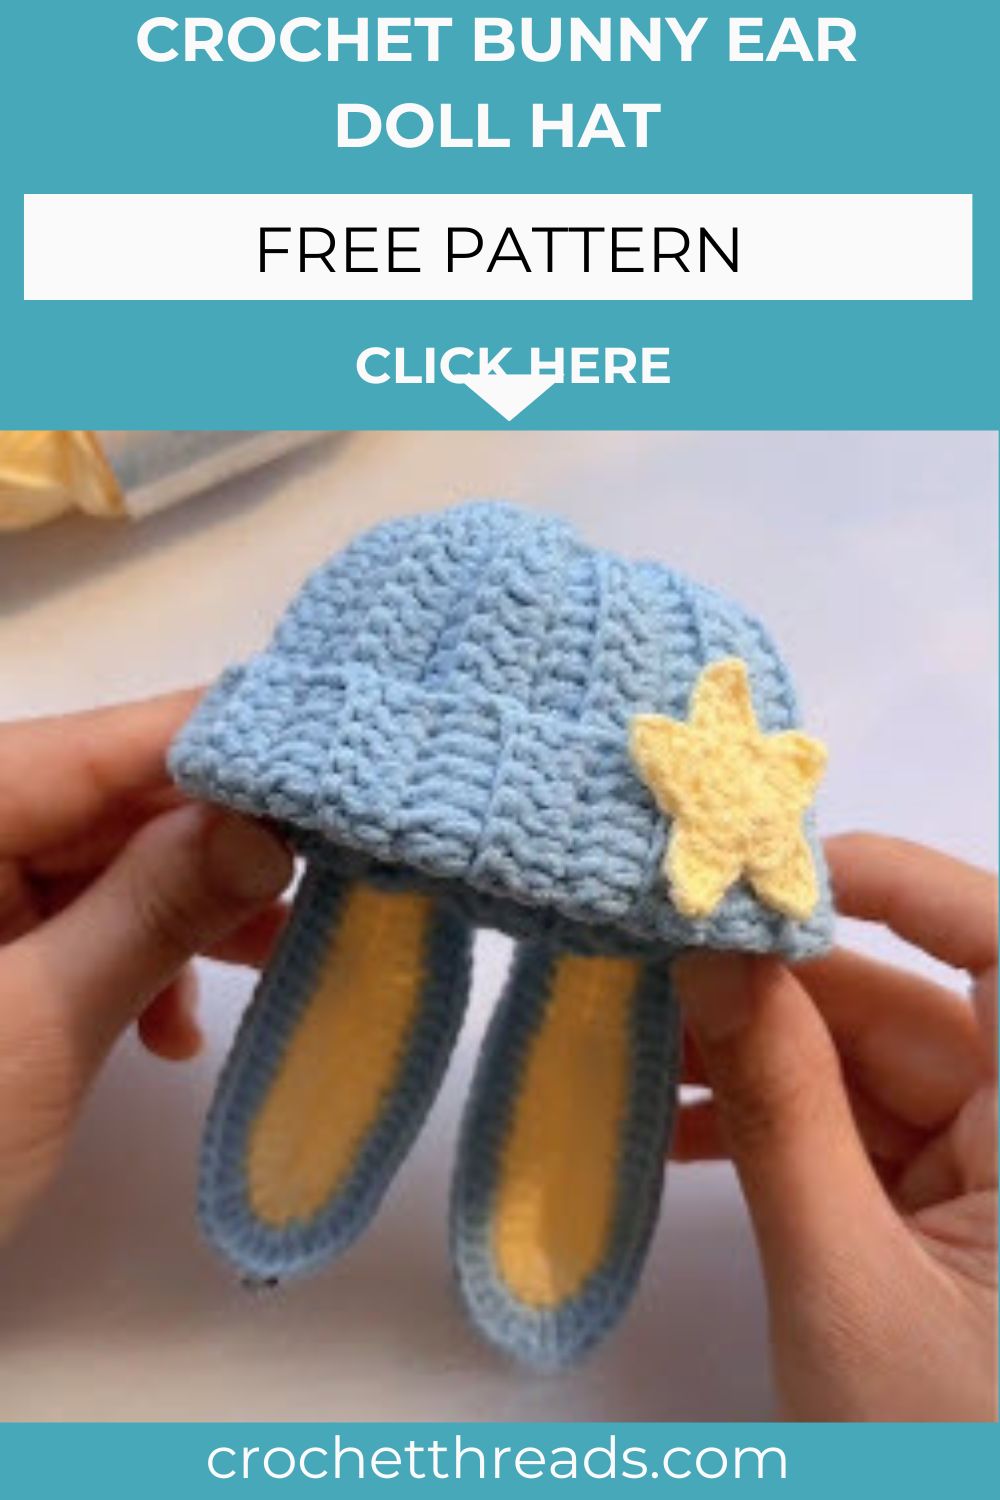
Spring arrives, and suddenly all you want to crochet are soft, floppy-eared little projects. That exact feeling inspired this Crochet Bunny Ear Hat Pattern. Featuring tiny rabbit ears, this charming doll hat brings a playful twist to classic amigurumi, making it perfect for Easter decor, a nursery shelf, or a beautifully handmade gift.
This crochet bunny ear doll hat combines a round amigurumi head, a small stuffed body, and a pair of floppy ears sewn onto a tiny knit-style cap. Every piece works up in continuous rounds, so there’s no seam to fuss over until assembly, making the whole project feel calm and steady from start to finish.
The finished doll stands nicely on a shelf or clips onto a bag as a keychain. It’s a compact make that still delivers big charm.
Skill Level
This pattern suits confident beginners and intermediate crocheters comfortable with magic rings, increases, and decreases. Sewing pieces together requires a little patience, but nothing here demands advanced techniques. A few practice rounds and steady tension will carry you through easily.
Materials and Supplies
Gather these supplies before starting so your crochet session flows without interruption.
- Yarn: Worsted weight (#4) in cream or white (body/head), soft pink (inner ears and cheeks), light brown or tan (bunny hat), and a small amount of black for details
- Crochet hook: 3.5mm (E-4) hook for amigurumi pieces
- Safety eyes: 6mm black safety eyes, one pair
- Stuffing: Polyester fiberfill, enough to fill a doll roughly 4-5 inches tall
- Yarn needle: For sewing pieces and closing gaps
- Scissors: Sharp, small craft scissors
- Keychain ring or clasp: Optional, for turning the doll into a bag charm
- Stitch markers: Helpful for tracking rounds
Abbreviations
MR – Magic Ring
SC – Single Crochet
INC – Increase
DEC – Decrease
ST(S) – Stitch(es)
SL ST – Slip Stitch
CH – Chain
Crochet Techniques Used
This pattern relies on a handful of core amigurumi skills.
- Magic ring for a tight, gap-free starting circle
- Single crochet worked in continuous spiral rounds
- Increase and decrease stitches for shaping the head and body
- Sewing pieces together neatly with a yarn needle
Pattern Instructions
Making the Head
Start with cream yarn and a magic ring.
- Round 1: 6 SC into MR (6 sts)
- Round 2: INC in each st around (12 sts)
- Round 3: SC, INC repeat around (18 sts)
- Round 4: SC 2, INC repeat around (24 sts)
- Round 5: SC 3, INC repeat around (30 sts)
- Rounds 6-10: SC around evenly (30 sts each round)
- Round 11: SC 3, DEC repeat around (24 sts)
- Round 12: SC 2, DEC repeat around (18 sts)
Insert safety eyes between rounds 8 and 9, spacing them about 6 stitches apart before continuing to close the head.
- Round 13: SC 1, DEC repeat around (12 sts)
- Round 14: DEC around (6 sts)
Stuff firmly, then fasten off and close the remaining stitches.
Building the Body
Using cream yarn, work the body in the same spiral method.
- Round 1: 6 SC into MR (6 sts)
- Round 2: INC around (12 sts)
- Round 3: SC 1, INC repeat around (18 sts)
- Rounds 4-7: SC around evenly (18 sts each round)
- Round 8: SC 1, DEC repeat around (12 sts)
- Round 9: DEC around (6 sts)
Stuff the body lightly so it stays soft and huggable, then close the opening and sew it to the base of the head.
Bunny Ears and Tail
Ears – make 2:
- Using tan yarn, Round 1: 6 SC into MR (6 sts)
- Round 2: INC around (12 sts)
- Round 3: SC 1, INC repeat around (18 sts)
- Rounds 4-9: SC around evenly (18 sts each round)
- Fasten off, leaving a long tail for sewing.
Flatten each ear slightly before sewing, so it holds a gentle curve rather than standing perfectly upright.
Tail – make 1:
- Using white yarn, work a small puff: 6 SC into MR, INC around once (12 sts), SC two rounds even, then stuff lightly and close.
Facial Details
Embroider a small triangle nose in pink or brown thread just below the safety eyes. Add a short vertical stitch under the nose, then two small diagonal stitches on either side to form a gentle mouth. Keep stitches loose enough to stay soft to the touch.
Assembly Process
- Sew the head securely onto the body, keeping the neck area tight so there’s no gap.
- Position both ears on top of the head, angled slightly outward, and stitch them in place.
- Attach the tail to the lower back of the body.
- If turning this into a keychain, thread the ring through a loop of yarn at the top of the head before closing the final stitches.
Finishing Touches
Weave in every loose yarn tail using your needle, trimming excess close to the fabric. Fluff the stuffing gently through the fabric with your fingers so the shape looks smooth and rounded rather than lumpy.
Beginner Tips for Amigurumi Success
A few small habits make a noticeable difference in your finished doll.
- Keep stitches tight so stuffing never peeks through
- Use stitch markers to track the start of each round
- Stuff firmly but evenly, adding small amounts at a time
- Count stitches after every increase or decrease round
Design Customization Ideas
This little bunny welcomes plenty of creative twists.
- Swap the hat color for lavender, mint, or soft gray
- Add a tiny bow tie or fabric scarf around the neck
- Crochet a mini version using thinner yarn and a smaller hook for a tiny charm size
Frequently Asked Questions
What is the best yarn for Crochet Bunny Ear Hat Pattern projects like this one?
Worsted weight cotton or acrylic yarn works best because it holds stitch definition and keeps stuffing hidden.
How do I make my crochet plush firm and sturdy?
Use a hook one size smaller than recommended for the yarn weight, and stuff in small handfuls rather than one large clump.
How long does this project usually take?
Most crocheters finish this bunny ear doll hat pattern in about three to four hours, spread across a couple of relaxed sessions.
Wrap Up and Start Stitching
This Crochet Bunny Ear Hat Pattern shows how a few simple stitches can come together to create something truly heartwarming. Every round completed brings this floppy-eared friend closer to life, perfect for gifting or keeping close. Pick up your hook, choose colors that make you smile, and start stitching today. Share your finished bunny with fellow crocheters and celebrate your handmade creation.