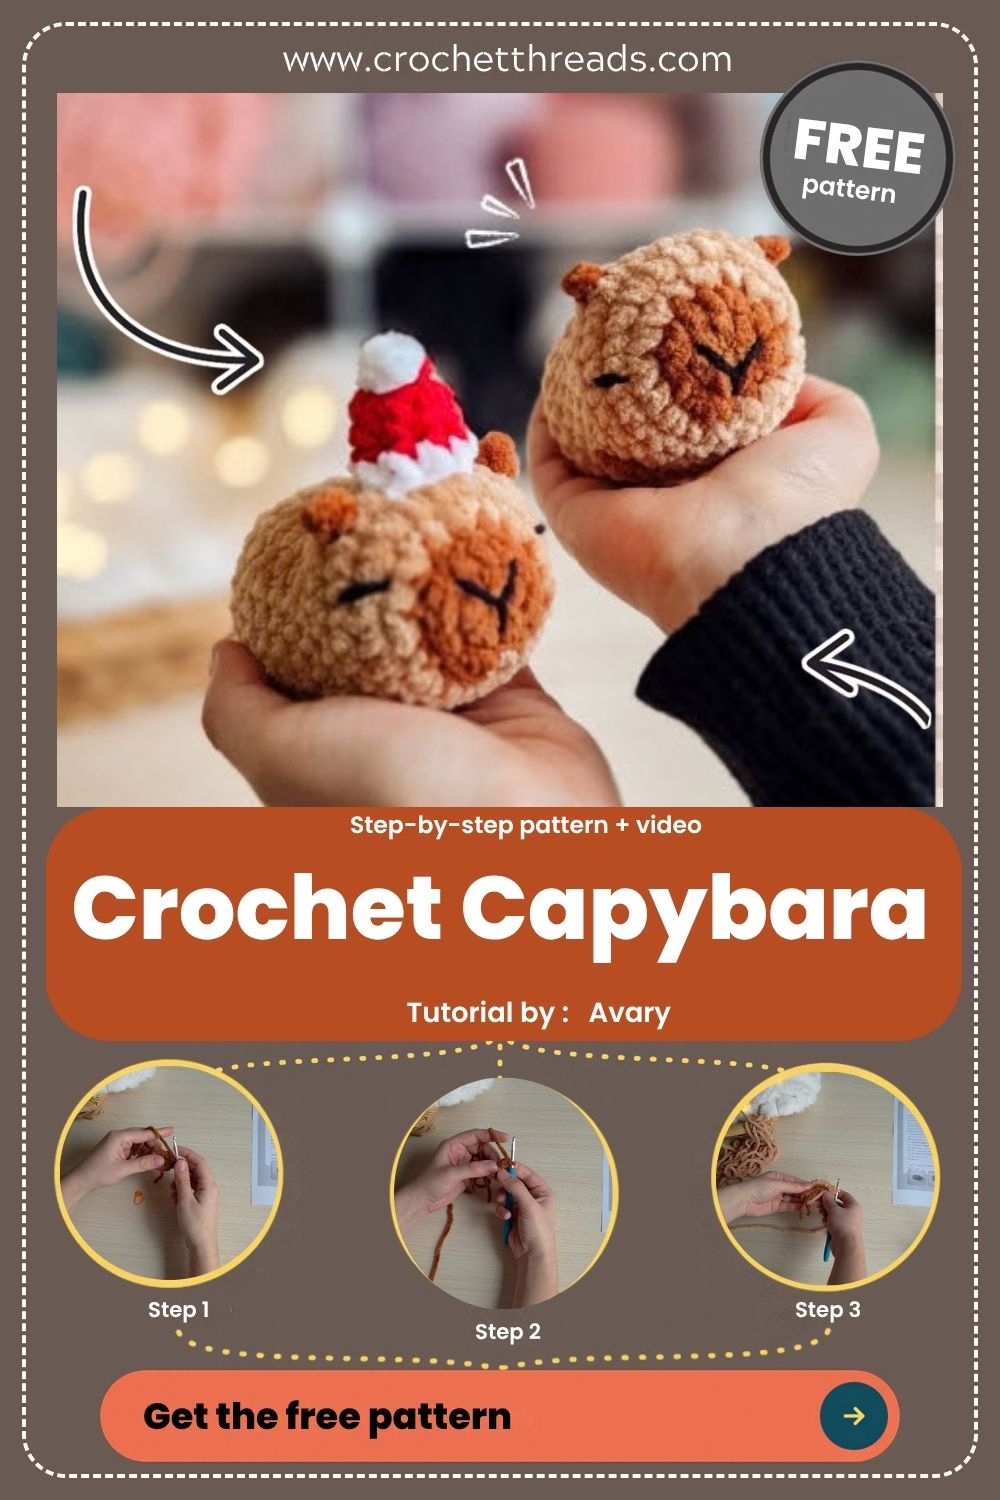
Crochet Capybara Plushie With a Santa Hat
Pop a red Santa hat between two stubby ears, and the Crochet Capybara Plushie With a Santa Hat suddenly looks ready for a mantel. The body starts at a rust-brown snout, with bobble stitches forming four tiny legs.
Worked as a single seamless shape, the Crochet Capybara Plushie needs almost no sewing: the ears get crocheted straight onto the head, and the face is embroidered at the end. You’ll learn where the bobble stitch legs land, when the chenille yarn color change happens, how to line up the back legs, and how to size a matching holiday hat.
What You’re Making
The capybara is worked nose-first in continuous rounds. The dark brown snout grows into a light brown body, bobble stitches pop out as legs, and the back end closes with a drawstring finish. Ears, eyes, and a small hat get added last.
Supplies
- Dark brown chenille yarn (for the snout and ears)
- Light brown or apricot chenille yarn (for the body)
- Red and white chenille yarn (for the hat)
- Thin black yarn (for the face)
- 4.5 mm crochet hook
- Locking stitch marker
- Fiberfill
- Tapestry needle and small scissors
Choosing Yarn and Hook
Chenille gives the plushie its velvety look, but it slides and hides stitches. A 4.5 mm hook keeps bulky chenille tight enough that stuffing stays hidden. If the fabric looks lacy when you squeeze it, drop down half a size. Swapping to worsted acrylic works too, but expect a much smaller capybara and a 3.5 mm hook.
Safety Notes
Embroidered eyes make the plushie safer for small children than plastic eyes. Tie every embroidery tail securely inside the body. Stuff firmly, so no loose fiberfill can work its way out between stitches.
Abbreviations (US)
- MR: magic ring
- sc: single crochet
- inc: 2 sc in one stitch
- dec: decrease
- bob: bobble stitch
- ch: chain
- sl st: slip stitch
- FO: fasten off
Time Box
- Prep: 10 minutes
- Body: about 60 minutes
- Ears, face, and hat: about 30 to 40 minutes
Step-by-Step Instructions Matched to Each Photo
1: Open the Snout in Dark Brown
- Make a magic ring in dark brown.
- Round 1: 8 sc in the MR. (8)
- Pull the ring snug and place your marker.
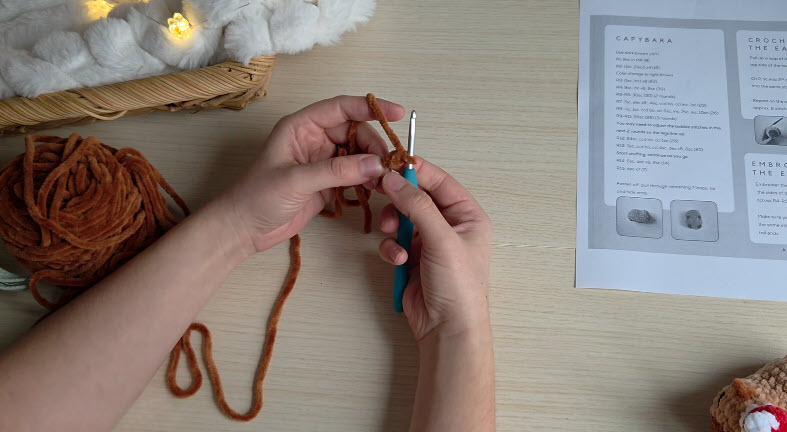
Pinch the ring between your thumb and middle finger, as shown in the photo. That grip keeps chenille from twisting while you work the first stitches.
2: Grow the Nose Tip
- Round 2: inc in every stitch. (16)
- Move the marker up to the last stitch of the round.
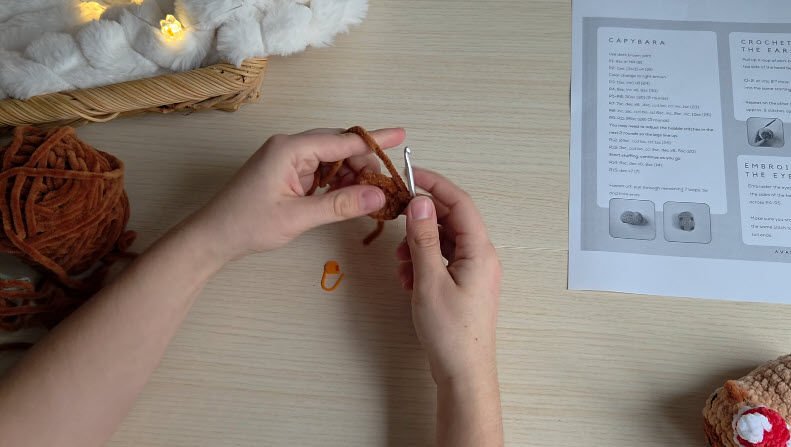
Keeping the marker at the end of each round, rather than the start, makes it easier to spot in fuzzy yarn.
3: Change to Light Brown
- On the last yarn-over of Round 2, pull the light brown through.
- Round 3: (sc, inc) x8. (24)
- Leave the dark brown tail inside the piece.
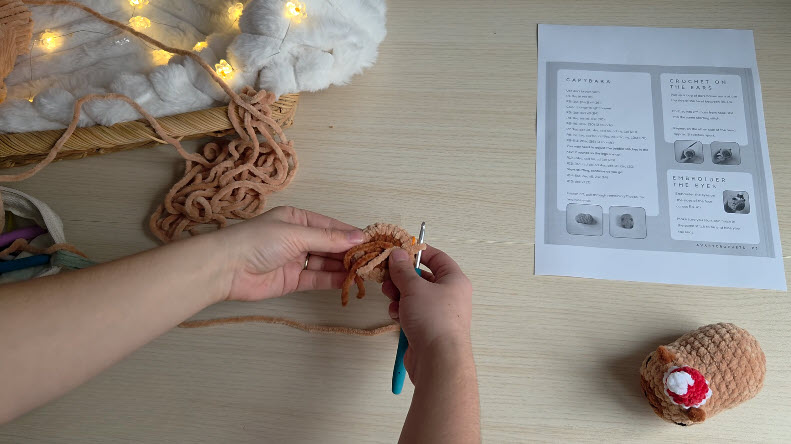
Several tails may dangle at first, as in the photo. Trim them only after the snout is stuffed, so the knot can’t loosen.
4: Build the Head
- Round 4: (3 sc, inc) x6. (30)
- Rounds 5–6: sc around. (30)
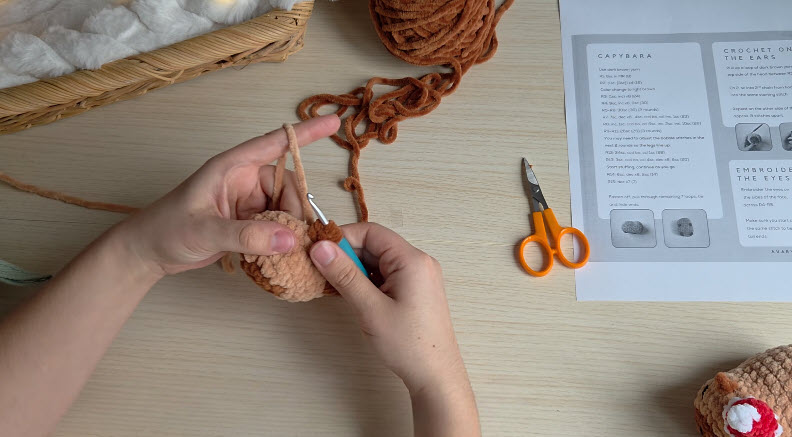
Pull a long loop of yarn free from the skein before each round, just as the maker does in the photo. Tugging chenille mid-stitch tightens your tension unevenly.
5: Check the Face Shape
Look at the front, as shown in the photo. The dark brown circle should sit centered, with the light brown flaring evenly around it. If one side bulges, you likely placed an increase out of order. Count before moving on.
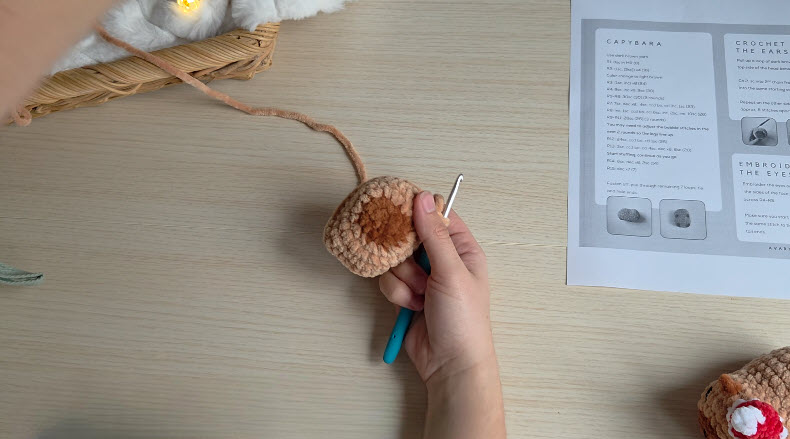
6: Work the Bobble Legs
- Round 7: work the round down to 28 stitches, placing two bobbles on the underside for the front legs. (28)
- Round 8: continue the front legs, finishing at 26 stitches. (26)
- Rounds 9–11: sc around. (26)
- Round 12: place the back-leg bobbles directly behind the front ones. (26)
- Round 13: finish the back legs and decrease to 20 stitches. (20)
- Start stuffing now, and keep adding more as you go.
- Round 14: (sc, dec) x6, then 2 sc. (14)
- Round 15: dec x7. (7)
- FO, weave the tail through the 7 remaining loops, and pull tight.
Pro Tip: After each bobble, push it outward with your fingertip before starting the next stitch, as in the photo. Chenille bobbles tend to collapse inward if you leave them alone.
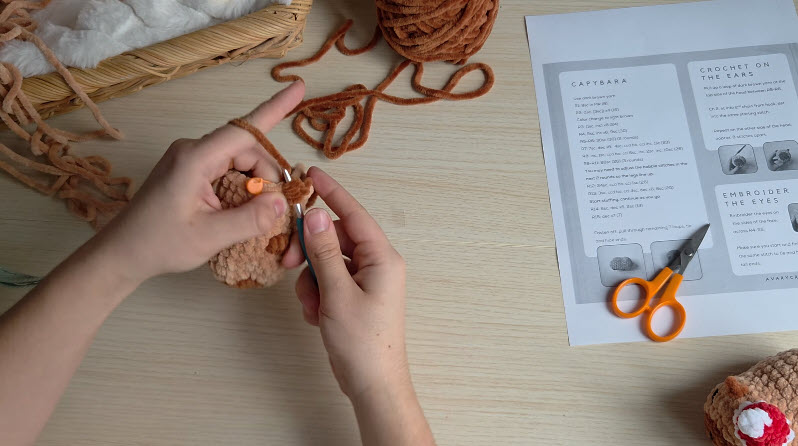
7: Ears and Face
- Ears: Pull up a loop of dark brown on the top of the head, around Rounds 8–9. Ch 2, sc into the second chain from the hook, then sl st back into the stitch you started in.
- Repeat on the other side, roughly 8 to 9 stitches apart.
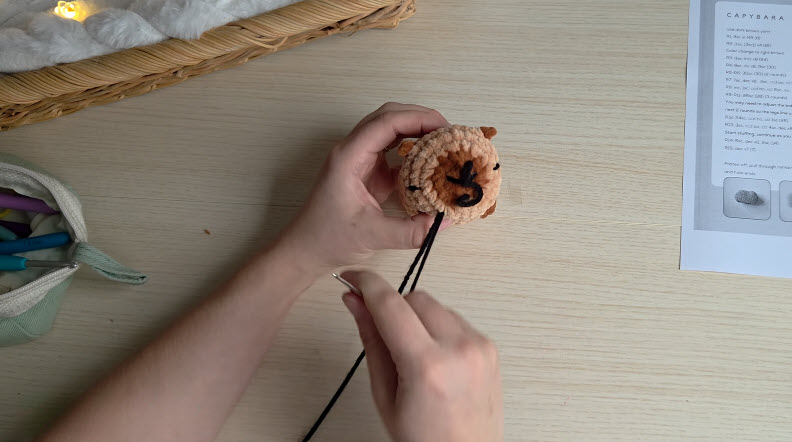
- Eyes: With black yarn, embroider short horizontal eyes on the sides of the face, across Rounds 4–5.
- Nose: Stitch a small curved nose onto the dark brown snout, as shown in the photo.
- Start and end each piece of embroidery in the same stitch. That way, the two tails meet, and you can knot and hide them together.
Santa Hat
- With red: MR, 4 sc. (4)
- Round 2: (sc, inc) x2. (6)
- Round 3: (2 sc, inc) x2. (8)
- Round 4: (sc, inc) x4. (12)
- Round 5: (2 sc, inc) x4. (16)
- Round 6: sc around. (16)
- Switch to white for one final round of sc for the brim.
- FO and leave a tail for sewing.
- Roll a small ball of white yarn for the pompom and stitch it to the tip.
- Tack the hat to the head at a slight tilt, just in front of the ears.
Stitch Count Checkpoints
- Count now: You should have 30 stitches after Round 4. Any extra increase makes the head lopsided.
- Leg check: Flip the body over after Round 13. All four bobbles should form a neat rectangle.
- Fit test: Before sewing the hat, set it on the head. It should cover the crown without hiding the eyes.
Mistakes Worth Avoiding
- Skipping stitches. Chenille hides the V of each stitch, so makers often miss one. Feel for the top loops with your hook tip.
- Uneven legs. If the back legs don’t match the front ones, the capybara wobbles.
- Loose finish. A drawstring that’s pulled gently leaves a hole at the back.
- Floppy ears. A loose chain makes the ears droop.
Quick Fixes
- Stuffing peeks through. Size down your hook, or double-stuff with smaller tufts.
- Capybara rocks. Add a little more fiberfill to the leg side and press it flat against the table.
- Eyes look uneven. Snip the embroidery and restitch it, using the round lines as a guide.
- Hat slides. Add a third tacking stitch at the back.
Color Ideas
Caramel with a chocolate snout stays close to the real animal. Cream and soft gray give a snowy look. For the hat, a green cap with a white brim reads as an elf, and navy with silver works for New Year’s.
Personalization Ideas
Tiny Scarf
Chain a strip of white chenille and knot it around the neck.
Ornament Loop
Sew a ribbon loop behind the hat so the capybara can hang on a tree.
Gift Tag Buddy
Tuck a small name tag under one paw for a stocking stuffer.
Sleepy Eyes
Stitch curved closed eyes instead of straight ones.
FAQs
Is the pattern beginner-friendly?
Mostly, yes. The bobble rounds take some care, so practice a few bobbles on a scrap first.
Do I need to sew anything?
Only the hat. The ears are crocheted on, and the face is embroidered.
Can I use regular yarn?
Yes, but the plushie comes out smaller and less fuzzy.
How do I wash it?
Hand wash in cool water, gently squeeze out the moisture, and let it air dry flat.
Bonus: Lining Up Bobble-Stitch Legs
Legs that line up make the difference between a capybara that stands proudly and one that tips over. After finishing the front legs, place a spare marker directly in each bobble. When you reach the back-leg rounds, count from those markers so each back bobble sits straight behind its partner. If a bobble drifts one stitch off, move it by working an extra sc before it, or one fewer. Your total count for the round won’t change. Check from underneath before stuffing, because adjusting afterward means ripping back through fiberfill.
Conclusion
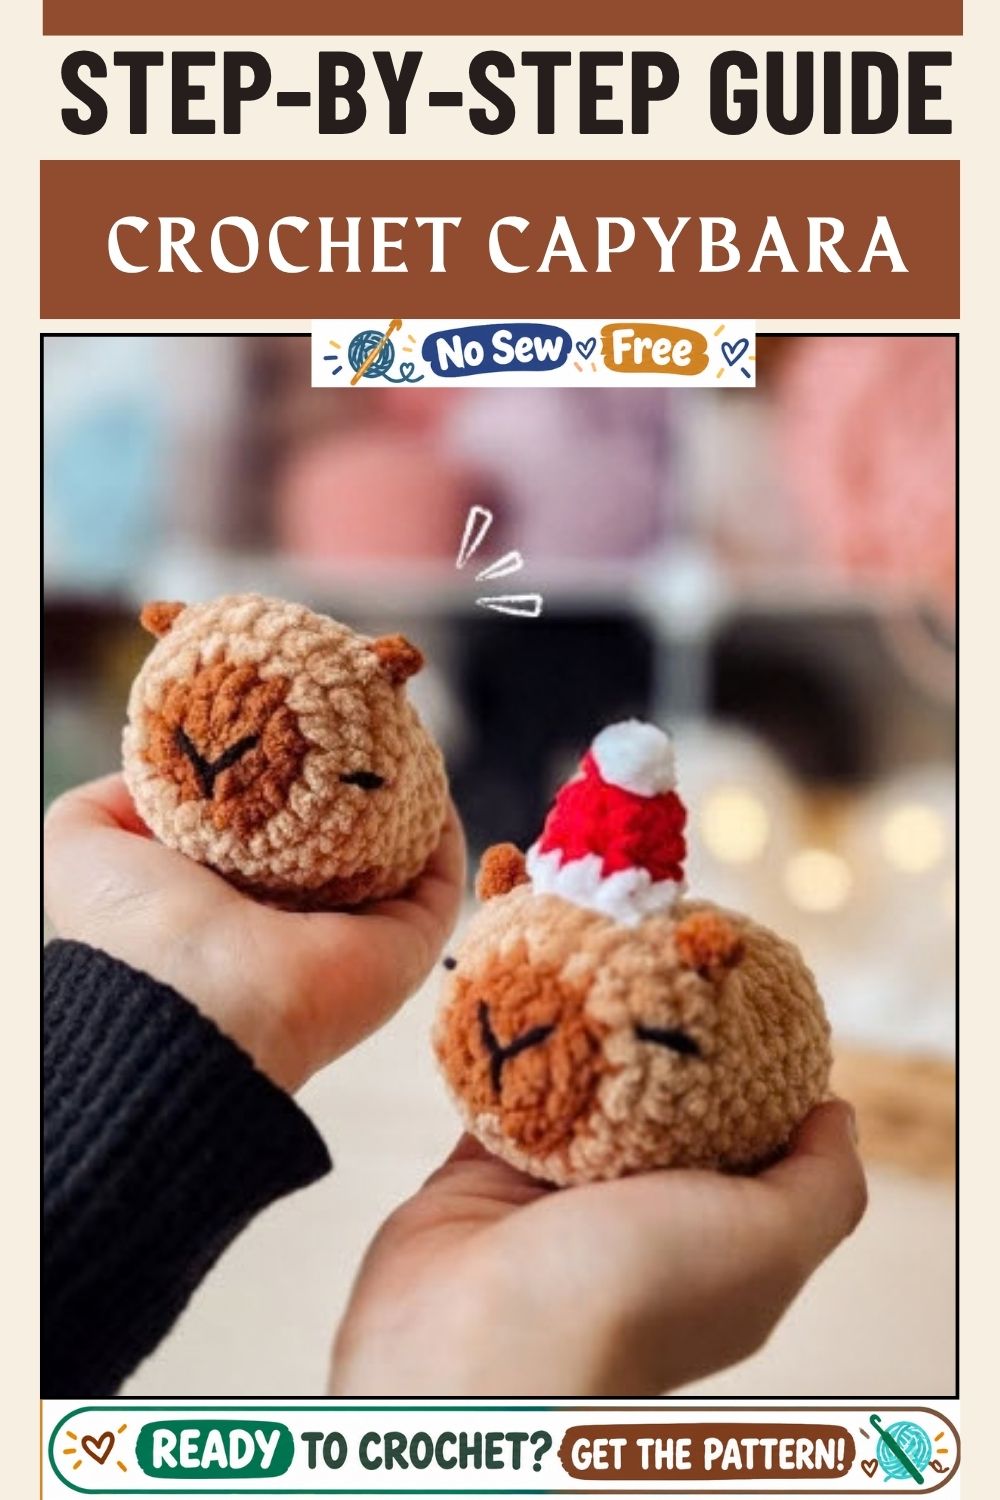
From the first dark brown ring at the snout to the final drawstring pull at the back, the capybara comes together in one smooth piece. Take a moment to line up the bobble legs and count each round in the fuzzy chenille, and you’ll end up with a plushie that sits steady and looks tidy from every side. Add the little red hat, tuck it into a stocking or hang it from a tree branch, and your holiday capybara is ready to charm.