Cute Crochet Cat-Ear Basket Pattern for Special Outfits
A ball of orange cotton yarn, a steel hook, and a handful of quiet evenings are all it takes to build the Cute Crochet Cat-Ear Basket Pattern for Special Outfits, a rounded holder topped with two perky ears that dresses up nurseries, photo prop displays, and gift tables alike.
Small-batch amigurumi makers keep returning to the crochet cat-ear basket because the shaping feels approachable yet still produces a piece with real personality. Rather than a plain round base, the project layers gentle increases into two shaped ears, giving the holder face-forward charm that a standard amigurumi storage basket rarely offers. Meanwhile, crafters hunting for a cat ear yarn basket often want whimsy without a steep learning curve, and the balance struck here answers that need directly.
Its purpose stays simple: give crafters a quick, huggable container that doubles as a decorative accent for themed outfits and nursery corners.
What Is This Pattern?
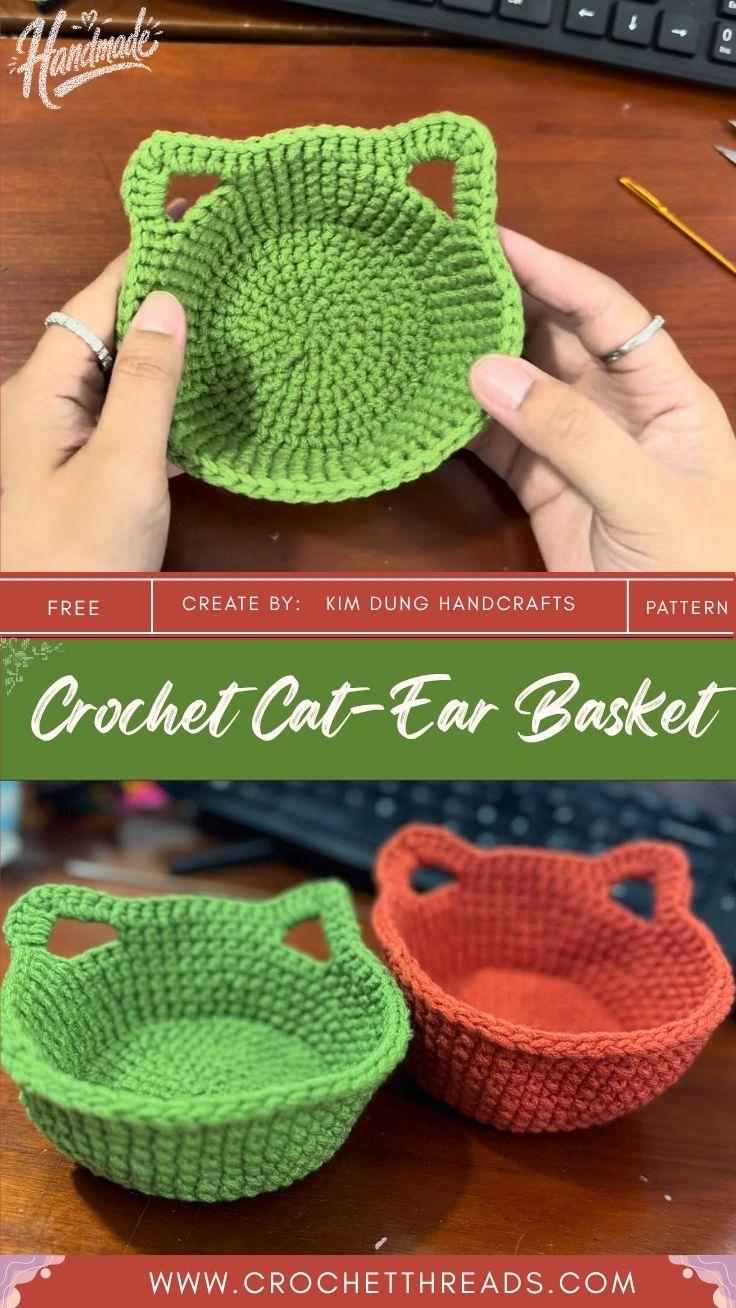
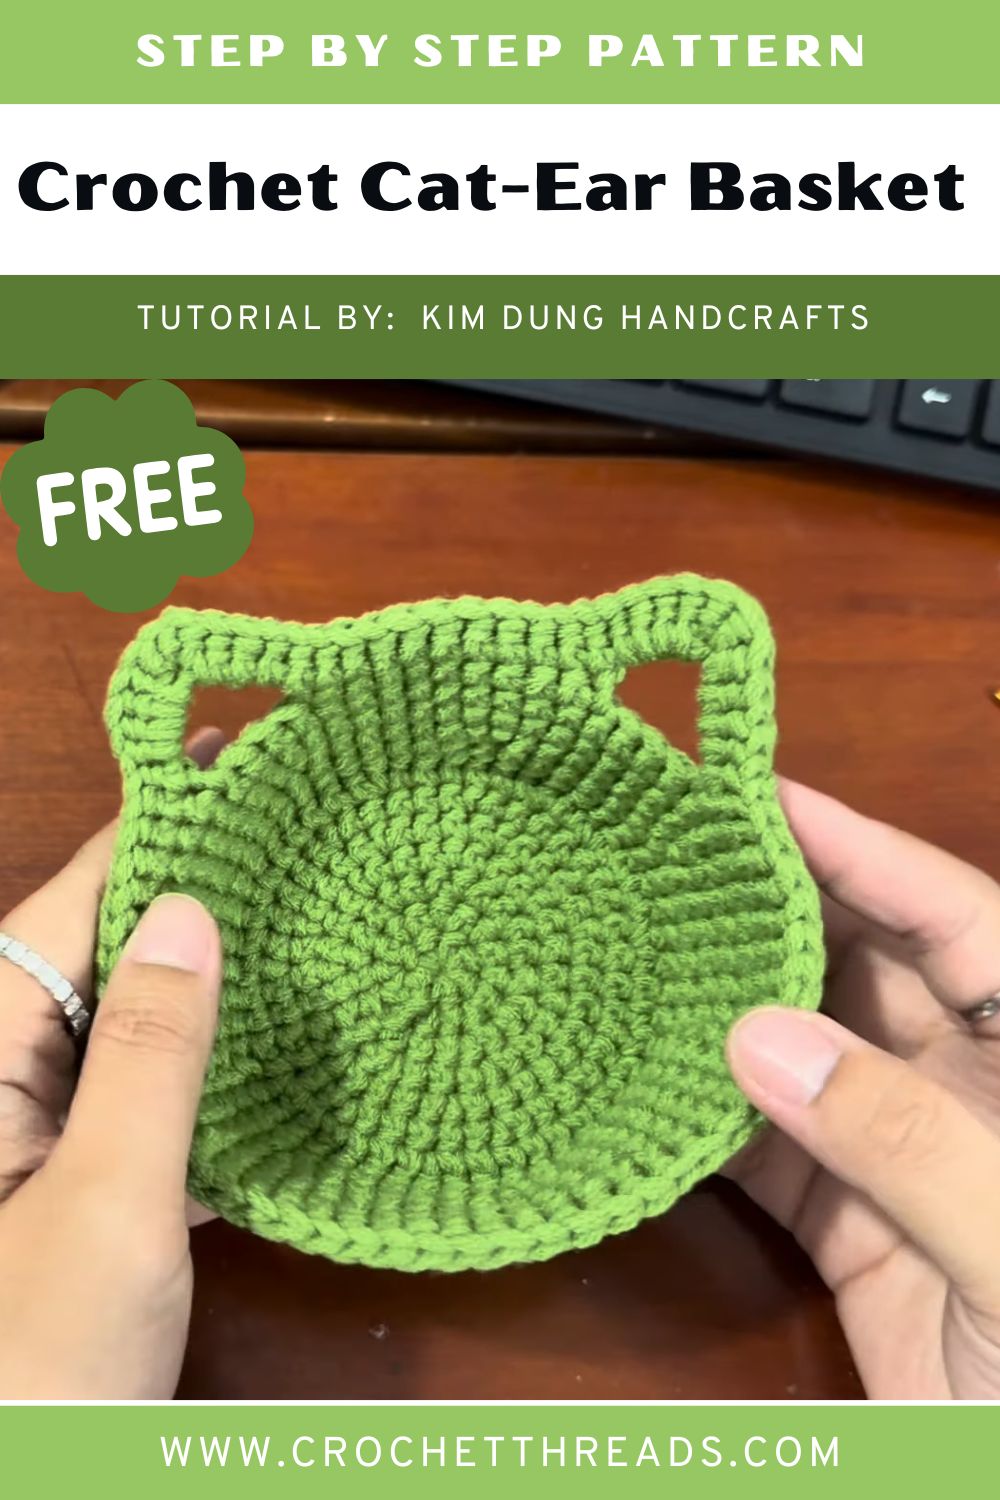
A crochet cat-ear basket starts as a flat amigurumi-style disc worked in continuous rounds, then curves upward into a short cup shape. Two triangular ears attach along the rim once the body is finished. Unlike a flat appliqué, the ears stand up on their own, giving the basket a face without extra embroidery. Because the whole piece works in single crochet, the fabric stays dense enough to hold small items upright, and the rounded proportions make it read as more toy than tool. Crocheters familiar with basic amigurumi shaping will recognize the increase-and-even sequence right away.
What Do You Need to Make It?
Building a crochet cat-ear basket calls for worsted-weight cotton yarn in a main color, plus a small amount of a second shade for the ears. A 3.0mm–3.5mm crochet hook, stitch markers for tracking rounds, and a yarn needle for weaving in ends round out the essentials. Polyester fiberfill helps the ears hold their shape if lightly stuffed, though flat, unstuffed ears also work well. Small scissors and a measuring tape finish the kit. Optional safety eyes or embroidered details give the finished piece a friendlier, face-forward look.
What Will You Learn From This Pattern?
- Working a magic ring and closing it without leaving a visible gap at the center
- Shaping continuous rounds of single crochet into a curved basket wall
- Attaching a separately worked ear piece neatly along a finished edge
What Skills Does It Require?
Comfort with single crochet and the magic ring start matters most, since nearly every round builds on those two techniques. Reading a basic round-by-round count also helps, though the shaping stays forgiving enough for a first amigurumi attempt. Sewing skills stay minimal; a simple whip stitch attaches the ears once both pieces are finished. Consequently, makers who have completed one small stuffed toy or coaster typically pick up the sequence within a single sitting.
How Long Does It Take?
Prep work, including gathering yarn and testing gauge, usually takes about 10 minutes. Stitching the base, walls, and ears together runs closer to 90 minutes for an average-paced crocheter, though slower stitchers may need two sittings. Finishing touches, such as weaving in ends and attaching the ears, add another 15 to 20 minutes. Altogether, most makers finish a single basket in under two hours.
What’s the Process Like?
Step 1: Start the ring. Make a slip knot and settle the starting loop onto the hook, keeping the working yarn snug enough to control tension from the first stitch.
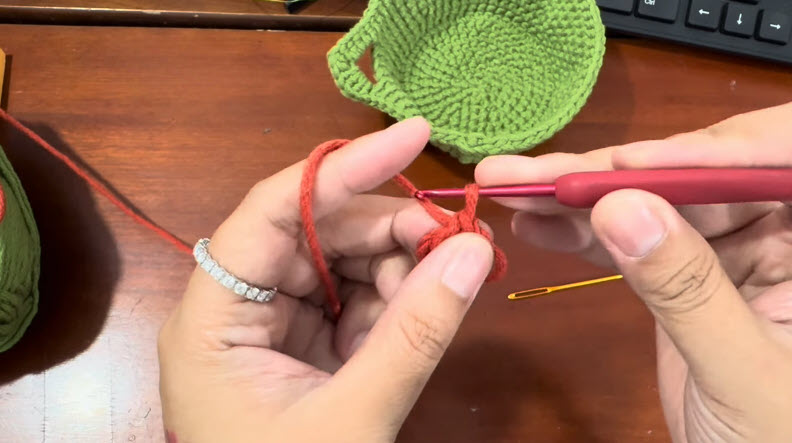
Step 2: Work the first round. Crochet a small cluster of single crochet stitches directly into the ring, then pull the tail firmly so the center closes without a visible hole.
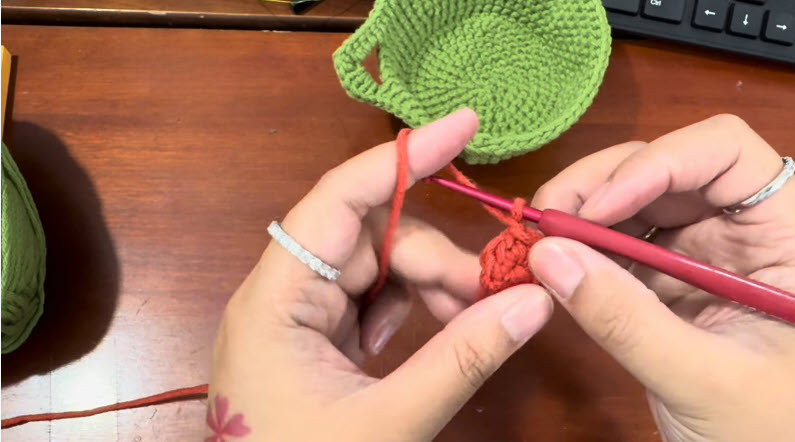
Step 3: Build the flat base. Continue working spaced increase rounds evenly so the disc grows outward while staying flat, checking often that it matches the sample’s proportions.
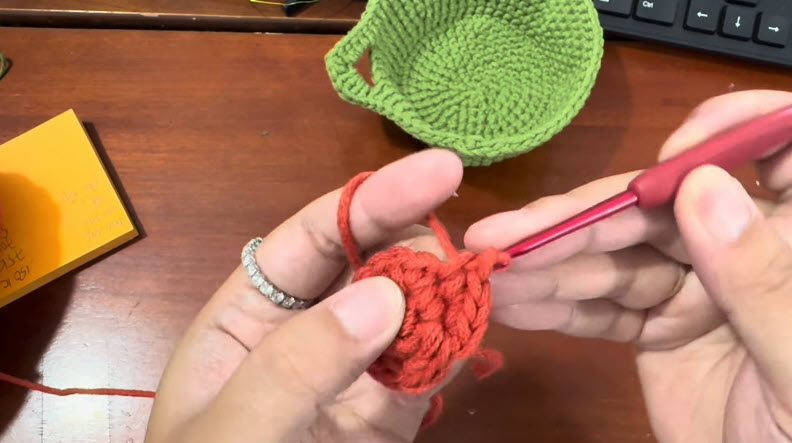
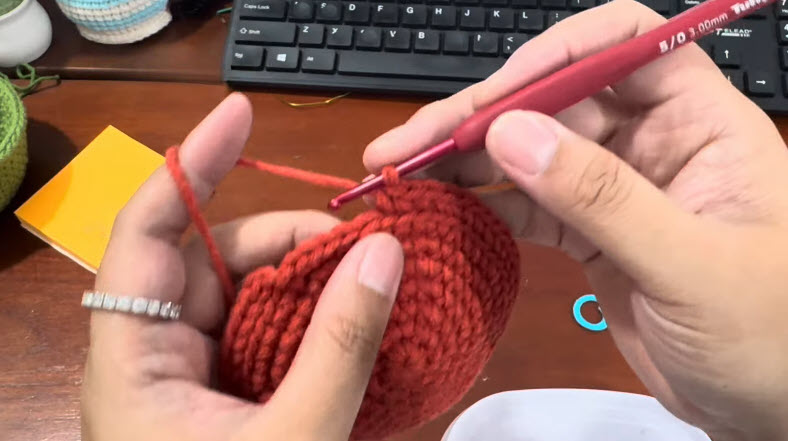
Step 4: Keep the disc even. Work a few more rounds without excess flaring, smoothing the piece between fingers to confirm the base sits flat before the walls begin.
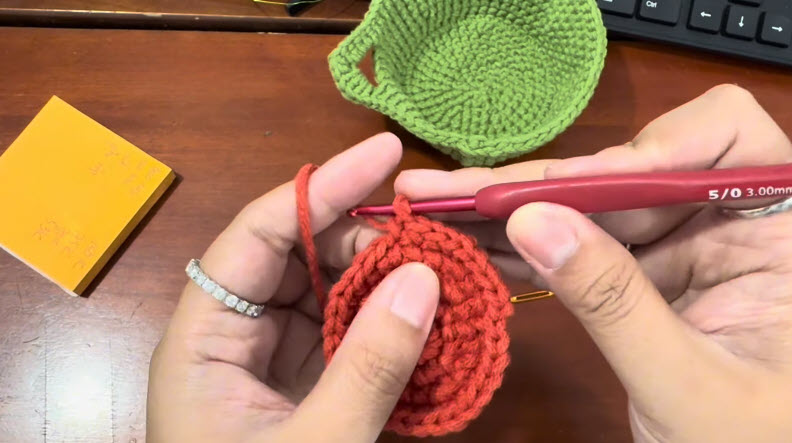
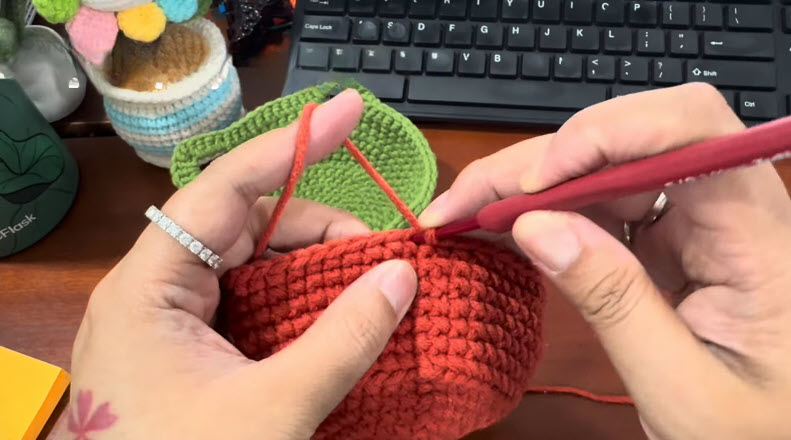
Step 5: Turn the corner into the walls. Stop increasing and work even rounds so the sides rise upward into a cup shape, curving the stitches close to where the finished ear will sit along the rim.
What Usually Goes Wrong?
Loose magic rings top the list of common issues, leaving a small hole at the center that shows through the finished base. Uneven increases cause the disc to cup or ruffle instead of lying flat, which then throws off the basket’s whole shape. Some makers also lose count partway through a round, especially once the piece grows past the base and the stitches start looking repetitive. Sewing ears on crookedly, or at mismatched heights, ranks as another frequent complaint, since even a small shift throws off the face-forward look everyone loves about this project.
How Can Mistakes Be Avoided?
Pulling the magic ring’s tail tight before starting the first round closes most center gaps for good. Placing a stitch marker at the start of every round prevents lost counts, and moving it up each time keeps the spiral honest. Laying the piece flat on a table every few rounds reveals cupping or rippling early, while the fix still only takes a round or two. Pinning both ears in place before sewing, rather than eyeballing placement, keeps them level and symmetrical once attached.
What Else Can You Make With This Pattern?
Shrinking the base rounds turns the same shaping into a set of cat-ear coasters, perfect for a themed drink cart. Working the ear technique in miniature produces sweet appliqués that can decorate hats, headbands, or the corner of a blanket. Scaling the whole basket up with bulkier yarn creates a roomy storage bin for nursery toys or yarn scraps, while swapping the color palette adapts the same shape into a fox, bear, or bunny basket for other animal-themed collections.
What Can This Piece Be Used For?
Crafters tuck small toys, hair clips, or nursery essentials inside the finished basket, while others set it out as a catch-all for keys near the front door. Photographers dangle it from a prop shelf during kitten or baby photo sessions, and gift-givers fill it with treats before handing it over as a themed present. Around the house, the basket also holds crochet notions, doubling as a tidy spot to stash stitch markers and spare hooks between projects.
Is It a Good Project for Beginners?
A crochet cat-ear basket suits confident beginners who already know single crochet and the magic ring start. Because the shaping repeats a predictable increase pattern, new crocheters rarely feel lost partway through. Sewing the ears on afterward adds a light finishing step rather than a technical hurdle, so first-timers can expect a polished result without advanced stitch knowledge. Patience with counting rounds matters more than raw skill level.
What Makes It Worth Trying?
Few small projects deliver as much personality per skein as this one does. Consequently, the finished basket photographs well, gifts easily, and finishes quickly enough to fit into a single weekend without feeling like a marathon project. Its shape also teaches transferable skills, since the same increase-and-even sequence appears throughout countless other amigurumi patterns. Makers walk away with both a useful object and stronger shaping instincts.
Why Are People Making This Right Now?
Cottagecore-style décor and pet-themed nurseries keep surging across home and craft feeds, and small novelty baskets fit neatly into both aesthetics. Interest also spikes around gift-giving seasons, when a handmade container adds a personal touch to a bought present.
- Short-form video platforms favor quick, satisfying makes that finish in one sitting
- Pet and animal-themed décor keeps trending across home styling accounts
- Handmade gift-wrapping ideas continue gaining search interest ahead of holidays
FAQ
What yarn weight works best for this basket?
Worsted-weight cotton yarn holds its shape well and keeps the finished walls sturdy enough to stand upright on their own.
Can the basket be made without stuffing the ears?
Yes, flat unstuffed ears still stand up nicely thanks to the density of single crochet fabric, though light stuffing adds extra dimension.
How much yarn does one basket typically use?
A single basket usually uses under one full skein of worsted-weight cotton, with a small amount of a second color reserved for the ears.
Conclusion
Pulling together a crochet cat-ear basket rewards patience with a genuinely charming result, and the skills practiced along the way carry over into countless other amigurumi projects. Anyone comfortable with single crochet can expect a finished piece within a couple of sittings, complete with ears that give the basket real character. Keeping stitch counts consistent and ears symmetrical turns a good basket into a great one.