A No-Sew Crochet Nutcracker Keychain Amigurumi Pattern

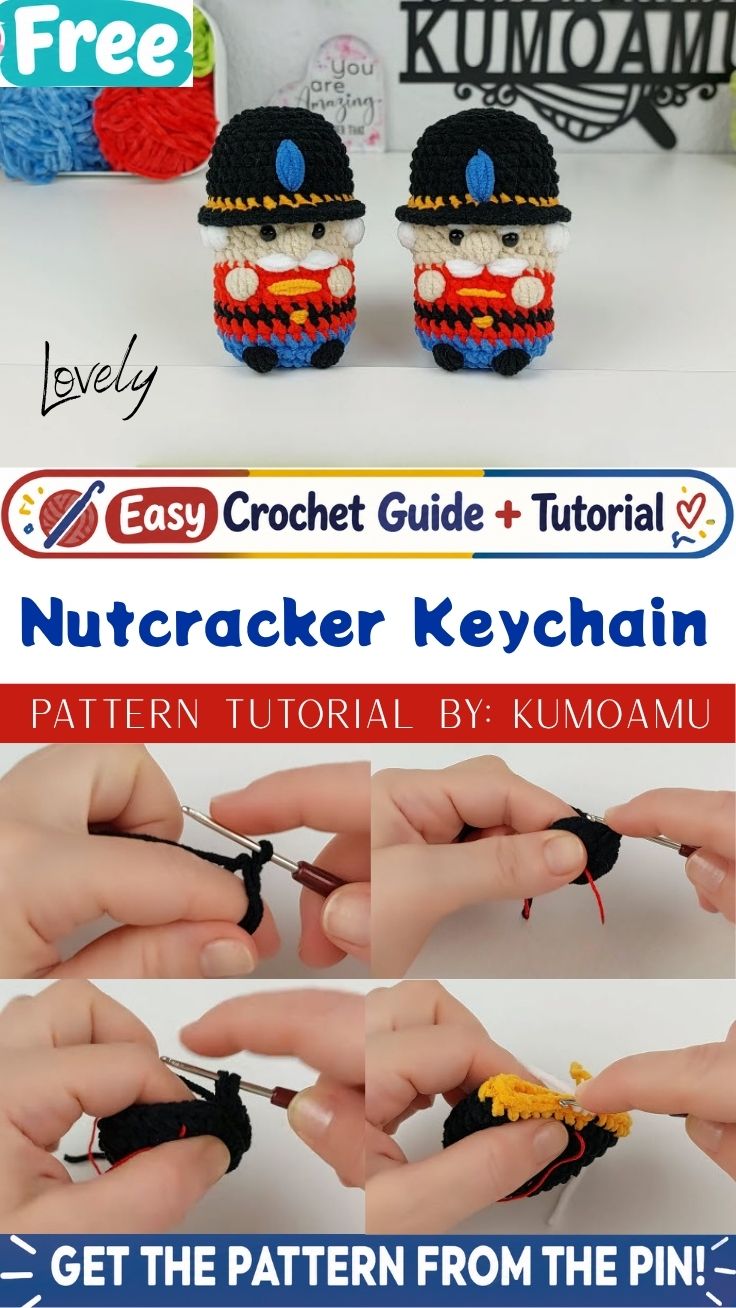
Soft rounds of chenille-style yarn build into a tiny toy soldier with the No-Sew Crochet Nutcracker Keychain Amigurumi Pattern, a project that turns single crochet into a festive charm. Worked entirely in continuous rounds, it skips separate seams and shapes every color change directly into the growing body.

Many amigurumi makers search for a small holiday project that finishes quickly without stitching several parts together, and the crochet nutcracker keychain answers that need well. Because every section, from hat to boots, grows from one continuous tube, colorwork rounds replace most of the sewing that other toy patterns require. Such an amigurumi nutcracker pattern suits crafters who enjoy striped color changes more than embroidery, and it doubles nicely as a holiday keychain accessory for bags, coats, or gift tags.
A No-Sew Crochet Nutcracker Keychain Amigurumi Pattern

What You’ll Need

A worsted-weight or chenille-style yarn in black, gold, cream, red, white, and blue covers the soldier’s hat, trim, face, jacket, belt, and trousers. A 3.5–4mm crochet hook matches this yarn weight comfortably, while polyester fiberfill fills out the rounded body. Small black safety eyes create the face, and a yarn needle helps weave in every tail once stitching wraps up. A stitch marker keeps track of round starts, since the piece works in a continuous spiral rather than joined rounds. Finally, a metal keyring or lobster clasp turns the finished figure into an actual keychain.

Skills You’ll Use

The magic ring forms the starting point, letting the first round close tightly without a visible gap. Single crochet worked in a continuous spiral builds the entire body, so no slip stitching or joining interrupts the shape. Color changes happen mid-stitch, which keeps transitions clean and avoids extra knots along the way. Increasing and decreasing rounds taper the hat, face, and boots, while a final closing round gathers the last stitches before stuffing settles in. Safety eyes get inserted between rounds, and a whip stitch or slip stitch secures small pom accents for the ears.

What You’ll Learn

  • Continuous Colorwork Round Technique
  • No-Sew Amigurumi Assembly
  • Magic Ring Shaping for Tapered Bodies

Time Needed

Prep work, including winding yarn and testing gauge, takes roughly 10 minutes. Stitching the full body, from the black hat through the blue boots, runs about 1.5 to 2 hours depending on experience. Finishing touches, such as stuffing, attaching eyes, and securing the keyring, add another 15 to 20 minutes before the soldier is ready to clip on.

Step-by-Step Process

Step 1: Start the Magic Ring

Begin with black yarn and form a magic ring on the crochet hook, leaving a short tail to weave in later. This ring becomes the very top of the nutcracker’s hat.
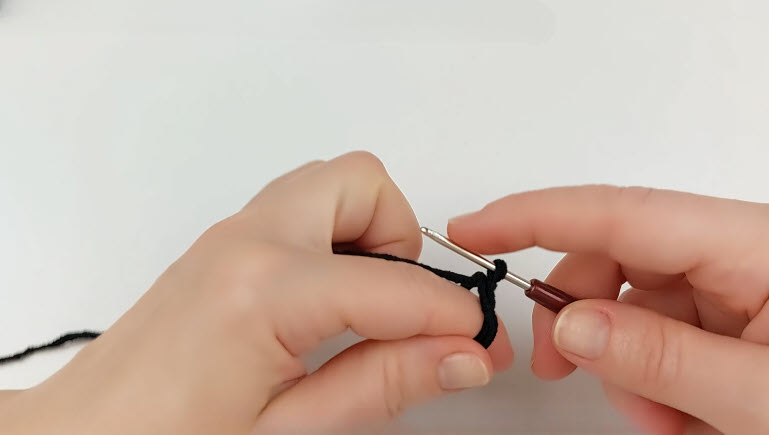
Black yarn magic ring with 6sc being crocheted, R1 of the body.

Step 2: Build the First Rounds

Work single crochet stitches into the ring and pull the tail snug once several stitches sit in place. A red stitch marker can hang nearby to flag the start of each new round.
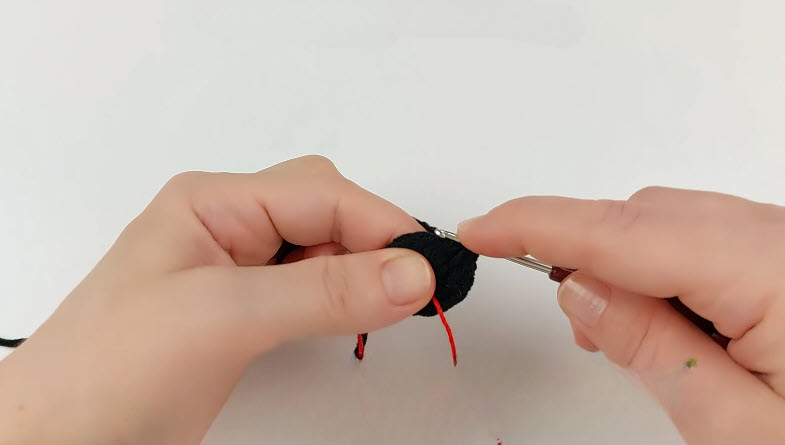
Black amigurumi ball R3 increase round, red yarn tail visible.

Step 3: Shape the Hat Dome

Continue single crochet in a spiral, inserting the hook through both loops of each stitch to round out the black dome smoothly. Steady tension here keeps the fabric even before the color change arrives.
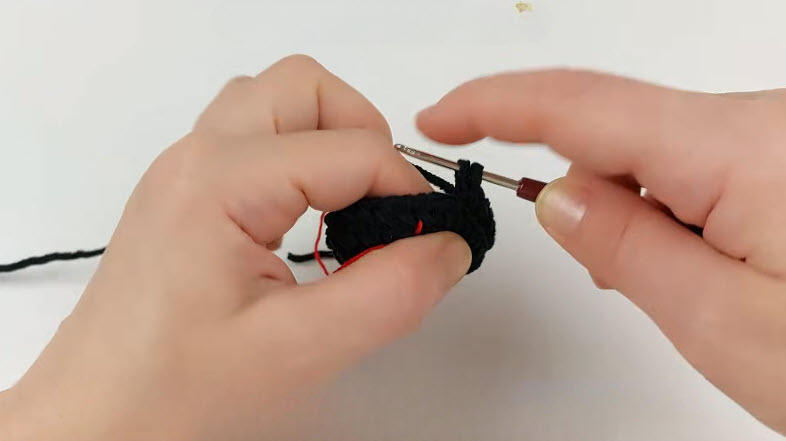
Black crochet piece R6 BLO round, hook inserted under back loop.

Step 4: Add the Gold Trim

Switch to gold yarn and crochet a scalloped round along the lower edge of the hat. This band separates the hat from the face and gives the soldier its signature military look.
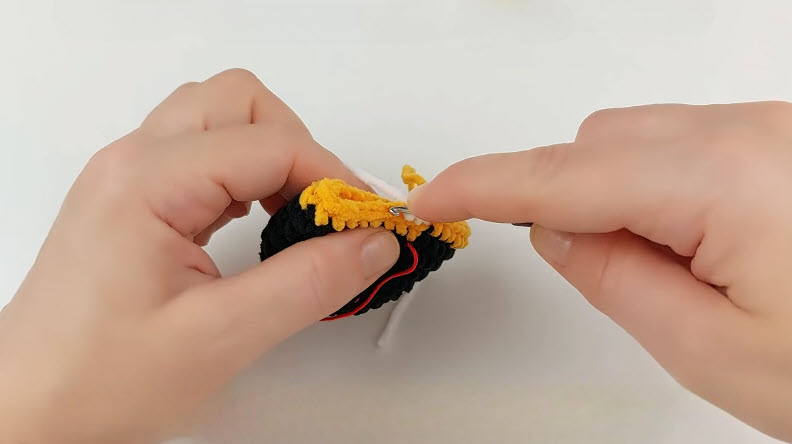
Yellow and black crochet piece R12 BLO round, red yarn tail visible.

Step 5: Introduce the Cream Face

Drop the gold strand and pick up cream yarn to begin the face section just beneath the trim. Rounds worked here should sit snug against the gold edge so no gaps show through.
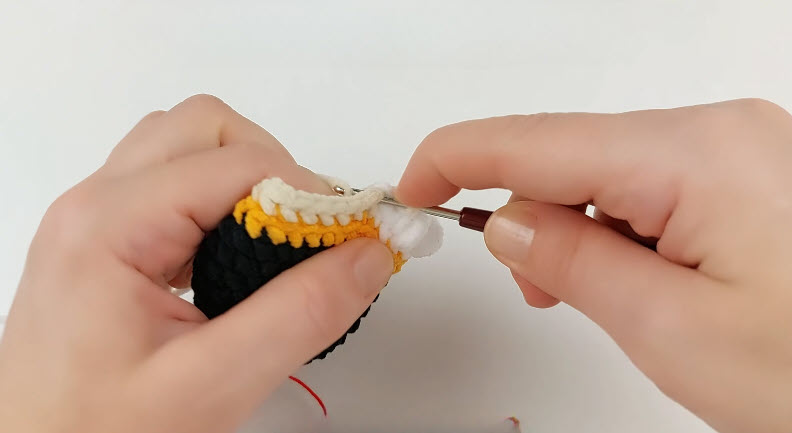
White, beige and black crochet piece R13 with bobble stitches forming the edge.

Step 6: Work the Jacket and Ear Details

Bring in red yarn to build the jacket rounds above the cream face, then tuck small white pom shapes along the sides to form fuzzy ear pieces. Black safety eyes go in before this section closes up completely.
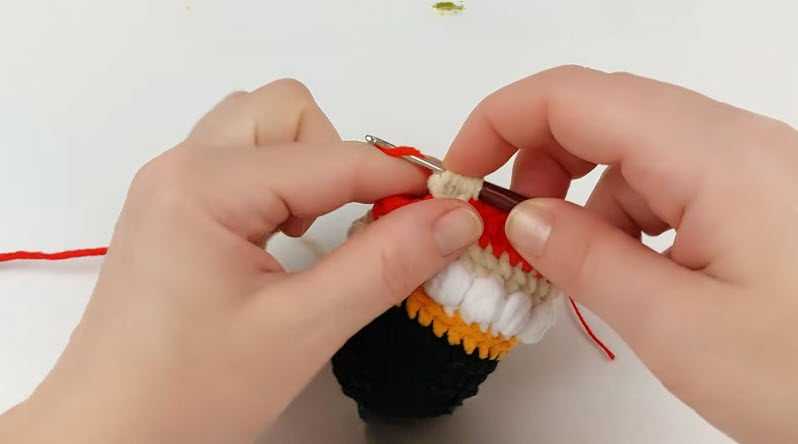
Red, white and beige crochet piece R17 bobble stitch being finished with red yarn.

Step 7: Complete the Body and Attach the Keychain

Finish the lower body with black, red, and blue rounds to form the belt, jacket base, and trousers, then stuff firmly as the tube narrows toward the feet. Fasten off, weave in every tail, and secure a keyring at the top of the hat to finish the piece.
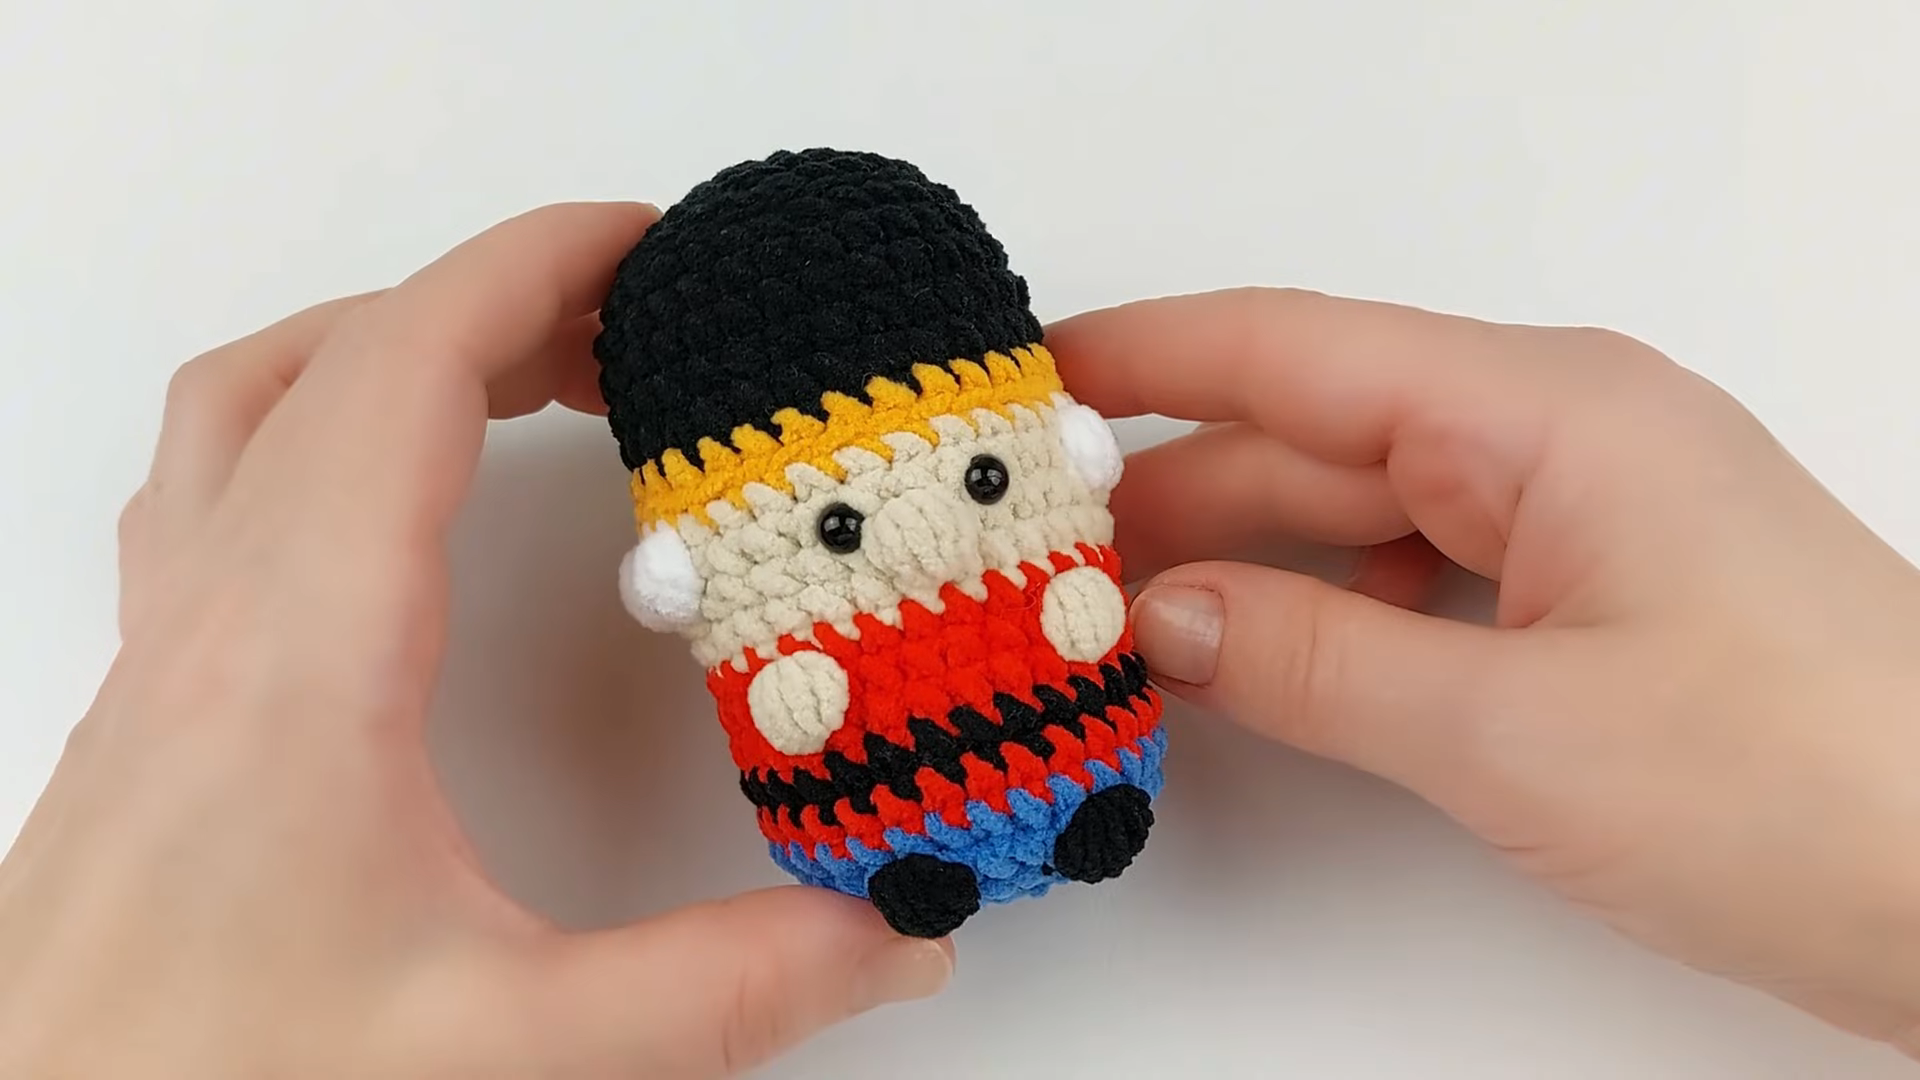
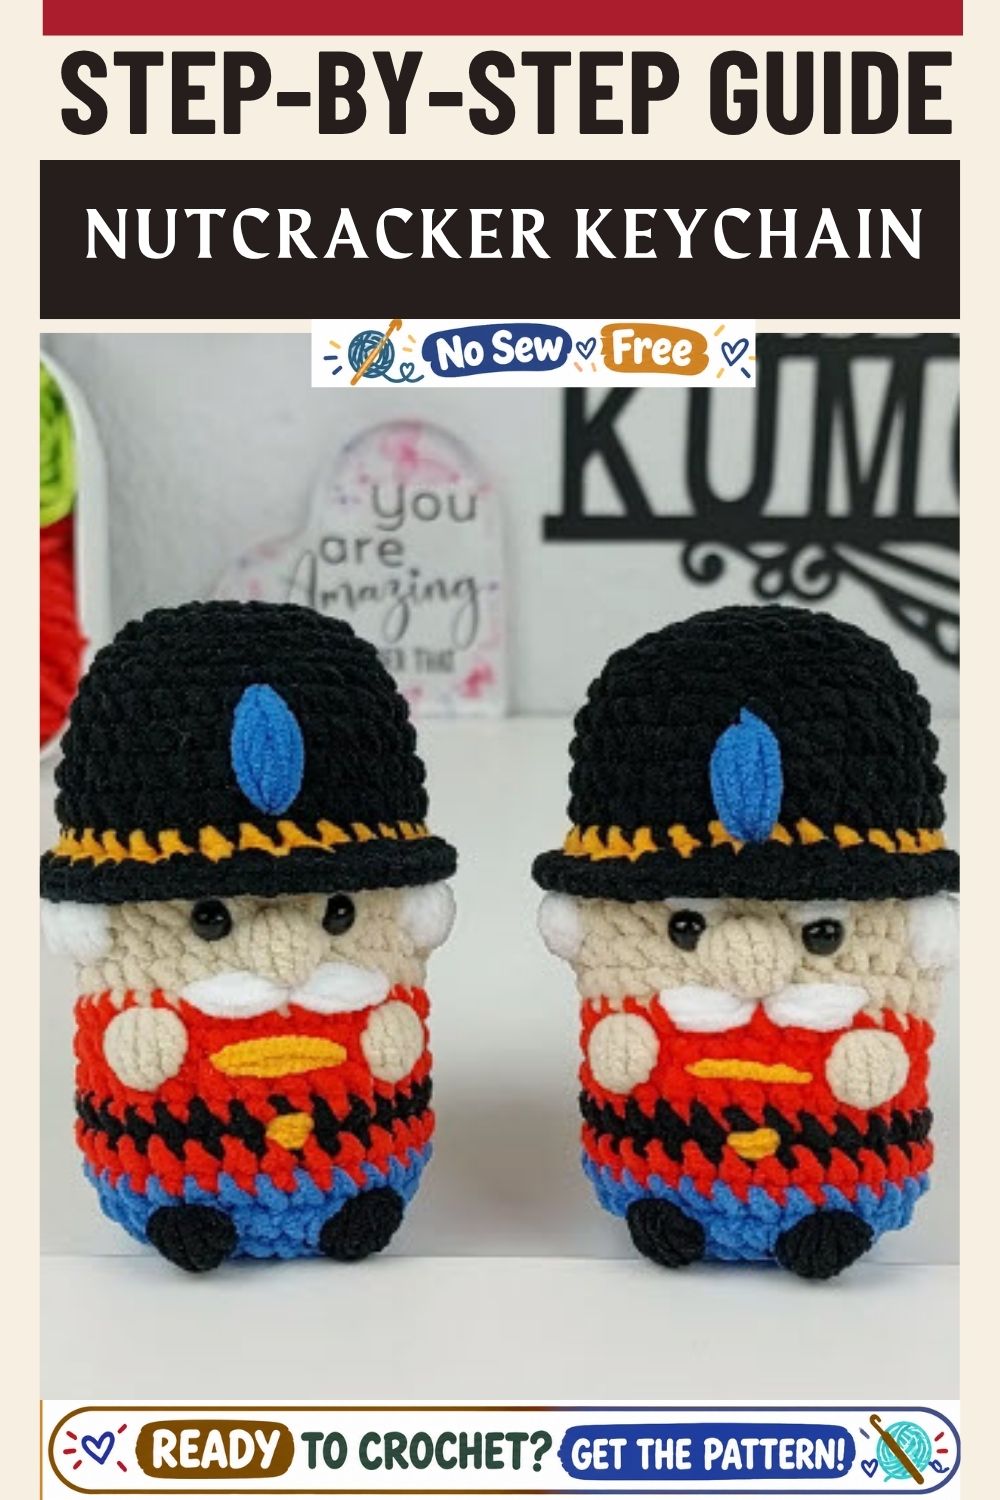
Finished nutcracker keychain with black hat, beige face, red and blue striped body.

Where People Go Wrong

Stitch counts often drift during the color-change rounds, especially where gold meets cream near the hat trim. Crafters also tend to pull new colors too tight, which puckers the fabric instead of letting it lie flat. Skipping the stitch marker causes confusion about where each round begins, since the work is continuous rather than joined. Overstuffing before the final rounds close can distort the tapered shape near the boots, too.

How to Fix Common Issues

You can correct a drifting stitch count by counting after every color change rather than waiting until the round ends. Loosening the first stitch after a yarn switch prevents the puckering that tight color joins tend to cause. Replacing a lost stitch marker takes seconds, and doing so early keeps every round accurate afterward if stuffing bulges the lower rounds, removing a small amount and redistributing it evenly usually restores the intended silhouette.

Finishing and Assembly Tips

Weaving in tails along the inside of the work keeps the outer colorwork crisp and free of stray threads. A dab of fabric glue can reinforce the pom-pom ears if the yarn feels loose after stitching them on. The keyring attaches best through a sturdy stitch near the crown of the hat, where tension holds it securely under regular use. Checking that safety eyes sit level before locking the backs in place prevents a lopsided expression once stuffing is complete.

Creative Projects You Can Make With This Pattern

The same continuous colorwork approach extends well beyond a single keychain. Smaller versions make festive embellishments on hats or bags, adding a seasonal touch without much extra yarn. A slightly larger repeat of the technique produces ornaments for holiday trees or garlands. Crafters who enjoy the striped construction can also apply it to scarves or headbands, carrying the same color-change method into a longer, flatter shape rather than a rounded figure.

Ways to Style or Display It

Clipped onto a backpack zipper or keyring, the finished soldier travels well and adds a quick pop of color. Hung from a tree branch or wrapped around a gift bag handle, it works equally well as a seasonal decoration. A small shelf display, propped beside other mini amigurumi pieces, also shows off the colorwork nicely once the project is finished.

Who This Pattern Is Great For

Crafters comfortable with basic single crochet and simple shaping will likely find this pattern approachable, even without prior colorwork experience. Because the technique avoids sewing separate pieces together, beginners who dislike finishing work often prefer it over multi-part amigurumi designs. Holiday gift-makers also gravitate toward it, since a single skein of each color produces several finished keychains.

Smart Variations to Try

Switching to a bulkier yarn weight produces a larger ornament-sized figure, while a lighter DK weight shrinks the piece down for a more delicate keychain. Swapping the red and blue for green and white creates a winter-soldier palette instead of the classic uniform colors. Adjusting the number of rounds in the jacket or trouser sections lengthens or shortens the overall body without changing the core technique.

Why It’s Popular Right Now

Holiday-themed amigurumi tends to surge every autumn, and the nutcracker figure fits neatly into that seasonal demand. Because it requires no sewing between sections, the pattern appeals to crafters who want a finished piece without extra assembly time. It also photographs well for handmade gift shops and craft fairs, which keeps interest steady through the season.

  • Fits current holiday crochet trends
  • No-sew construction saves finishing time
  • Small size makes it an easy, affordable gift

FAQ

What yarn works best for this pattern?

Worsted-weight or chenille-style yarn holds stitch definition well while still keeping the finished figure soft to the touch.

Can the pattern be made without safety eyes?

Small black beads or French knots in embroidery thread work as substitutes, though safety eyes generally sit more securely over time.

How long does the full Crochet Nutcracker Keychain project usually take?

Most crafters finish stitching within two hours, with an additional 15 to 20 minutes for stuffing and finishing touches.

Can the size be adjusted for a bigger toy instead of a keychain?

Adding extra rounds to each color section, along with a heavier yarn weight, scales the same crochet nutcracker keychain design into a larger standalone amigurumi.

A No-Sew Crochet Nutcracker Keychain Amigurumi Pattern

Wrapping Up

Built from one continuous tube of color changes, the finished soldier proves that a crochet nutcracker keychain doesn’t need separate pieces to look polished. Careful attention to stitch counts and tension during each color switch keeps the shape crisp from hat to boots. Once stuffed and clipped to a keyring, the piece works equally well as a personal accessory or a small handmade gift.
Similar Posts

Leave a Reply

Your email address will not be published. Required fields are marked *