
Free Crochet Princess Card Holder Pattern for Beginners
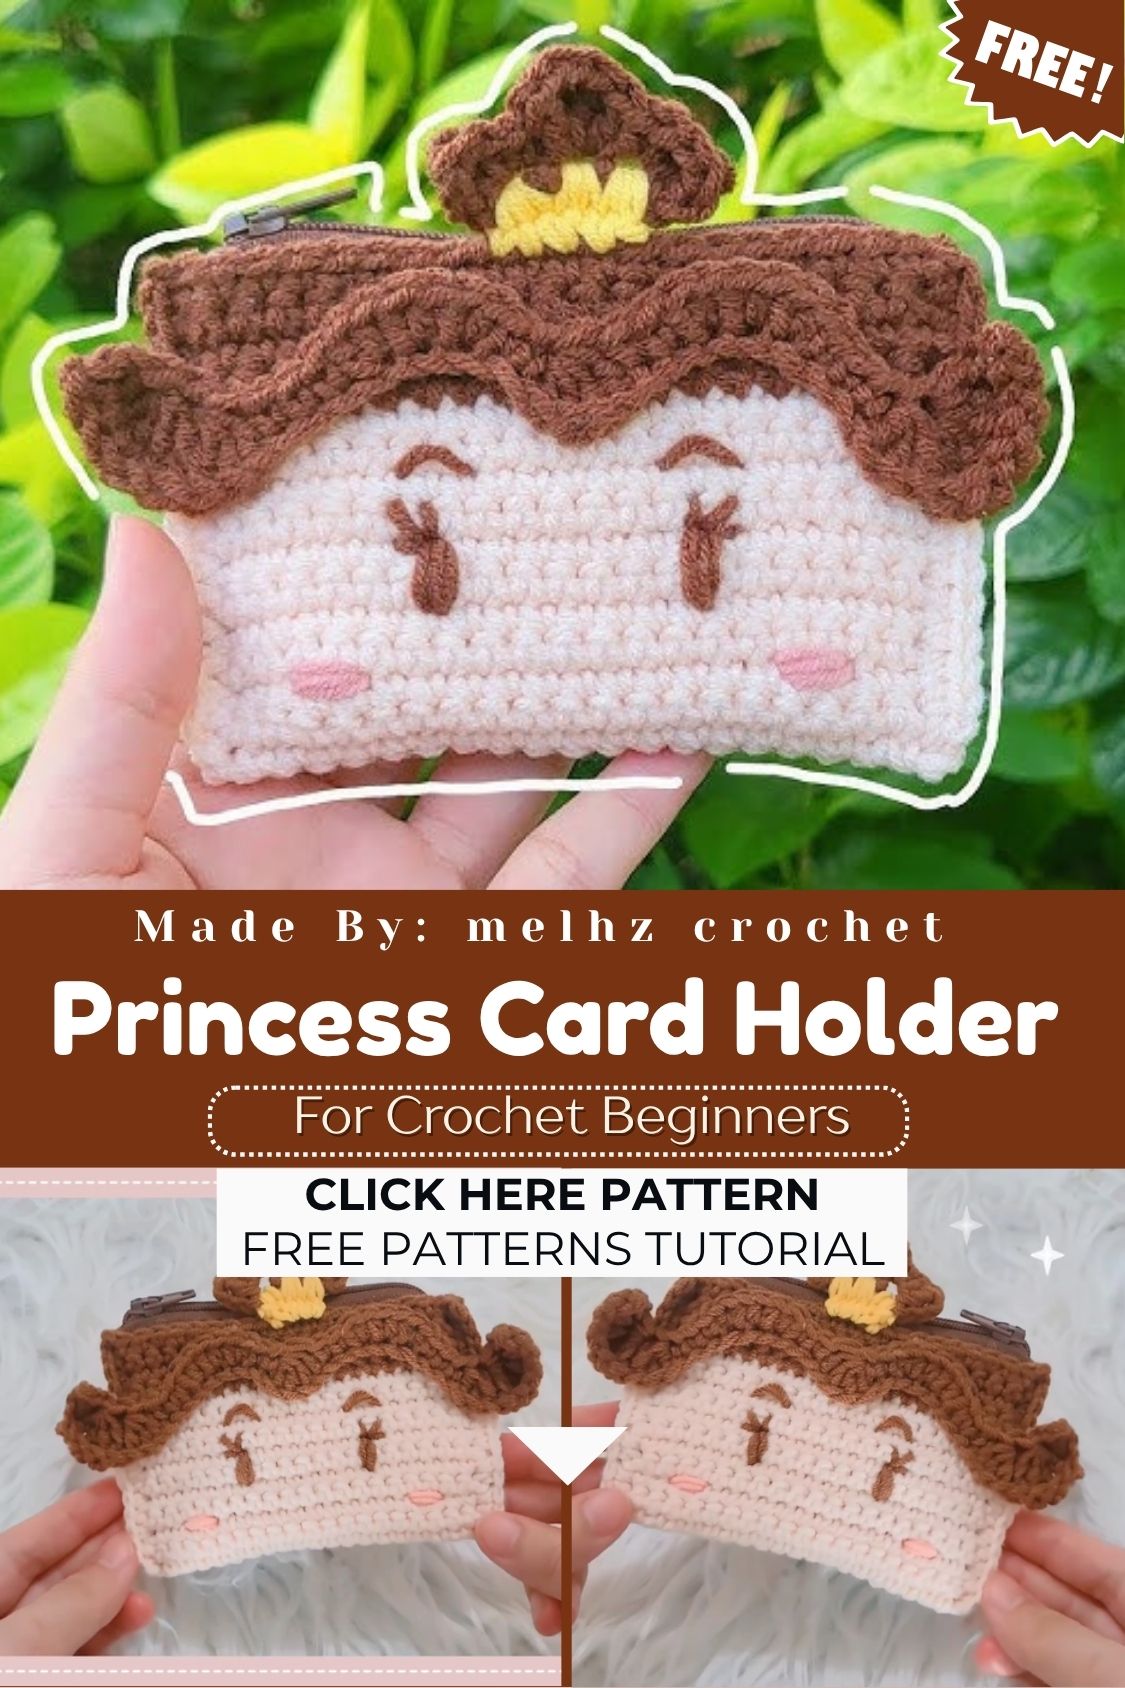
Crochet Princess Card Holder brings together sweet fairy-tale charm and practical everyday use in one delightful little project. A tiny crown, a flowing gown silhouette, and soft pastel yarn give this design instant appeal, especially for anyone who loves gifting handmade keepsakes.
Furthermore, parents and grandparents often turn to this pattern for birthday cards, graduation envelopes, or small gift card presentations. Best of all, beginners can complete the entire design in a single sitting without needing advanced amigurumi skills.
overview
Crochet Princess Card Holder has become a beloved category within gift-themed crochet, largely because the silhouette instantly reads as a tiny gown-shaped pocket rather than a full amigurumi doll. Essentially, the design relies on a flat or slightly domed skirt shape that opens at the top to slide a card or gift voucher inside. Meanwhile, a small crown, simple facial details, or a ribbon bow finish the look with minimal extra effort.
Consequently, crafters who enjoy quick handmade gifts, card-making crossovers, or Etsy-style seasonal items tend to gravitate toward this particular pattern. Since the project uses only small amounts of yarn, it also works wonderfully as a stash-buster, and the finished piece doubles as a standalone decoration even after the card gets removed.
Project Details
- Skill Level: Beginner
- Finished Size: Approximately 4–5 inches tall
- Estimated Time Required: 1.5–2.5 hours
- Recommended Yarn Weight: Worsted weight (Category 4)
- Crochet Hook Size: 3.5mm (E/4) or 4mm (G/6)
Materials Needed
- Worsted weight yarn in pastel pink, lavender, or gold (skirt and bodice)
- Small amount of contrasting yarn (for the crown or bodice trim)
- Black or brown embroidery floss (for facial features)
- Fiberfill stuffing (light amount, for shaping)
- Tapestry needle
- Stitch markers
- Scissors
- Optional: small ribbon, sequins, or a gift card envelope insert
Crochet Stitches & Techniques
Only a handful of core techniques come together for this project, so even first-time crocheters can follow along comfortably.
- Magic Ring: Starts the skirt base and the small head piece.
- Chain Stitch: Builds the crown points and any decorative ties.
- Single Crochet: Forms the primary stitch used across the skirt and bodice.
- Increase: Flares the skirt outward into its signature bell shape.
- Invisible Decrease: Shapes the bodice smoothly into the neckline.
- Slip Stitch: Joins rounds neatly and finishes the crown edge.
- Color Changes: Separates the bodice from the skirt visually.
- Sewing Pieces Together: Attaches the crown, arms, and any added trim.
Pattern Instructions
Creating the Skirt Base
To begin, start with a magic ring and work six single crochets into it, then pull the loop closed tightly. From there, increase evenly across the next several rounds so the skirt flares outward gradually, since a rushed increase pattern creates an uneven, wavy edge. Once the skirt reaches the desired width, work a round of slip stitches along the bottom edge for a clean, finished hem.
Shaping the Bodice
After finishing the skirt, switch to a contrasting color and decrease gradually to narrow the shape into a fitted bodice. As this section takes shape, keep the stitch count even on each side so the finished piece sits straight rather than leaning. Toward the top, decrease further to form a small neckline opening where the head will eventually attach.
Making the Head and Face
Next, work a small ball shape using a magic ring, increasing over a couple of rounds before closing back down smoothly. Before sewing it onto the bodice, embroider two small eyes and a gentle curved smile using embroidery floss, positioning the features close together for a sweet, youthful look. Afterward, attach a few short strands of yarn as hair, either loose or gathered into a small bun.
Crafting the Crown
For the crown, chain a short foundation row, then work single crochets back across, building small pointed increases at even intervals to form the classic crown silhouette. Once the row is complete, join the ends together into a circle using a slip stitch, so the crown sits snugly on the head. Afterward, add a few small stitches or sequins along the points for extra sparkle.
Adding Arms and Trim
To create the arms, chain a short length, then work single crochet back along the chain before folding it in half and tacking both ends near the shoulders. Since the arms stay purely decorative, keep them thin and simple rather than fully three-dimensional. Finally, sew a small ribbon or contrasting trim along the bodice-skirt seam for a polished, dress-like finish.
Joining All Pieces
Once every piece is ready, sew the head securely onto the neckline opening, checking that it sits centered before fully securing the stitches. After that, attach the crown atop the head, followed by the arms along the upper sides of the bodice. Because the card slot runs through the open top of the skirt, avoid stitching that opening closed at any point.
Final Assembly
To finish, weave in any remaining yarn tails along the inside of the skirt so nothing shows from the outside. Then, gently steam or shape the skirt so it stands upright on its own, ready to hold a card or small gift voucher.
Tips for Success
- Counting stitches after every round keeps the skirt symmetrical from all sides.
- Leaving the top of the skirt slightly wider makes sliding a card in and out much easier.
- Using a lighter stuffing amount in the bodice prevents the piece from looking overly stiff.
- Blocking the finished skirt over a small bowl helps it hold a rounded, standing shape.
- Choosing smooth, non-fuzzy yarn makes the crown details easier to see clearly.
Personalization Ideas
- Swapping pastel colors for jewel tones like emerald or sapphire creates a more regal, formal look.
- Adding tiny fabric flowers or pearl beads to the crown elevates the design for wedding or shower gifts.
- Using holiday colors, such as red and green, turns the pattern into a festive Christmas gift card holder.
- For a themed twist, matching the color palette to a favorite fairy-tale character adds a personal touch.
- Attaching a small loop at the back allows the finished piece to double as an ornament after the card comes out.
Common Mistakes to Avoid
Rushing the increase rounds on the skirt often produces an uneven, rippled edge, so slowing down and counting stitches carefully matters far more than working quickly. Similarly, forgetting to leave the top of the skirt open can accidentally seal off the card slot entirely. Overstuffing the bodice also risks distorting the neckline shape, so adding stuffing sparingly keeps the silhouette elegant. Lastly, skipping the blocking step often leaves the skirt slouched rather than standing upright, so a quick steam or shape session makes a noticeable difference.
Frequently Asked Questions
Can total beginners complete this pattern successfully?
Absolutely, the stitch count stays manageable throughout, and the techniques rely on basic single crochet, increases, and decreases.
Does the card holder actually fit a standard gift card?
Yes, as long as the skirt opening stays wide enough during the increase rounds, most standard gift cards slide in comfortably.
What yarn weight works best for a crisp, structured look?
Worsted weight with a slightly smaller hook keeps the stitches tight enough to hold their shape without sagging.
How much yarn does one Crochet Princess Card Holder typically require?
Roughly 15–25 grams covers the entire project, making it an easy way to use up leftover pastel or metallic yarns.
Can the crown be skipped for a simpler design?
Certainly, and leaving it off still results in a charming dress-shaped card holder on its own.
Does the piece need extra stuffing to stand upright?
Not necessarily, since a light steam-blocking session usually holds the shape without added stuffing.
How should finished Crochet Princess Card Holder be stored between uses?
Keeping them flat or gently supported in a box prevents the skirt from losing its shape over time.
Conclusion
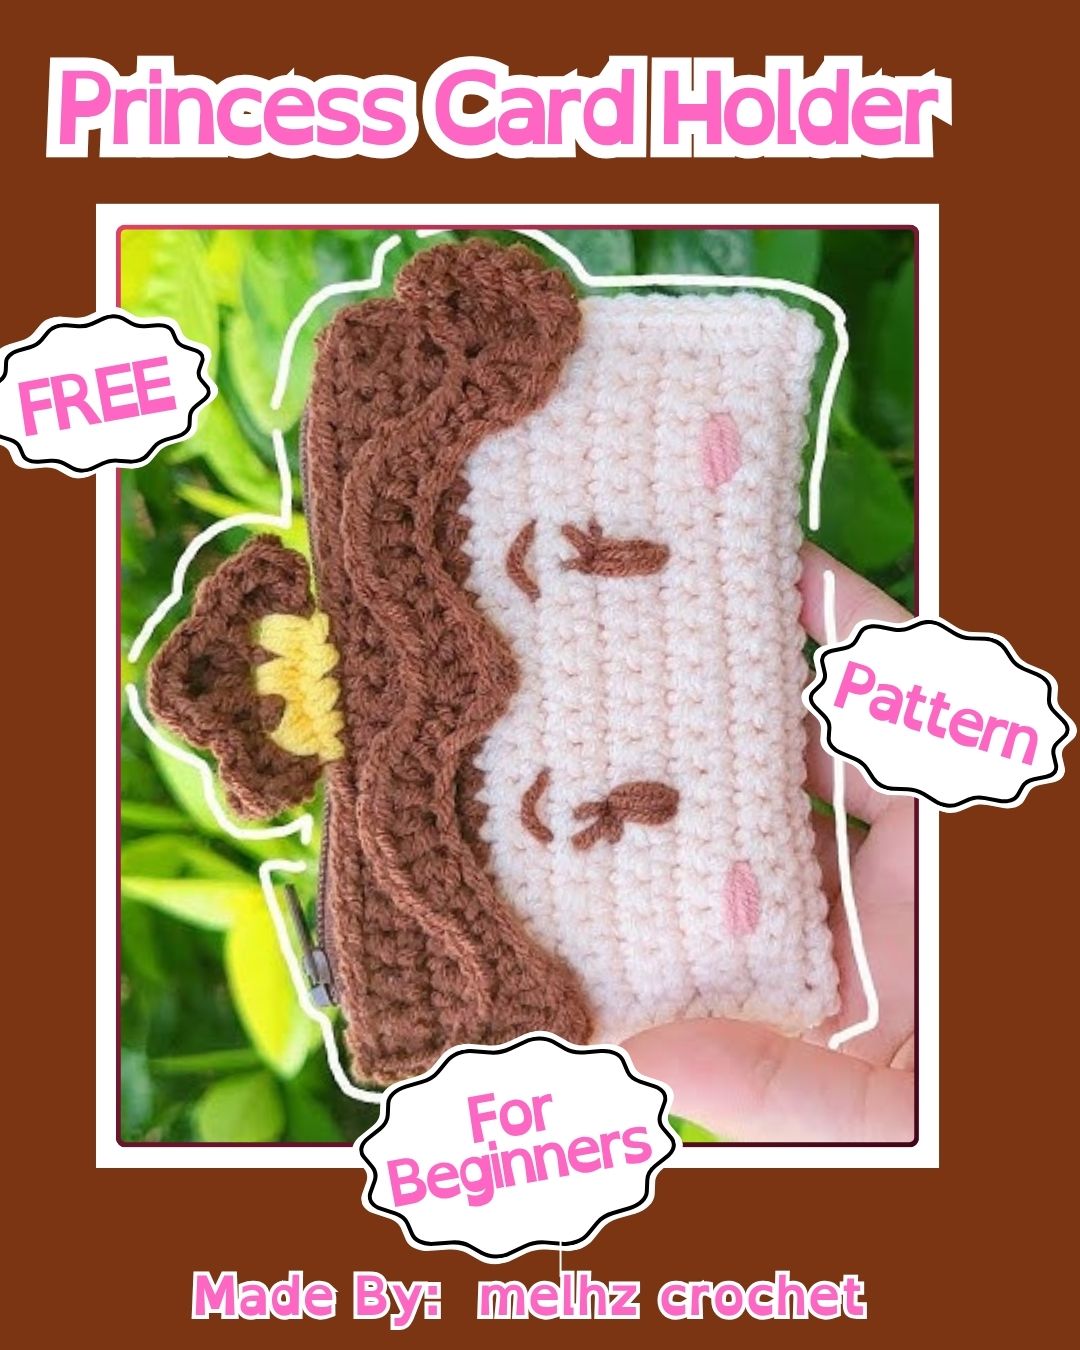
Crochet princess card holders combine sentimental charm with genuine practicality, making them a joy to both create and gift. Along the way, practicing skirt shaping, color changes, and small facial details builds confidence for tackling more detailed amigurumi projects later on. Additionally, gifting a handmade card holder alongside a birthday card or gift voucher adds a personal touch that store-bought options simply cannot match. So pick a favorite color palette and grab a hook a whole collection of princess card holders might be just a few evenings away.


