Granny Crochet Square Fanny Pack Pattern for Beginners
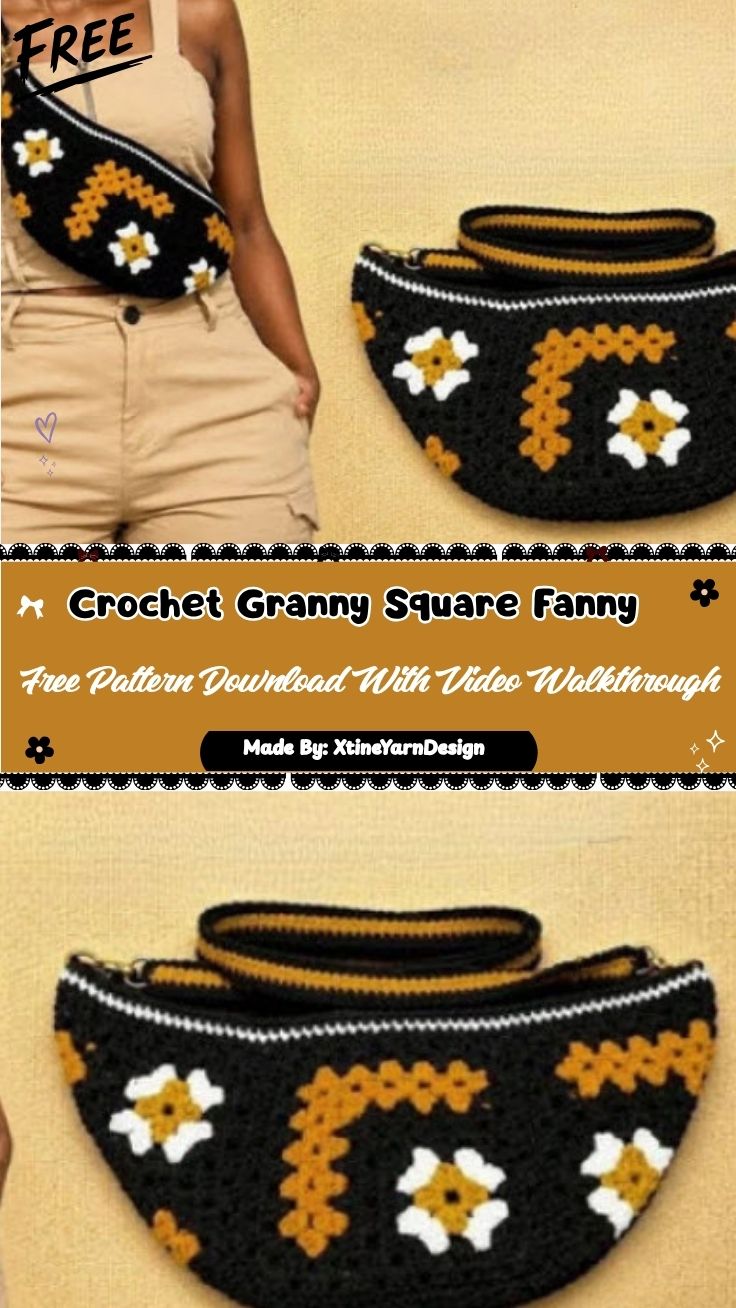
Handmade accessories always carry a little extra charm, and this crochet granny square fanny pack pattern is a perfect example. Combining classic floral motifs with a practical, wearable shape, this granny square fanny pack is both a fun beginner project and a stylish accessory you will reach for again and again.
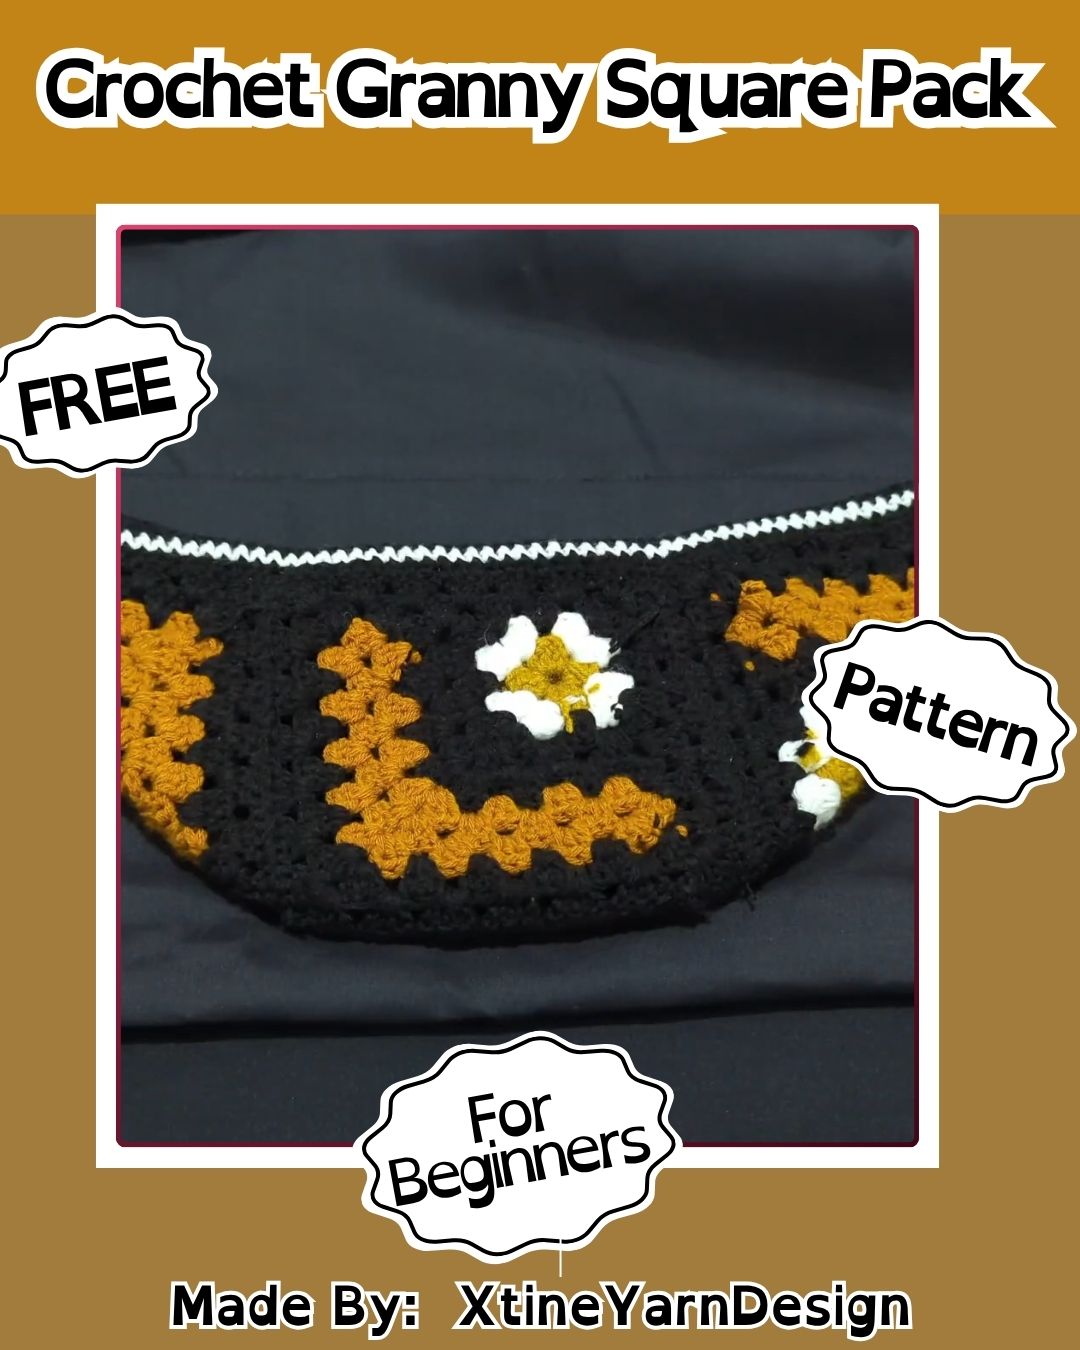
This crochet granny square fanny pack pattern builds small floral granny squares first, then joins them together to form the main panel of the bag. The colourful motifs stand out beautifully against a solid background colour for a striking, boho crochet bag design, making it especially well-suited for festival outfits, summer outings, or anyone hunting for a distinctive granny square fanny pack to pair with casual wear.
Once the panel is complete, it is shaped and finished into a functional pouch with a strap, making it as practical as it is pretty.
Skill Level
This pattern is rated Beginner Friendly. If you already know how to work a foundation ring, basic granny square stitches, and simple color changes, you are ready to start this project.
Materials You Will Need
- Medium weight yarn in your main background color (such as black or navy)
- Small amounts of two or three accent colors for the floral motifs
- A crochet hook sized to match your yarn (4mm or 4.5mm is a common choice)
- A yarn needle for weaving in ends and joining motifs
- Scissors
- A zipper or button closure for the finished pouch
- Optional: fabric lining for extra durability and structure
- A strap or chain for wearing the fanny pack
Key Techniques Used in This Pattern
Understanding these techniques will help your fanny pack come together smoothly:
Foundation Ring
Each granny square motif starts with a small foundation ring, which forms the center of the flower design.
Color Changes
Switching yarn colors within the same motif creates the layered petal and border effect seen throughout the pattern.
Granny Square Motif Construction
Rounds of stitches are worked outward from the center, building petals first, then a solid background color around the edges.
Motif Joining
Individual granny squares are connected edge to edge, either while crocheting the final round or afterward with a yarn needle, to form one continuous panel.
Step-by-Step Instructions
Step 1: Start Your Foundation Ring
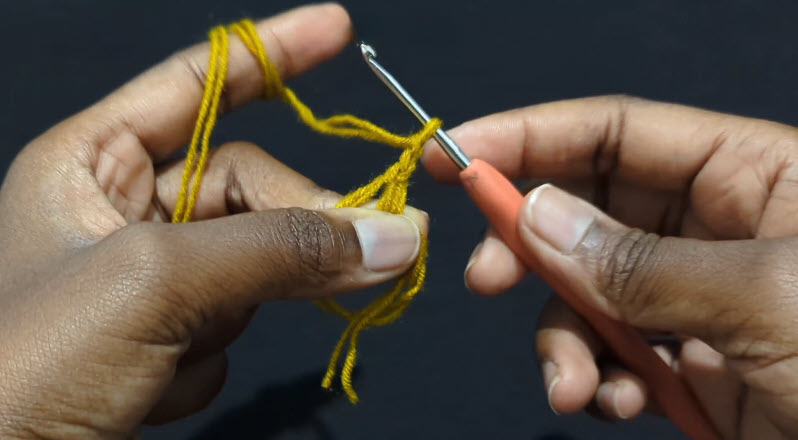
Begin each motif with a small starting loop, holding your yarn snugly between your fingers. Insert your hook into the loop and work your very first stitches directly into this ring, keeping your tension even so the center stays tight and neat.
Step 2: Work the First Round of Petals
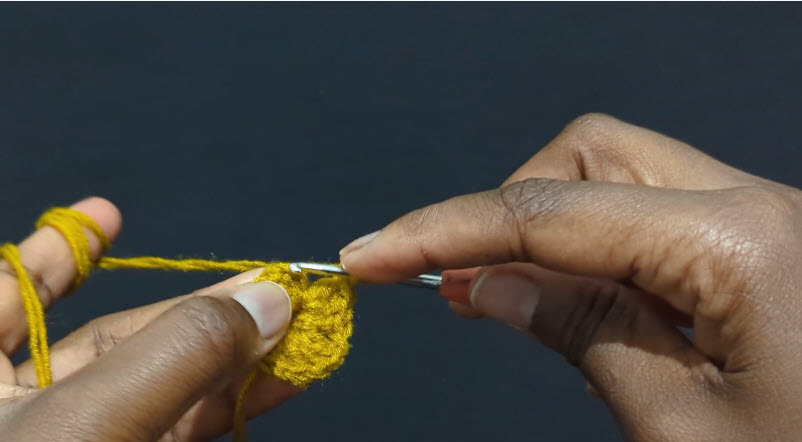
Continue working stitches into your foundation ring, building the first small round of the flower shape. At this stage, the motif will look like a tiny, tightly gathered circle, which is exactly how the base of every granny square should appear before it grows outward.
Step 3: Add the Petal Colors and Build the Motif
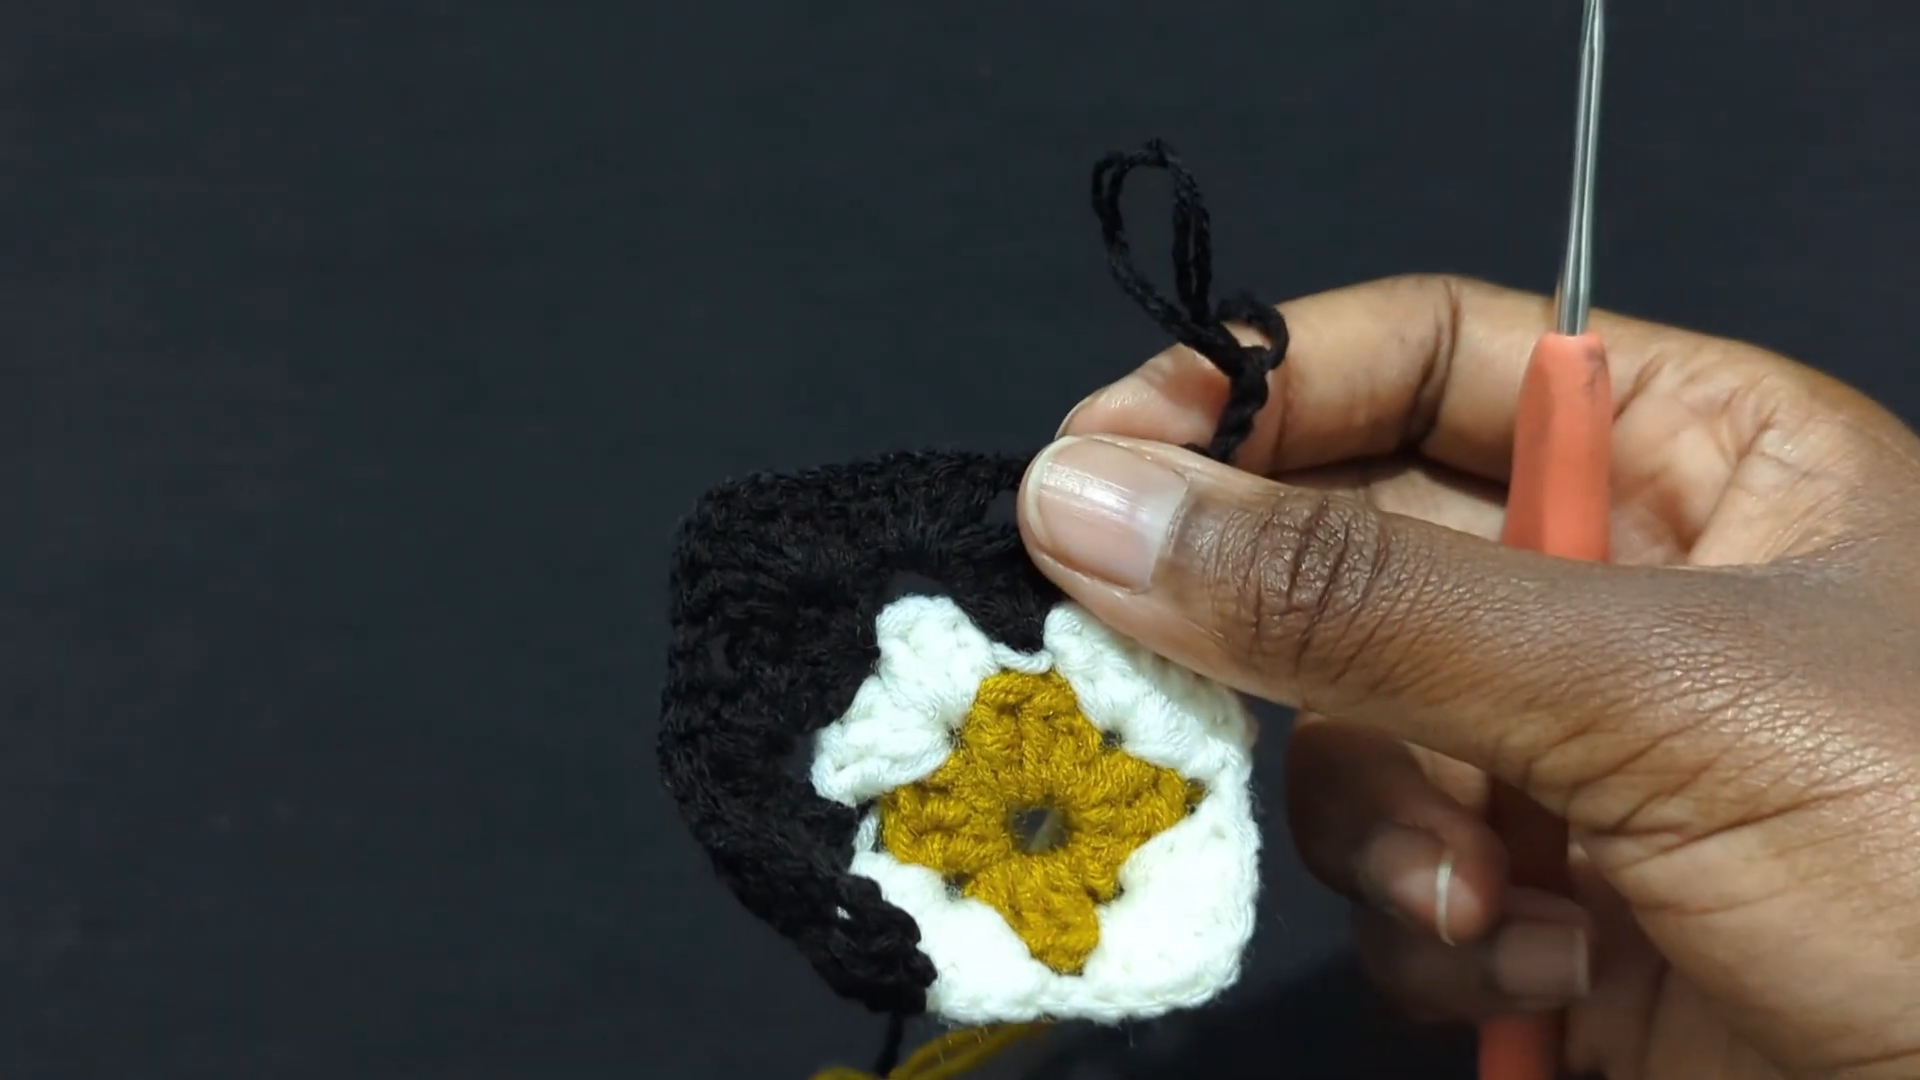
Switch to your accent yarn colors to work the petal rounds, then introduce your main background color to square off the motif corners. As you build these rounds outward, the piece will take shape as a distinct floral granny square with clean edges on all four sides. Repeat this process to create as many motifs as your design calls for.
Step 4: Join the Motifs Into a Panel
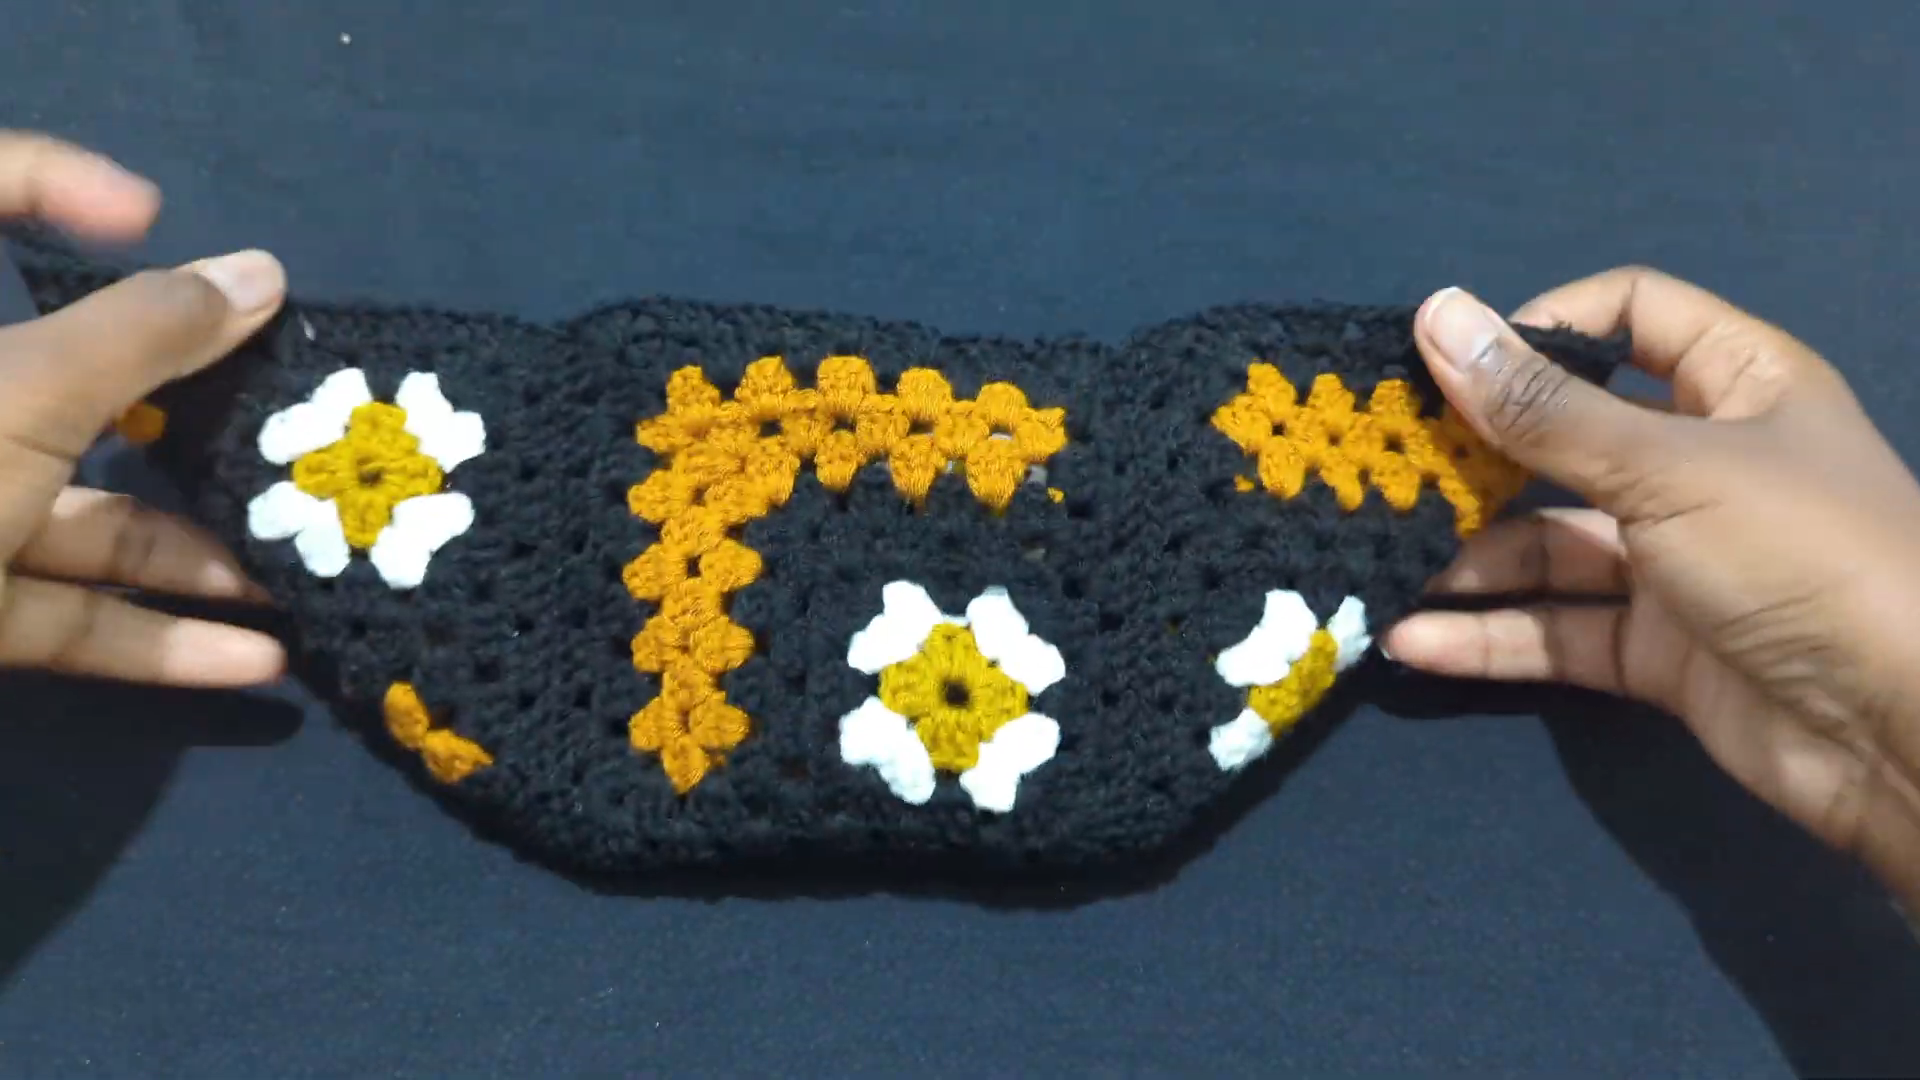
Lay your finished motifs out in your desired pattern, then join them together along their edges using slip stitches or a whip stitch with your yarn needle. Continue connecting motifs and filling in the background stitches between them until you have one solid, flat panel in the curved shape of your fanny pack.
Step 5: Shape the Fanny Pack Body
Fold your joined panel to form the front and back of the pouch, then work single crochet stitches along the side seams to close the bag, leaving the top open. Keep your stitches tight along these seams for extra strength, since this area holds the bag together.
Step 6: Add the Closure and Strap
Attach your zipper or button closure along the top opening, sewing it in place securely with a yarn needle. Then attach your strap or chain to the sides of the bag at your preferred length for a comfortable, adjustable fit around the waist or across the body.
Step 7: Finish and Weave In Ends
Weave in all remaining yarn tails throughout the panel and seams, trimming any excess close to the fabric. Give the finished fanny pack a light steam or gentle shaping to help the motifs and seams sit smoothly.
Helpful Tips for Beginners
- Make one motif first and check its size before committing to a full batch, since gauge can vary between crocheters.
- Keep your accent yarn colors consistent throughout so all motifs match.
- Use a stitch marker to track your rounds when working each granny square.
- Block your motifs before joining them, since even squares are much easier to connect.
- Consider adding a fabric lining for extra durability if you plan to carry heavier items.
Common Mistakes to Avoid
- Making motifs of inconsistent sizes, which causes uneven joins in the final panel.
- Skipping the blocking step, leading to a lumpy or misshapen finished bag.
- Choosing yarn that is too thin, which can make the fanny pack lose its shape over time.
- Rushing the side seams, resulting in gaps or a loose closure.
- Forgetting to reinforce the strap attachment points, which can weaken with regular use.
Customization Ideas
- Swap the floral motif colors to match your personal style or a favorite outfit.
- Use a solid granny square instead of a floral design for a simpler, modern look.
- Add a fringe or tassel detail along the bottom edge for extra flair.
- Try a two-tone background instead of a single solid color for more contrast.
- Adjust the size to create a larger crossbody bag or a smaller coin pouch.
Frequently Asked Questions
Is this pattern suitable for a first-time Crochet Square Fanny Pack maker?
Yes, this pattern uses classic granny square techniques, making it approachable even if you have never made a floral motif before.
How many motifs do I need for one fanny pack?
This depends on your motif size and desired bag dimensions, but most designs use six to ten squares for the front and back panels combined.
Can I make this fanny pack in just one color?
Absolutely. You can skip the accent colors entirely and crochet all the motifs in a single solid color for a minimalist look.
What size hook works best for this pattern?
A 4mm to 4.5mm hook typically works well with medium-weight yarn, but always check your gauge with a sample motif first.
Do I need a lining for the fanny pack?
Lining is optional but recommended if you plan to carry small essentials, as it adds structure and helps prevent items from poking through the stitches.
Can I adjust the strap length?
Yes, you can crochet or attach a strap of any length to wear the fanny pack around your waist or across your body as a crossbody bag.