Crochet Hanging Basket Pattern with a Modern Teardrop Design
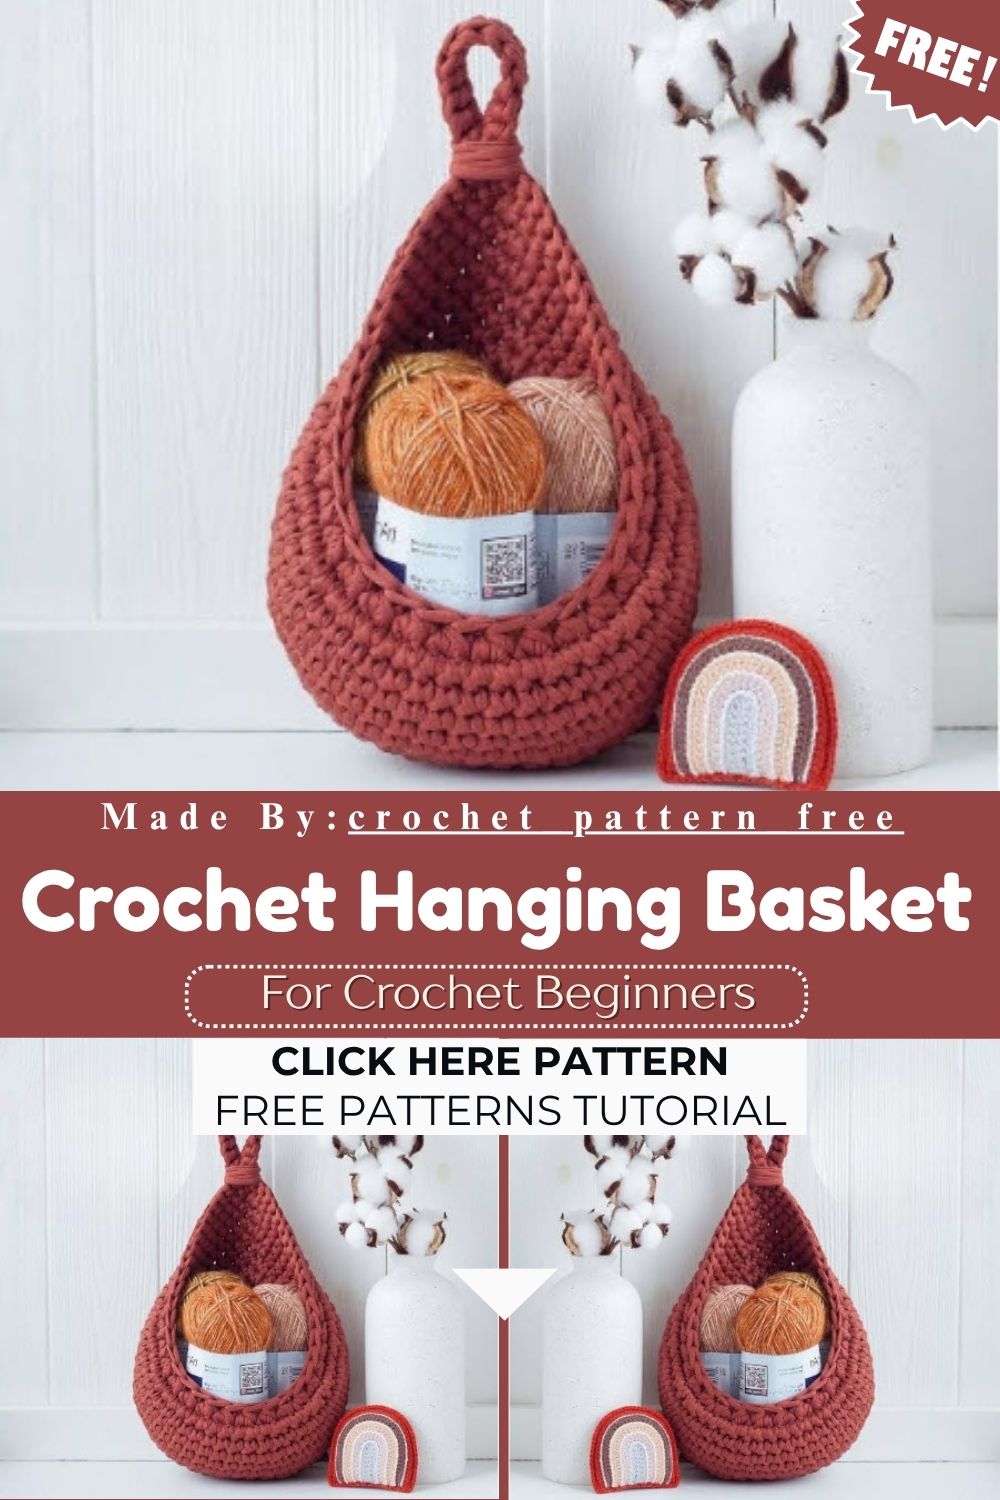
Even the smallest touches can completely transform a corner of your home, and the Crochet Hanging Basket is one of those beautiful creations. With a sturdy round base and delicate teardrop-shaped loops, it’s a practical, decorative project that lets you create beautiful handmade decor with minimal effort.
Overview
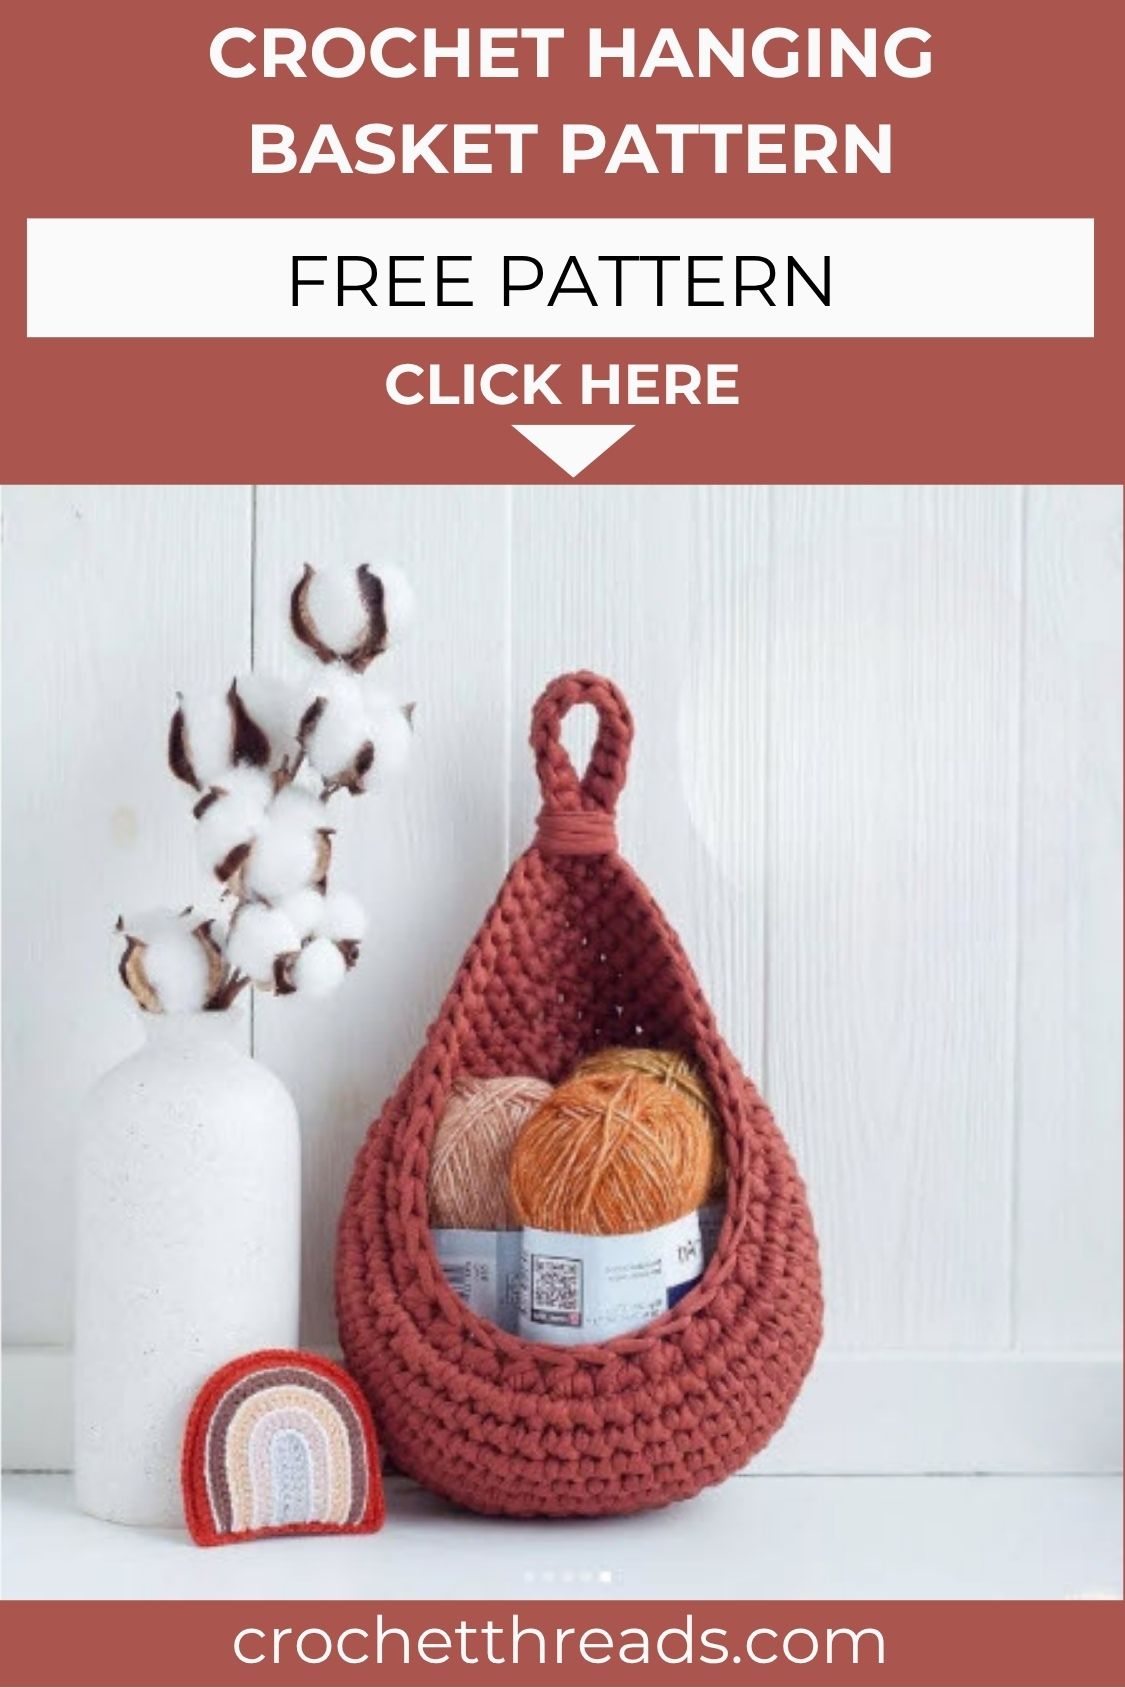
Every good hanging piece starts with a strong foundation, and that is exactly what this project delivers. The base grows outward in smooth, even increases, then transitions into taller rounds that curve the sides upward like a bowl. Near the top, the stitch count is reduced to pull the rim inward slightly, creating that signature teardrop silhouette. A small chain loop finishes the piece, ready to hold a hook or nail.
Because the entire basket is worked in continuous rounds, there is no need to join or turn. Stitch markers keep track of round starts, which matters once the increases become less predictable in the later rows. Patience during the shaping rounds pays off with a basket that holds its form without wire or stiffener.
Skill Level
Confidence with basic single crochet, increases, and decreases is enough to complete this project successfully. Counting stitches carefully matters more than speed here. Total working time usually runs between three and five hours, depending on experience and yarn thickness.
Materials and Tools
Gathering the right supplies before starting saves frustration halfway through a round. Here is what works best for this particular basket:
- Yarn: Flat, tape-style knitting yarn with a width of roughly 7–9 mm. Reliable options include Biscuit, Salterra, and Yarn Cotton, all well-regarded Russian brands known for consistent thickness and good stitch definition. Turkish tape yarn is best avoided for this project, since it often comes from leftover production edges and behaves inconsistently once worked. One skein, around 250–300 grams, is generally sufficient.
- Alternative option: T-shirt yarn also performs well for this pattern, using a similar amount of roughly 250–300 grams, or no more than one skein.
- Hook: A 5–6 mm crochet hook pairs well with tape yarn of this thickness.
- Stitch markers: Essential for keeping track of round boundaries, especially once shaping becomes uneven near the top.
Abbreviations Used in This Pattern
- MC – Magic circle
- SC – Single crochet
- INC – Increase (two single crochets in the same stitch)
- DEC – Decrease (single crochet two stitches together)
Special Techniques
Working the Rounded Base
The base of this basket relies on evenly spaced increases, which is what keeps the circle lying flat instead of ruffling or cupping. Placing an increase every seventh stitch during the early rounds spreads the extra stitches out so the shape grows in a smooth, gradual curve rather than a lumpy one.
Shaping the Sides
Once the base reaches its full width, three single crochets worked into a single stitch push the fabric outward and begin curving the wall of the basket upward. This triple increase is repeated once per round, shifting slightly further along the round each time, which is what produces the gentle spiral lean typical of teardrop shapes.
Forming the Teardrop Loop
At the final round, a series of decreases pulls the rim inward, narrowing the opening. From there, working a chain of 7–10 stitches at the midpoint of the triple-increase column creates the loop. Single crocheting around that chain gives the loop enough body to hold weight, and wrapping the working yarn snugly around its base keeps everything secure before the tail is woven in.
Step-by-Step Pattern
Work in continuous rounds without joining. Place a stitch marker at the start of each round and move it up as you go.
- Rnd 1: 7 SC in MC (7).
- Rnd 2: 7 INC (14).
- Rnd 3: (INC, 1 SC) x 7 times (21).
- Rnd 4: (INC, 2 SC) x 7 times (28).
- Rnd 5: (INC, 3 SC) x 7 times (35).
- Rnd 6: (INC, 4 SC) x 7 times (42).
- Rnd 7: 3 SC in one stitch, 41 SC (44).
- Rnd 8: 1 SC, 3 SC in one stitch, 42 SC (46).
- Rnd 9: 2 SC, 3 SC in one stitch, 43 SC (48).
- Rnd 10: 3 SC, 3 SC in one stitch, 44 SC (50).
- Rnd 11: 4 SC, 3 SC in one stitch, 45 SC (52).
- Rnd 12: 5 SC, 3 SC in one stitch, 46 SC (54).
- Rnd 13: 6 SC, 3 SC in one stitch, 47 SC (56).
- Rnd 14: 7 SC, 3 SC in one stitch, 48 SC (58).
- Rnd 15: 8 SC, 3 SC in one stitch, 11 SC, 18 DEC, 2 SC (42)
Crochet to the middle stitch of the triple increase column and make a loop with 7–10 chain stitches. Frame the loop with single crochets, wrap the yarn firmly around its base, and weave in the tail carefully.
Note: The stitch counts above are preserved exactly as provided and should not be altered, since any change to the numbers will affect the final shape of the basket.
Usage Ideas
- Hang it near a sunny window and use it to hold a small trailing succulent or pothos cutting.
- Mount it by the entryway as a catch-all for keys, sunglasses, or loose change.
- Use it in a nursery to store pacifiers, small toys, or hair clips within easy reach.
- Fill it with dried flowers or pinecones for a soft seasonal wall accent.
Helpful Tips
Counting stitches after every round prevents small errors from snowballing into a lopsided base. Tape yarn can be trickier to grip than standard yarn, so working slightly looser tension in the first few rounds helps the fabric lie flat. A stitch marker moved consistently at the start of each round also makes it far easier to spot exactly where the triple increase should shift next.
Customization and Variations
Swapping in a slightly thinner tape yarn produces a more delicate, refined basket, while a thicker one gives a chunkier, cozier look. Two-tone versions, worked by switching colors partway through the increase rounds, add a striking visual band around the widest part of the basket. For a firmer structure, a thin cardboard or plastic disc can be inserted at the base before the sides are worked.
Common Mistakes to Avoid
Skipping stitch markers is one of the most common reasons a base ends up uneven, since it becomes easy to lose track of where each round begins. Rushing through the triple-increase rounds without checking stitch counts often causes the sides to lean too far to one side. Pulling the chain loop too tight during the finishing step can also weaken the connection point over time, so a firm but relaxed wrap works better than a forceful yank.
Finishing Tips
Weaving in the tail through several stitches rather than just one or two keeps the end from working loose with regular use. Steaming the finished basket lightly, without direct contact from the iron, helps the tape yarn relax into a smoother, more polished curve. Letting the piece rest flat for a few hours after finishing also helps it hold its final shape.
Gifting Ideas
A finished basket makes a thoughtful housewarming gift, especially when filled with a small plant or a bundle of dried lavender. Paired with a matching coaster or wall hook, it also works nicely as a small handmade set for birthdays or holiday exchanges.
Frequently Asked Questions
Can I use regular yarn instead of tape yarn?
Standard worsted-weight yarn can work, though the basket will look less structured and may need a firmer hook grip to achieve a similar body.
Why does my base start to ruffle?
Ruffling usually means the increases are happening too close together. Spacing them out evenly, as shown in the Crochet Hanging Basket Pattern, keeps the base flat.
How much weight can the loop hold?
A tightly wrapped loop, reinforced with single crochet, can comfortably hold a small potted plant or a light bundle of keys.
Conclusion
This crochet hanging basket pattern is a satisfying weekend project. It combines practical storage with a modern decorative touch. The teardrop shape may look advanced at first. However, the steady round-by-round increases make it easy to follow, even for newer crocheters. Once the loop is finished and the tail is woven in, the basket is ready to hang. Use it for plants, keys, or small treasures. It adds handmade warmth that store-bought organizers rarely match.