Free Crochet Top Hat Penguin Amigurumi Pattern Toy
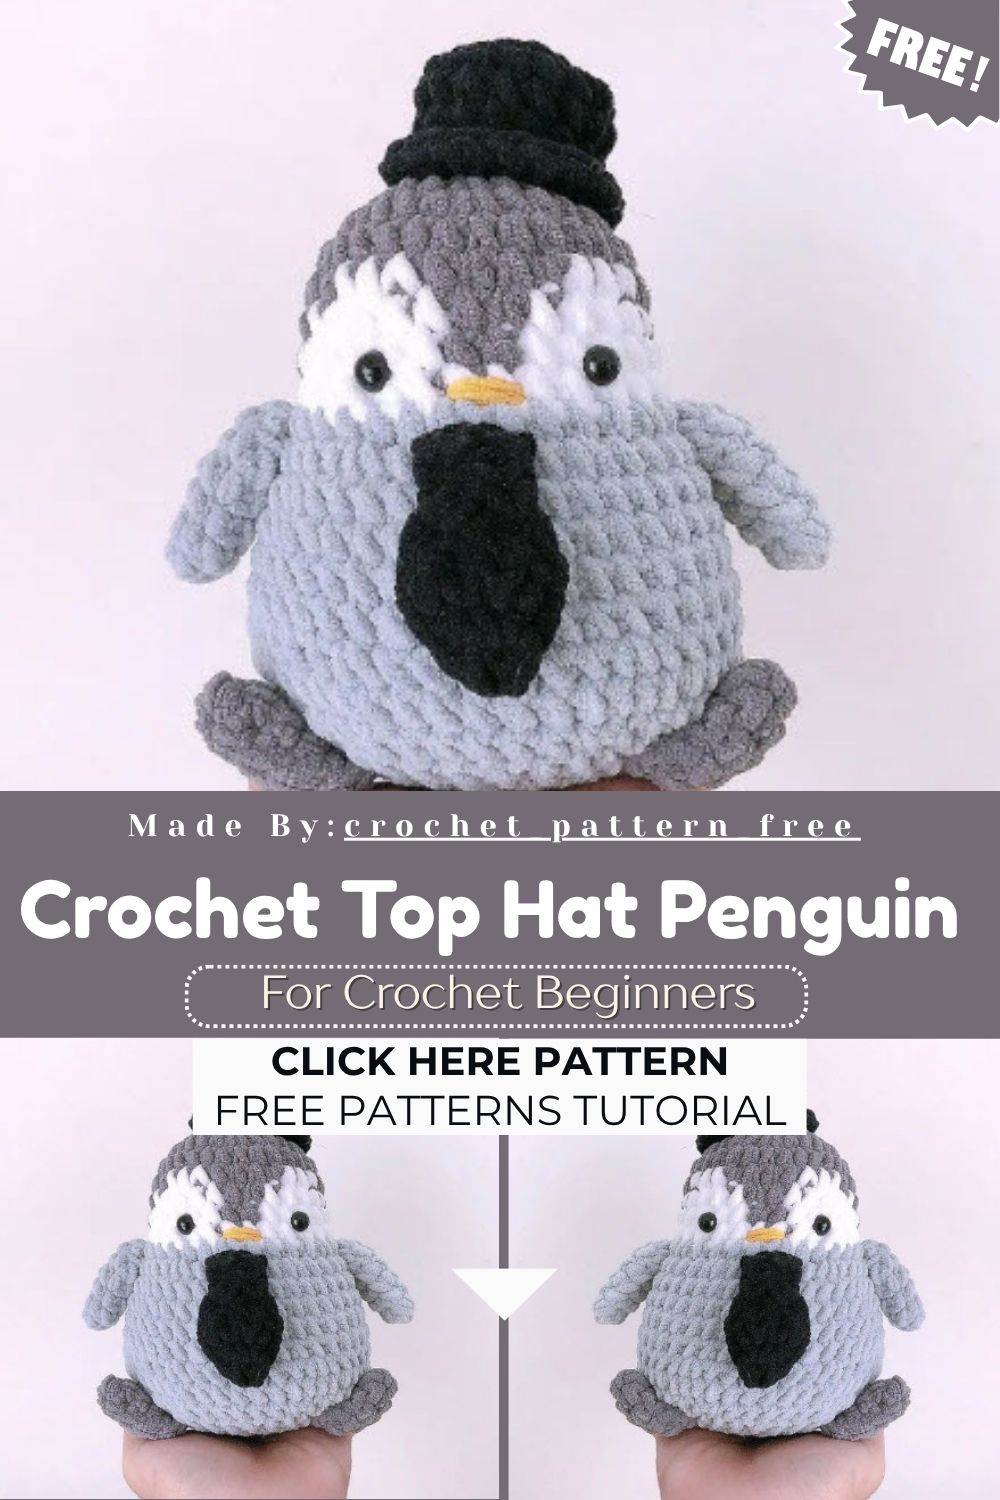
This tiny Crochet Top Hat Penguin captures all the charm of a snowy winter scene, winning hearts at first glance. A classic Top Hat and elegant Bow Tie set it apart from your average Penguin Amigurumi, while its simple shaping and refined details make it a delightful pick for anyone who loves winter decor and festive handmade creations.
Penguins have long been a favorite amigurumi subject thanks to their gentle expression and calm charm, and a tiny Top Hat with Bow Tie only adds to their appeal. Basic stitches, easy increases, and decreases make this pattern beginner-friendly yet detail-focused, appealing equally to new and experienced crocheters. Color changes and shaping practice come naturally as you work through it, and the finished piece becomes a memorable creation for penguin lovers, winter décor lovers, handmade gift lovers, and anyone drawn to a beautiful amigurumi collection.
Skill Level
Rated beginner to intermediate, suited to crocheters comfortable with magic rings, single crochet, and shaping. Color changes and small parts like the bow demand patience, though no advanced skill is needed.
Pattern Overview
- Finished penguin stands as a classic amigurumi shape with a rounded head, gray-and-white body, and black accents
- Worked in continuous single crochet rounds using a 5mm hook and chunky yarn, so the whole project moves quickly
- Includes a two-part dress panel, tiny wings, stubby legs, a bow, and a matching top hat
- Safety eyes and fiber fill give the face expression and the body a firm, huggable feel
- Finished size depends entirely on your yarn weight, so gauge swatching helps if size matters to you
- Every piece is worked flat or in the round separately, then joined during assembly, which keeps each stage manageable
- The hat uses a mix of front-loop and back-loop rounds to create its signature brim shape
Special Techniques
- Front Loop Only (FLO) and Back Loop Only (BLO): used on the hat brim to create a defined ridge between the crown and rim, giving the hat a crisp, structured look
- Color changes mid-round: the head shifts between black, white, and gray without breaking yarn, so tension control matters more here than anywhere else in the pattern
- Slip stitch rounds: applied on the hat to add texture without adding height, a subtle detail that makes the finished hat look store-bought
- Working in the round without joining: keeps the spiral seamless across the head, wings, and legs, which is standard for most amigurumi builds
- Increase and decrease shaping: controls how rounded the head and body look, so keeping stitch counts accurate each round really does matter
- Continuous magic ring starts: each new piece begins with a snug magic ring, giving a clean, hole-free center on the head, wings, and legs alike
Common Mistakes
- Losing stitch count during color-change rounds, especially on Rounds 6 through 9 of the head where black, white, and gray overlap
- Pulling the FLO/BLO rounds too tight, which flattens the hat brim instead of letting it flare naturally
- Skipping the stitch marker, making it easy to lose track of round starts and drift out of the spiral
- Overstuffing the head before finishing color-change shaping, which distorts the black-and-white pattern across the face
- Rushing the dress panels, which throws off how neatly Part 1 and Part 2 line up at assembly
- Forgetting to leave a long enough tail on color-change points, leading to weak spots that unravel later
- Attaching safety eyes before double-checking spacing, which can leave the finished face looking uneven
Uses & Benefits
Beyond being an adorable shelf piece, this Crochet Top Hat Penguin works as a nursery decoration, handmade baby gift, or seasonal accent for winter displays. Making it builds real skill in color-change shaping and front-loop, back-loop texture work, all in one project. It uses minimal yarn, making it a practical way to use up leftover black, white, and gray scraps sitting in your stash. For sellers, the top-hat-and-bow styling stands out in a market full of plain amigurumi penguins, giving it strong gift appeal.
Helpful Beginner Tips
- Keep a stitch marker on the working loop at all times, not just at round starts
- Test your gauge with the wings before committing to the full head, since tension shows fastest there
- Pre-cut and label yarn colors for the head rounds so color switches go faster and stay organized
- Stuff firmly but in small amounts, adding more gradually instead of packing everything in at once
- Block the hat brim gently after finishing so the flare sits evenly across the whole rim
- Practice the FLO and BLO technique on a scrap swatch first if you haven’t used it before
- Keep your tension notes handy, since chunky yarn hides tension mistakes less than thinner weights do
Assembly
- Sew the finished head onto the gray-and-white body, matching the color transitions carefully at the neckline
- Attach both wings to the upper sides of the body, angled slightly forward for a natural stance
- Position the legs at the base so the penguin can stand upright on a flat surface
- Join dress Part 1 and Part 2 along the shared edge, following the chain-and-skip pattern exactly
- Fit the bow at the neckline and the finished top hat onto the crown of the head
- Check that the eyes and hat sit level before securing anything permanently with yarn or glue
- Weave in every loose end thoroughly so the finished penguin holds up to regular handling
Where Can You Use This Case?
This Crochet Top Hat Penguin pattern fits nicely into nursery mobiles, holiday shelf displays, baby shower gifts, and winter-themed craft fair tables. Its small size also makes it a good keychain or bag charm variation if you scale down the yarn weight and hook size, giving one pattern several practical uses.
Why Beginners Will Enjoy This Pattern
The round-by-round structure keeps things predictable even during color changes, so new crocheters rarely feel lost along the way. Every part stays small, which means quick wins and steady motivation instead of one long, overwhelming piece to push through.
Tips and Tricks for Success
- Read through all rounds once before starting, since the head has the most color-change complexity
- Use stitch markers in two colors to separate round starts from color-change points clearly
- Weave in ends as you go rather than saving them all for one long final step
- Keep tension consistent across black, white, and gray sections to avoid a lumpy, uneven finish
- Compare your piece to the photos at each major stage rather than only at the very end
- Store finished pieces in a bag between sessions so small parts like the bow don’t go missing
- Take breaks during the head rounds if color changes start feeling repetitive or your count slips
Why This Crochet Pattern Is Trending
Penguin amigurumi with formalwear styling has been picking up steam across Pinterest and pattern shops lately, largely thanks to its blend of cute and classy details. No joke, the top hat and bow combination photographs well and stands out in a feed full of plain animal toys competing for attention.
- Winter and holiday content cycles keep penguin patterns relevant across several months every year
- Dressed-up animal amigurumi photographs better for social sharing than plain, undecorated designs
- Low-key, it’s beginner-friendly enough to attract new crocheters searching for a first project with personality
Conclusion
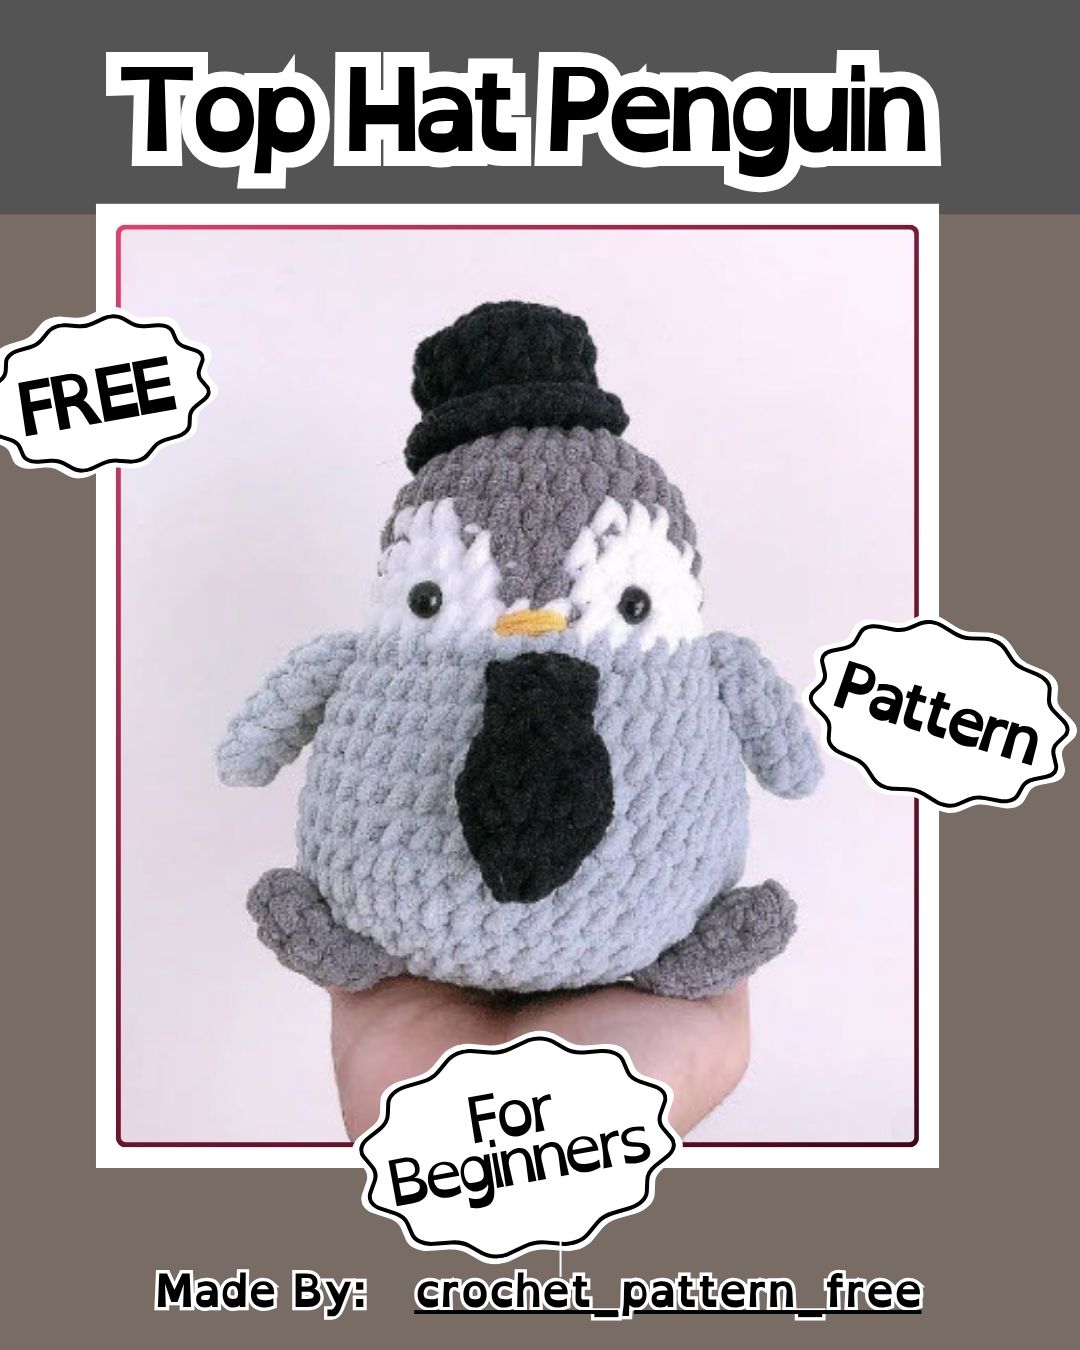
This Crochet Top Hat Penguin is both playful and polished. It looks impressive without being difficult to make. Set aside an afternoon or two for the project. Take your time with the color changes for the best results. Keep a stitch marker nearby and maintain even tension. This helps the color-change rounds stay neat. Once you finish one penguin, the pattern becomes quick to repeat. It’s a great choice for gifts, craft fairs, or your growing amigurumi collection.