Free Crochet coin purse Stylish Handbag Pattern for Beginners
Looking for a fun, small project that turns into a stylish accessory? This Free Crochet coin purse pattern is perfect for beginners who want a quick, rewarding win. It’s compact, practical, and looks far more polished than the little time it takes to make. Grab your basics and let’s get started.
A crochet coin purse pattern is one of the easiest ways to turn a small ball of yarn into something useful and stylish. Perfect for holding coins, cards, or makeup essentials, this beginner crochet purse pattern combines simple stitches with a neat, structured shape. It’s ideal for anyone wanting a quick handmade accessory, a thoughtful gift, or a confidence-building first project without spending hours on complicated techniques or advanced tools.
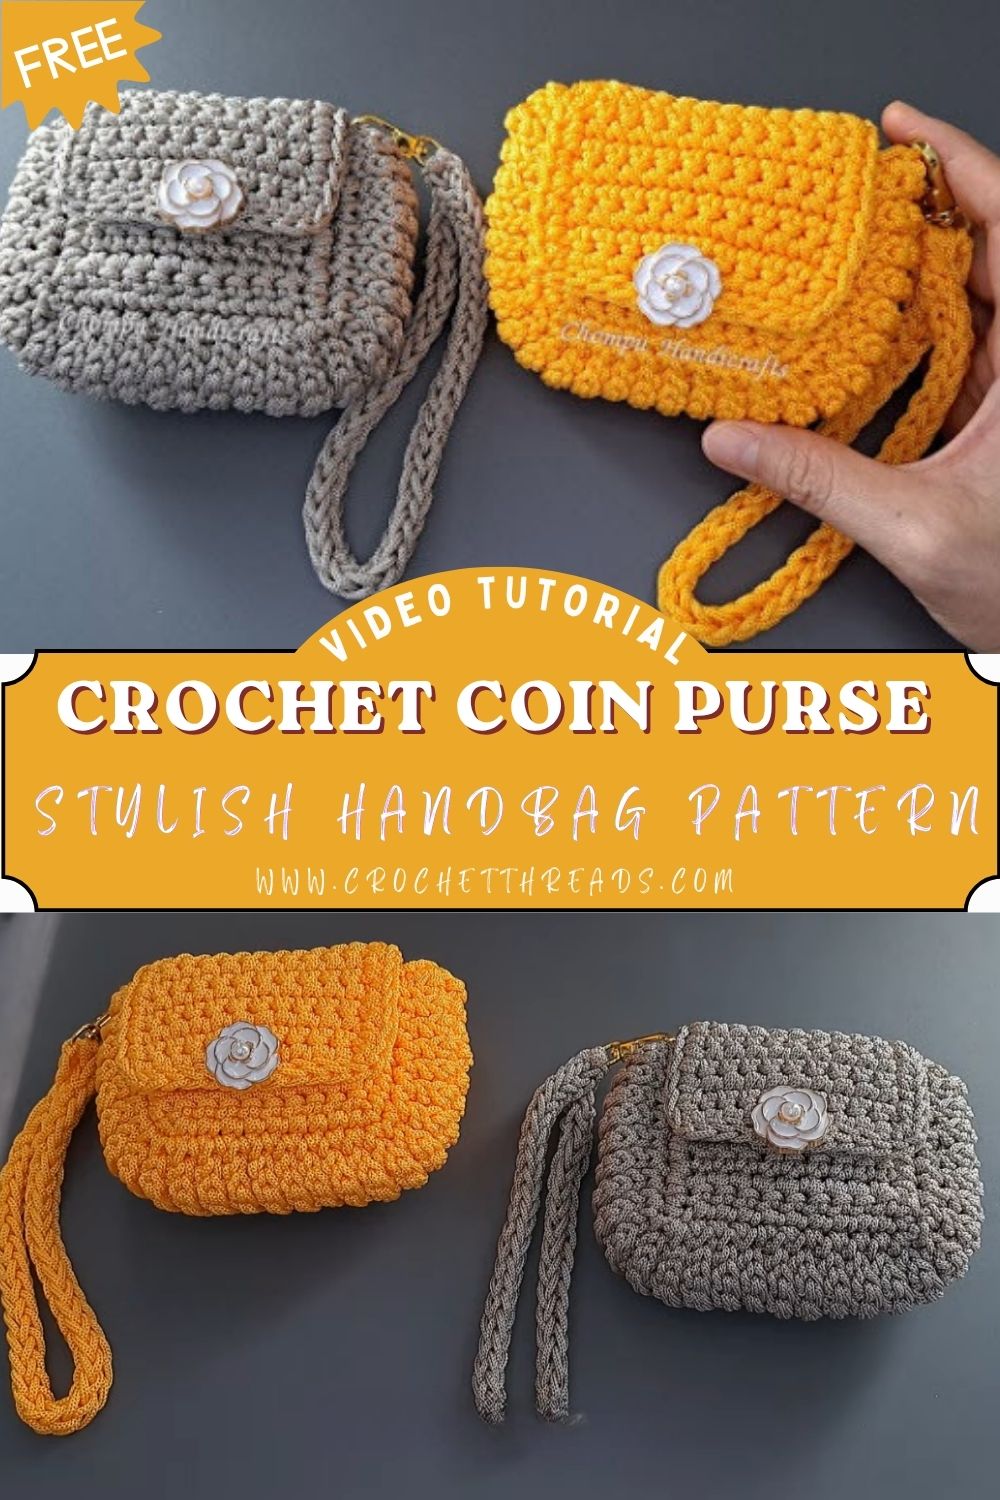
What Is a Crochet Coin Purse Handbag?
A crochet coin purse handbag is a small, structured bag made using simple crochet stitches, usually finished with a zipper or clasp closure and a short handle or chain strap. It works as a coin pouch, a mini wallet, or a cute everyday accessory that pairs well with any outfit.
This project is popular because it’s fast to finish, uses very little material, and gives new crocheters a real sense of accomplishment. It also makes a lovely handmade gift.
Skill Level
Beginner
This pattern uses only basic stitches and simple shaping, so it’s ideal if you are new to crochet or want a quick weekend project. No advanced techniques are required.
Materials and Tools You’ll Need
Gather these before you start so the process stays smooth and uninterrupted:
- Medium-weight cotton or acrylic yarn (a firm, sturdy yarn holds shape best)
- A crochet hook that matches your yarn weight (usually 3.5mm–4mm)
- Stitch markers to track rounds
- A yarn needle for weaving in ends and sewing pieces together
- Small purse zipper (about 5–6 inches long)
- Sewing needle and matching thread
- Scissors
- Optional: a short chain strap, D-rings, or a button and loop for an alternate closure
- Optional: fabric lining for extra durability
Key Techniques Used in This Pattern
Understanding a few core techniques will help your coin purse turn out neat and even.
Basic Stitches
Most of the purse body is built using single crochet, which creates a tight, sturdy fabric that holds its shape well. This is important for a purse that needs to hold coins or small items without stretching out.
Working in the Round
The body of the purse is typically worked in continuous rounds rather than back-and-forth rows. This avoids a visible seam and gives the purse a smooth, rounded shape.
Shaping with Increases and Decreases
To create the rounded bottom and flat sides of the purse, you’ll increase stitches at the start and decrease them as you shape the top edge before attaching the zipper.
Attaching a Zipper
A well-sewn zipper is what gives this project its polished, boutique-style finish. Pinning the zipper in place before sewing helps keep it straight and prevents puckering.
Step-by-Step Guide
Step 1: Prepare Your Materials
Before starting, wind your yarn if needed and choose a hook size that gives you a firm, dense fabric. A looser fabric can cause coins to fall through gaps, so tension matters here.
Step 2: Create the Base
Start with a small ring or oval foundation, depending on the shape you prefer. Work single crochet stitches around this foundation, increasing evenly to create a flat, round or oval base.
Step 3: Build the Sides
Once your base reaches the desired width, stop increasing and begin working straight rounds. Continue until the purse reaches your desired height, usually around 3–4 inches for a coin purse size.
Step 4: Shape the Top Opening
Work a few decrease rounds near the top to slightly narrow the opening. This creates a neat edge for attaching the zipper and helps the purse hold its shape when closed.
Step 5: Add the Handle or Strap
Crochet a simple chain-and-single-crochet strip, or attach a purchased chain strap using small jump rings or D-rings. Keep the strap length short, since this is meant to be a compact accessory.
Step 6: Attach the Zipper
Pin the zipper along the inside of the top opening, making sure it’s centered and even on both sides. Sew it in place using a whip stitch, keeping your stitches close together for a clean finish.
Step 7: Add Lining (Optional)
If you’d like extra durability, cut a piece of fabric slightly smaller than the purse interior and hand-sew it in place. This step is optional but helps the purse last longer with daily use.
Step 8: Final Finishing
Weave in all loose ends using your yarn needle. Trim any extra threads and gently steam or block the purse if the stitches look uneven, to help it hold a clean, structured shape.
Helpful Tips for Beginners
- Choose a firm, tightly spun yarn rather than a soft, fluffy one for better shape retention.
- Keep your tension consistent throughout to avoid loose or gappy stitches.
- Count your stitches at the end of each round to catch mistakes early.
- Use stitch markers on the first stitch of every round so you never lose track.
- Practice sewing a zipper on scrap fabric first if you’re doing it for the first time.
Common Mistakes to Avoid
- Using yarn that’s too thin or loose: This can make the purse floppy and unable to hold its shape.
- Skipping stitch markers: It’s easy to lose track of rounds, which throws off your shaping.
- Rushing the zipper attachment: Uneven sewing here is the most noticeable flaw on a finished purse.
- Ignoring gauge: A tighter or looser gauge than intended can change the final size significantly.
- Not weaving in ends properly: Loose ends can unravel over time and weaken the seams.
Customization Ideas and Variations
- Try different shapes, such as a rectangle, hexagon, or heart-shaped purse.
- Add a small crocheted flower or tassel for extra detail.
- Mix two or three yarn colors for a striped or color-blocked look.
- Swap the zipper for a button-and-loop or magnetic snap closure.
- Add a longer strap to turn it into a crossbody mini bag instead of a handheld pouch.
- Use metallic or textured yarn for a dressier, evening-bag style.
Frequently Asked Questions
1. How long does it take to make a Free Crochet coin purse?
Most beginners can finish this project in a few hours, spread across one or two short sessions, depending on the size and detail level.
2. What yarn weight works best for this pattern?
A medium (worsted) weight cotton or cotton-blend yarn works best, since it creates a sturdy, structured fabric that holds its shape.
3. Can I make this purse without a zipper?
Yes. A button-and-loop closure or a magnetic snap can replace the zipper if you prefer a simpler finish or don’t have a zipper on hand.
4. Do I need lining fabric for this project?
Lining is optional. It adds durability and a cleaner interior finish, but the purse will still function well without it.
5. Is this pattern suitable for a first-ever crochet project?
Yes, it’s a great starter project since it uses basic stitches and simple shaping, with the zipper as the only slightly trickier step.
6. Can this Free Crochet coin purse be made larger for use as a handbag?
Absolutely. Simply increase the base size and work more rounds before shaping the top, and consider adding a longer strap for a bigger bag.
Conclusion
A Free Crochet coin purse handbag is one of those projects that feels quick and rewarding from start to finish. With just a few basic stitches, some careful shaping, and a neatly sewn zipper, you’ll end up with a stylish accessory that’s both practical and personal. Whether you keep it simple or add your own creative touches, this pattern is a wonderful way to build confidence with small crochet projects. Give it a try, experiment with colors and shapes, and enjoy having a handmade purse that’s uniquely yours.