Free Crochet Little Carrot Pattern for Food-Inspired Decor
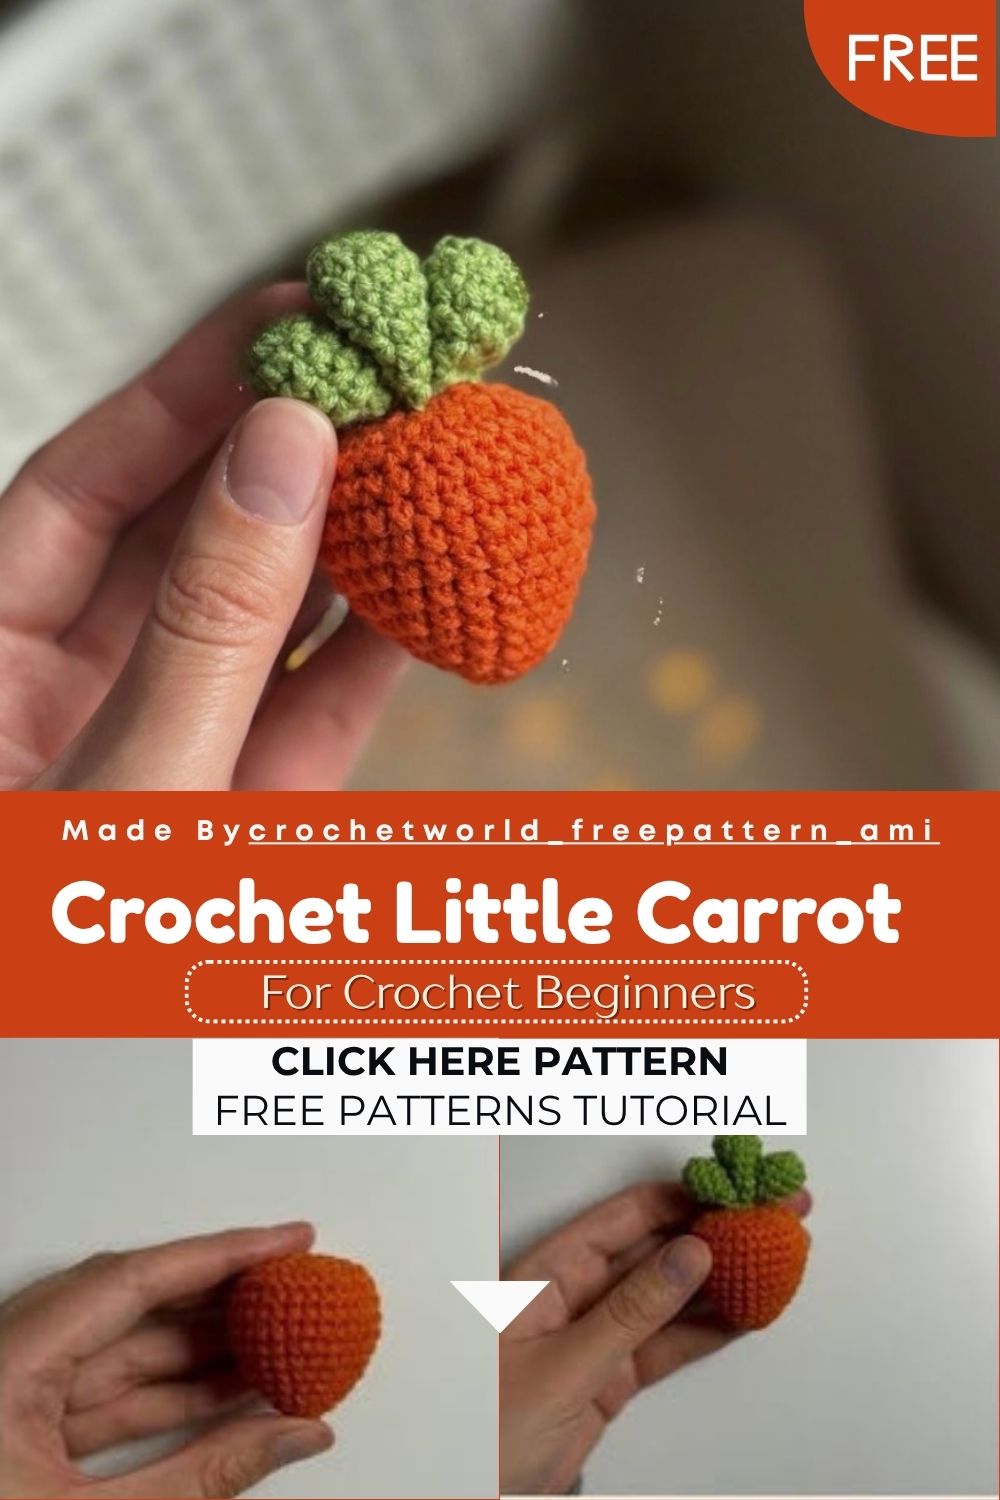
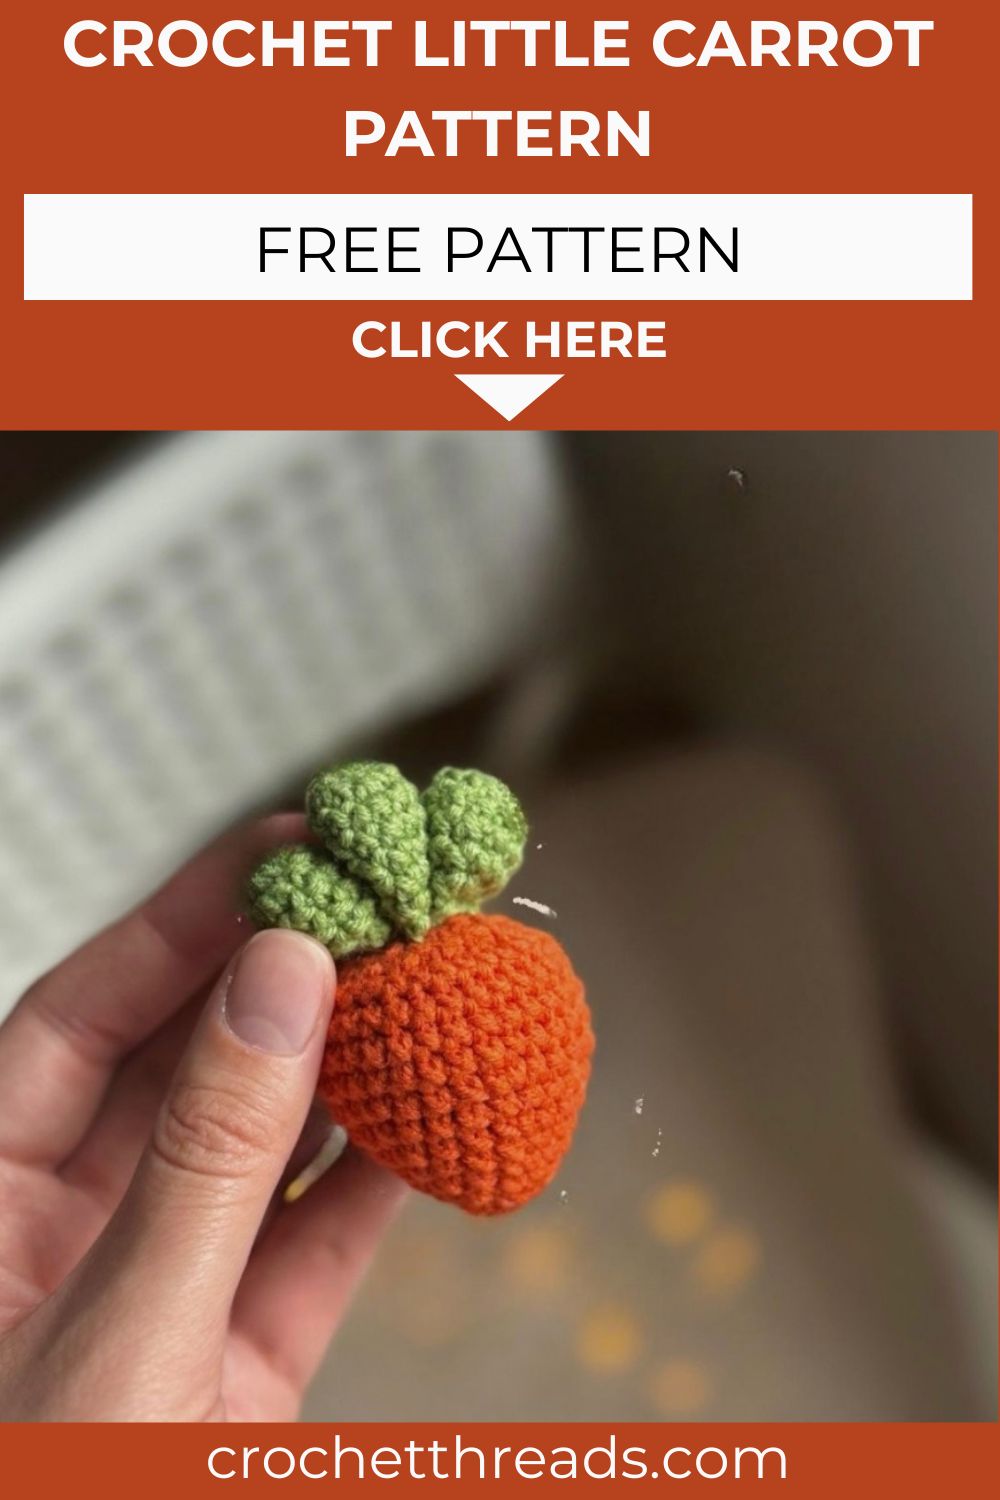
Sometimes the sweetest crochet projects are the ones with no practical purpose at all. This tiny Free Crochet Little Carrot adds a beautiful touch of color and charm to a shelf, fridge magnet, or tiered tray decor. Quick to finish, beginner-friendly, and incredibly adorable, this project makes any space feel a little more cheerful.
Tiny food crochet has a charm all its own, and this carrot proves it. You crochet a plump orange body in basic single crochet, then top it with three leafy green pieces. The whole thing works up in well under an hour. Real talk, it makes a sweet keychain, a playful pincushion, or a darling addition to any pretend play kitchen that curious little hands will absolutely adore at playtime.
Skill Level
This Free Crochet Little Carrot is perfect for absolute beginners. You only need the magic ring, single crochet, increases, and decreases. Every row stays simple, so even your very first amigurumi works.
Pattern Overview
Wondering what you’re about to make? This quick map keeps the whole project clear.
- You crochet one plump carrot body from a simple magic ring start. The body grows wider with steady increases, then tapers down to a neat point.
- Three green leaves sit on top, with one big leaf flanked by two small ones. Together they give the carrot that fresh-from-the-garden look.
- Each piece uses only single crochet, plus a few increases and decreases. Nothing fancy shows up anywhere in the rows.
- You stuff the carrot lightly, then sew or glue the leaves on.
- The finished make stays palm-sized, so it suits quick gifts and small decor. It also works up cheaply from leftover yarn scraps.
Feel free to swap in any cotton or acrylic yarn of a similar weight. Just match your hook to the yarn, and the carrot scales up or down with it.
Special Techniques
This carrot keeps things refreshingly simple. Just a handful of core skills carry you through.
- Magic ring: It opens every piece with a closed, hole-free center. A snug pull keeps the carrot tip from gaping later.
- Increases: You widen the carrot gradually for that classic tapered shape. Spacing them evenly keeps the body smooth and round.
- Decreases: You close the tip and shape the leaves cleanly. Invisible decreases give you the tidiest edge here.
- Stuffing as you go: You fill the carrot before the opening gets too small. Adding it in small bits avoids hard lumps.
- Sewing or gluing: You join the leaves with a needle, or a hot glue gun for speed. Both methods hold the cluster firmly in place.
None of these take long to pick up, so this carrot makes a great warm-up project between bigger, fussier makes.
Materials
Gather these few supplies, and you’re ready to roll.
- Yarnart Jeans yarn (50 g / 160 m)
- 2.5 mm crochet hook
- Stitch marker
- Scissors
- Needle
- Stuffing
Abbreviations
The pattern uses US crochet terms. Place a stitch marker in the last stitch of each row.
- MR – magic ring
- sc – single crochet
- inc – increase
- dec – decrease
The Pattern
Work each piece in order, and count your stitches after every row.
Big Leaf (in green)
- Row 1: 6 sc in MR (6)
- Row 2: 6 inc (12)
- Rows 3–7: 12 sc (12)
- Row 8: 6 dec (6)
Don’t stuff. Fasten off and hide a short tail inside. This leaf stays flat and light, which makes it easy to shape on top later.
Small Leaves (Make 2, in green)
- Row 1: 6 sc in MR (6)
- Row 2: 6 inc (12)
- Rows 3–5: 12 sc (12)
- Row 6: 6 dec (6)
Don’t stuff. On one leaf, leave a long tail for sewing. On the other, leave a short tail and hide it inside. Sew the three leaves together as shown, in small, big, small order. You can also use a hot glue gun instead of sewing.
Carrot (in orange)
The carrot body forms the bulk of this little project. Watch your increases, and it shapes up beautifully.
- Row 1: 6 sc in MR (6)
- Row 2: 6 inc (12)
- Row 3: 12 sc (12)
- Row 4: [1 sc, inc] x6 (18)
- Row 5: 18 sc (18)
- Row 6: [2 sc, inc] x6 (24)
- Row 7: 24 sc (24)
- Row 8: [3 sc, inc] x6 (30)
- Rows 9–12: 30 sc (30)
- Row 13: [1 sc, dec] x10 (20)
Start stuffing.
- Row 14: 10 dec (10)
Finish stuffing. Cut a long tail for sewing and sew the hole closed. Sew the leaves onto the top of the carrot.
Want a bigger carrot? Add a couple more increase rows before the straight section, then a few extra plain rows for length. A thicker yarn paired with a larger hook also sizes it up fast.
Common Mistakes to Avoid
A simple project still has a few easy traps. Dodge these for a crisp Free Crochet Little Carrot .
- Forgetting the stitch marker, then losing your place at the start of each row. A bright marker saves you from constant recounting.
- Stuffing the carrot too late, after the opening shrinks too small to fill. Begin stuffing right at Row 13, exactly as written.
- Overstuffing the body, which stretches the stitches and shows little gaps. A gentle, even fill keeps the surface smooth.
- Sewing the leaves crooked, so they lean instead of standing upright. Pin them in place first to check the angle.
- Pulling the magic ring loose, which leaves a hole at the carrot tip. Give the starting tail a firm tug before fastening off.
Most of these slip-ups come down to rushing. Check your count, keep your marker moving, and your carrot turns out clean every single time.
Assembly
With all three pieces ready, the carrot comes together fast. Follow this order for a neat result.
- Stack the leaves in small, big, small order before you join them. This layering gives the cluster a natural, leafy spread.
- Sew or hot-glue the three leaves together at their bases. Keep the join compact so it tucks neatly under the leaves.
- Close the carrot tip with the long tail once it is fully stuffed. Weave the tail through the final stitches and cinch it shut.
- Center the leaf cluster on the top of the carrot. A quick glance from above helps you place it evenly.
- Sew the leaves firmly in place, then hide any leftover tails inside. A few small stitches keep them from wobbling.
Important Remarks
Keep these pointers in mind while you stitch. They make a small project look polished.
- Work in a continuous spiral, since the rows never join with a slip stitch. The stitch marker tracks each new round for you.
- Keep your tension snug, so the stuffing never peeks through the fabric. Yarnart Jeans holds its shape nicely at this gauge.
- Count your stitches after each increase row to keep the shape even. A wrong count here throws off the whole taper.
- Leave a long tail wherever the pattern asks, never a short one. You will need that length for clean, secure sewing.
- Choose a hot glue gun only if you want the fastest possible finish. Sewing, though, gives a softer and sturdier hold.
- Press the leaves flat under a light weight if they curl, though most stay flat on their own.
Conclusion
There you have it, a charming Free Crochet Little Carrot ready to brighten any corner. This quick make works beautifully as a fridge magnet, a play food piece, or a cute shelf accent. Grab your orange and green yarn, follow the easy rows, and watch your tiny veggie come to life. Make a small bunch of them in a basket for a playful kitchen display, or tie one onto a gift for a sweet handmade touch. Once you finish the first, you’ll likely want a whole patch of these cheerful carrots.