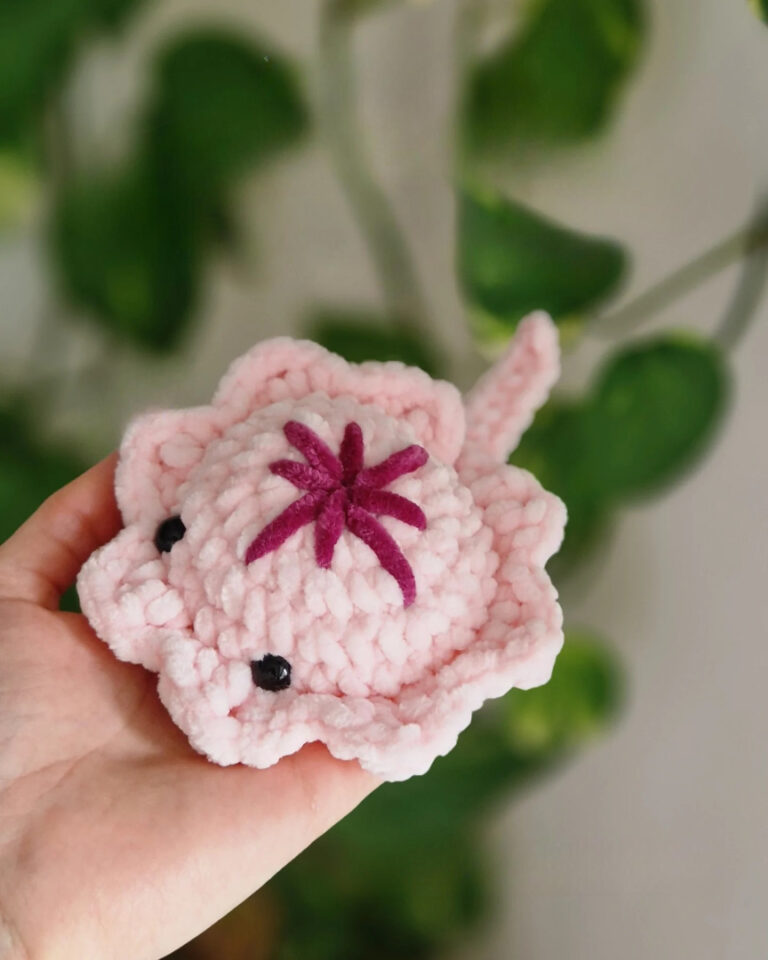
Crochet Doodle Monster Amigurumi Pattern Sketchy Cartoon Toy
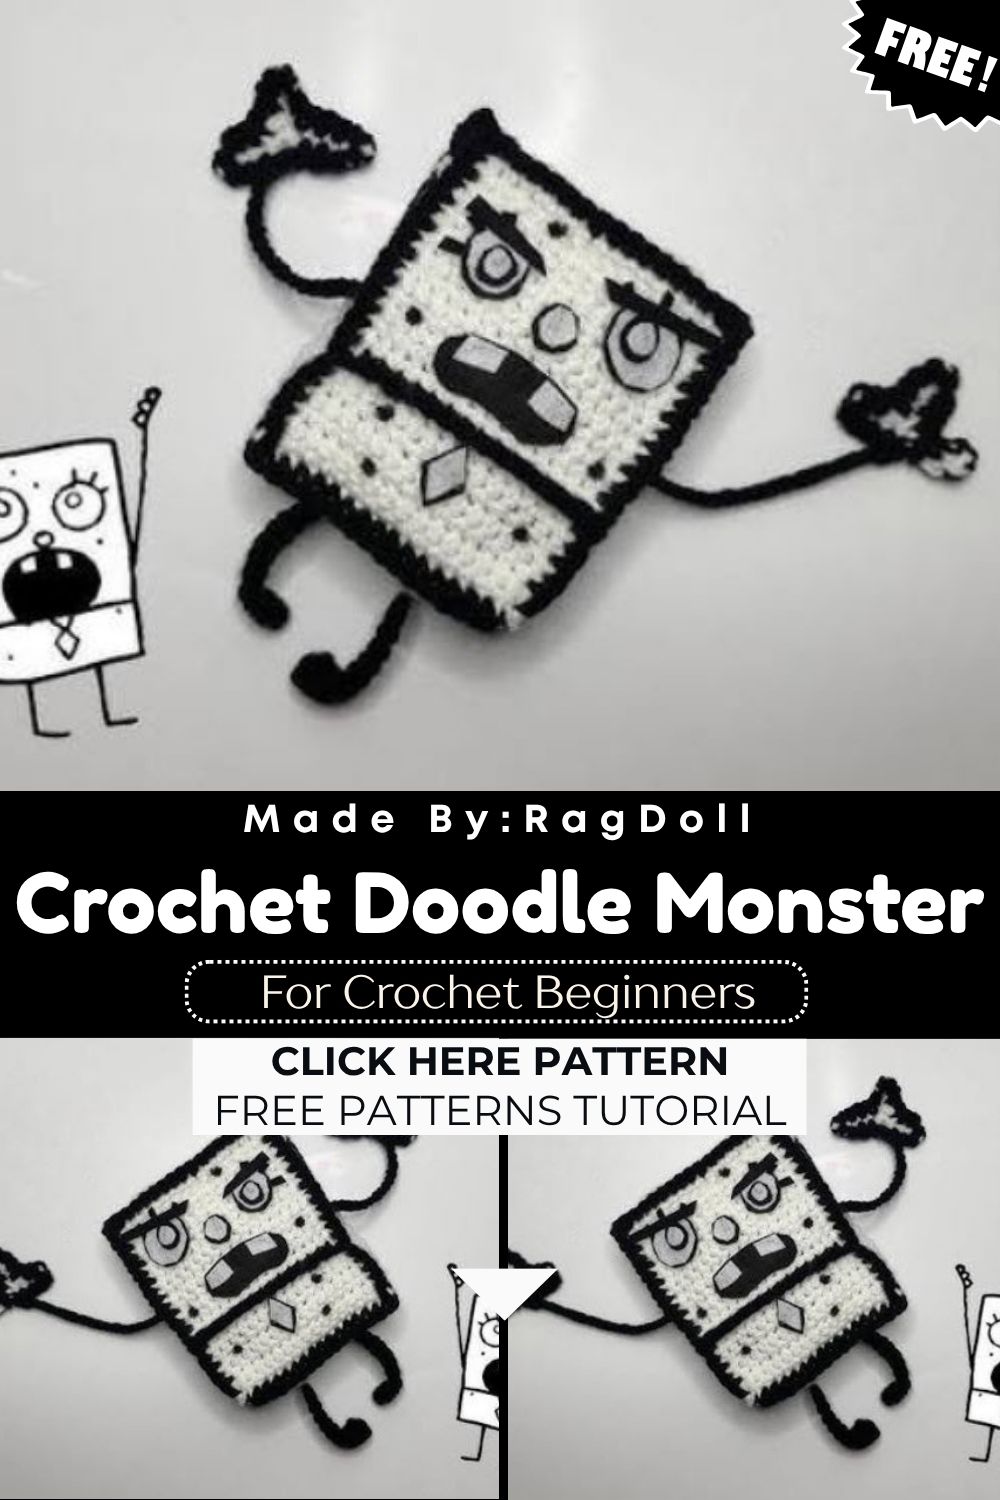
Yarn crafters drawn to whimsical, hand-drawn aesthetics tend to gravitate toward this style of toy. Kids adore the goofy expression, and adults enjoy the freedom to experiment with color combinations that would look strange on any “normal” animal but feel exactly right on a doodle creature.
Project Details
- Skill Level: Beginner to Intermediate
- Finished Size: Approximately 6–7 inches tall (varies with yarn weight and tension)
- Estimated Time Required: 4–6 hours
- Recommended Yarn Weight: Worsted weight (Category 4)
- Crochet Hook Size: 3.5mm–4mm (US E/4 to G/6)
Materials Needed
- Worsted weight yarn in your main monster color
- Small amounts of contrasting yarn for horns, spots, or patches
- Black or dark yarn (or embroidery floss) for sketchy “doodle line” details
- 3.5mm–4mm crochet hook
- Safety eyes, 9mm or 12mm (two, or try three for an extra-quirky look)
- Fiberfill stuffing
- Tapestry needle
- Stitch markers
- Scissors
Crochet Stitches & Techniques
This pattern relies on a small, approachable set of stitches, so newer crocheters won’t feel overwhelmed.
- Magic Ring – starts each rounded piece with a tight, gap-free center
- Chain Stitch – used for foundation rows on small details like arms
- Single Crochet – the main stitch throughout the body and head
- Increase – widens rounds to shape the monster’s lumpy silhouette
- Invisible Decrease – keeps shaping smooth without visible holes
- Color Changes – create the patchy, mismatched doodle-monster look
- Fastening Off – secures each finished piece
- Sewing Pieces Together – joins limbs, horns, and features to the body
- Surface Slip Stitch – adds the sketchy black outline details that give this toy its cartoon feel
Pattern Instructions
Creating the Head and Body
Doodle monsters look best as a single continuous lumpy blob rather than a perfectly round head and separate body, so many crocheters work the head and body as one connected piece. Increase unevenly in a few rounds rather than following a strict symmetrical pattern this is one of the rare amigurumi projects where a slightly wobbly shape actually improves the final look. Switch colors mid-round wherever you like to build in random patches before stuffing lightly as you go.
Crocheting the Arms and Legs
Short, stubby limbs suit the cartoon-sketch style far better than long, elegant ones. Work each limb as a small tube, leave it unstuffed or only lightly filled for a floppy, doodle-like droop, then flatten the top slightly before sewing it to the body at a deliberately crooked angle.
Making the Horns and Spikes
Uneven horns are part of what sells the sketchy aesthetic, so resist the urge to make them match. Crochet two or three small cone shapes in contrasting colors, vary their heights and curves on purpose, and attach them at slightly different angles across the top of the head.
Facial Features
Safety eyes placed off-center, one higher, one lower, or one larger than the other instantly give the monster that hand-drawn, cartoon-doodle expression. Add a wide, crooked mouth using black yarn or embroidery floss in a simple running stitch, letting the line wobble intentionally rather than tracing a perfectly smooth curve. A few scattered “freckle” stitches or asymmetrical eyebrows add extra character if you want to push the sketch look further.
Adding the Sketchy Doodle Lines
Surface slip stitching in black yarn across the body creates the illusion of pencil or marker lines, which is the signature touch that separates a doodle monster from a standard amigurumi creature. Work short, slightly irregular lines along the arms, legs, and body seams, keeping the tension loose enough that the lines sit visibly on top of the stitches rather than sinking in.
Joining All Pieces
Pin the arms, legs, and horns in place before sewing, checking the overall silhouette from a few angles to make sure the asymmetry still reads as charming rather than lopsided. Sew each piece securely with a whip stitch, weaving in loose ends through the body’s stuffing to keep the finish tidy.
Final Assembly
Once every piece is attached, give the whole monster a gentle squeeze test to check the stuffing distribution, adding small amounts more in any flat spots. Steam the yarn lightly with a handheld steamer held a few inches away if any curling edges need relaxing into place.
Tips for Success
- Count stitches at the end of each round, especially through increase rows, since doodle monsters hide mistakes less than symmetrical toys might suggest
- Stitch markers save real frustration when tracking rounds on a continuously worked head-and-body piece
- Stuff evenly first, then add lumps deliberately for character; accidental lumps rarely land in flattering spots
- Weave in yarn ends through several stitches rather than knotting them, since knots can work loose with handling over time
- Block small pieces like horns before attaching them for cleaner, more defined shapes
- Test surface slip stitch lines on a scrap swatch first to get a feel for tension before committing to the finished toy
Personalization Ideas
- Swap the main color for pastel shades to create a softer, less spooky version for nurseries
- Try a Halloween palette of orange, purple, and black for a seasonal doodle monster
- Give the monster a single giant eye instead of two for a cyclops variation
- Add tiny felt or crochet wings for a flying-monster twist
- Scale the pattern down with fingering weight yarn for a keychain-sized version, or size it up with bulky yarn for a jumbo cuddle toy
- Attach a small loop at the top of the head to turn the finished piece into a quirky ornament
Common Mistakes to Avoid
Overworking the symmetry defeats the purpose of a doodle monster, so fight the instinct to make horns, eyes, or limbs match perfectly. Stuffing too firmly can flatten the intentional lumps and wrinkles that give the toy its sketchy silhouette, so aim for a soft, slightly squishy fill instead. Tight surface slip stitching tends to disappear into the base fabric rather than reading as a visible line, so keep that layer noticeably looser than the rest of the piece. Skipping the pinning step before sewing pieces on often leads to lopsided placement that’s tricky to fix afterward.
Frequently Asked Questions
What yarn weight works best for a doodle monster amigurumi?
Worsted weight yarn strikes the best balance between stitch definition and a manageable finished size for most crocheters.
Do I need safety eyes, or can I embroider the eyes instead?
Safety eyes give the fastest, most secure result, though embroidered eyes work well for anyone making the toy for a very young child where small parts are a concern.
How do I keep the surface slip stitch lines from disappearing?
Work them with a slightly larger hook than your base stitches and keep the tension loose so the black yarn sits proudly on top of the fabric.
Can this pattern be made amigurumi-style with a different base shape?
Absolutely the doodle-monster styling of asymmetrical horns, off-center eyes, and sketchy surface lines can be applied to almost any basic amigurumi body shape.
Why does my monster look too symmetrical compared to the reference photos?
Deliberately vary your increase placement and horn angles rather than mirroring one side onto the other, since true doodle-monster charm depends on that imperfection.
What’s the best stuffing technique for a lumpy, character-driven toy?
\Stuff the main body evenly first, then add small extra pinches of fiberfill in a few spots to create gentle, natural-looking lumps.
Is this pattern suitable for a first amigurumi project?
Yes, the forgiving, asymmetrical style makes it one of the more beginner-friendly character amigurumi patterns available, since small shaping mistakes blend right into the design.
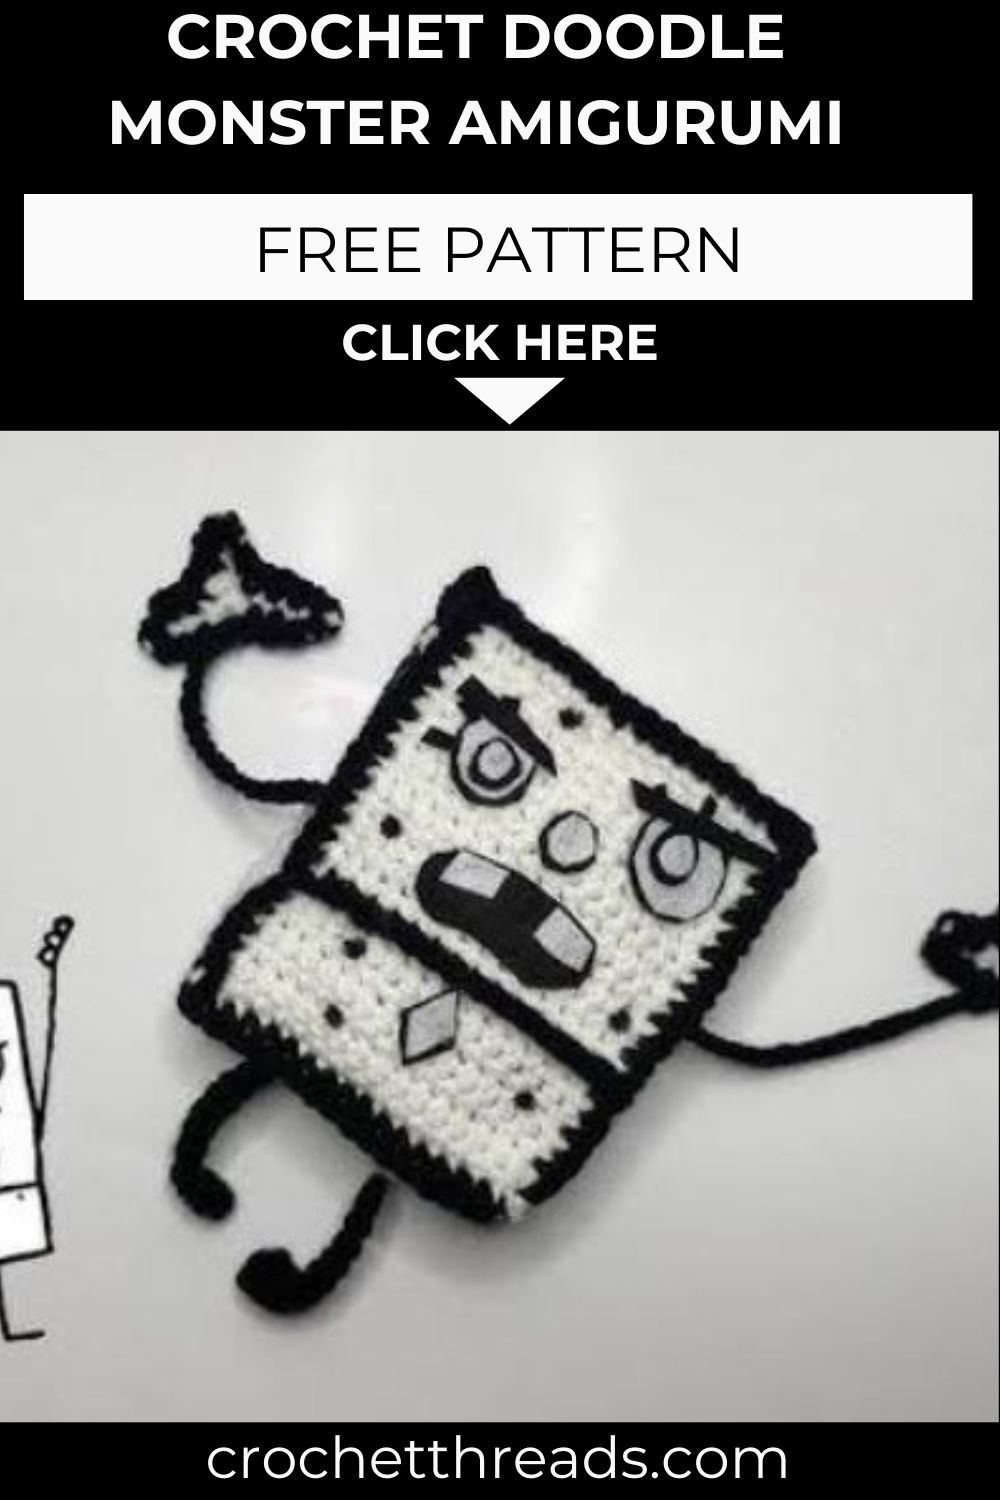
Conclusion
Building a Crochet Doodle Monster Amigurumi means letting go of the usual amigurumi pressure to keep everything perfectly matched and even. Every wobble, mismatched horn, and off-center eye adds to the hand-drawn charm this pattern is built around, so relax into the process and let your own quirks shape the final toy. Once the last stitch is woven in, share a photo of your finished monster; every version turns out a little different, and that’s exactly the point.