Sweet Crochet Kitten Keychain Amigurumi Pattern
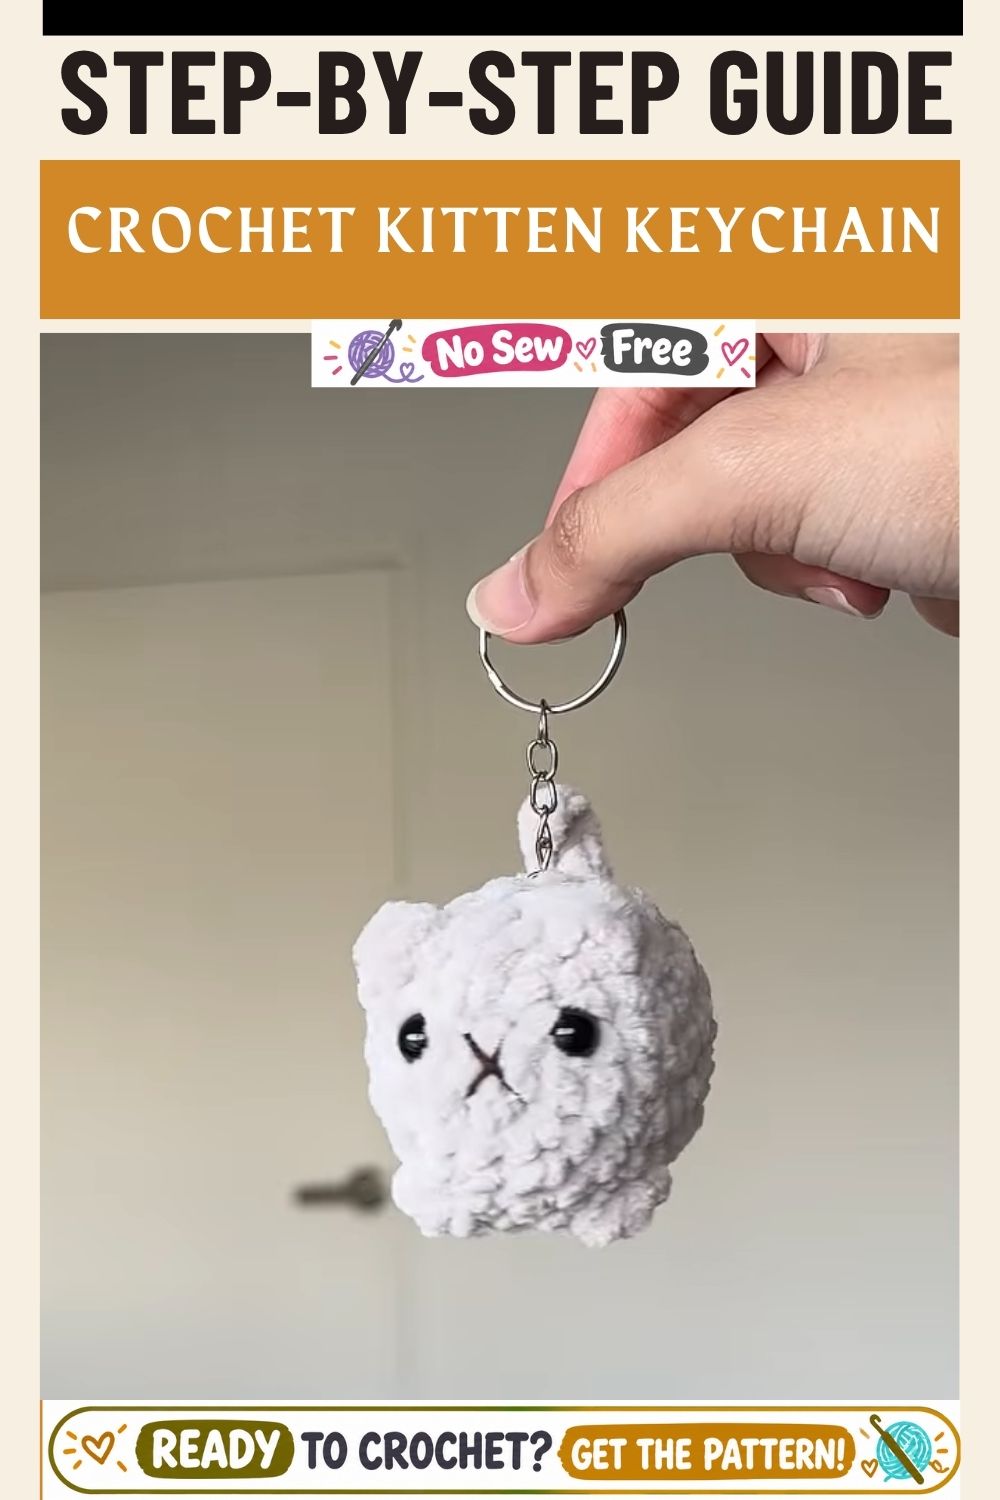
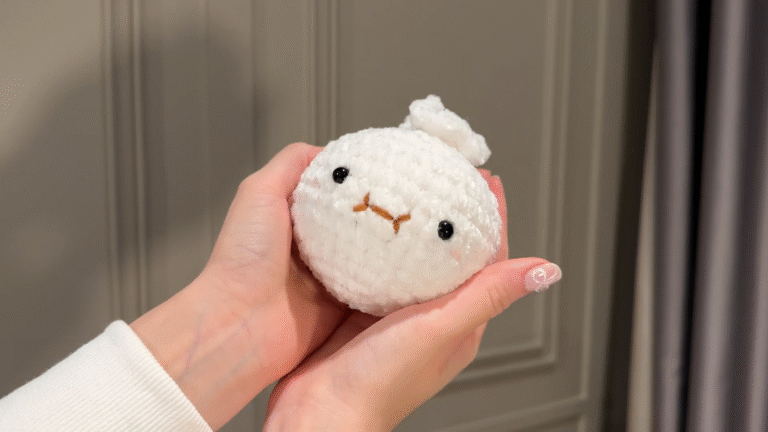
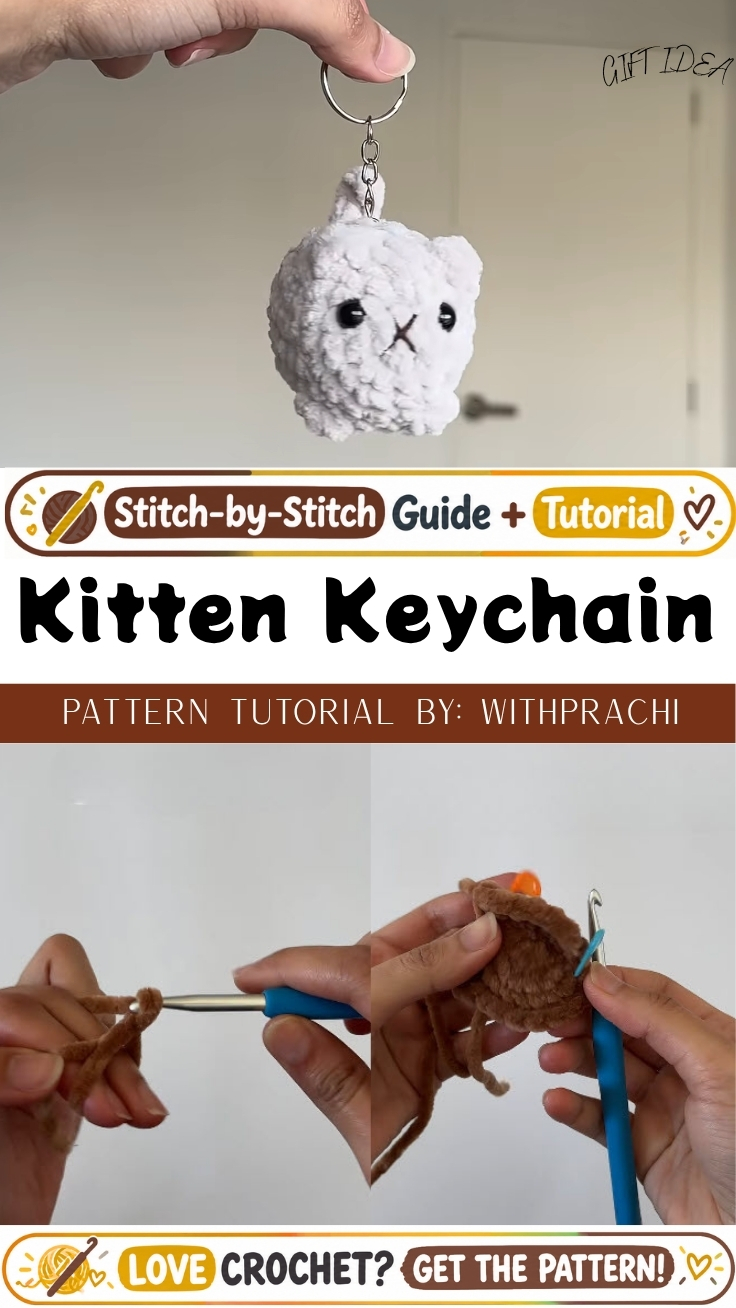
Soft, round, and finished in barely an hour, the Sweet Crochet Kitten Keychain Amigurumi Pattern starts as a fuzzy ball of chenille yarn and ends as a wide-eyed feline charm. This plush amigurumi accessory clips onto bags, backpacks, or keys, adding a small dose of handmade personality wherever it travels.
Small-scale amigurumi keeps gaining traction among crafters who want a finished project without committing hours to a full-sized toy, and this pattern answers that demand directly. Worked in bulky chenille yarn, the design builds a rounded head using basic single crochet increases, then wraps up with safety eyes and a few embroidered details for character. What sets this amigurumi kitten charm apart is its size-to-effort ratio, since a beginner can finish one in under an hour while still producing a piece that looks polished. As a yarn cat keyring, its purpose stays simple: it dresses up everyday items with a bit of stitched charm.
What Is This Pattern?
The crochet kitten keychain pattern produces a single rounded amigurumi piece rather than a full-bodied toy, which keeps the project short and approachable. Beginners often wonder whether “keychain amigurumi” means a shrunken version of a regular pattern, and largely, it does — fewer rounds, less stuffing, and a simplified face. Because the piece stays palm-sized, it uses only a small amount of yarn, making it a practical way to use up leftover skeins. Once finished, a metal keyring or clasp turns the little head into a functional accessory instead of just a decorative ball.
What Do You Need to Make It?
Materials stay minimal, which is part of the appeal. The list typically includes:
Bulky or “cloud” style chenille yarn in a tan or brown shade for the head, a small contrasting scrap for ears or nose detailing, a 3.5–4.5mm crochet hook sized to the yarn weight, one pair of 8–10mm safety eyes, polyester fiberfill for stuffing, a tapestry needle for finishing stitches, black or dark brown embroidery thread for the nose and mouth, a stitch marker, small sharp scissors, and a keyring or lobster clasp for attaching the finished piece.
What Skills Does It Require?
Skill-wise, the project sits comfortably at an easy-to-moderate level. It relies on a magic ring start, single crochet, standard increases and invisible decreases, plus basic safety eye placement. Additionally, finishing calls for simple embroidery – just a nose and mouth – and a whip stitch or mattress stitch to close the last opening. None of these techniques demand advanced counting or complex stitch combinations, so most of the challenge comes from keeping stitch counts accurate rather than from tricky maneuvers.
How Long Does It Take?
Prep work, including gathering supplies and forming the magic ring, usually takes around five minutes. The stitching phase, which builds and shapes the head, runs roughly 30 to 40 minutes depending on hook comfort and yarn thickness. Finishing – stuffing, attaching eyes, embroidering the face, and securing the keyring – adds another 15 to 20 minutes. Altogether, most crocheters wrap up a single piece somewhere between 50 minutes and an hour and a half.
What’s the Process Like?
Phase 1: Starting the Base
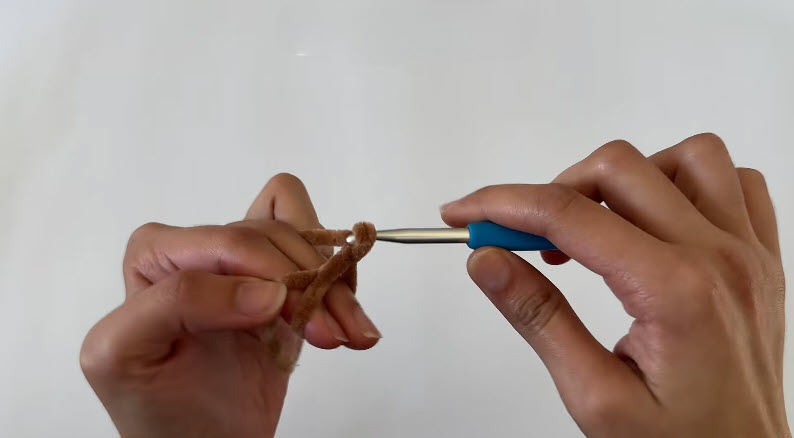
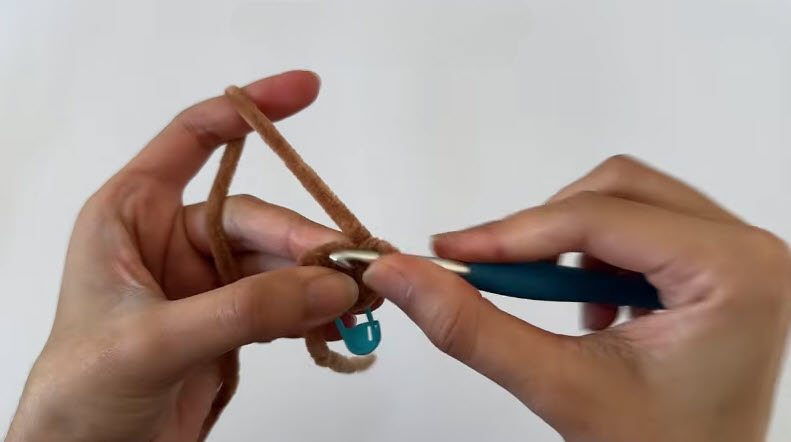
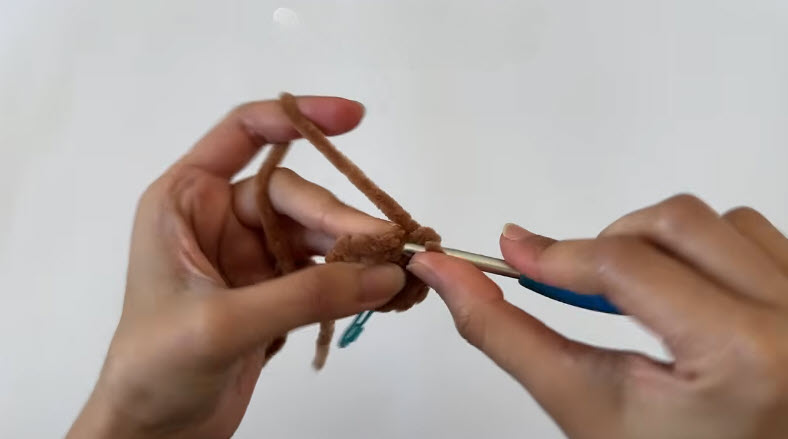
Work begins with a slip knot placed on the hook, then a loop is formed and pulled into a magic ring so the center can close tightly later. Once the ring holds its shape, a first round of single crochet stitches is worked directly into it, forming a small, tight circle that becomes the base of the head.
Phase 2: Building and Shaping the Head
Subsequent rounds add stitches through evenly spaced increases, widening the circle until it curves into a ball. As the shape rounds out, safety eyes get inserted and the washers snap firmly into place from the inside before stitching continues. Light stuffing is added gradually through these middle rounds rather than all at once, which helps the shape stay even.
Phase 3: Finishing Details
Once the last few rounds close the ball with decreases, a tapestry needle threaded with dark yarn or embroidery floss stitches on a small nose and mouth just below the eyes. After weaving in loose ends, a keyring or clasp gets sewn to the top seam, completing the accessory.
What Usually Goes Wrong?
A few missteps show up often in this pattern. Safety eyes sometimes go in before the head has enough shape, which leaves them sitting crooked once stuffing rounds out the ball. Meanwhile, an overly loose magic ring can leave a visible gap at the very center of the finished head. Chenille yarn also tends to split under a tight grip, and rushed stitch counting during increase rounds throws off the overall shape.
Step 5: Attach the Safety Eyes
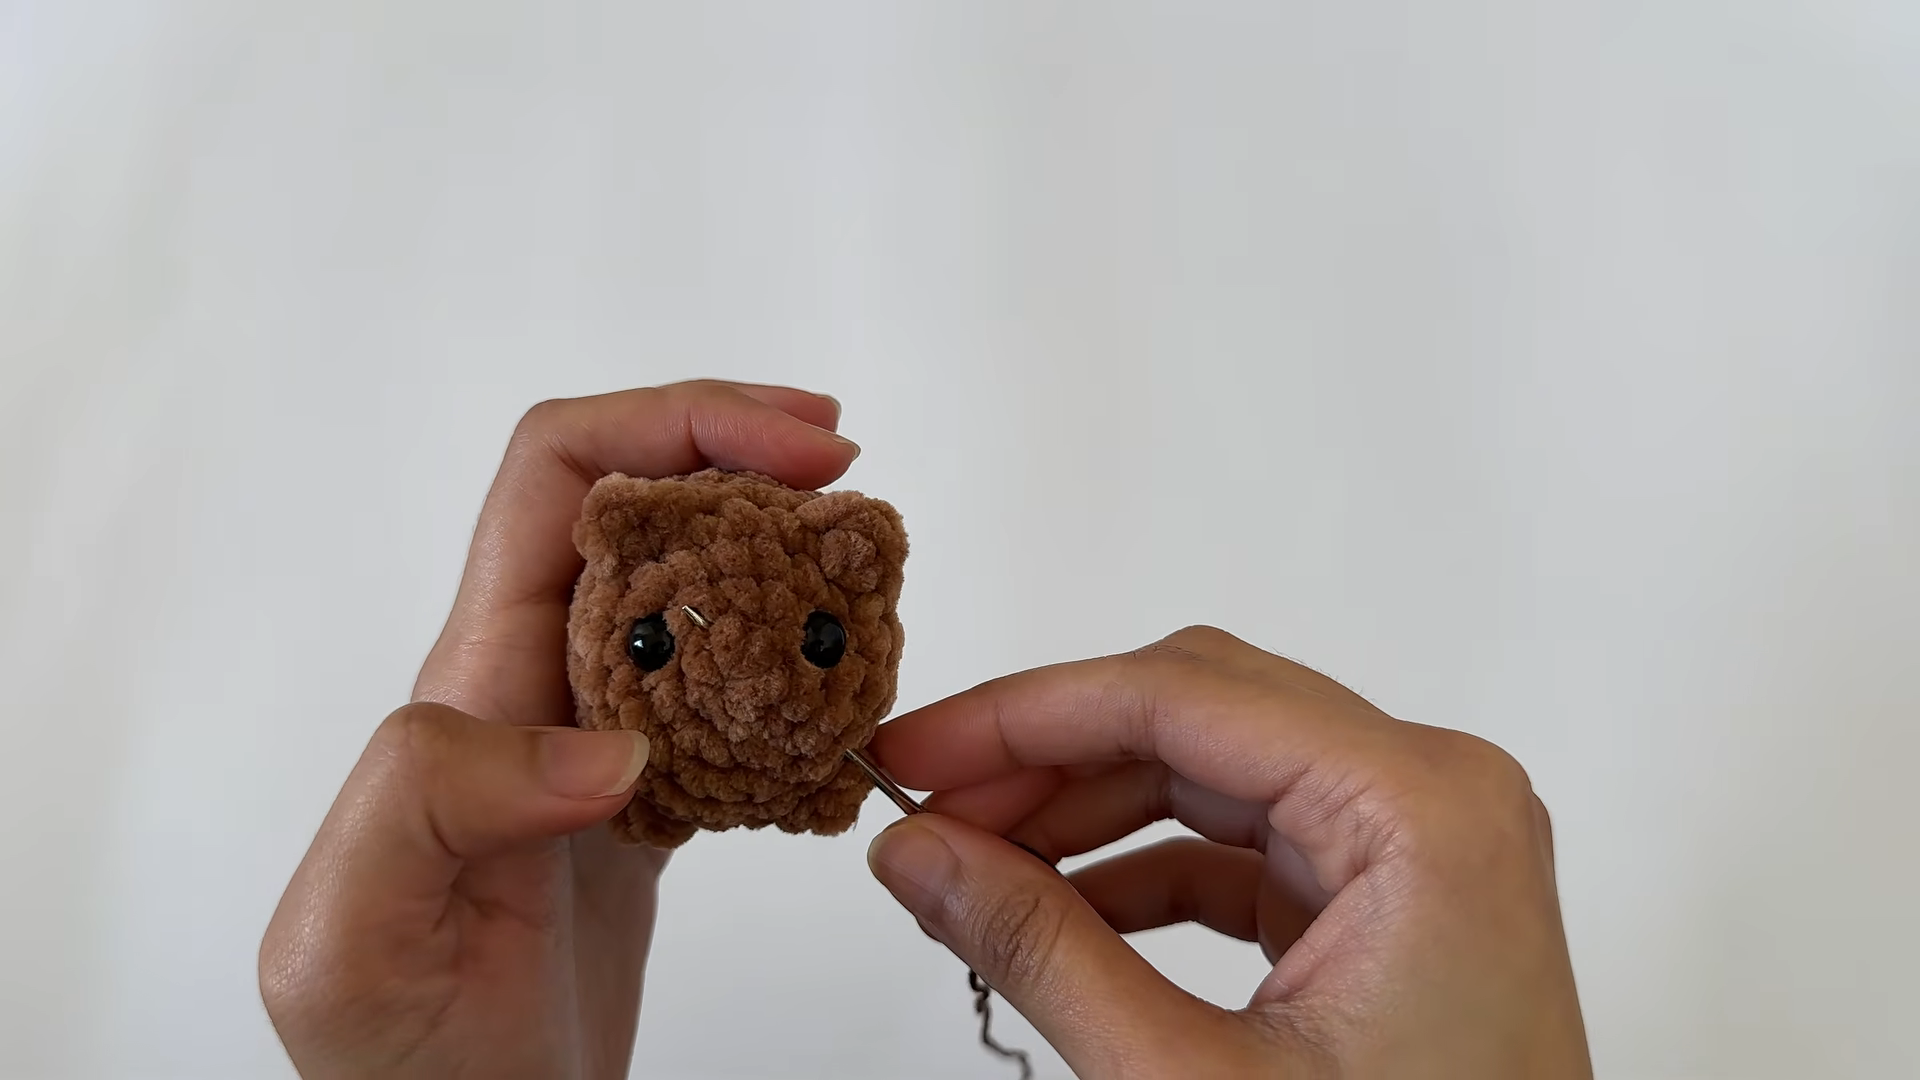
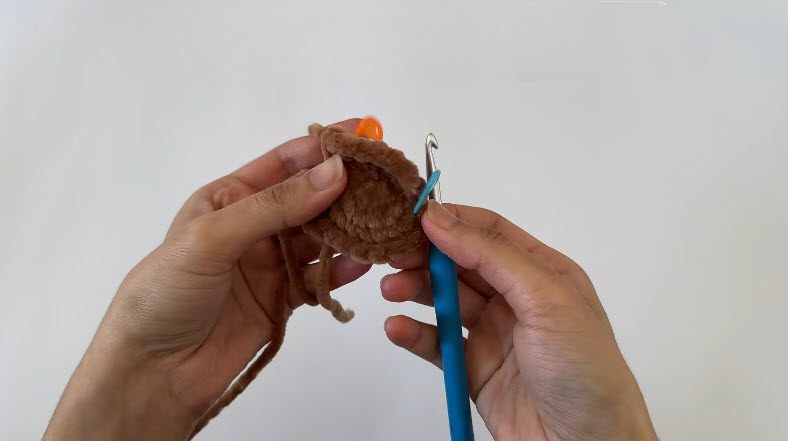
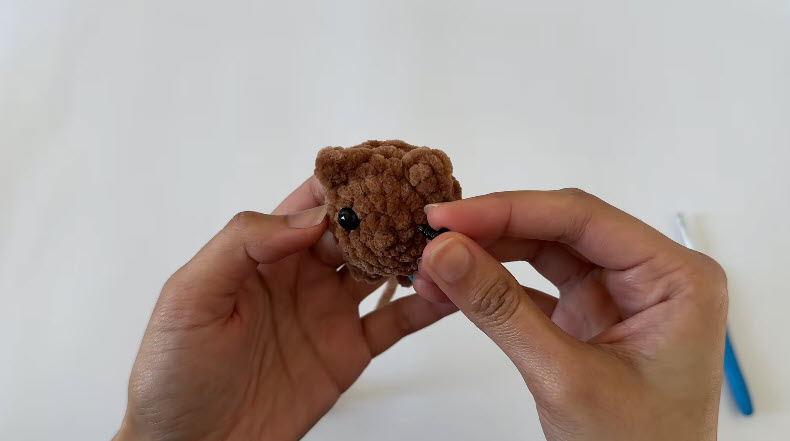
Insert one safety eye post through the head, positioning it roughly four to five rounds up from the center back and spacing it evenly across the face. Push the post through from the front until the eye sits flush against the stitches, then repeat on the opposite side, keeping both eyes level and about four to five stitches apart. Snap the plastic washer onto each post from the inside before moving forward, since a loose washer lets the eye work its way out later.
Pro-Tip: Hold the head at arm’s length and check that both eyes sit level before snapping the washers into place small position shifts are far easier to correct now than once the washer locks.
Step 6: Continue Shaping the Head
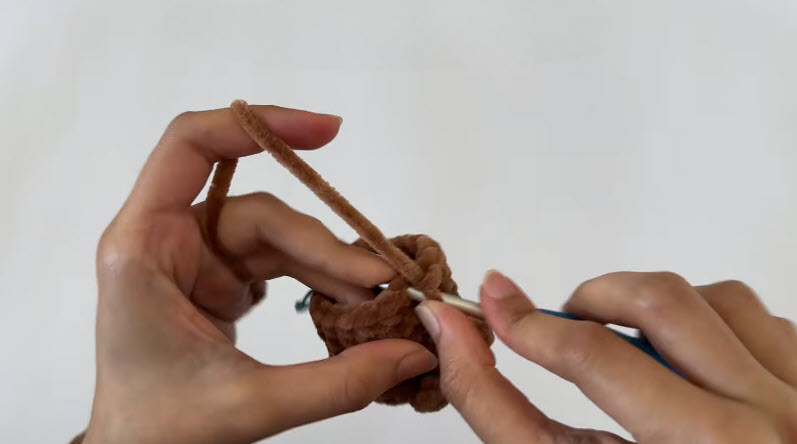
Once both eyes are secure, pick the hook back up and resume single crochet stitches around the next round, keeping tension even so the chenille yarn doesn’t split. Work one or two additional rounds even, with no increases or decreases, to build depth around the face before starting the decrease rounds that close the head.
How Can Mistakes Be Avoided?
Most of these issues have straightforward fixes. Counting stitches at the end of every round catches increase errors before they compound, and testing the safety eye washer’s snap before moving forward prevents loose eyes later. Since chenille yarn splits easily, a slightly looser grip and a hook one size larger than usual help stitches glide smoothly. The crochet kitten keychain pattern also benefits from adding stuffing in small pinches throughout stitching rather than stuffing everything at the very end, which keeps the shape rounder and more even.
What Can This Piece Be Used For?
Beyond sitting on a shelf, this little kitten earns its keep as a functional accessory. Crafters clip it onto a backpack zipper, hang it from a set of house keys, attach it to a diaper bag for quick identification, dangle it from a phone strap, or tuck it into a party favor bag for a birthday theme. Because it’s compact and lightweight, it travels easily and holds up to daily handling far better than a larger toy would.
Is It a Good Project for Beginners?
Yes — arguably one of the more forgiving amigurumi projects available. The stitch count stays low, the shaping is a single continuous ball rather than multiple attached limbs, and there’s no color-change charting to track. First-time amigurumi crocheters can practice magic rings, increases, and safety eye placement all within one quick project, which builds confidence before tackling anything larger.
What Makes It Worth Trying?
Several factors make the crochet kitten keychain pattern worth a spot in the queue. It finishes fast, uses very little yarn, and doubles as a practical stash-buster for leftover chenille. The safety-eye finishing step also adds a satisfying payoff, since the piece suddenly looks alive the moment the eyes go in. On top of that, its small size makes it an easy, low-pressure gift for coworkers, classmates, or kids.
Why Are People Making This Right Now?
Interest in mini amigurumi keychains has climbed steadily as crafters look for shorter, shareable projects that photograph well and finish in a single sitting. Chenille “cloud” yarn has also surged in popularity for its soft, plush texture, and gifting seasons keep driving demand for small handmade extras.
- Low yarn requirement makes it an affordable scrap-buster project
- Mini plush charms perform well on social platforms thanks to their quick, satisfying build
- Compact size suits back-to-school bags and holiday stocking stuffers alike
Bonus: Quick Color-Swap Variations
Swapping the base yarn color opens the same pattern up to a whole set of variants. Grey or white chenille produces a different coat look, while a small orange color-blocked patch mimics a tabby pattern. Tiny felt ear shapes can also shift the finished piece from kitten to bear or bunny without changing the core construction at all.
Conclusion
Altogether, the crochet kitten keychain pattern delivers a lot of charm for very little time investment. It suits beginners learning core amigurumi skills, gives experienced crocheters a fast palette-cleanser between larger projects, and produces a genuinely useful accessory rather than a shelf decoration. Once the technique clicks, batching a few in different colors becomes an easy next step.
FAQ
What yarn weight works best for this keychain?
Bulky or super bulky chenille yarn gives the fullest, plushest texture, though a standard worsted-weight yarn held double can substitute in a pinch.
Can this pattern be made without safety eyes?
Yes — embroidered eyes or small buttons work as substitutes, particularly for pieces intended for very young children where safety eyes aren’t recommended.
How much yarn does one kitten keychain use?
A single piece typically uses less than 20 grams, making it an efficient way to use up small yarn leftovers.
Can the pattern be scaled up into a larger plush?
Scaling up works by adding extra increase rounds before switching to straight rounds, though stuffing needs adjust accordingly to keep the shape firm.
Is chenille yarn hard to crochet with?
It takes a bit of adjustment since the strands are soft and can split, but a slightly larger hook and a relaxed tension solve most difficulties quickly.