Crochet Snorlax Pattern for a Cuddly Pokémon Sleepyhead
This crochet Snorlax pattern gives you a sleepy little Pokémon buddy with a soft white belly. First, you make each part one round at a time. Then, you sew the pieces together and stitch a closed-eye face. Because the pattern uses only basic stitches, a confident beginner can finish it with ease.
The white patch is the star of this design. It grows on the head and body, and after that it shrinks again. As a result, you get a round belly and a sleepy face. Also, the soft cotton yarn in blue, white, and brown keeps the toy gentle and cuddly. Keep a stitch marker nearby, since it helps you count your rounds. Now, pick up your hook and start.
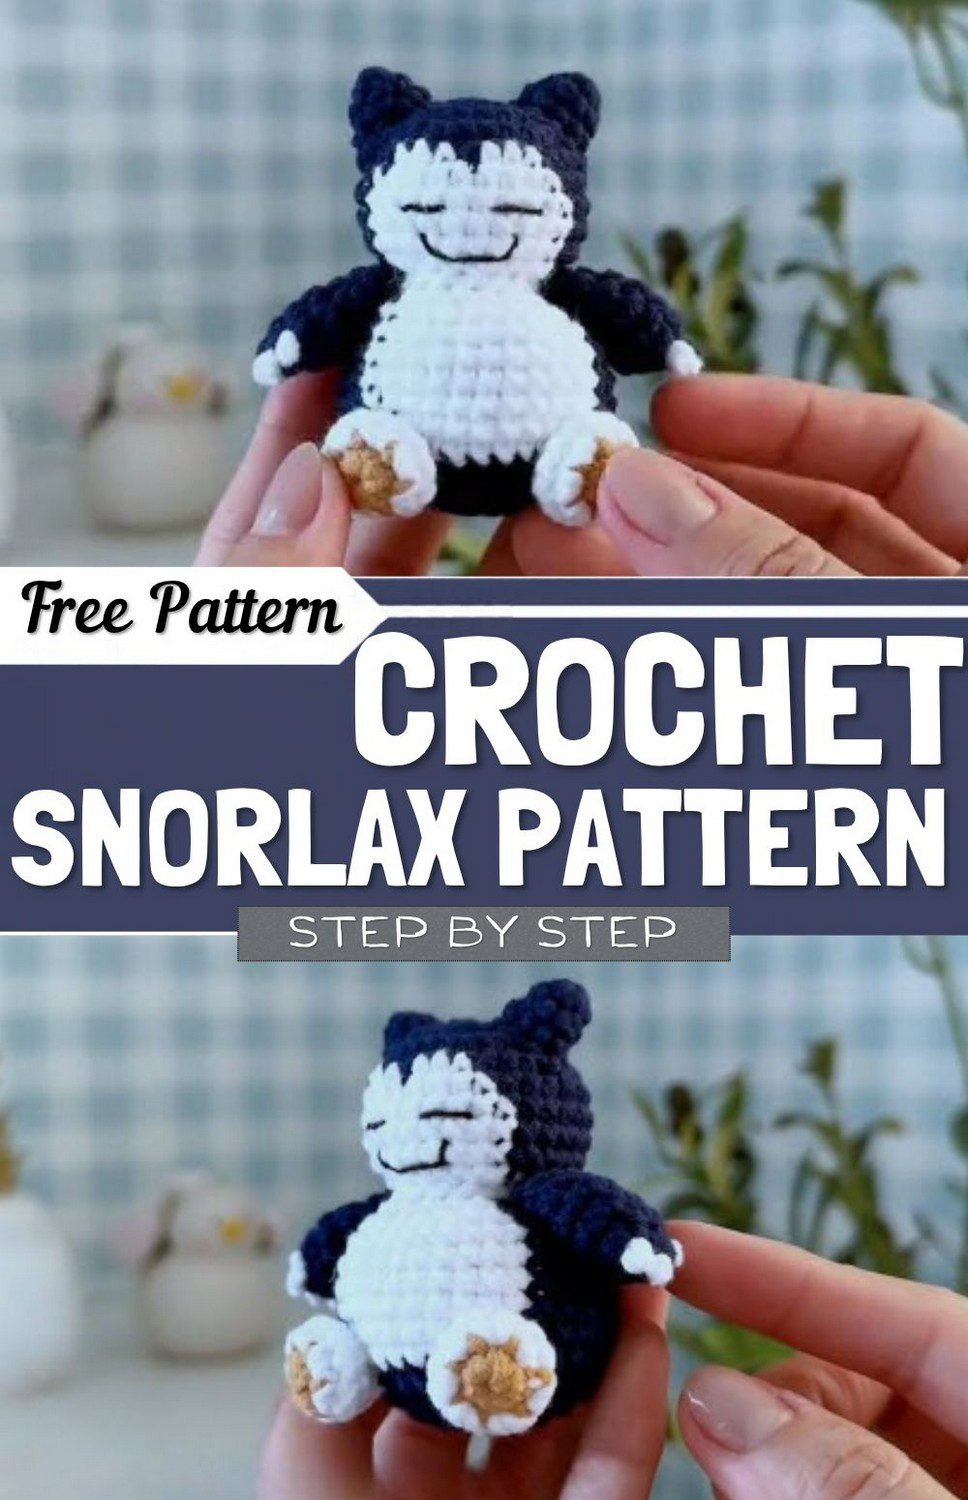
Crochet Snorlax Project Overview
First, here is a quick look at the project. Because every part is small, the toy works up fast. Also, each piece starts with a magic ring.
- Project type: Amigurumi (stuffed crochet doll)
- Character: Snorlax (Pokémon)
- Method: Worked in rounds, starting each part with a magic ring
- Skill level: Confident beginner who knows basic crochet stitches
- Finished size: About 7 cm (2.75 inches) tall
Materials for Your Crochet Snorlax
Before you begin, gather everything in the list below. That way, you will not have to stop in the middle of a round.
- 5-ply milk cotton yarn in dark blue, white, and brown
- Black embroidery yarn for the eyes and mouth
- Fiberfill stuffing
- 2.5 mm (size 4/0) crochet hook
- Scissors
- Stitch marker
- Tapestry needle
Stitch Abbreviations for the Snorlax Pattern
Next, check the short forms below. For example, sc means single crochet. Also, the Spanish terms are listed for readers who use them.
US Terms
- sl st: slip stitch
- sc: single crochet
- hdc: half double crochet
- dc: double crochet
- tr: treble
- inc: increase
- dec: decrease
Spanish Terms
- pb: punto bajo
- aum: aumento
- dism: disminución
- cad: cadena
Before You Start Your Crochet Snorlax
- First, place a stitch marker at the end of every round. It keeps your count right, especially during colour changes.
- Also, leave a long yarn tail on every piece you fasten off, because you will need it for sewing later.
- Finally, keep your tension even when you change colours so the markings look smooth.
Crochet Snorlax Pattern Instructions
You will make five kinds of pieces: the head, the body, two feet, two arms, and two ears. Work through them in order, and then move on to the assembly.
1. Crochet Snorlax Head (Dark Blue and White)
First, work the head. Then, follow each round with care, because the white patch changes size.
- R1: Magic ring, 7 sc (7)
- R2: 7 inc (14)
- R3: (1 sc, 1 inc) x 7 (21)
- R4: (2 sc, 1 inc) x 7 (28)
- R5-R7: 28 sc (28)
- R8: (2 sc, 1 dec) x 7 (21)
- R9: 2 sc dark blue, 4 sc white, 15 sc dark blue (21)
- R10: 1 sc dark blue, 6 sc white, 14 sc dark blue (21)
- R11: 1 sc dark blue, 8 sc white, 12 sc dark blue (21)
- R12: 1 sc dark blue, 8 sc white, 12 sc dark blue (21)
- R13: 1 sc dark blue, 6 sc white, 14 sc dark blue (21)
- R14: 2 sc dark blue, 4 sc white, 15 sc dark blue (21)
- R15: (2 sc, 1 dec) x 7 (14)
- R16: 7 dec (7)
Before the last round closes, stuff the head firmly with fiberfill. After that, fasten off and leave a long tail.
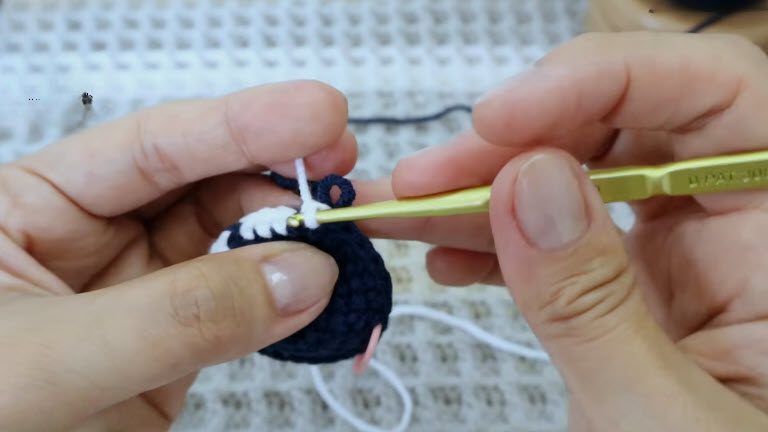
2. Crochet Snorlax Body (Dark Blue and White)
Next, make the body. Also, use the same patch idea here, so both pieces match.
- R1: Magic ring, 7 sc (7)
- R2: 7 inc (14)
- R3: (1 sc, 1 inc) x 7 (21)
- R4: (2 sc, 1 inc) x 7 (28)
- R5-R9: 28 sc (28)
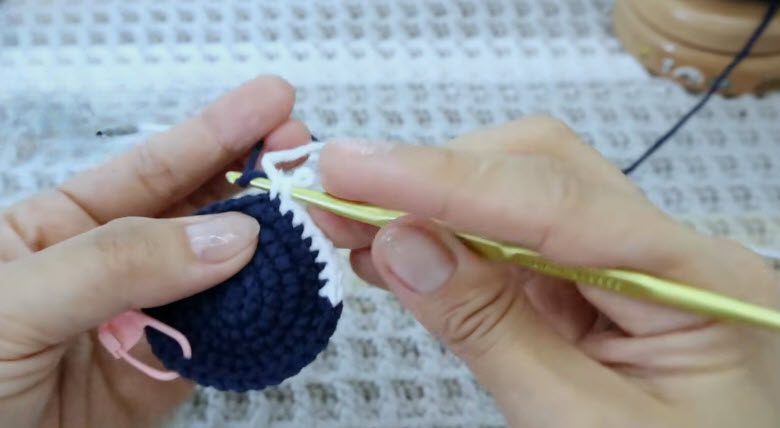
- R10: 6 sc dark blue, 8 sc white, 14 sc dark blue (28)
- R11: 5 sc dark blue, 10 sc white, 13 sc dark blue (28)
- R12: 5 sc dark blue, 10 sc white, 13 sc dark blue (28)
- R13: 6 sc dark blue, 8 sc white, 14 sc dark blue (28)
- R14: (2 sc, 1 dec) x 7 (21)
- R15: (1 sc, 1 dec) x 7 (14)
- R16: 7 dec (7)
Stuff the body with fiberfill before you close it. Then, fasten off and leave a long tail. Note that the white patch makes the belly.
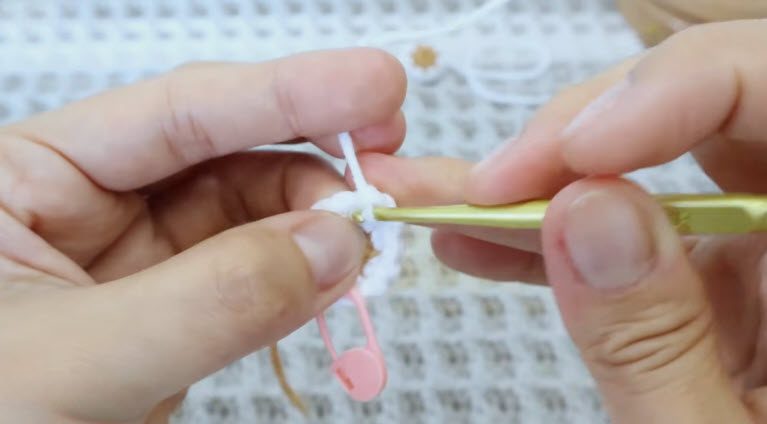
3. Snorlax Feet (Make 2)
After that, crochet two feet. Since they are small, they work up quickly.
- R1: Start with brown yarn. Magic ring, 7 sc (7)
- R2: Change to white yarn. (1 sc, 1 inc) x 7 (21)
- R3-R4: 21 sc (21)
Fasten off and leave a tail. In this design, the white round forms the sole of the foot.
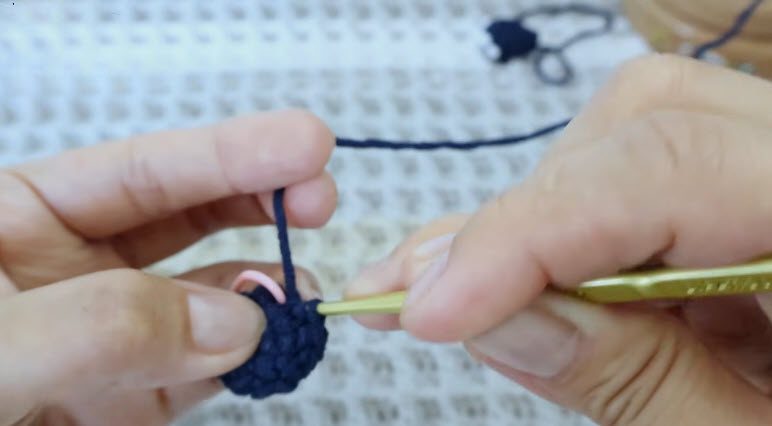
4. Snorlax Arms (Make 2, Dark Blue)
Then, make the two arms. Because they are tiny, they take just a few minutes.
- R1: Magic ring, 6 sc (6)
- R2: (1 sc, 1 inc) x 3 (9)
- R3: 9 sc (9)
- R4: (1 sc, 1 dec) x 3 (6)
- R5: 6 sc (6)
When you finish the last round, fasten off and leave a tail.
5. Snorlax Ears (Make 2)
Finally, make the ears. Likewise, they work up fast.
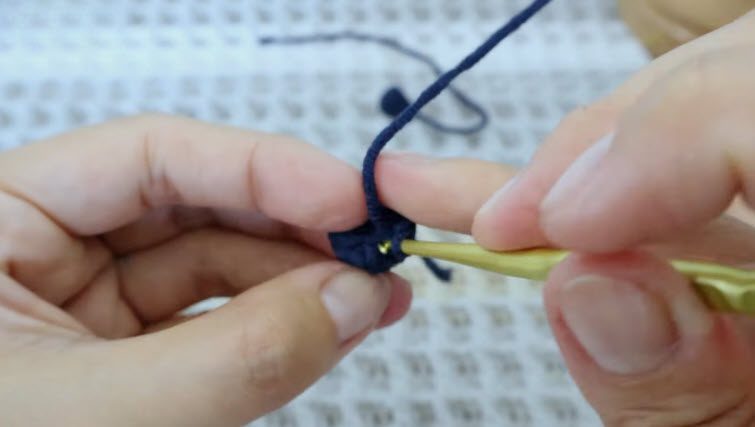
- R1: Magic ring, 4 sc (4)
- R2: (1 sc, 1 inc) x 2 (6)
- R3: (2 sc, 1 inc) x 2 (8)
Fasten off and leave a tail. As you can see, these pieces come out as small triangle-like shapes.
How to Assemble Your Crochet Snorlax
- Head to body: First, sew the head onto the body with a tapestry needle. Use a whip stitch all the way around, so the stuffing stays inside and the neck feels firm.
- Ears: Next, place the two ears on top of the head and sew them on.
- Arms: Then, sew one arm to each side of the body.
- Feet: Finally, sew the two feet to the bottom of the body.
Sleepy Face Details for Your Snorlax
Take the black embroidery yarn and stitch the closed eyes and the mouth onto the white patch on the head. This step gives your Snorlax his sleepy look. However, do it only after the head is stuffed and attached, because the face sits better that way.
Crochet Snorlax Video Tutorial
If you would rather watch than read, the video below shows the pattern in action. Also, it helps you see how the colour changes look in real time.
Bonus: Neat Colour Change Tips for Your Snorlax Amigurumi
- Switch yarn on the last stitch of the previous colour, so the change looks clean.
- Count your white stitches each round. The patch grows and shrinks in a set order, so a miscount shows right away.
- Keep your tension the same for both colours, because this stops the markings from looking puckered.
- Work the markings on the head and body the same way, so the two pieces match.
Pro Tips for a Neater Crochet Snorlax
- Stuff the head and body firmly before the final round closes, so they hold their shape.
- Keep your yarn tails long, since sewing is easier when you have plenty to work with.
- Sew the head on with a whip stitch all the way around. In this way, the stuffing stays in and the neck stays firm.
- Add the face last, after the head is stuffed and attached.
Finishing Tips for Your Snorlax Pattern
- Fasten off each piece with a long tail before you start the next one.
- Before you sew, lay the ears, arms, and feet on the body and check that they look even.
- Stitch the closed eyes and mouth onto the white patch only once the head is in place.
Common Crochet Snorlax Mistakes to Avoid
- Losing count in the white patch. The patch changes size in a set order, so count the white stitches every round.
- Skipping the stitch marker. Without it, colour changes drift, and as a result the markings go crooked.
- Uneven tension between colours. This makes the markings look puckered.
- Stitching the face too early. Instead, wait until the head is stuffed and attached.
Uses and Benefits of This Snorlax Amigurumi
- First, he is a small desk buddy that adds a sleepy smile to any shelf.
- Also, he is a good first project for trying simple colour work in the round.
- In addition, he gives you fun practice with magic rings, increases, and decreases.
- Finally, you can make this handmade Pokémon plush again in different yarn colours.
Gift Ideas for Pokémon Fans
- First, he makes a handmade surprise for a Pokémon fan.
- Also, he works as a small birthday present.
- Besides that, he is a cute add-on to a gift box.
- Finally, he is a thank-you gift for a fellow crochet friend.
Frequently Asked Questions About the Crochet Snorlax
1. Is this crochet Snorlax pattern good for beginners?
Yes, it suits a confident beginner who already knows basic crochet stitches. Although you work in rounds with a magic ring, the colour changes are simple.
2. How big is the finished Snorlax?
He comes out small, so he works well as a shelf or desk buddy.
3. What yarn and hook do I need?
Use 5-ply milk cotton yarn in dark blue, white, and brown with a 2.5 mm (size 4/0) hook. In addition, you need black embroidery yarn for the face.
4. How many pieces do I need to make?
You make one head, one body, two feet, two arms, and two ears. After that, you sew them all together.
5. How do I keep the white patch looking neat?
Count your white stitches every round and use a stitch marker. Also, keep your tension the same for both colours.
6. When should I stitch the face?
Do it last, after the head is stuffed and attached. Then, use black embroidery yarn for the closed eyes and the mouth on the white patch.
7. Can I make him in other colours?
Yes, you can. Once you have made one, try different yarn colours for a new look.
8. What do the US and Spanish abbreviations mean?
The lists above show both. For example, sc is single crochet in US terms, while pb is punto bajo in Spanish.
Your Sleepy Snorlax Is Ready to Nap
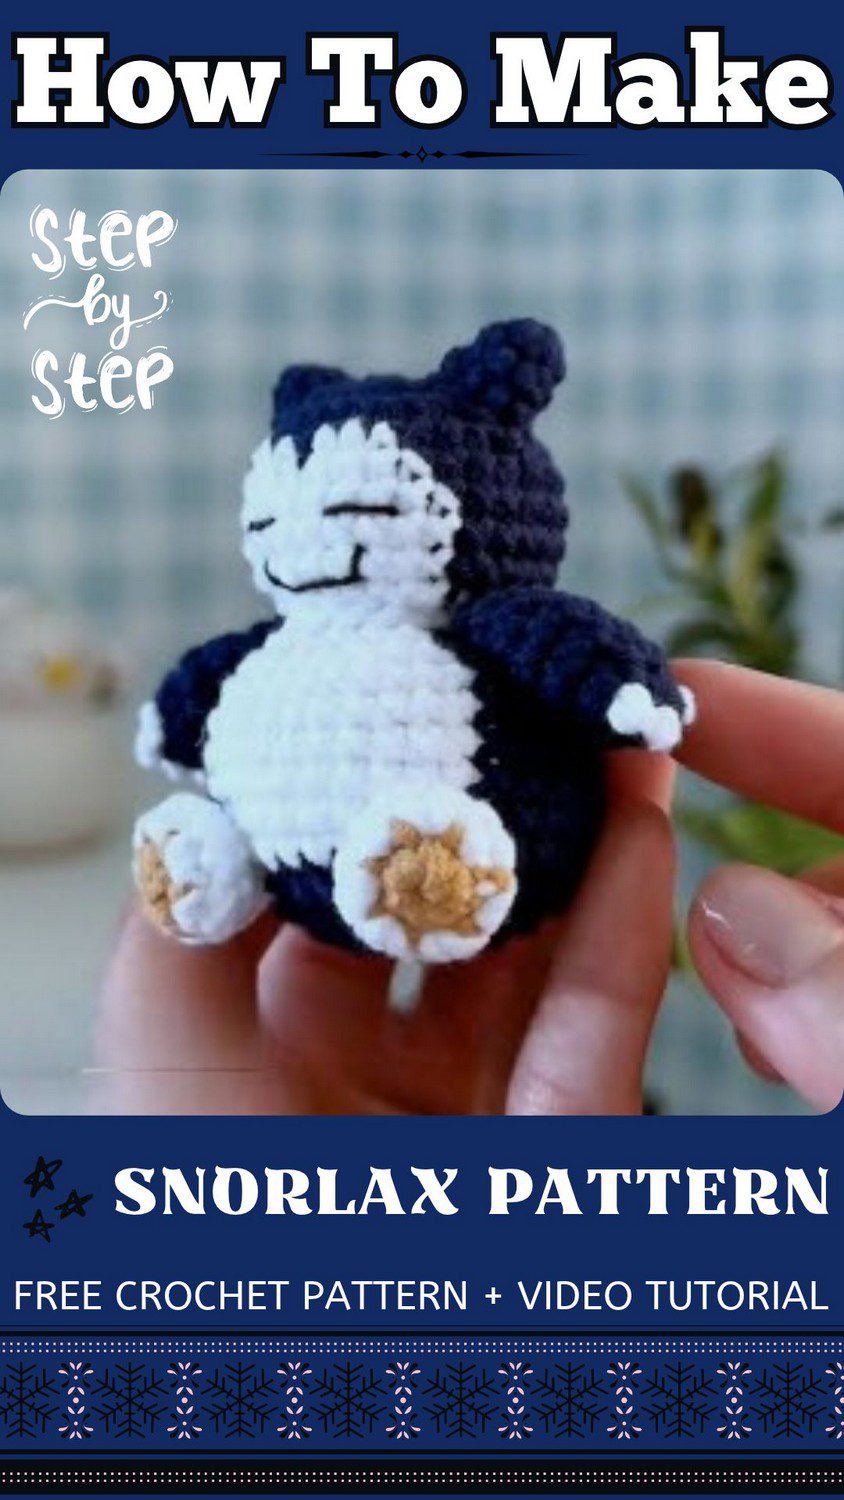
So yeah, that’s your Snorlax done! Honestly, the colour work looks way harder than it is. Once you stuff the head and body and sew them together, he starts looking like himself pretty fast. Then you just add the sleepy face, and that’s it. If you like, make a few more in different yarn colours.