Free Crochet Teddy Bear Amigurumi Pattern for Animals Lovers
Overview
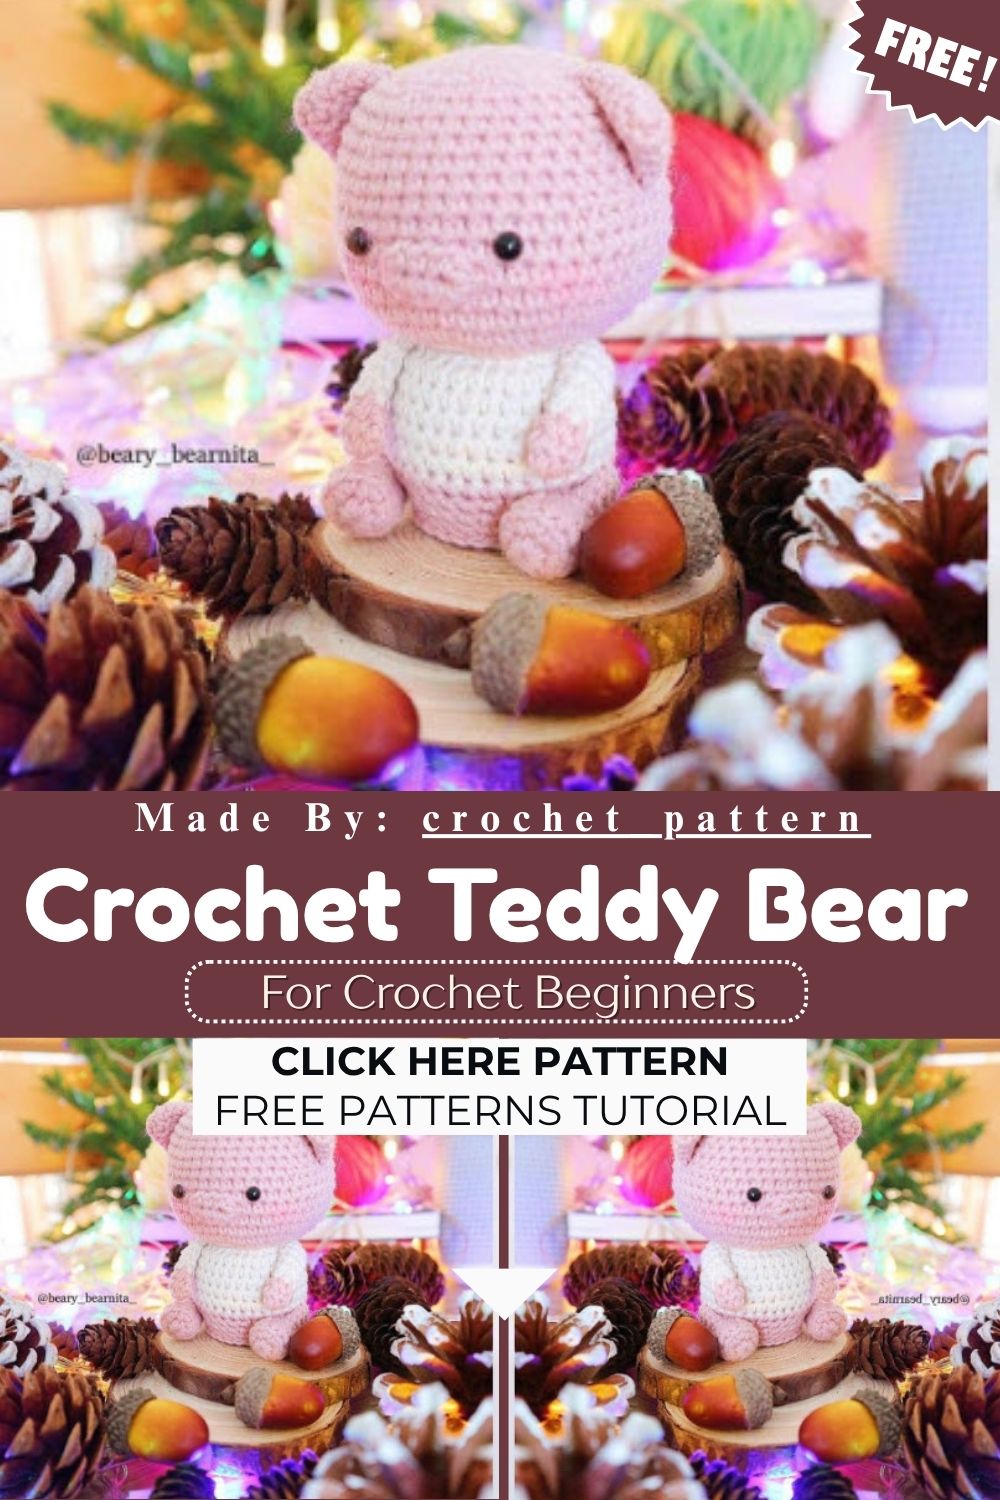
A Free Crochet Teddy Bear amigurumi combines basic single crochet stitches with a few shaping techniques like increases, decreases, and front or back loop work. Beginners familiar with amigurumi basics will recognize the rhythm quickly, while more experienced crocheters can enjoy the small details that give this bear its expressive face and sturdy little body.
Sport or DK weight yarn keeps the stitches tight and the stuffing hidden, which matters a lot for a toy meant to hold its shape. Yarnart Jeans works beautifully here because of its smooth texture and slightly firm feel, though any similar weight yarn will do the job just fine.
Skill Level
This pattern suits confident beginners who already know magic rings, single crochet, and basic increases or decreases. Front loop and back loop stitches appear a few times, so some prior amigurumi experience helps the process feel smoother and less confusing.
Materials and Tools
- Sport or DK lightweight yarn (Yarnart Jeans recommended)
- Crochet hook sized 2mm to 2.5mm
- Black embroidery thread for facial details
- Safety eyes, size 5mm
- Fiberfill stuffing
- Yarn needles for sewing pieces together
Gathering everything beforehand saves time and keeps the stitching process uninterrupted. Amigurumi projects move quickly once the pieces start taking shape, so having supplies within reach really helps.
Abbreviations Used in This Pattern
- MR – magic ring
- sc – single crochet
- hdc – half double crochet
- dc – double crochet
- inc – increase (2 single crochet in 1 stitch)
- dec – decrease (invisible decrease)
- FLO – front loop only
- BLO – back loop only
- slst – slip stitch
Step-by-Step Guide
Crocheting the Head
Begin the head in pink yarn with 8 single crochet stitches worked into a magic ring. Increase rounds two through six to build the head outward until it reaches 48 stitches, giving the bear its round, chubby face.
Five straight rounds keep that width consistent before decreases start shaping the neck area. Rounds twelve through twenty-three gradually reduce stitch count back down to 6, closing off the top of the head. Cut the yarn and weave in the end once finished.
Building the Body
Switch to white yarn and insert the hook into the back loop only round from the head, specifically round four. This connection point creates the seamless transition between head and body that amigurumi bears are known for.
Rounds one through six increase and hold steady at 36 stitches, then the color changes back to pink. Decreases begin at round eight and continue closing the body down to 6 stitches by round fourteen. Insert the hook into the back loop only round eleven and slip stitch around before cutting the yarn.
Making the Legs
Work two identical legs starting with 6 single crochet in a magic ring. Increase to 12 stitches, then work a back loop only round to define the foot shape. Decreases at rounds four and five bring the leg down to 8 stitches, held steady for four more rounds.
Cut the yarn after the first leg and repeat the same steps for the second. Leave a long tail on each for sewing them onto the body later.
Crocheting the Ears
Both ears begin with 6 single crochet in a magic ring, increasing steadily across four rounds until reaching 12 stitches. A final straight round keeps that count before finishing off. Long tails left after cutting the yarn make attaching them to the head much easier.
Stitching the Arms
Start each arm with 6 single crochet in a magic ring, working two straight rounds before switching to white yarn. Five more rounds bring the arm up to 10 stitches total. Cut the yarn and leave a generous tail for sewing onto the body.
Forming the Nose
Chain 4 to begin the nose piece. Starting in the second chain from the hook, work 3 single crochet in the first chain, 2 single crochet in each of the next two chains, then 3 single crochet in the last chain. Work 2 single crochet along the other side of the chain and slip stitch to close. Leave a tail for sewing the nose onto the finished face.
Usage Ideas
- Display the finished bear on a nursery shelf as a soft decorative accent.
- Gift it as a handmade keepsake for a baby shower or birthday.
- Use it as a comforting bedtime companion for toddlers.
- Sell finished bears at craft fairs or online handmade marketplaces.
Helpful Tips
Stuff each piece firmly but avoid overpacking, since amigurumi holds its shape best with even, moderate filling. Safety eyes should be placed before the head closes completely, as inserting them afterward becomes far trickier.
Weaving in ends as you go prevents a messy tangle of loose yarn at the end of the project. Stitch markers help track rounds, especially through the increase and decrease sections where miscounting happens easily.
Customization and Variations
Swap the pink and white color combination for any palette that matches a nursery theme or personal preference. Embroidered eyebrows or a small bow tie can add extra personality without changing the core pattern.
Different yarn weights also change the finished size dramatically. A bulkier yarn produces a larger, huggable bear, while thinner yarn creates a smaller, more delicate keepsake version.
Textured yarns bring their own charm too, adding a slightly fuzzy or heathered look that mimics real fur without any extra stitching effort. Mixing solid and speckled yarns across different pieces can also give each bear a one-of-a-kind finish.
Common Mistakes to Avoid
- Skipping stitch markers, which makes rounds easy to lose track of.
- Understuffing limbs, leaving the bear floppy instead of sturdy.
- Attaching safety eyes too early, before checking the spacing looks even.
- Rushing the sewing step, resulting in visible gaps between pieces.
Finishing Tips
Pin the arms, legs, and ears in place before sewing to check proportions look balanced. Ladder stitch works wonderfully for attaching limbs since it keeps seams nearly invisible. Embroider the nose and mouth last, once every other piece sits securely in place.
Gifting Ideas
A finished crochet teddy bear amigurumi makes a thoughtful handmade gift for baby showers, first birthdays, or as a small comfort item tucked into a care package. Wrapping it in tissue paper with a handwritten note adds a personal touch that store-bought toys simply cannot match.
Frequently Asked Questions
What yarn weight works best for this pattern?
Sport or DK weight yarn gives the cleanest stitch definition and holds stuffing well without gaps showing through.
Can beginners complete this crochet teddy bear amigurumi?
Yes, as long as basic amigurumi stitches like increases, decreases, and magic rings feel comfortable already.
Why use safety eyes instead of embroidered ones?
Safety eyes stay secure permanently and give the bear a more polished, professional look once attached.
How much yarn does this Free Crochet Teddy Bear pattern typically use?
Amounts vary by tension, but one skein each of pink and white sport weight yarn usually covers the whole bear comfortably.
Conclusion
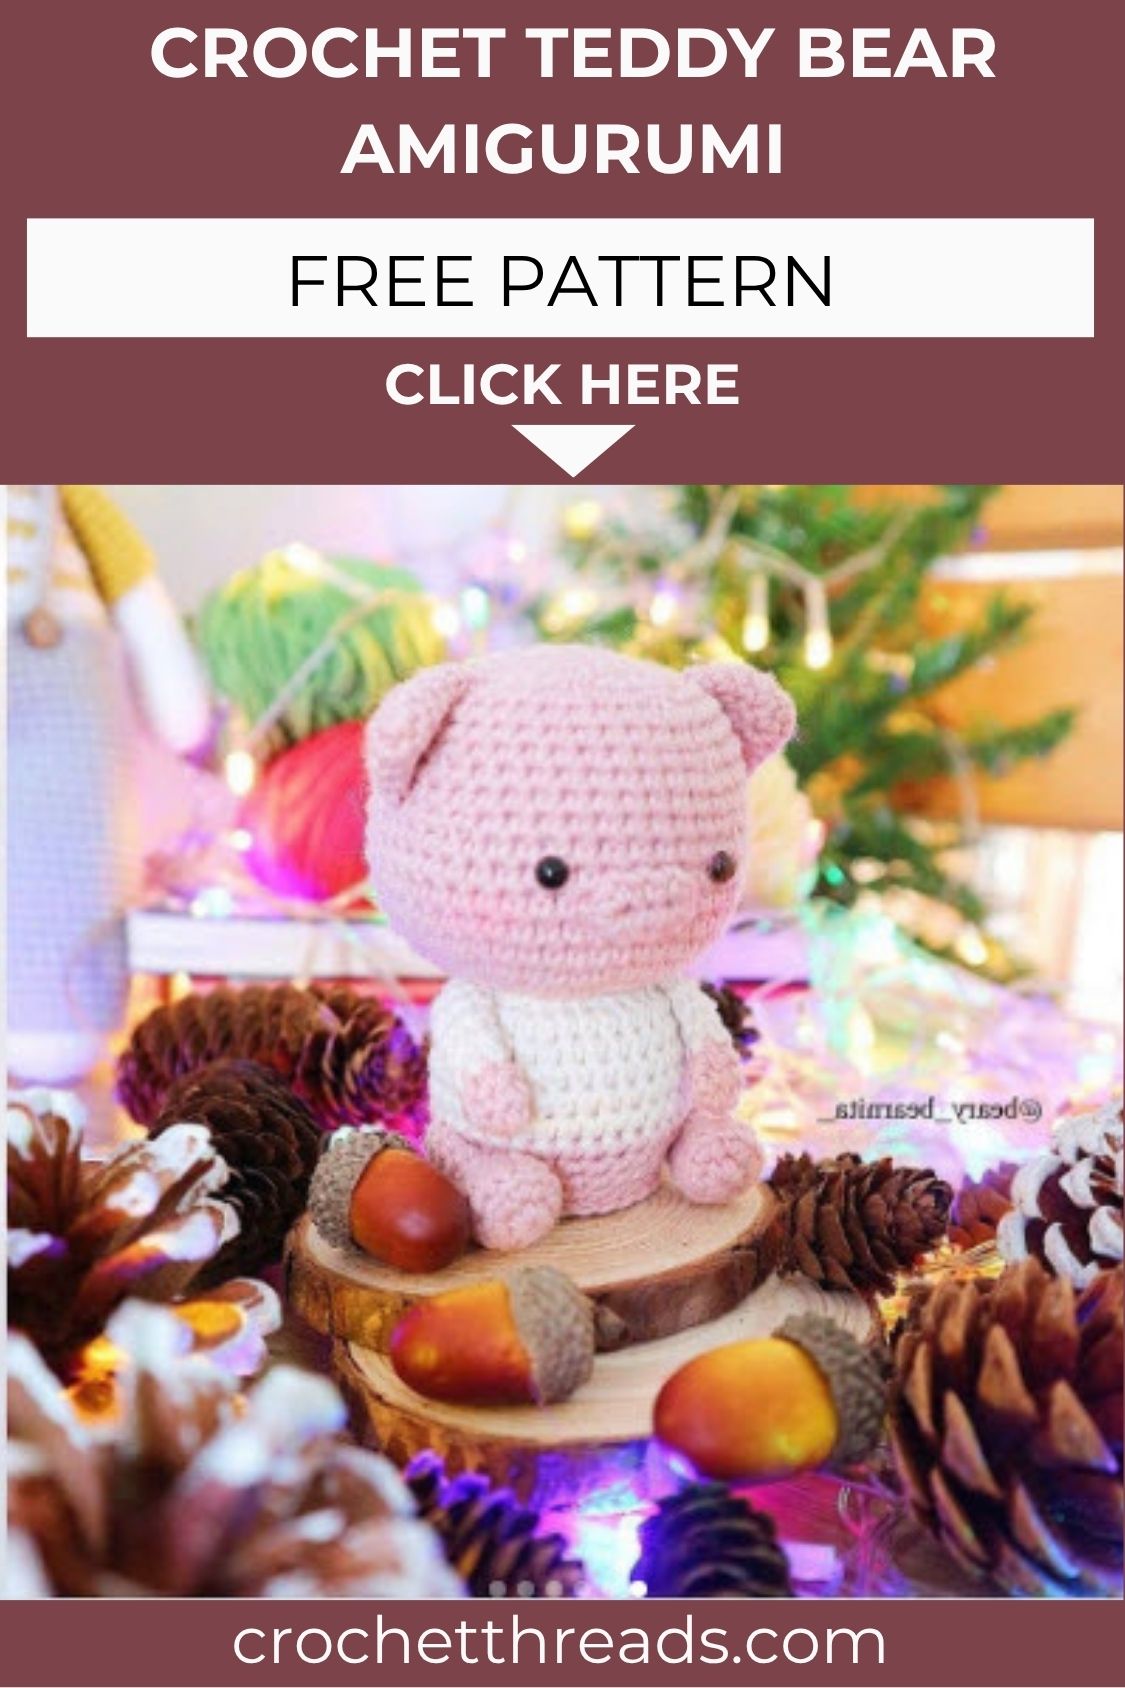
Stitching a Free Crochet Teddy Bear amigurumi brings together simple techniques and a rewarding finished result. Each piece, from the rounded head to the tiny embroidered nose, adds character until a soft, huggable companion takes shape. Beginners gain confidence practicing shaping techniques, while experienced crocheters enjoy the satisfying detail work. Once finished, this bear makes a cherished handmade gift or a sweet addition to any nursery shelf, proving that a little yarn and patience go a long way toward creating something truly special.