Soft & Cuddly Crochet Elephant Amigurumi Pattern
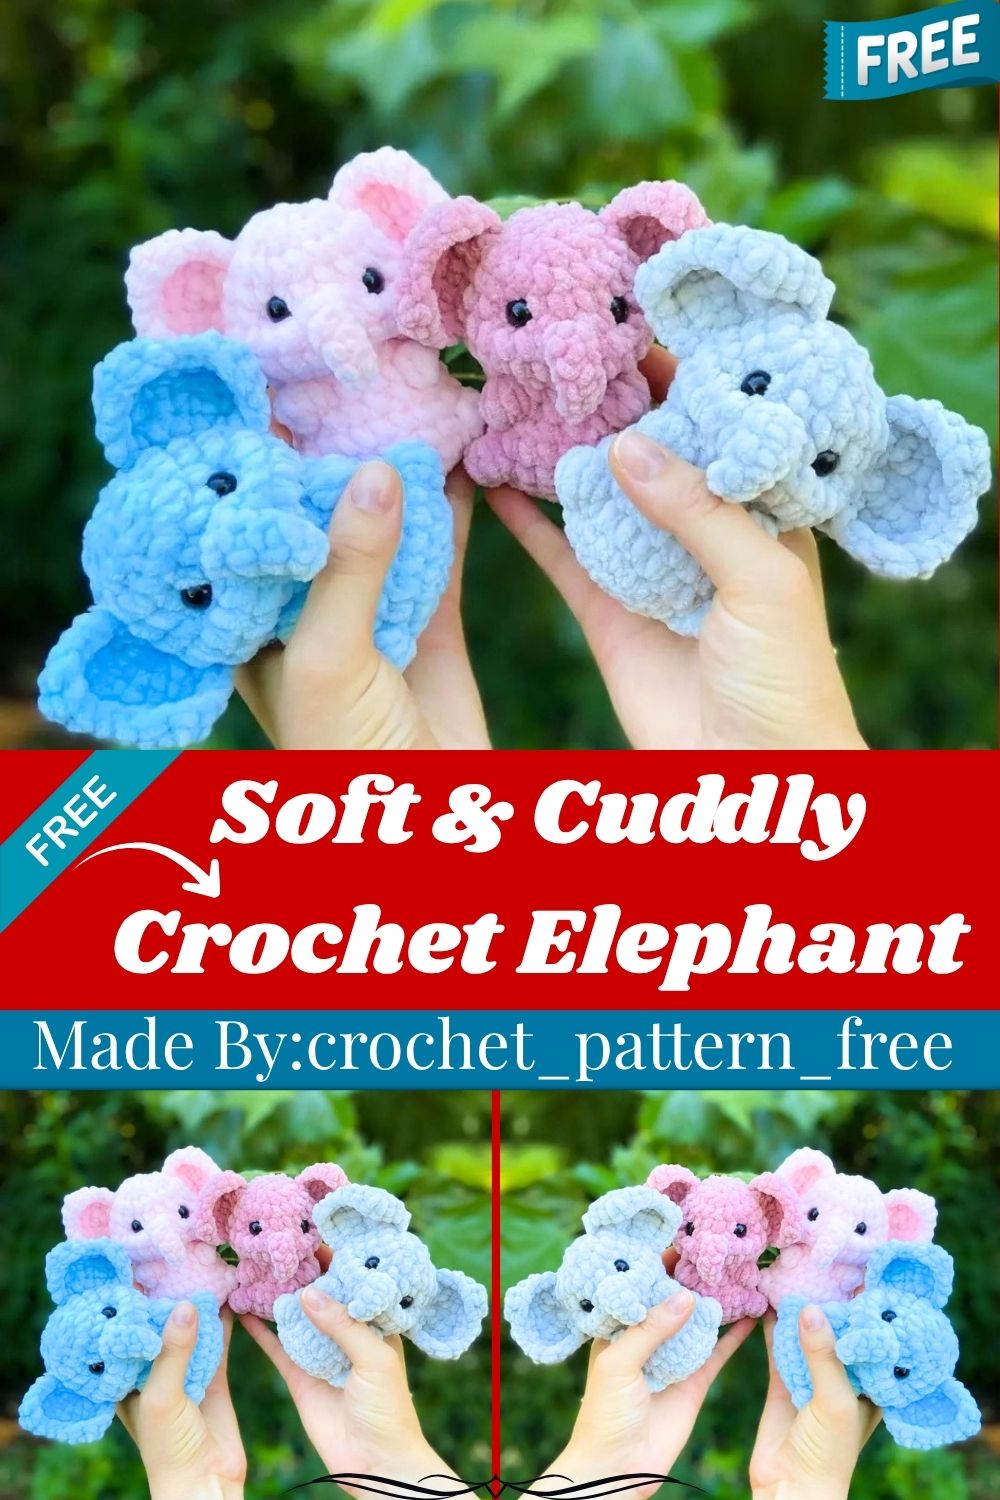
Soft and cuddly, this crochet elephant amigurumi pattern turns simple chenille yarn into a plush companion perfect for gifting. Honestly, the trunk and stubby ears give this design real personality, making it a standout addition to any handmade toy collection.
Crochet elephant amigurumi patterns stand out for their playful trunk shaping and expressive eye placement, and this one delivers both without overwhelming complexity. Every piece, from the seamless body-head to the tiny bobble-stitch toenails, builds core amigurumi skills like back-loop rounds and face shaping with thread. As a result, beginners build confidence quickly, while experienced crafters enjoy a soft chenille texture that feels genuinely huggable as a lasting handmade gift.
Pattern Overview
- First, a seamless body-head worked in one continuous piece for a clean silhouette
- Next, a shaped trunk built directly into the head using a chain extension
- Also, textured bobble stitches for the toenails and facial detailing
- Then, back-loop-only rounds that create a subtle ridge for added shape
- After that, thread-based face shaping for realistic, well-positioned eyes
- Finally, small folded ears worked flat and sewn on for extra dimension
- Overall, soft chenille yarn that gives the finished elephant a plush, huggable feel
Special Techniques
- To start, a magic ring beginning for a seamless, hole-free center
- Additionally, bobble stitches made from five incomplete double crochets for texture
- Meanwhile, back-loop-only single crochet rounds for subtle ridged shaping
- For the trunk, a chain extension worked mid-round without breaking the piece
- Likewise, thread-based face shaping to pull eyes into a natural position
- Finally, turning rows with a starting chain for the folded ear shape
Skill Level
Beginner to intermediate crocheters can finish this pattern using single crochet, increases, decreases, and bobble stitches. However, back-loop rounds and thread-based face shaping add a small useful learning curve.
Common Mistakes
- First, skipping the stitch marker and losing track of the current round
- Also, forgetting to work certain rounds in back loops only, which changes the shape
- Similarly, attaching the eyes before completing the face shaping thread step
- In addition, rushing the trunk chain and misplacing it off-center on the face
- Sometimes, overstuffing the head before the face shaping pulls it into position
- Finally, cutting the ear thread too short to leave a tail for sewing
Uses & Benefits
Crochet elephant amigurumi offers more than a cute shelf display. For instance, the soft chenille texture feels gentle against a toddler’s skin, making it suitable for early sensory play. Additionally, gifting one shows genuine effort compared to store-bought stuffed animals, and stitching it doubles nicely as a relaxing hobby project. Ngl, working through the trunk and face-shaping steps also builds patience and fine motor precision, resulting in a lasting keepsake that outlasts typical mass-produced plush toys of all kinds.
Helpful Beginner Tips
- First, count stitches after every round, especially near the trunk section
- Also, keep a stitch marker on the first stitch of each round at all times
- Similarly, practice the bobble stitch separately before working it into the piece
- If needed, use a mirror to check eye placement before finishing the thread knots
- Finally, weave in ends as you go instead of leaving them all for later
Assembly
Follow these steps in order, since the body and head work up as one seamless piece.
Materials
- Chenille yarn (Himalaya Dolphin Baby, 100g/120m, less than half a skein, or any chenille yarn you like)
- A 4mm crochet hook
- 10mm safety eyes
- Scissors
- Sewing needles
- Stuffing
- A stitch marker
Abbreviations
- sc = single crochet
- inc = increase
- dec = decrease
- MR = magic ring
- bo = bobble stitch (5 incomplete double crochet stitches)
- blo = back loop only
- ch = chain
- slst = slip stitch
- (…) = the number inside the parenthesis shows the stitch count for that round
- = repeat the instruction the stated number of times
Body-Head
To begin, work in your main color:
- R1: 6 sc in MR (6)
- R2: 6 inc (12)
- R3: 12 inc (24)
- R4: 24 sc blo (24)
- R5: 7 sc, bo, 8 sc, bo, 7 sc (24)
- R6: 24 sc (24)
- R7: (2 sc, dec) *6 (18)
- R8: 7 sc, bo, 4 sc, bo, 5 sc (18)
- R9: 18 sc (18)
- R10: (sc, inc) *9 (27)
- R11: 27 sc (27)
- R12: 16 sc, making sure you land in the middle between the hands so the trunk sits centered, then ch 7, and starting from the second chain from the hook, work 6 sc along it, then continue with 11 sc (27)
- R13: (2 sc, dec) *4, skip over the trunk and continue working around the head, then (2 sc, dec) *2, sc, dec (20) Stuff as you go from this point forward.
- R14-15: 20 sc, 2 rounds (20) Insert the safety eyes between rounds 13 and 14, leaving 4 stitches between them.
- R16: 10 dec Once finished, tighten the hole through the 10 front loops using a tapestry needle, then fasten off and weave in the ends.
Face Shaping
Next, insert a needle with strong thread between the stitches at the bottom of the neck, parallel to the eye, and pull it out at the right lower corner of the right eye. Then, insert the needle into the left corner of the same eye and pull it out at the bottom of the neck, at the same point you started, leaving one stitch apart. Afterward, pull both thread tails until the eye sits in the correct position, then tie 2-3 strong knots. Cut the thread and hide the tails. Finally, repeat the same steps for the second eye.
Ears
Make two. Work in turning rows, with ch 1 at the beginning of each row.
- R1: ch 5, then starting from the second chain from the hook, work 4 sc
- R2: 2 sc, dec (3)
- R3: 3 sc (3)
- R4: 2 sc, inc (4)
- R5: 4 sc (4) Once the shape is complete, sc all around the edge, working inc in every corner, then slst to close. Cut the thread, leaving a long tail for sewing. Sew each ear to the sides of the head, just above the eyes.
Arms
Make two, working in your main color:
- R1: 6 sc in MR (6)
- R2: 6 inc (12)
- R3-5: 12 sc, 3 rounds (12)
- R6: 6 dec (6) Stuff lightly, then fasten off, leaving a long tail. Sew the arms to the sides of the body, just below the head, spacing them evenly.
Legs
Make two, working in your main color:
- R1: 6 sc in MR (6)
- R2: 6 inc (12)
- R3: (sc, inc) *6 (18)
- R4-8: 18 sc, 5 rounds (18)
- R9: (sc, dec) *6 (12) Stuff firmly, then fasten off, leaving a long tail. Sew the legs to the bottom of the body, spacing them about 3-4 stitches apart so the elephant can sit or stand upright.
Where Can You Use This Case?
- For instance, nursery decor or shelf display for a soft, neutral-themed room
- Also, a handmade baby shower or first-birthday gift with lasting sentimental value
- Similarly, a soft toy for toddlers who enjoy plush animal companions
- In addition, a craft fair or Etsy shop item that stands out from mass-produced toys
- Finally, a comforting travel companion for car rides or naptime
Why Beginners Will Enjoy This Pattern
No joke, beginners tend to love this pattern because the body and head work up in one seamless piece, so there is no separate assembly for the main shape. Furthermore, clear round-by-round counts make progress easy to track, and as a result, the trunk and face shaping steps feel like a rewarding challenge rather than an overwhelming one.
Tips and Tricks for Success
- First, block finished pieces gently to even out stitch tension before sewing
- Also, match chenille yarn weight to a 4mm hook for consistently snug stitches
- Then, pin the ears in place before sewing to check the angle looks balanced
- Additionally, save leftover yarn for small details like the trunk tip or toenails
- Finally, photograph each stage so future amigurumi projects go faster with less guesswork
Why This Crochet Pattern Is Trending
Chenille yarn amigurumi keeps climbing in search trends as crafters look for that extra-soft, velvety texture in handmade toys. Real talk, elephant designs also pair well with neutral nursery color palettes, and as a result, this pattern fits seamlessly into gender-neutral gift and home decor trends.
- Overall, chenille yarn searches have grown steadily among amigurumi and home decor crafters
- Additionally, neutral-toned nursery decor remains a popular Pinterest and home styling category
- Furthermore, elephant designs appeal to both children and adult collectors, widening the gift market
Conclusion
For real, this crochet elephant amigurumi pattern proves that a soft chenille yarn and a little patience can produce a genuinely heartfelt gift. Overall, whether it sits on a nursery shelf or travels home in a birthday gift bag, this little elephant brings handmade warmth that store-bought toys cannot match.