Free Crochet Little Bird Amigurumi Toy Pattern
Small bird-shaped amigurumi are always an instant favorite thanks to their adorable look, which is exactly why the Free Crochet Little Bird Amigurumi Pattern draws in crochet lovers of every age. Minimal yarn and simple stitches mean it comes together quickly, and once finished, it looks charming as shelf decor while also making a delightful addition to kids’ playtime, toy baskets, or a soft amigurumi collection.
Small crochet toys like this little bird amigurumi work beautifully for nursery decor and as thoughtful handmade gifts alike. What makes this design special is its plump, rounded body paired with contrasting wing colors, giving it a stylish look while staying completely beginner-friendly. From first-time crocheters to intermediate makers, anyone can follow along without getting stuck. By the end of this post, readers will pick up continuous spiral rounds, clean color-change techniques, and proper stuffing methods all it takes is a hook, some yarn, and a little patience.
Skill Level
Beginner to easy-intermediate crocheters will handle this pattern comfortably. Basic single crochet, increases, decreases, and simple shaping are all that’s required. No joke, if you’ve made one amigurumi animal before, this bird will feel familiar and quick to complete.
Pattern Overview
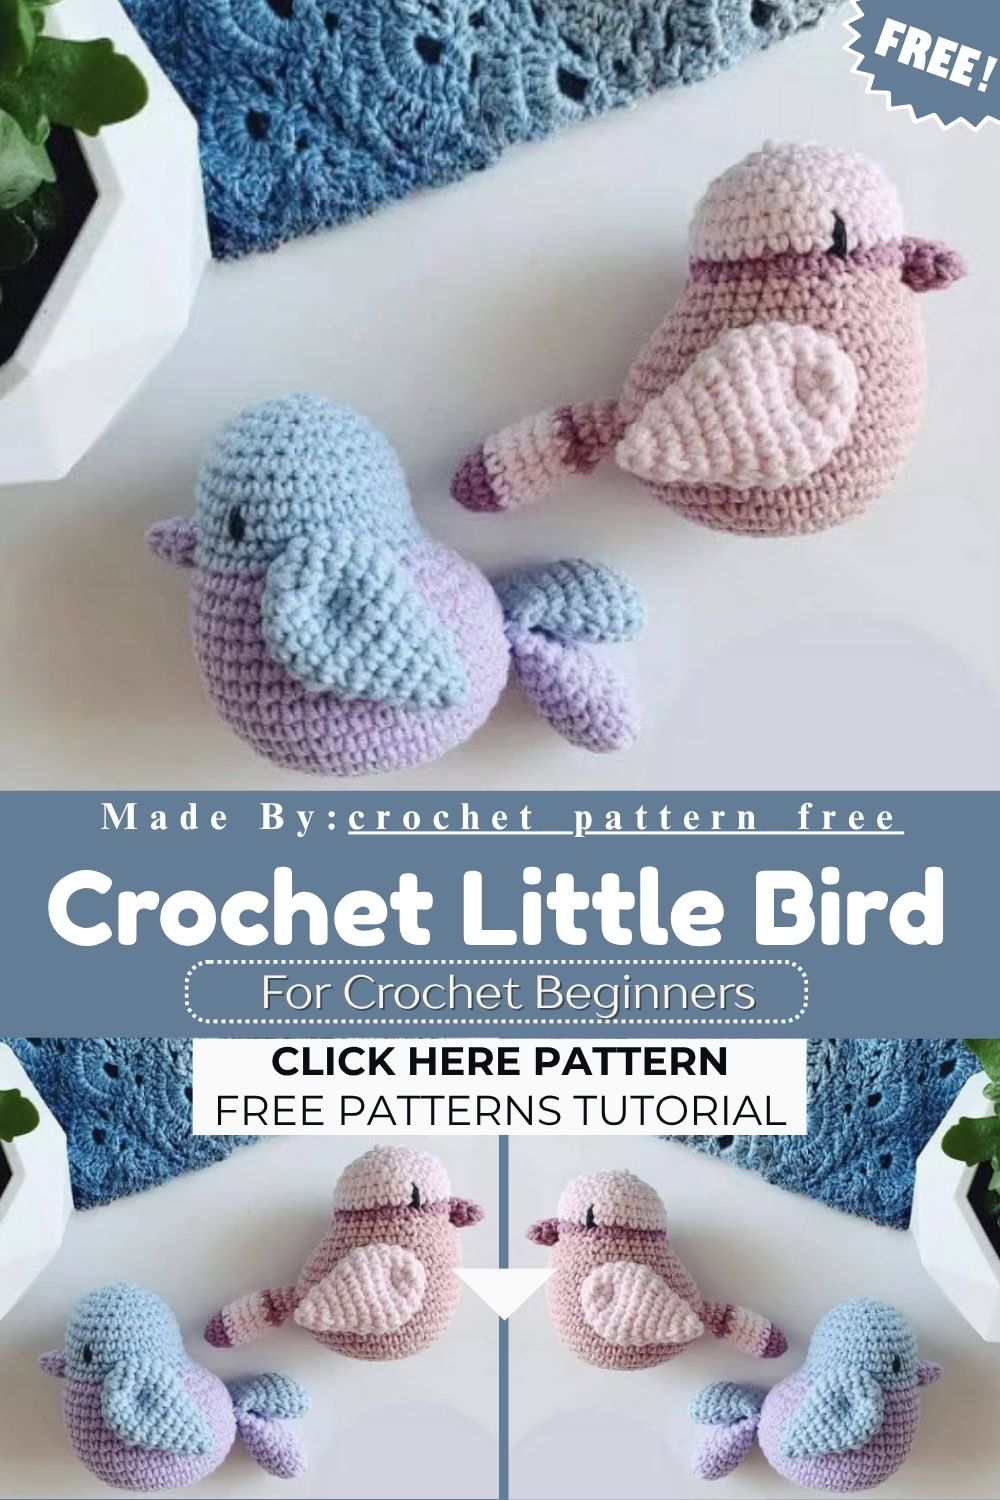
Trust me, this bird works up in just a few simple pieces: a rounded body-and-head worked in one continuous piece, two wings, a small beak, a tail, and tiny feet or a base for balance. Safety eyes or embroidered eyes give it a sweet expression, while contrasting yarn colors on the wings and belly add visual interest without extra difficulty.
Working in continuous rounds (spiral method) keeps the shaping smooth and avoids visible seams around the body. Stuffing is added gradually as the rounds progress, so the shape stays even and firm rather than lumpy.
Materials Needed
- Worsted weight yarn in 2–3 colors (body, wings/belly, beak/feet accent)
- 3.0mm–3.5mm crochet hook
- Polyester fiberfill stuffing
- Safety eyes (6mm) or black embroidery thread
- Yarn needle and stitch marker
- Scissors
Stitches Used
- Magic ring
- Single crochet (sc)
- Increase (inc)
- Invisible decrease (sc2tog)
- Slip stitch (sl st)
Special Techniques
For real, a few small techniques make this pattern look far more polished than the stitch count suggests.
Continuous Spiral Rounds
Working without joining each round keeps the surface smooth. A stitch marker moved up every round prevents losing track of where you started, which matters most around the increase-heavy head shaping.
Color Changes for Wings
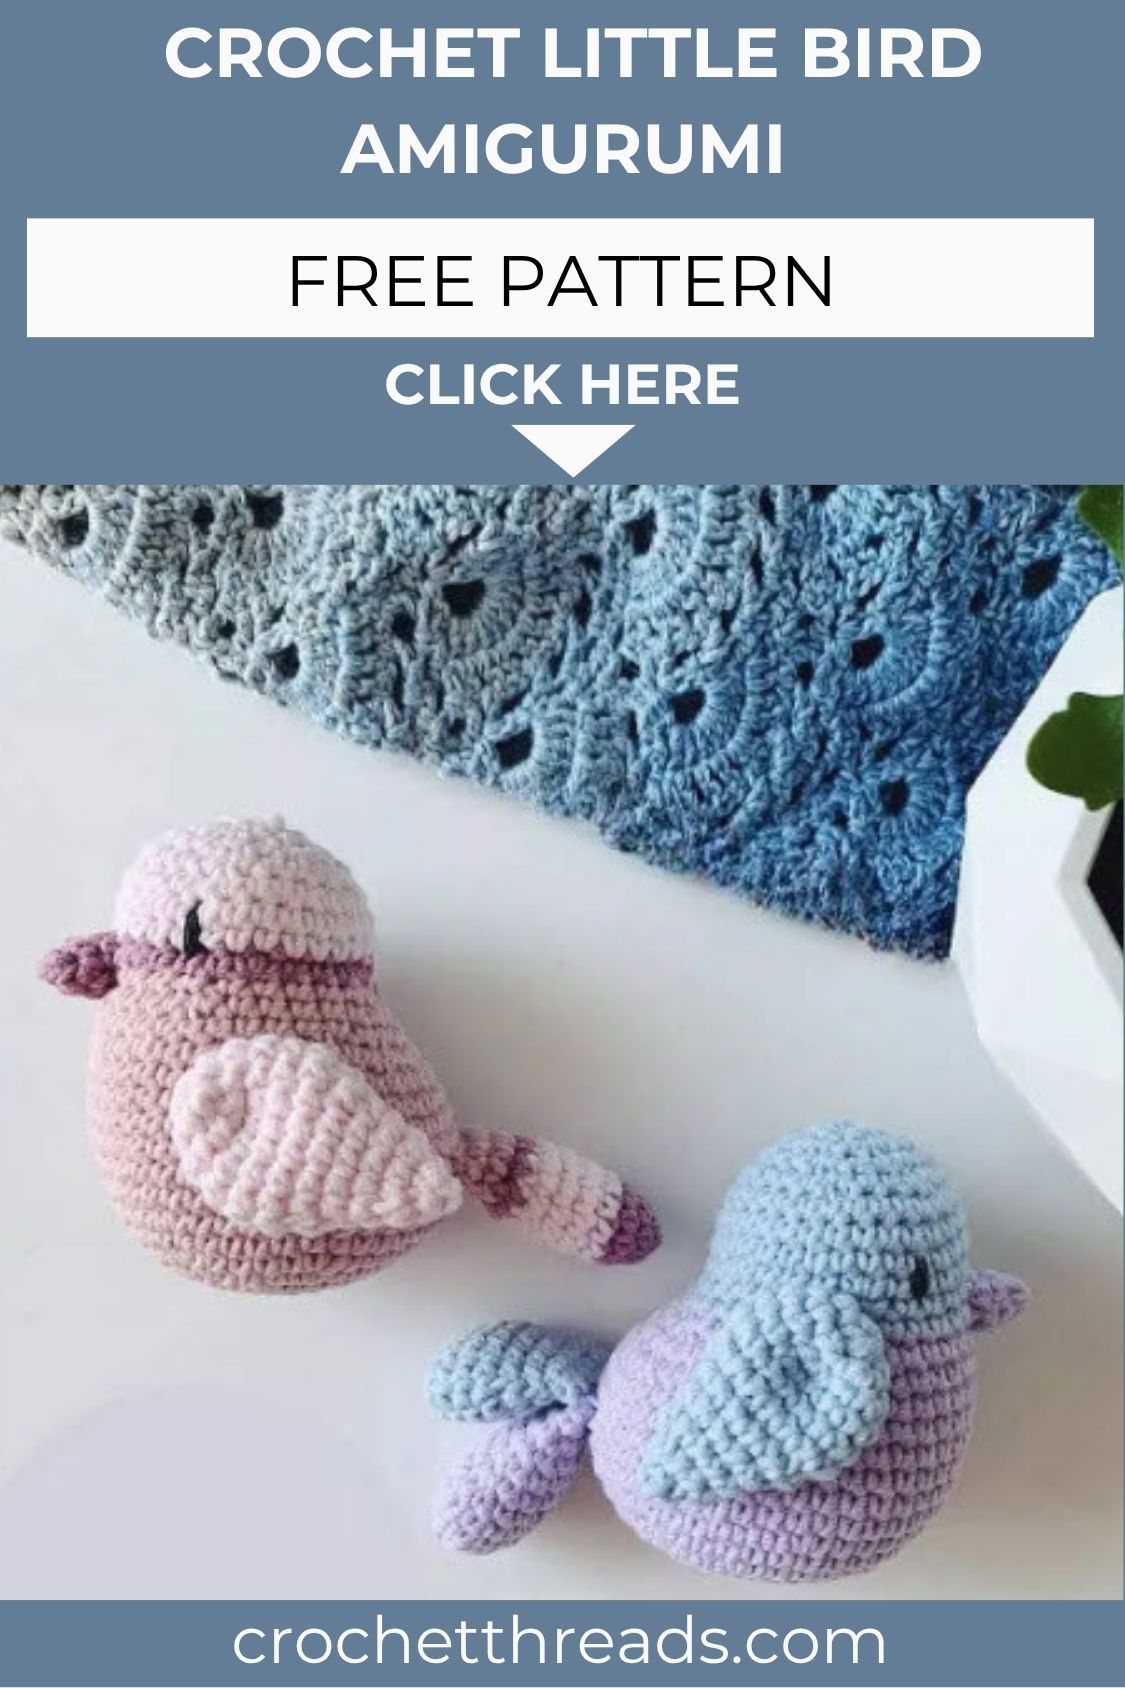
Switching yarn color mid-round for the wing panels creates that layered, feathered look seen in the reference photo. Carrying the unused color loosely inside the stitches avoids bulky knots later.
Shaping the Rounded Body
Gradual increases at the base and steady decreases near the neck give the bird its plump, top-heavy silhouette rather than a flat oval shape. Stuffing firmly but not overpacking keeps the round shape intact without stretching stitches.
Common Mistakes to Avoid
Even simple patterns trip people up in predictable spots.
- Losing the spiral count — always keep a stitch marker on the first stitch of each round.
- Under-stuffing the head — a loose head causes the face to look uneven once eyes are attached.
- Skipping blocking on wings — flat pieces like wings hold their shape better after light steam blocking before attaching.
- Attaching eyes too early — always test eye placement with pins before securing safety eyes permanently, since repositioning afterward is difficult.
- Tight tension on color changes — pulling yarn too tight when switching colors can pucker the fabric around the wing seams.
Assembly
Once all pieces are complete, assembly ties the whole bird together.
- Attach safety eyes to the head section before closing it up, spacing them evenly for a friendly expression.
- Sew the beak in place just below and between the eyes using a small triangular fold.
- Position the wings slightly forward on each side of the body and whipstitch them securely.
- Attach the tail at the back base, angled slightly upward for a lifelike posture.
- Add small feet or a flat base underneath so the bird sits upright without wobbling.
- Weave in all loose ends and trim neatly.
Finishing Tips
A light trim of any uneven stuffing lumps with fingers (not scissors) helps the body settle into a smooth round shape. Steaming the wings flat before attaching gives a crisper, more defined look that matches photo references closely.
Customization & Variations
Swapping the color palette instantly changes the bird’s character — soft pastels for a nursery gift, deeper jewel tones for a fall-themed decoration, or bright primary colors for a playful kids’ toy. Adding a small crochet loop at the top turns it into a hanging ornament, while a slightly larger hook and thicker yarn produce a bigger cuddle-sized version.
Gifting Ideas
This little bird makes a sweet baby shower gift, Easter basket filler, or a small “just because” present. Pairing two birds in coordinating colors also works nicely as a set for siblings or friends.
Frequently Asked Questions
Can beginners really finish this in one sitting?
Yes, most crocheters complete the body and wings within two to three hours of relaxed stitching.
What yarn weight works best?
Worsted weight (medium, 4) gives the cleanest stitch definition for amigurumi shaping.
Can I make it without safety eyes?
Absolutely — embroidered eyes with black thread work well and are safer for very young children.
How much yarn is needed total?
Roughly one small skein per color is generally enough for a single bird.
Conclusion
At the end of the day, this crochet little bird amigurumi pattern proves that small projects can still deliver big personality. Between the simple stitch count, forgiving shaping, and endless color options, it’s an easy win for beginners and a satisfying quick make for experienced crocheters. Keep a stitch marker handy, stuff firmly, and this cheerful little bird will be ready to perch on a shelf in no time. Give it a try, and don’t be surprised if one bird quickly turns into a whole flock.