Free Crochet Puppy Amigurumi Pattern with Floppy Ear Details
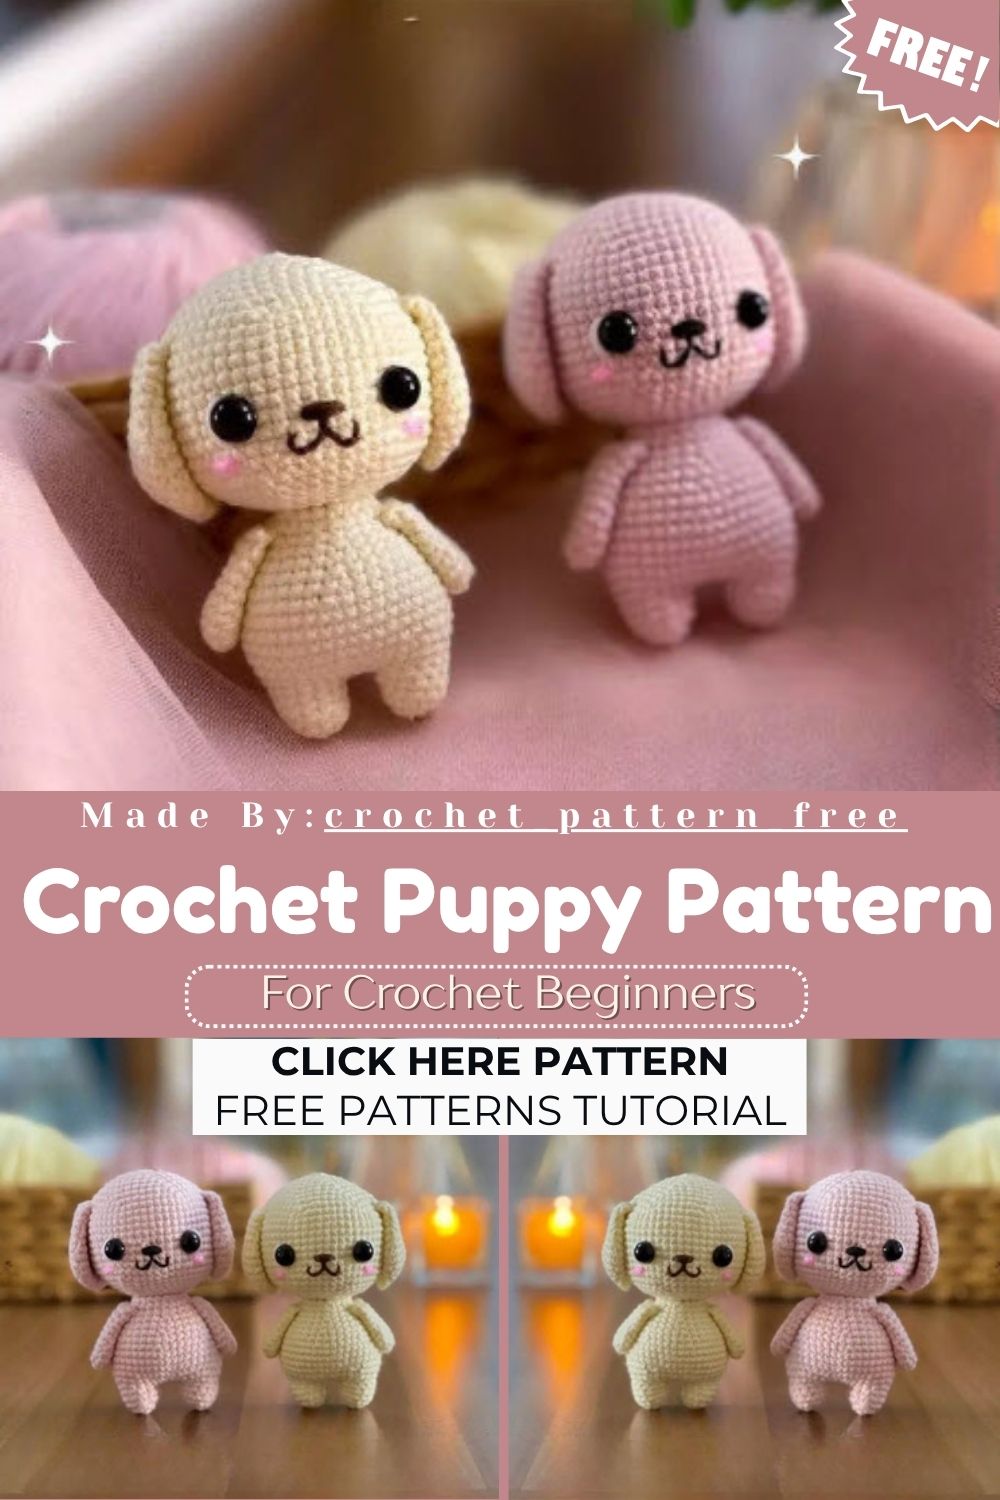
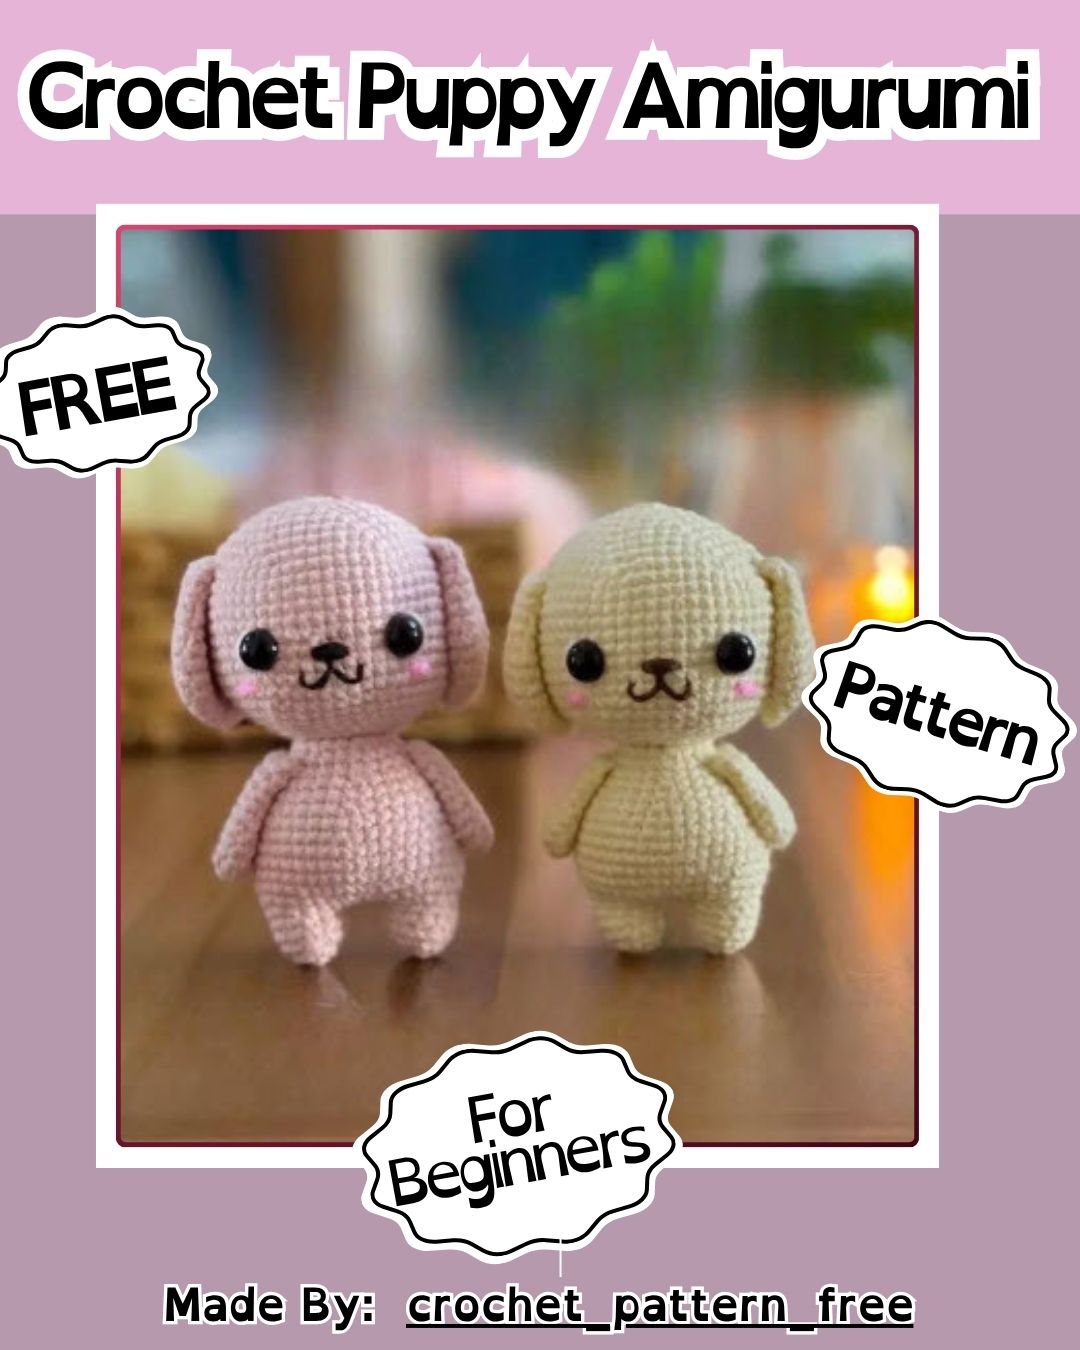
Their sweet expressions and charming personality have long made amigurumi puppies a favorite among crocheters. Round by round, this Free Crochet Puppy Amigurumi Pattern gradually builds a round face, floppy ears, and a balanced body, resulting in a beautiful handmade character. Beginners familiar with basic increases and decreases can follow the pattern with ease, while experienced crocheters can add their own touch through different colors and fine details. Whether you’re after a realistic amigurumi character, a soft toy for kids, or a fresh addition to your animal collection, this pattern makes an excellent choice.
Overview
Small dog amigurumi patterns rarely combine floppy ear shaping with a properly weighted standing body, but this one does both. Working from a single 2mm hook, you’ll build the head, ears, legs, body, and arms as separate pieces before sewing everything together into one finished pup. Yarn choice, stuffing density, and eye placement all shape the final personality of your puppy, so small adjustments along the way are welcome.
Skill Level
Low-key intermediate-friendly, this puppy pattern leans on magic rings, single crochet, increases, and decreases throughout. Crocheters who’ve completed a basic amigurumi ball before should move through the head, body, and limb sections without much trouble at all.
Materials Needed
Before starting, gather these essentials:
- 2mm crochet hook
- Fiberfill stuffing
- Sewing pins
- Yarn needle for assembling pieces
- Black or brown embroidery thread for facial details
- Worsted weight yarn in your chosen puppy color
Crocheting the Head
The head forms the focal point of the whole piece, so accuracy here pays off later.
1–9 (build the sphere):
- Rnd 1: 6 sc in magic ring
- Rnd 2: 6 inc (12)
- Rnd 3: (1 sc, inc) x6 (18)
- Rnd 4: (2 sc, inc) x6 (24)
- Rnd 5: (3 sc, inc) x6 (30)
- Rnd 6: (4 sc, inc) x6 (36)
- Rnd 7: (5 sc, inc) x6 (42)
- Rnd 8: (6 sc, inc) x6 (48)
- Rnd 9: (7 sc, inc) x6 (54)
10–19: work 54 sc evenly for 10 full rounds, keeping tension consistent so the head stays round rather than lopsided.
Rounds 20–25 (shape the taper):
- Rnd 20: (7 sc, dec) x6 (48)
- Rnd 21: (6 sc, dec) x6 (42)
- Rnd 22: (5 sc, dec) x6 (36)
- Rnd 23: (4 sc, dec) x6 (30)
- Rnd 24: (3 sc, dec) x6 (24)
- Rnd 25: (2 sc, dec) x6 (18)
Slip stitch to close, cut the yarn, and weave in the end. Place the safety eyes between rounds 15 and 16, spacing them 8 stitches apart. Sew the nose between rounds 16 and 17, keeping it roughly 2 stitches long for that classic button-nose look.
Shaping the Floppy Ears
Make two identical pieces for this section.
Rounds 1–5:
- Rnd 1: 6 sc in magic ring
- Rnd 2: 6 inc (12)
- Rnd 3: (1 sc, inc) x6 (18)
- Rnd 4: (2 sc, inc) x6 (24)
- Rnd 5: (3 sc, inc) x6 (30)
Rounds 6–13 (the floppy taper):
- Rnd 6–7: 30 sc, worked even across both rounds
- Rnd 8: 13 sc, dec, 13 sc, dec (28)
- Rnd 9: 28 sc even
- Rnd 10: dec, 10 sc, 2 dec, 10 sc, dec (24)
- Rnd 11: 24 sc even
- Rnd 12: dec, 8 sc, 2 dec, 8 sc, dec (20)
- Rnd 13: 20 sc even
Fold the ear flat and crochet together across 9 stitches to give it that gentle droop. Sew each ear between rounds 9 and 10 on the head, keeping 22 stitches of space between the two ears for balanced placement.
Legs and Body
This section flows directly from legs into the body, so keep your yarn attached on the second leg.
Each leg (make 2), Rounds 1–4:
- Rnd 1: 6 sc in magic ring
- Rnd 2: 6 inc (12)
- Rnd 3–4: 12 sc even for both rounds
Cut and weave in the first leg. Leave the second leg’s yarn attached and continue directly into the body.
Body, Rounds 1–16:
- Rnd 1: chain 3, then work 12 sc across the attached leg, 3 sc through the chain loops, 12 sc across the second leg, 3 sc through the remaining chain loops (30)
- Rnd 2: 30 sc even
- Rnd 3: (4 sc, inc) x6 (36)
- Rnd 4: (5 sc, inc) x6 (42)
- Rnd 5–8: 42 sc even across all four rounds
- Rnd 9: (5 sc, dec) x6 (36)
- Rnd 10: 36 sc even
- Rnd 11: (4 sc, dec) x6 (30)
- Rnd 12: 30 sc even
- Rnd 13: (3 sc, dec) x6 (24)
- Rnd 14–15: 24 sc even
- Rnd 16: (2 sc, dec) x6 (18)
Slip stitch and leave a long tail for sewing the head directly onto the body.
Arms
Make two matching pieces here as well.
- Rnd 1: 6 sc in magic ring
- Rnd 2: 6 inc (12)
- Rnd 3–8: 12 sc even across six rounds
Fold flat and crochet 5 stitches together to close the top. Sew each arm to the body between rounds 2 and 3, spacing them 9 stitches apart for natural proportions.
Step-by-Step Assembly Guide
Once every piece is finished, stuffing and assembly bring the puppy together:
- Stuff the head firmly, keeping the shape rounded rather than lumpy.
- Attach the eyes and embroider the nose before closing the head completely.
- Stuff the body and legs, then sew the head onto the body using the long tail.
- Fold and sew the ears in place along the marked spacing.
- Attach both arms symmetrically for a balanced finished look.
Usage Ideas
- Display as a nursery decoration or shelf accent
- Attach a small ribbon collar and use as a keychain-style accessory
- Gift alongside a handwritten card for birthdays or baby showers
- Include in a themed amigurumi animal collection
Helpful Tips
Trust me, consistent tension across all the rounds matters more than speed here. Uneven stitches on the head are far more noticeable than on smaller pieces like the arms, so slow down through rounds 10–19 especially.
Customization & Variations
Ngl, this pattern welcomes plenty of personal touches. Swap the yarn color for spotted or two-tone effects, add a small fabric bandana, or lengthen the ears slightly for a hound-style look instead of the classic floppy pup shape.
Common Mistakes to Avoid
For real, these are the slip-ups that show up most often:
- Skipping stitch markers and losing track of round starts
- Under-stuffing the head, which leaves it looking flat
- Placing the ears unevenly without measuring the stitch spacing first
- Sewing limbs on before confirming symmetrical placement
Finishing Tips
No joke, a final steam or light blocking session smooths out uneven stitches across the whole body. Trim any stray yarn ends close to the surface for a clean, professional finish.
Gifting Ideas
Pair the finished puppy with a small drawstring bag or a printed care tag for an easy handmade gift. Baby showers, birthdays, and pet lovers all respond well to a soft, floppy-eared amigurumi companion.
Frequently Asked Questions
What hook size works best for this pattern?
A 2mm hook keeps stitches tight enough to hold stuffing securely without gaps.
Can beginners attempt this Free Crochet Puppy Amigurumi pattern?
Real talk, beginners with basic increase and decrease experience can manage it, though patience helps through the longer body rounds.
How much yarn is typically needed?
Amounts vary by yarn weight, but one to two skeins usually cover the full puppy comfortably.
Can the ears stand upright instead of flopping?
Skipping the fold-and-close step on the ears keeps them more upright if a perkier look is preferred.
Conclusion
Building this Free Crochet Puppy Amigurumi pattern from scratch delivers a genuinely charming result, from the rounded head down to the floppy folded ears. Each section, whether it’s the body, legs, or arms, contributes to a finished piece with real personality and balance. Following the stitch counts closely keeps proportions accurate, while small customizations like color or ear length make every finished pup unique. Whether it’s a gift or a personal project, this pattern rewards patience with an adorable result.