Handmade Crochet Hello Kitty Keychain Pattern for Bags
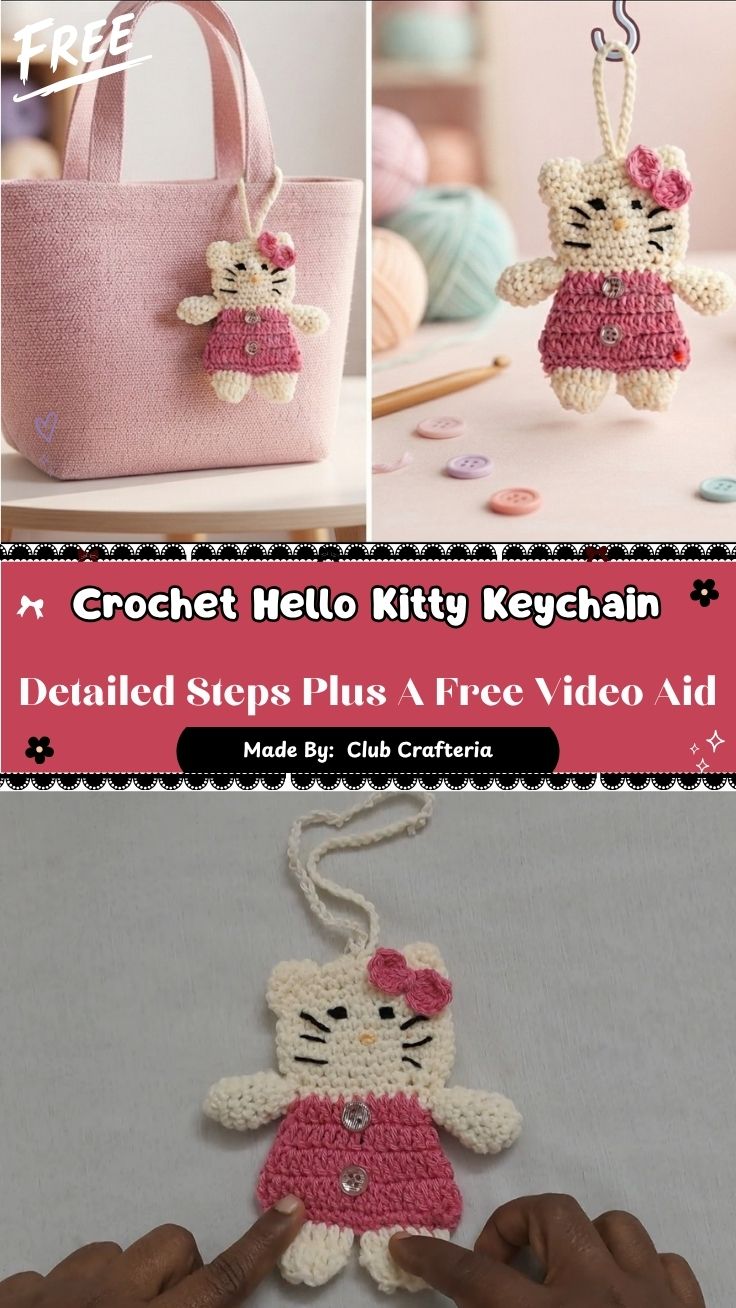
Small bag charms bring instant personality to any accessory, and this Handmade Crochet Hello Kitty Keychain Pattern for Bags delivers exactly that. Built from a soft cream yarn base, it grows into a sweet little character through simple shaping and a fun color-block accent. Anyone who loves quick, giftable amigurumi will enjoy stitching this one.
This crochet keychain pattern stands out because of its two-tone body, which pairs a soft cream base with a bright color-block accent for extra visual interest. What makes this particular pattern special is how such a small, portable project still includes real shaping and finishing details.
Its compact size also makes it an easy add-on for bags, backpacks, or keyrings.
Pattern Overview
- A small, huggable character shape designed as a bag charm
- Two-tone color block body for extra visual interest
- Compact size that works up in a single sitting
- Beginner-friendly amigurumi construction
Materials Needed
- Worsted weight yarn in cream and a contrast color (pink shown here)
- Small amount of white and black yarn for facial details
- A crochet hook sized to match your yarn weight
- Fiberfill stuffing
- Tapestry needle
- Stitch markers
- Sharp scissors
- Keychain ring or clasp hardware
Crochet Stitches and Techniques
- Slip knot and foundation chain – sets the starting base for the piece
- Single crochet – the main stitch used throughout the body
- Increase and decrease – shapes the rounded head and body
- Color changes – creates the two-tone body section
- Stuffing – fills the piece for a firm, huggable shape
- Embroidery and sewing details – adds the face, ears, and bow accents
- Fastening off – secures the final stitch before trimming
Time Box
- Prep Time: 10 minutes for yarn prep and hook selection
- Stitching Time: 1.5–2 hours for the full body and color changes
- Finishing Time: 30–40 minutes for stuffing, embroidery, and attaching hardware
Common Mistakes to Avoid
- Losing count during increase or decrease rounds on such a small scale
- Understuffing the body, leaving the keychain floppy instead of firm
- Pulling the color-change stitch too tight, distorting the join line
- Rushing the face and bow details, which can throw off the overall look
Uses and Benefits
A finished keychain charm works well as a bag accessory, a backpack decoration, or a small handmade gift for a friend. Because the scale is small, it uses very little yarn, making it a great way to use up leftover scraps. Making this piece also builds core amigurumi skills, like clean color changes and finishing details, that carry over into larger stuffed projects.
Helpful Beginner Tips
- Count your stitches at the end of every round, especially during shaping.
- Use stitch markers to track your row starts on the foundation section.
- Stuff firmly but evenly so the shape stays smooth and round.
- Pin facial details in place before stitching to check placement.
Instructions
Step 1: Starting with a Slip Knot
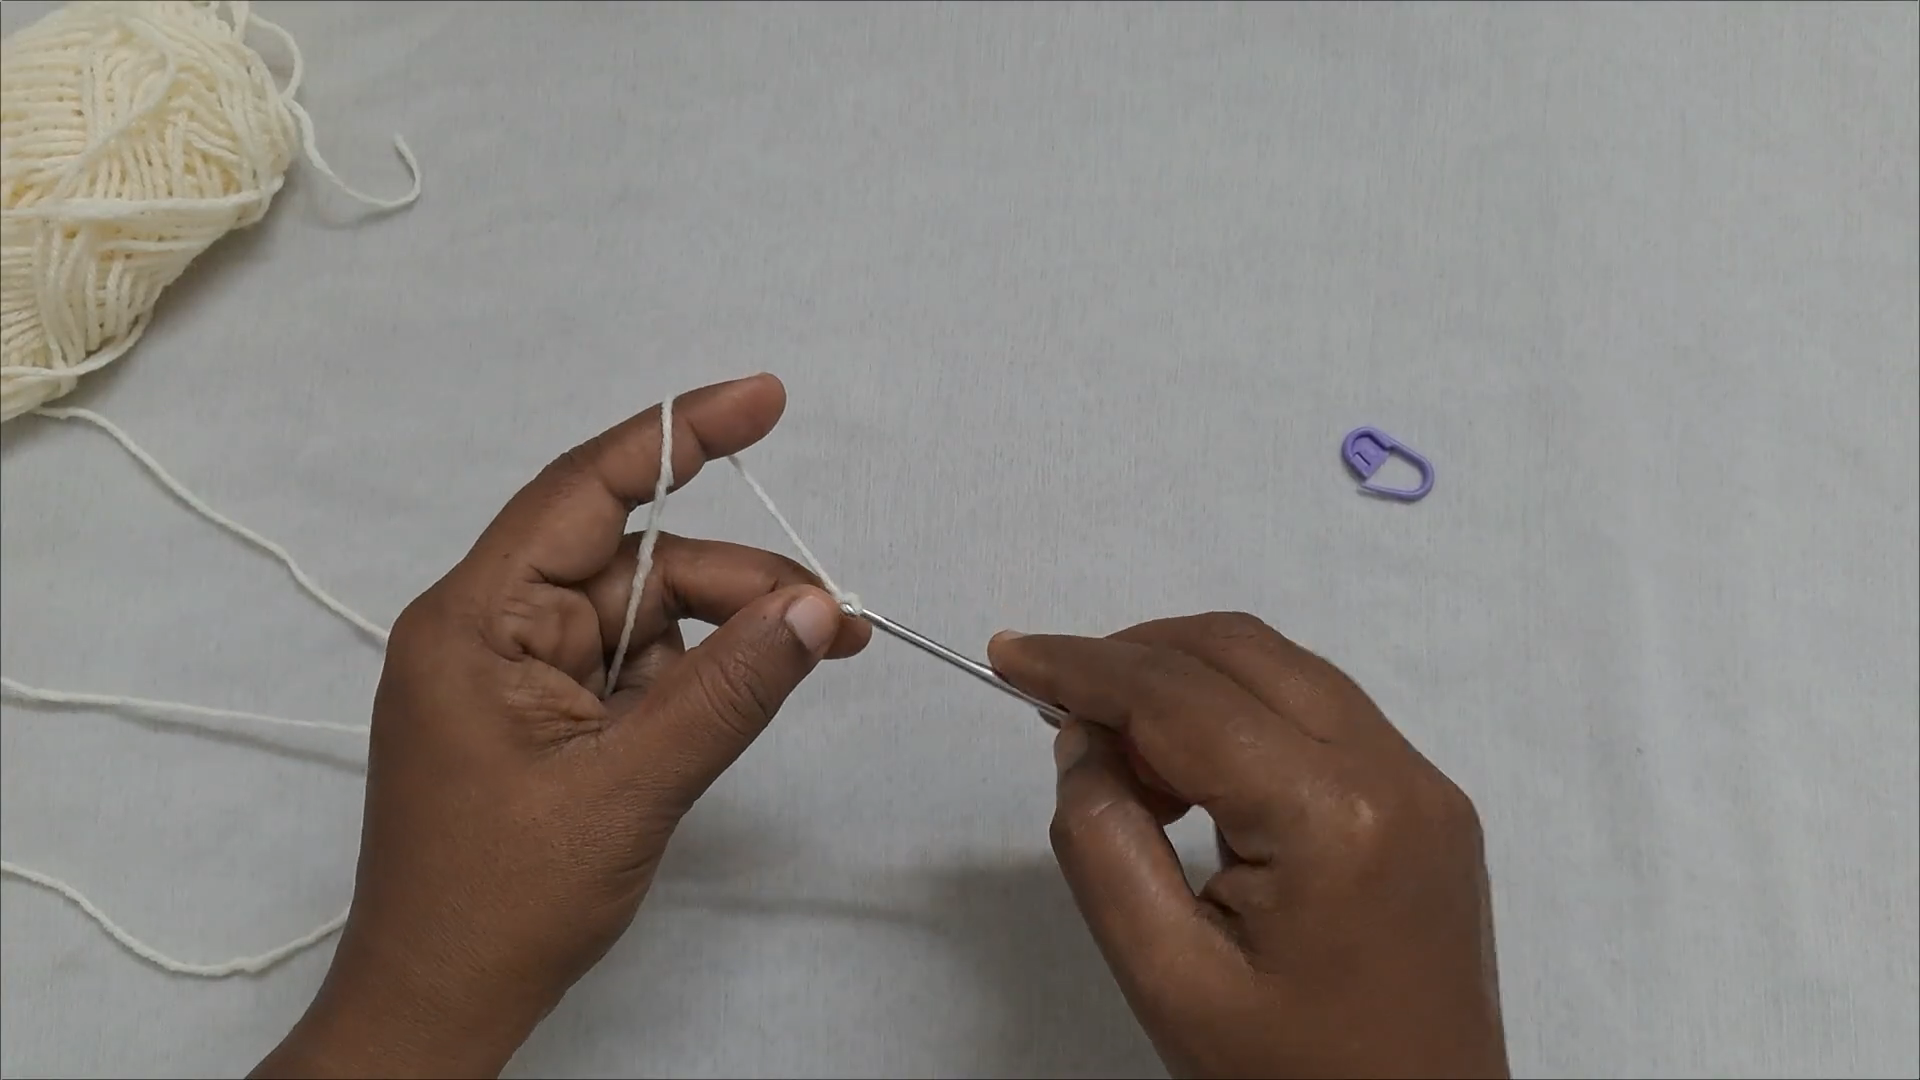
Place a slip knot on your hook using your cream yarn, holding it with a relaxed grip. This starting loop sets the tension for your foundation row.
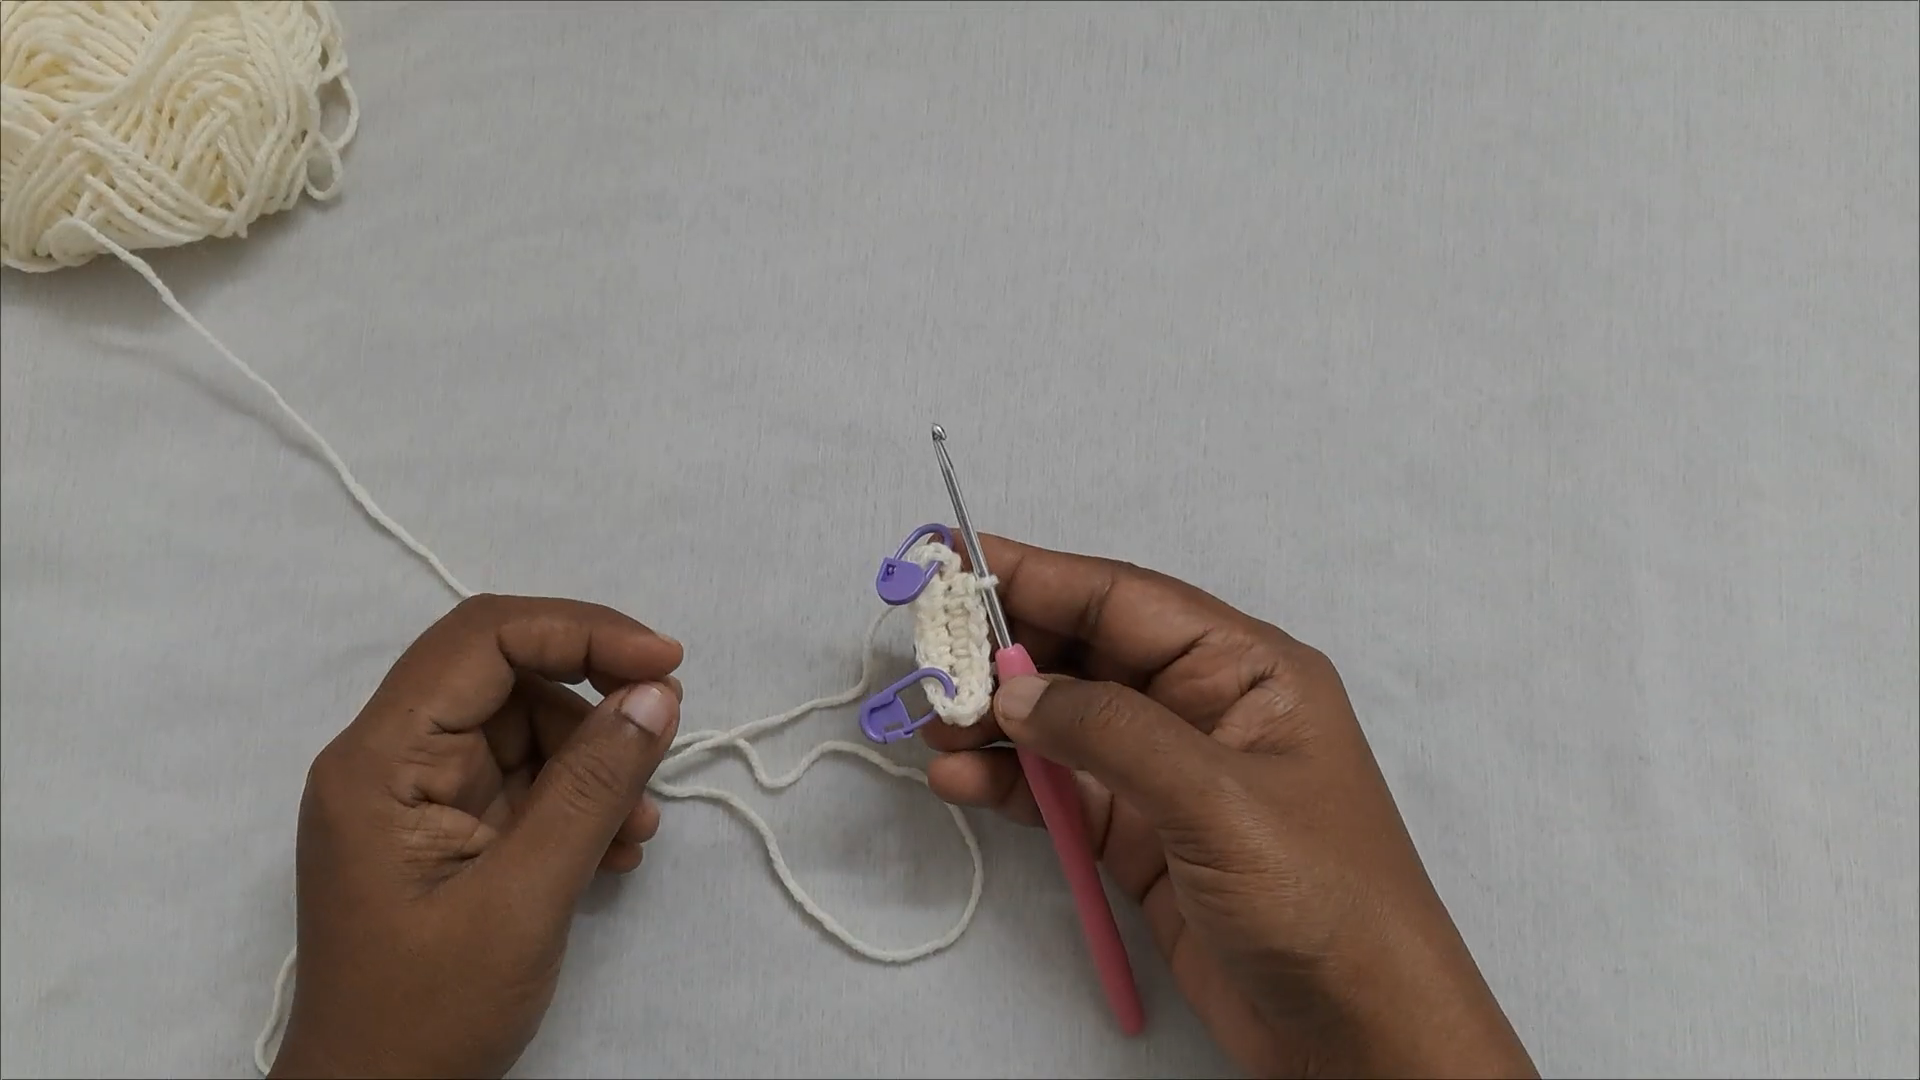
Step 2: Building the Foundation Row
Work your foundation chain and first row of stitches, placing stitch markers to keep track of your starting point. This small section becomes the base for the shape that follows.
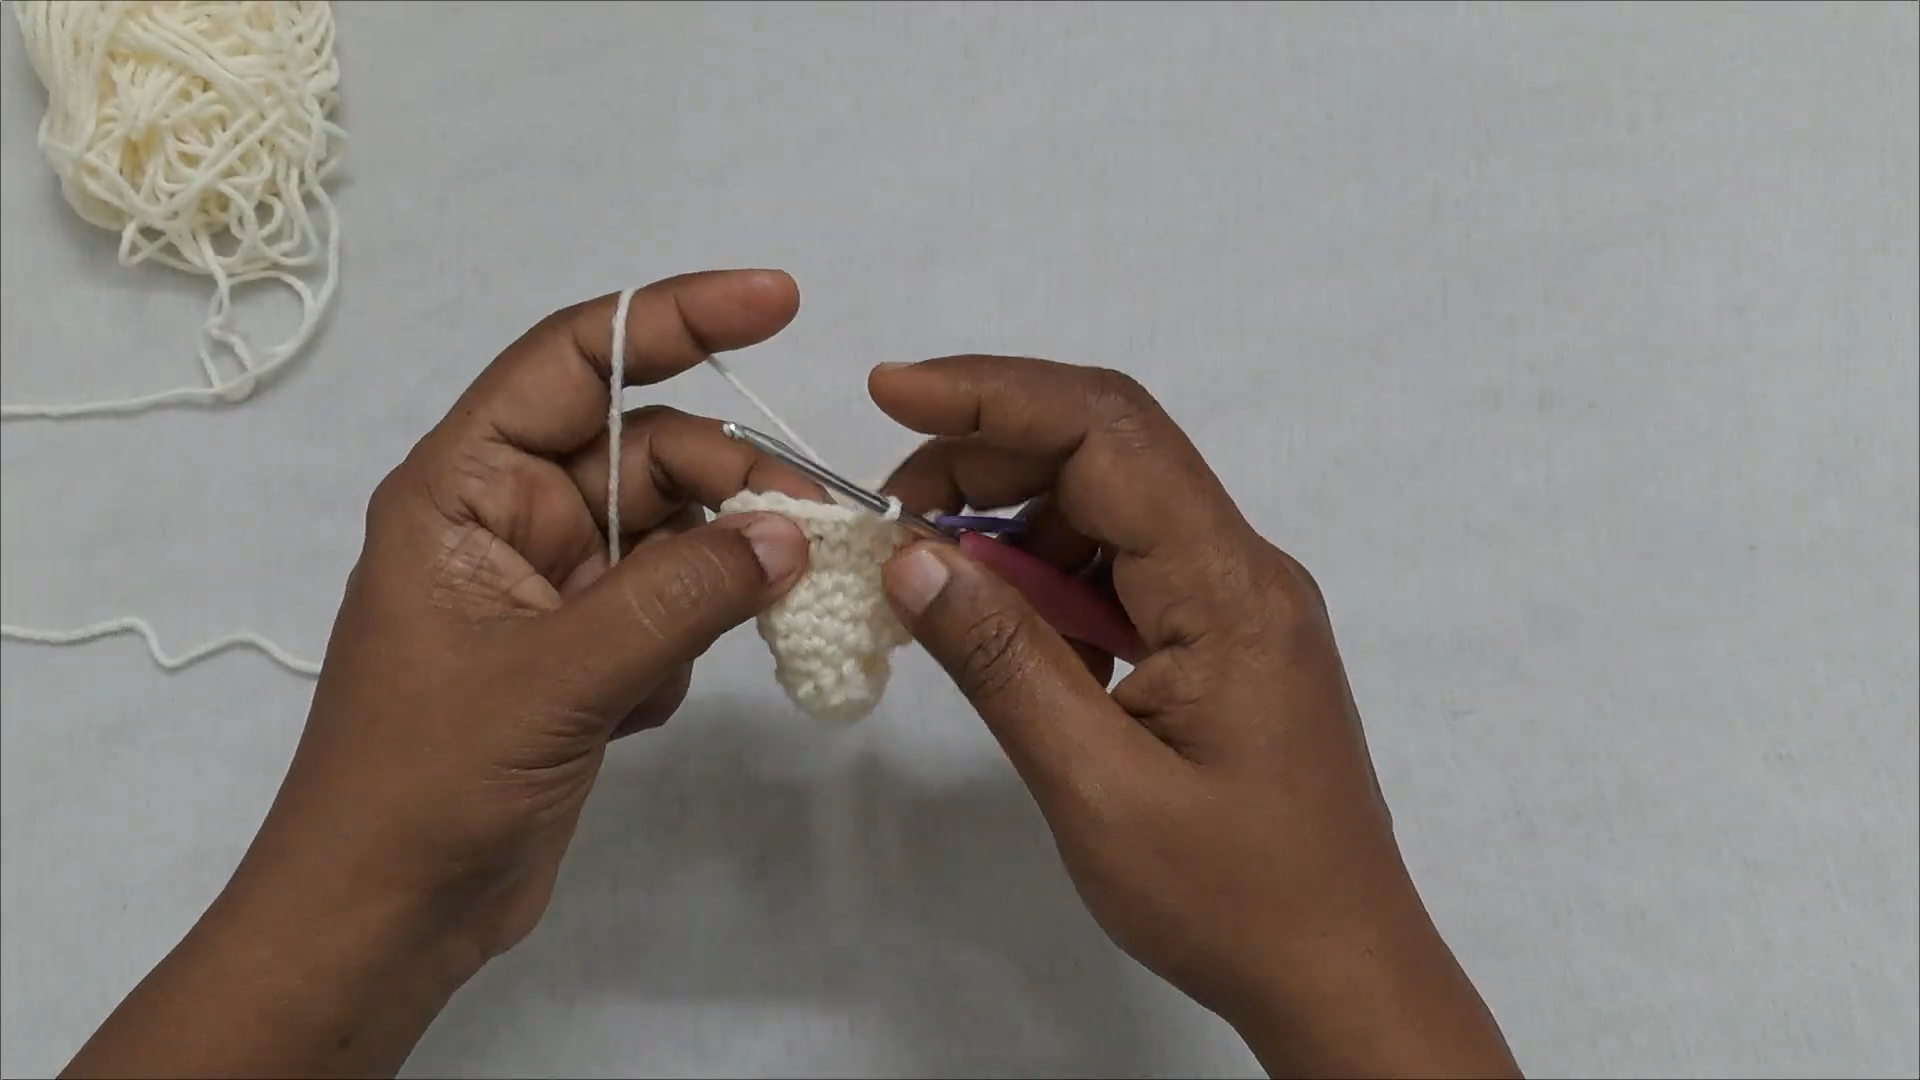
Step 3: Shaping the Head and Body
Continue increasing and decreasing as needed to build the rounded shape, stuffing lightly as you go so the piece holds its form evenly.
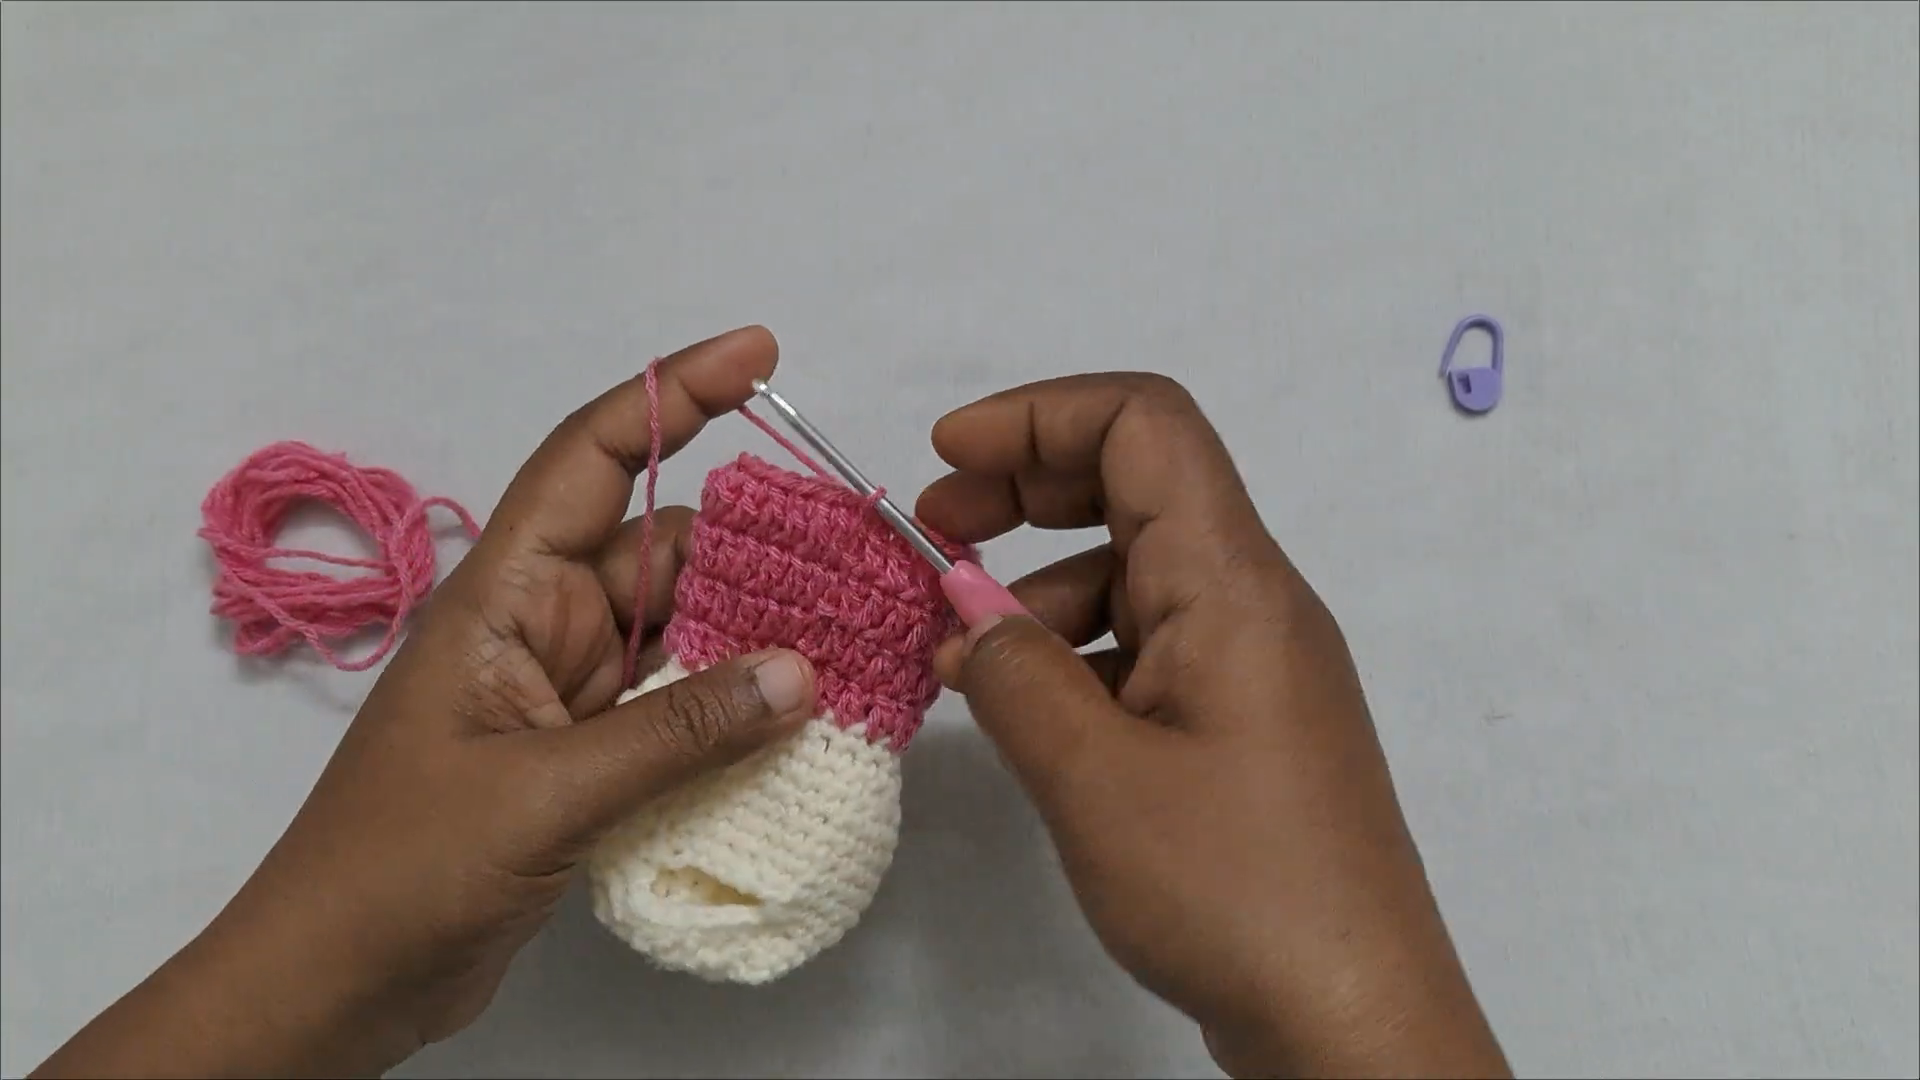
Step 4: Adding the Color Block Section
Switch to your contrast color at the marked point, working clean rows to form the color-block section. Carry the unused color loosely to keep the join tidy before continuing.
Tips and Tricks for Success
- Use a smaller hook than recommended for your yarn weight to keep stuffing hidden.
- Sew ears and bow details on last, after the main shape is stuffed and closed.
- Keep a small notebook of your round counts in case you want to repeat the pattern.
- Double-check hardware attachment strength before gifting or using daily.
Why This Crochet Hello Kitty Keychain Is Trending
Small character keychains have become a favorite among crocheters who want quick, giftable projects with instant recognizability. This design fits that trend well, offering a cute result in a fraction of the time of a full-size amigurumi.
- It uses minimal yarn, making it budget-friendly.
- The small scale makes it easy to carry and work on anywhere.
- It works well for craft fairs, gift bags, and party favors.
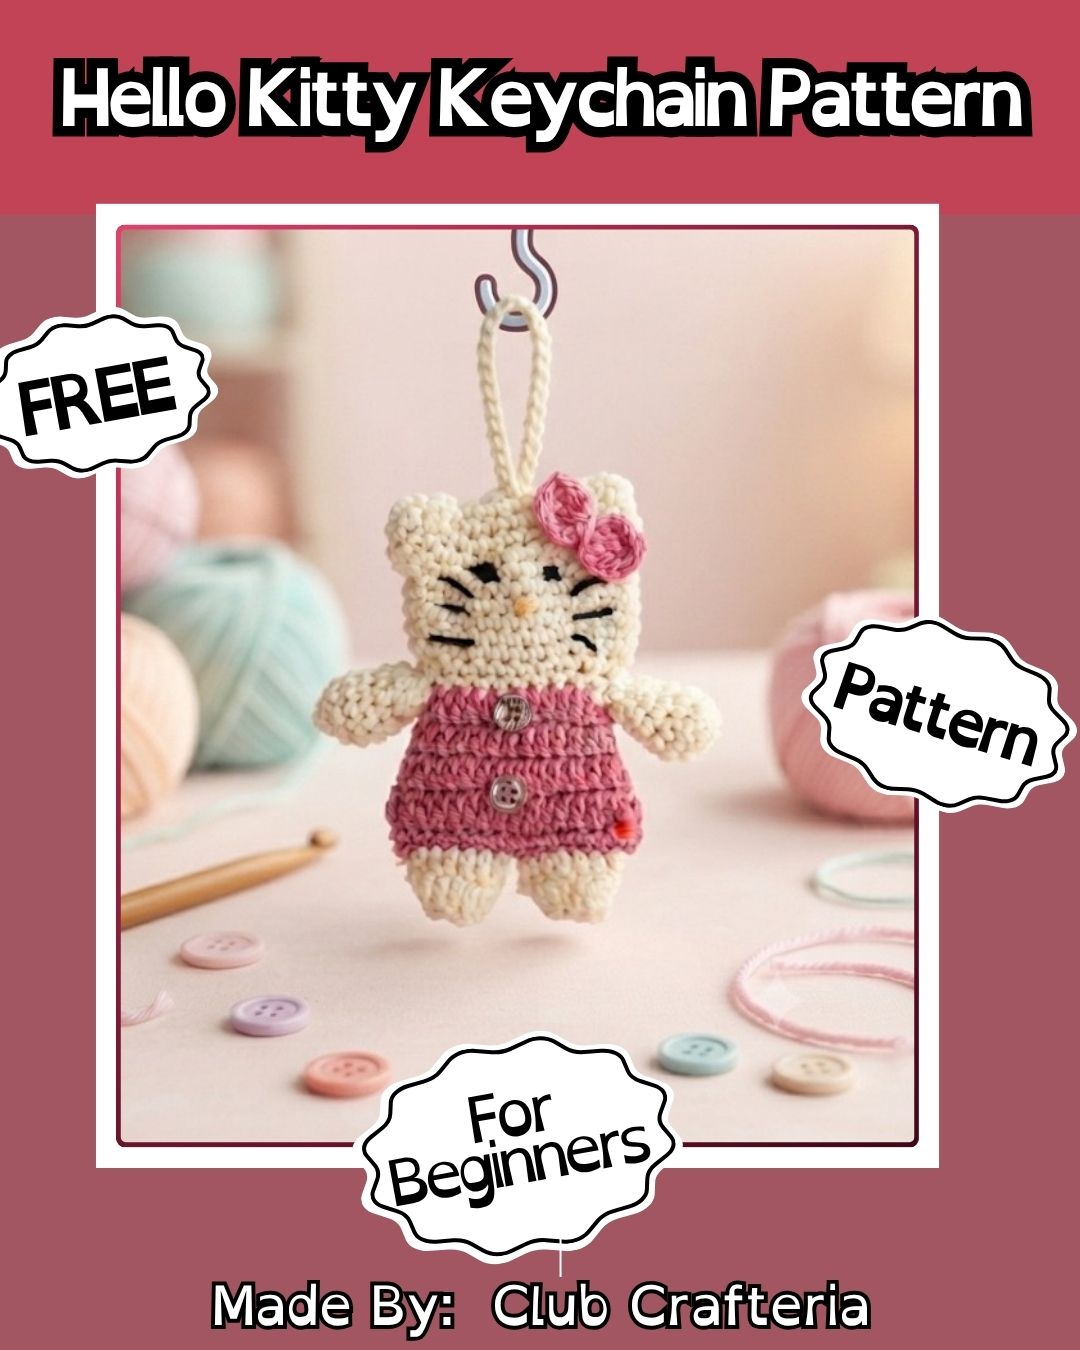
How to Add Bow and Ear Details for a Polished Look
Small details like ears and a bow accent make the biggest difference in how finished the piece looks, so take extra care with placement. Pin each piece in place first and check the whole shape from different angles before sewing anything permanently, since even slight shifts in position change the overall expression.
Conclusion
The Handmade Crochet Hello Kitty Keychain Pattern proves that a small project can still deliver real charm through thoughtful shaping and color choices. Every step, from the first slip knot to the final bow, builds confidence for bigger amigurumi projects down the line. Take your time with the stuffing and finishing details, since those small touches make the biggest difference. Once complete, this little charm makes a sweet gift or a fun addition to any bag.