Plush Crochet Airplane Amigurumi Beginner Step-by-Step Pattern
Something about a tiny handmade aeroplane makes grown adults smile just as fast as kids do, and that’s exactly the charm behind this Plush Crochet Aeroplane Amigurumi Beginner Step-by-Step Pattern. Maybe it’s the nostalgia of paper planes flying across a classroom, or maybe it’s simply how satisfying a round little nose and stubby wings look sitting on a shelf as a handmade nursery decor piece.
Whatever the reason, this crochet aeroplane plush has quickly become one of those projects that crafters return to again and again, whether they’re stitching a nursery decoration, a birthday gift, or just something fun to keep their hooks busy on a quiet evening.
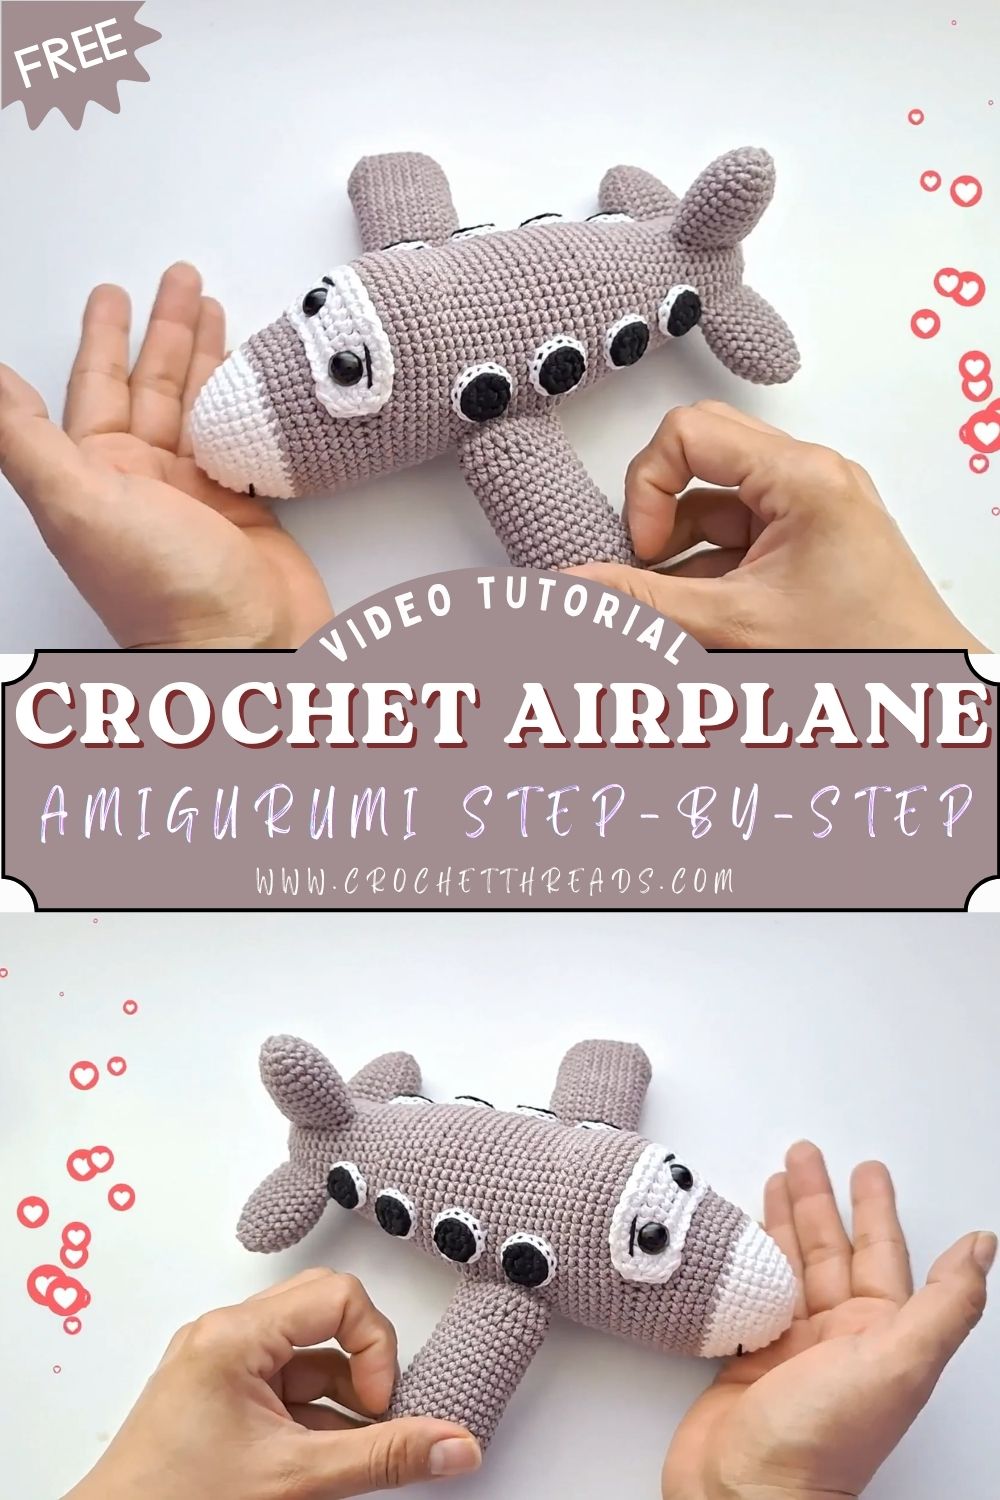
What This Crochet Project Is All About
Picture a chubby little plane with a rounded body, two small wings tucked to the sides, a friendly propeller nose, and a tail fin standing proud at the back. That’s exactly what you’ll be building here, piece by piece, using nothing more than basic amigurumi stitches worked in the round. Every part is small enough to finish in a single sitting, which makes the whole project feel far less overwhelming than it might sound at first glance.
Best of all, none of the individual sections require advanced shaping. You’re simply increasing, decreasing, and stitching steadily until each piece takes form.
What Makes This Tutorial Worth Trying
Unlike Crochet Airplane Amigurumi patterns that bury beginners under confusing charts, this one walks through every stitch in plain, everyday language. Wing shaping gets its own clear breakdown instead of vague instructions. Color changes are explained at the exact round where they happen, so there’s no guessing involved. And because the whole toy is built from simple geometric shapes, rounds, tubes, and small flat pieces, anyone comfortable with a hook and basic counting can follow along without frustration.
Skill Level
Beginner to Beginner-Intermediate
Crocheters who already know single crochet, magic rings, and basic shaping will move through this pattern quickly. First-time amigurumi makers can absolutely tackle it too, though setting aside a bit of extra patience for the wing and propeller pieces helps. Nothing here demands advanced techniques, just steady, consistent stitching.
Materials and Supplies You’ll Need
Grab these before starting so your stitching session stays uninterrupted:
- Yarn: Worsted weight cotton or acrylic yarn, choosing one main body color (sky blue, red, or white work beautifully) plus a contrast shade for wings and tail
- Hook size: A 3.0mm to 3.5mm crochet hook, sized down from what the yarn label recommends for tighter, stuffing-proof stitches
- Extra tools: Stitch markers, a yarn needle, sharp scissors, polyester fiberfill, and small black safety eyes or embroidery thread for the face
Stitches and Abbreviations Used
Here’s a quick reference guide before you dive into the rounds:
- MR – magic ring
- ch – chain
- sc – single crochet
- inc – increase (two single crochet in one stitch)
- dec – decrease (invisible or standard single crochet decrease)
- sl st – slip stitch
- st(s) – stitch(es)
- rnd – round
Step-by-Step Crochet Instructions
Building the Main Body
The body forms the heart of this plush, so take it slow through the shaping rounds.
- Start with a magic ring and work 6 sc into it.
- Rnd 2: inc in every stitch (12 sts).
- Rnd 3: (sc, inc) repeat around (18 sts).
- Rnd 4: (2 sc, inc) repeat around (24 sts).
- Rnd 5: (3 sc, inc) repeat around (30 sts).
- Work 6–8 rounds even without increasing to build the length of the fuselage.
- Begin decreasing in reverse order over the following rounds, tapering the tail end down to a small closed point.
Stuff generously as the rounds narrow, packing fiberfill firmly into the nose and midsection for a plush that holds its rounded shape.
Shaping the Wings
- Make a magic ring, work 6 sc into it, and flatten the piece rather than shaping it into a ball.
- Chain a short row extension on one side to create the wing’s elongated shape, then work back along both sides with sc.
- Repeat to make a second matching wing.
- Leave a long yarn tail on each wing for attaching them to the body later.
Making the Propeller and Nose Detail
- Using a contrast color, work a tiny magic ring with 5 sc for the nose cap.
- Add 2–3 rounds without increasing, then stuff lightly and close.
- For the propeller itself, chain a short length and work back along it in sc, then cross two strips over each other and secure at the center with a few small stitches.
Tail Fin and Finishing Pieces
- Chain a short base, then build upward in rows using sc, decreasing at the top corners to create a triangular fin shape.
- Attach the fin to the tail end of the body once the main piece is fully stuffed and closed.
Facial Details
Give your airplane its personality with a simple, friendly face.
- Attach small safety eyes just below the nose cap, spaced evenly apart.
- Embroider a soft curved smile using black or brown thread.
- Optional rosy cheeks add extra charm, worked in pink thread or lightly brushed blush powder.
Assembly Process
- Position both wings along the sides of the body, roughly at the midpoint, and pin them in place before stitching.
- Sew each wing securely using the long yarn tail left earlier, weaving through both layers for strength.
- Attach the tail fin to the back end, making sure it sits centered and upright.
- Fix the propeller to the front nose cap, checking that it’s balanced before securing permanently.
- Weave in every remaining loose end so nothing works itself loose during play or display.
video pattern:
Helpful Beginner Tips
- Work with tighter tension than usual; loose amigurumi stitches let stuffing show through the fabric.
- Count stitches at the end of every round, especially during increase and decrease sections, since a missed stitch early on throws off the whole shape.
- Stuff gradually rather than all at once, pushing small amounts in as you close each section for a firmer, smoother result.
- Keep a stitch marker moving with you at all times since amigurumi rounds don’t have a visible starting point otherwise.
Common Mistakes and How to Fix Them
Even experienced crocheters run into a few recurring hiccups with this kind of project.
- Uneven wing shapes: This usually happens from inconsistent tension between the two pieces. Crochet both wings back to back in the same sitting rather than days apart for matching results.
- Lopsided propeller: If the crossed strips look off-center, unpick the securing stitches and reposition before locking them permanently in place.
- Visible stuffing through stitches: Switch to a smaller hook size and tighten your grip slightly on the working yarn.
- Body looking lumpy instead of smooth: Add stuffing in thin layers instead of large clumps, smoothing each addition with your fingers before continuing to crochet.
Crochet Airplane Amigurumi Customization Ideas
Once you’ve mastered the base shape, there’s plenty of room to make this plane your own.
- Swap the main color for military green, sunset orange, or pastel pink for a completely different personality
- Add tiny embroidered windows along the fuselage for extra realism
- Attach a small loop at the top for hanging the plush above a crib or reading nook
- Create a mini fleet in multiple colorways, since each plane only takes a fraction of the yarn used for larger amigurumi projects
Size and Color Suggestions
A standard version using worsted weight yarn and a 3.5mm hook typically finishes around 12–15cm long, a comfortable size for shelf display or gentle play. For a pocket-sized keychain variation, switch to a lighter yarn weight with a 2.5mm hook, cutting the finished size roughly in half. Classic red and white combinations give a vintage toy-plane feel, while soft blues and creams lean more toward nursery-friendly decor.
Frequently Asked Questions
What yarn works best for this Crochet Airplane Amigurumi pattern?
Cotton yarn is generally the top pick since it holds its shape well and keeps stitches crisp during increases and decreases. Acrylic yarn is a solid budget-friendly alternative and comes in a wide range of bright, kid-approved colors, making it especially popular for toy-style amigurumi like this one.
How do I keep the wings and tail from flopping over?
Firm stuffing paired with tight stitching is the main fix. A few extra rows of single crochet along the base of each wing before attaching also adds structural support, helping them sit outward instead of drooping.
How long does this project usually take to complete?
Most crocheters finish the full airplane, including body, wings, propeller, and finishing details, within three to five hours. Splitting the project across two sessions, one for the main body and one for the smaller pieces, tends to feel the most manageable for beginners.
Can this pattern be turned into a keychain or bag charm?
Yes, simply reduce the yarn weight and hook size, and attach a small metal keyring loop through the top of the finished body before closing the final stitches.